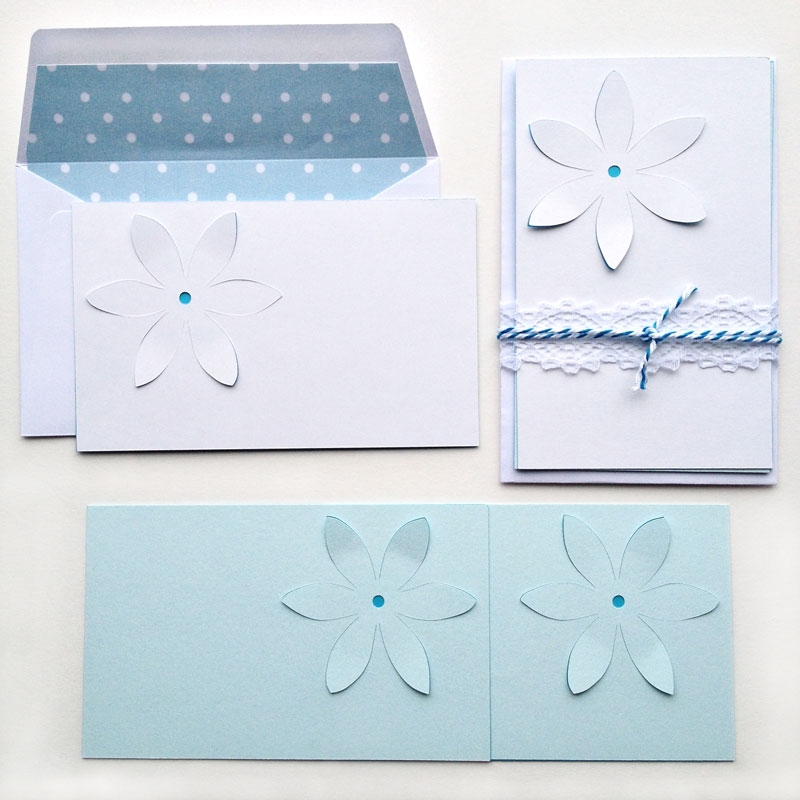
To celebrate the fact that spring has finally sprung, we want to share with you this cute 3D flower card that you can use to spread the springtime cheer around. Follow along to see how you can make your own.
Supplies Needed:
- Silhouette CAMEO® or Silhouette Portrait® or Silhouette Curio™
- Silhouette Studio®
- Silhouette Cutting Mat
- Silhouette Cutting Blade
- Glue
- Cardstock
- Design ID #20216
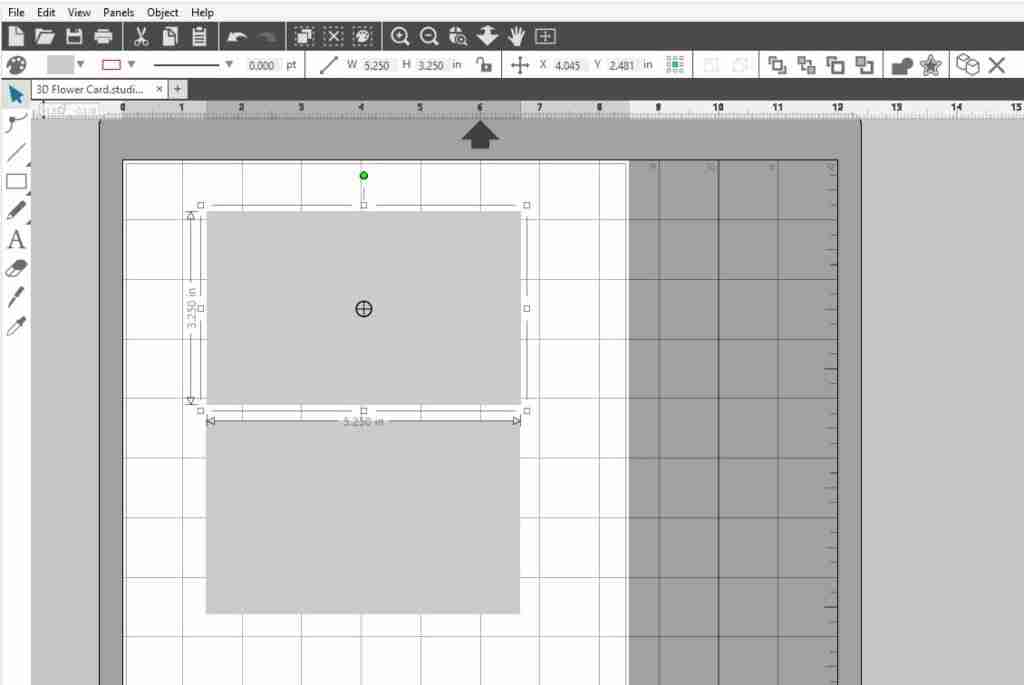
Step One: Create The Card
- Open up Silhouette Studio® and create a rectangle. You can locate the rectangle tool as the 4th icon on the tool bar to the left of your page. Once a rectangle is created, adjust its measurements to 3.25″ x 5.25.” You can do this easily by first selecting it and then typing in the exact measurement in the width and height toolbar located above your page.
- Next, duplicate the rectangle by right-clicking the rectangle and selecting Duplicate.
- Move one of your rectangles off to the side for now (it will be used as a back layer later on).
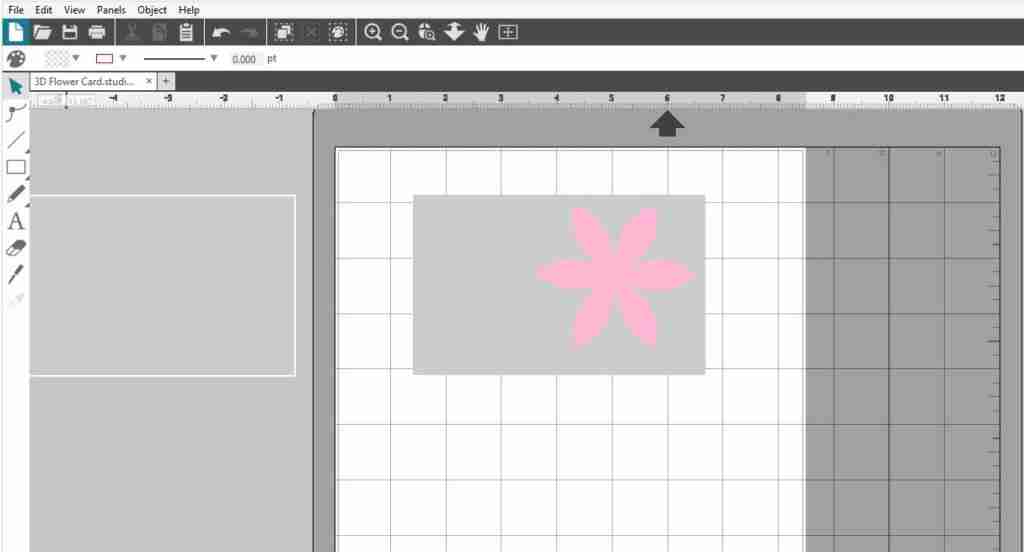
- Locate Design ID #20216 in your library and double-click it to open. We will be using the top flower for this project so the rest of the pieces can be deleted. To do so, right-click the flower and select Ungroup. Then select the other pieces and delete.
- Resize the flower and position it on to the rectangle. To resize the flower, select the design and drag the corners inward.
Step Two: Create The 3D Effect
- To start we are going to offset our flower. To do so, open the Offset Panel on the right-hand side of your page. Select Offset in the window and move the distance toggle to zero (0.000). Then, hit apply. It’ll look as though you haven’t done anything however if you select and move your flower to the side you will see the duplicated design.
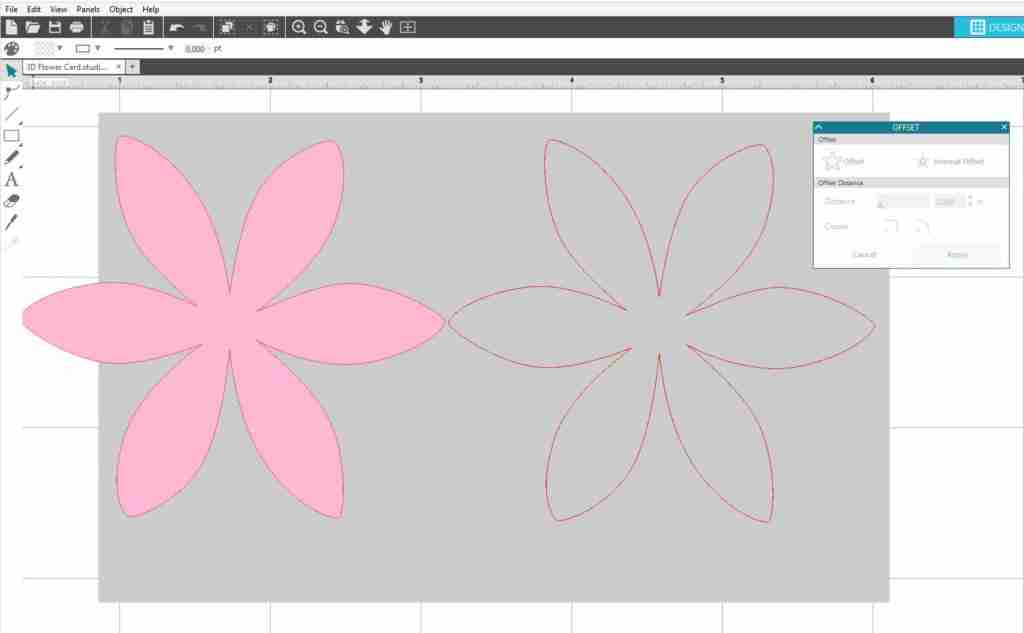
- Delete the original flower (left). Zoom in a little closer on the image and select the Eraser Tool (it can be located on the tool bar on the left-hand side of the screen).
- Erase a small area where the lines meet in the middle of the flower. Repeat for each intersection.

- Now that each point is erased, zoom out and select all of the flower petals. Right-click and hit Group. This will keep them all in place so nothing gets out of whack when we assemble the card.
Step Three: Cut And Assemble The Card
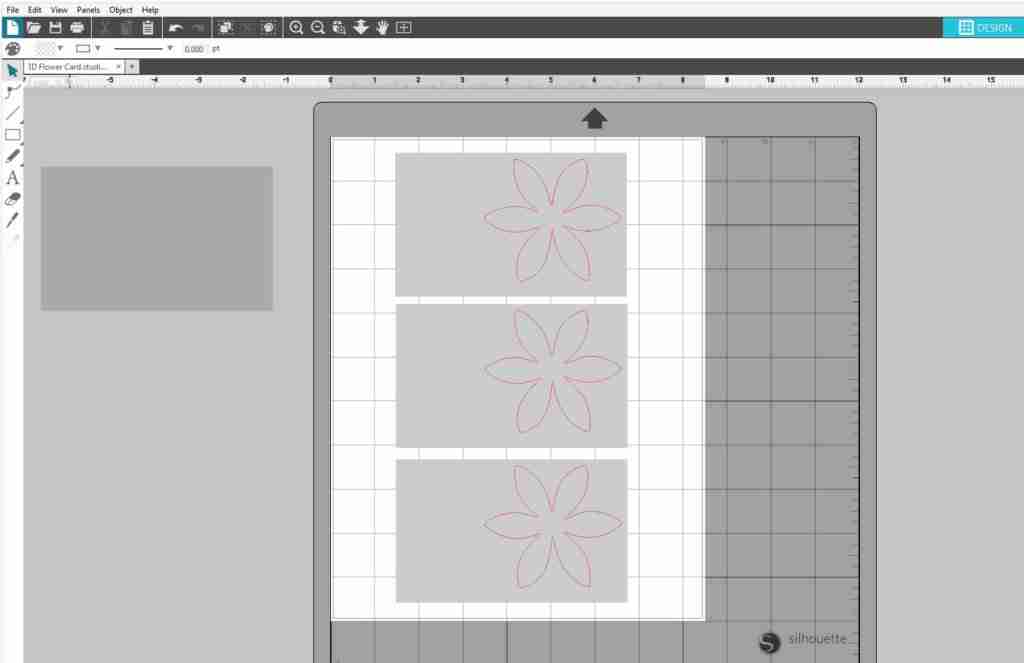
- Fill your page with as many cards as possible (I fit three). Each of these will be the front of your cards. Cut these out with your Silhouette machine and set them to the side.
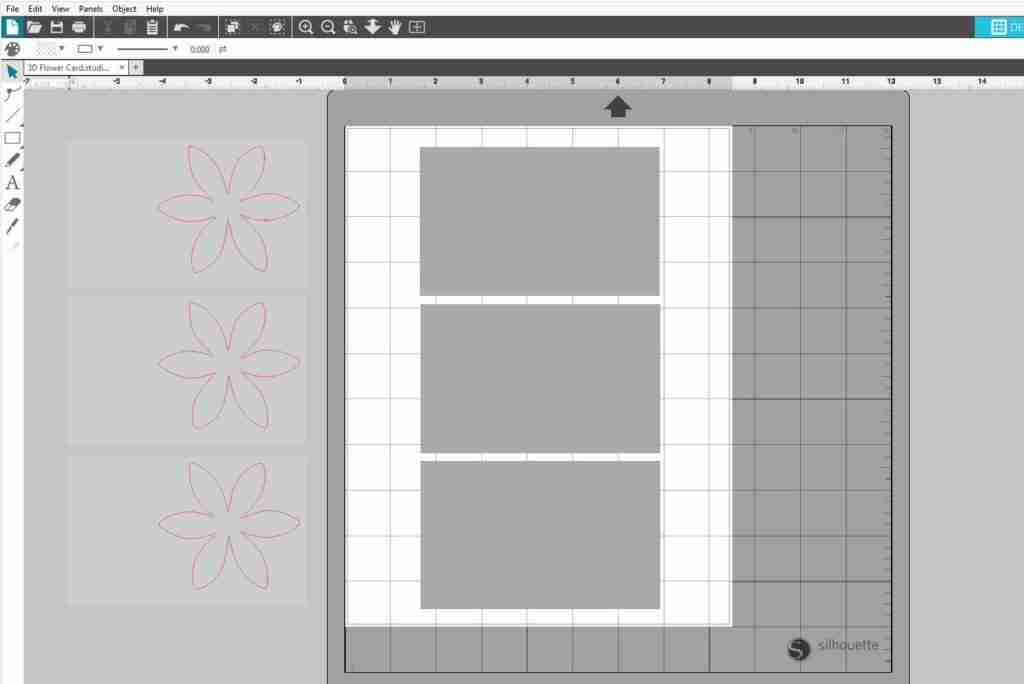
- Cut the same number (3) of the plain rectangles (the one you moved off to the side earlier). You will want to cut these in a different color of cardstock to provide contrast.
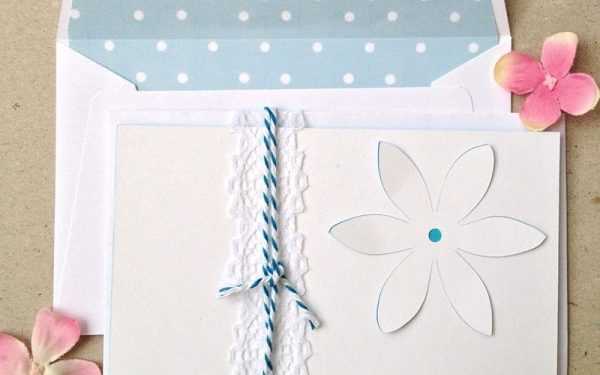
- Now that your card is cut out, it’s time to assemble. Curl the petals of the front layer with your fingers, then glue the front and back layers together.
- Wrap them up in ribbon, or include any other embellishments you’d like. Now your 3D flower card is complete!