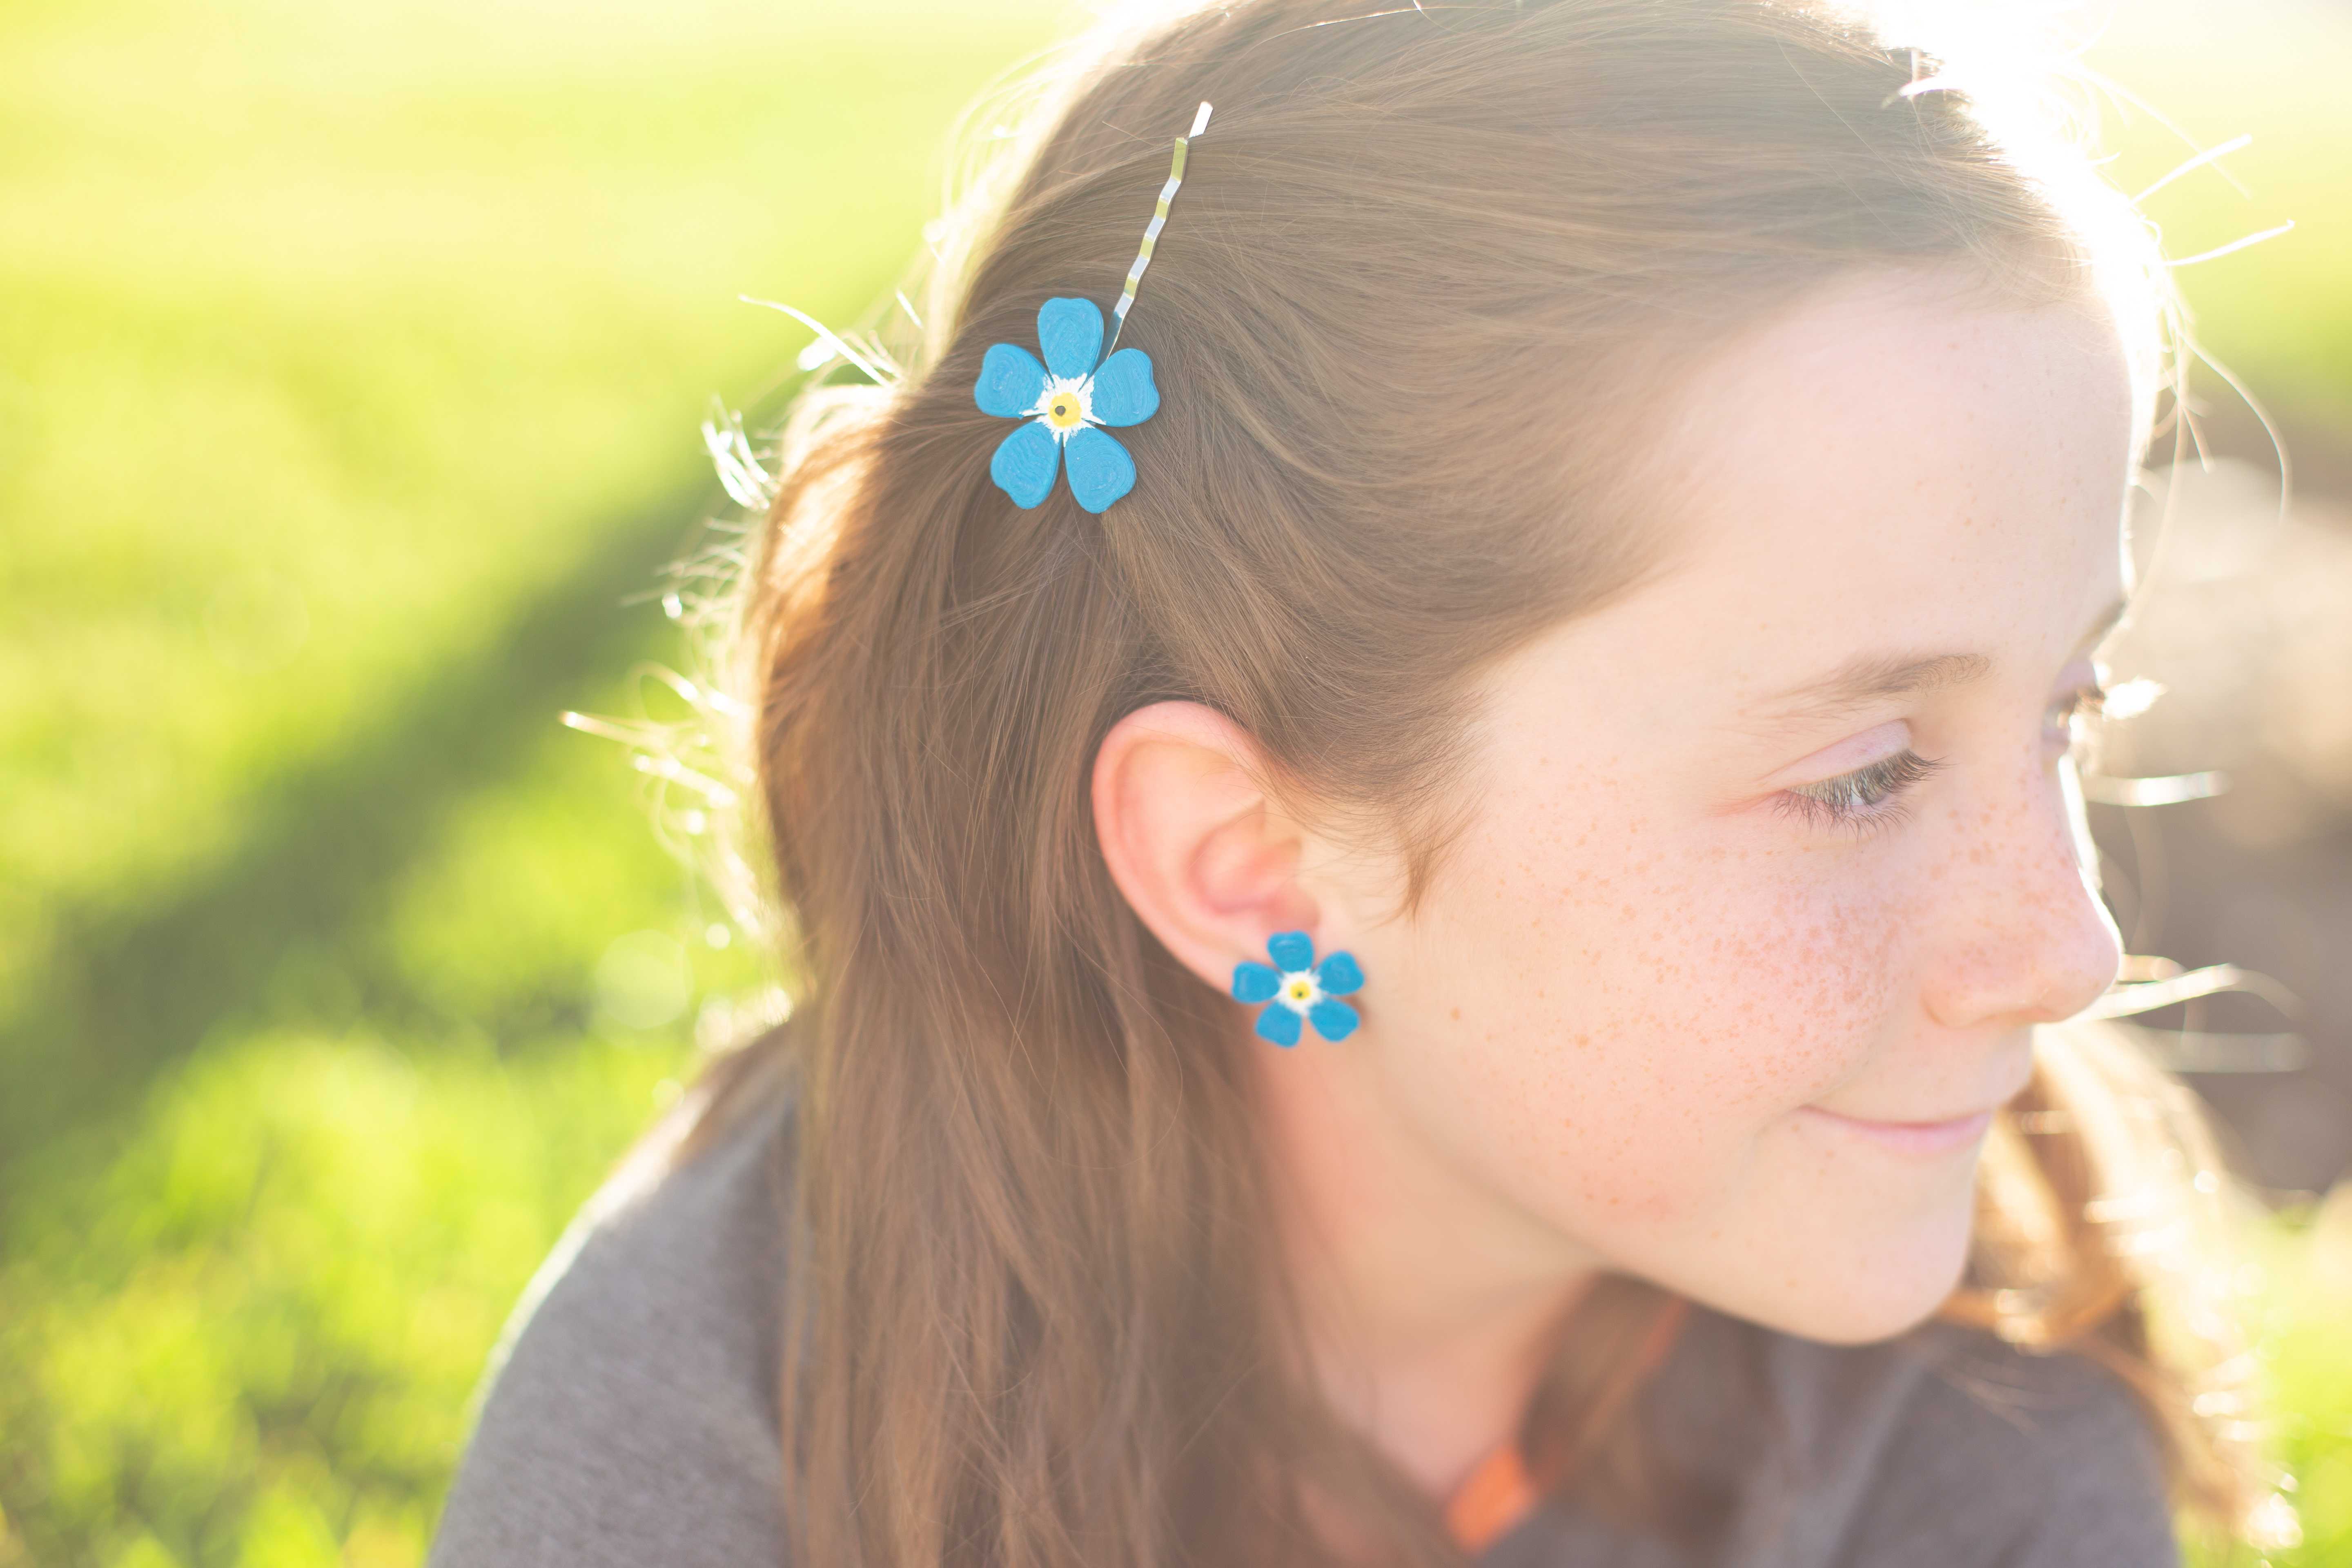
We love this quick and easy Alta project! From beginning to end, it takes less than an hour to complete, and the print time is less than 20 minutes. That’s amazing! Keep reading to see how it’s done.
Supplies Needed:
- Silhouette Alta®
- Silhouette 3D™ software
- PLA filament – blue
- Flat Pad Post w/ clutch earring back (found at your local craft store)
- Bobby Pin with Pad (found at your local craft store)
- Acrylic paint – white, yellow and brown
- Super Glue
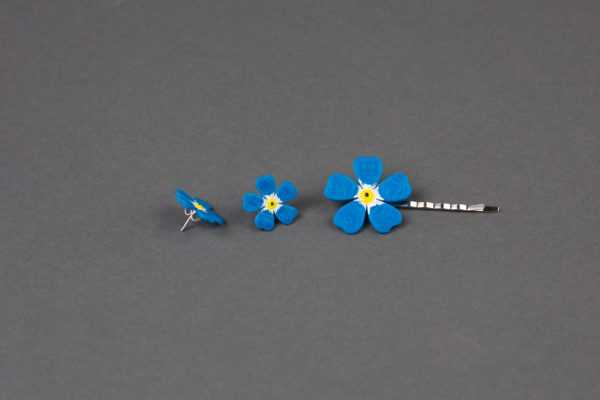
- 3D Flower Design – Forget-me-not (comes free with your machine)
Step One: Print the Flowers
1. Install the Silhouette 3D™ software (silhouetteamerica.com – “Update Software”) on your computer.
2. Once the Silhouette 3D™ software is installed, connect the Silhouette Alta® to the power supply. Then connect the Silhouette to your computer with the included USB cable. Turn the machine on by pressing the power button.

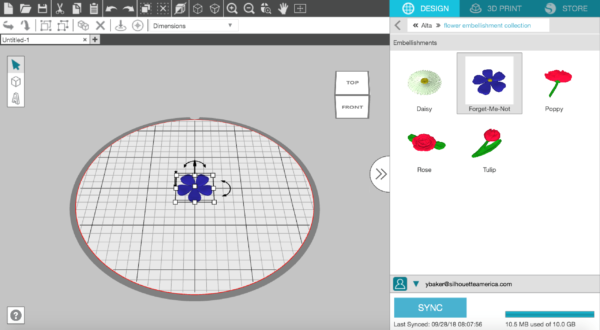
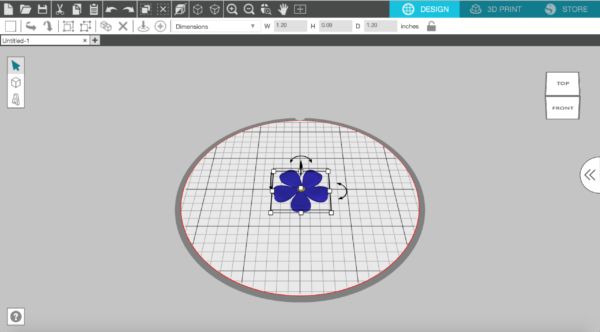
3. Open Silhouette 3D™. Register your Alta to get 25 free designs. To find your free Alta designs, go to the Library folder and then open the “Free with Machine” folder. Click on the “Forget-Me-Not” design, located in the Flower Embellishment Collection. If you use earrings with 6 mm pad, you don’t need to resize your design.
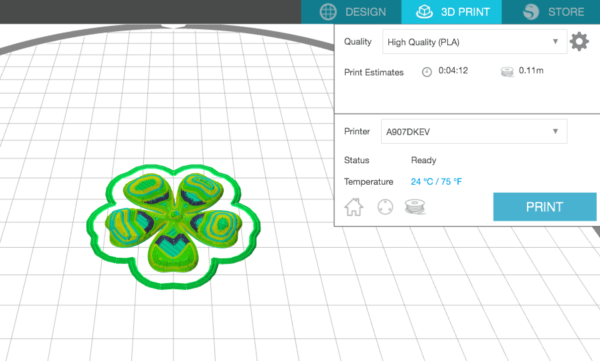
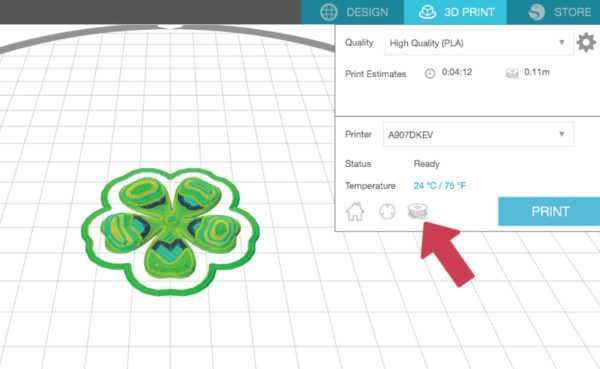
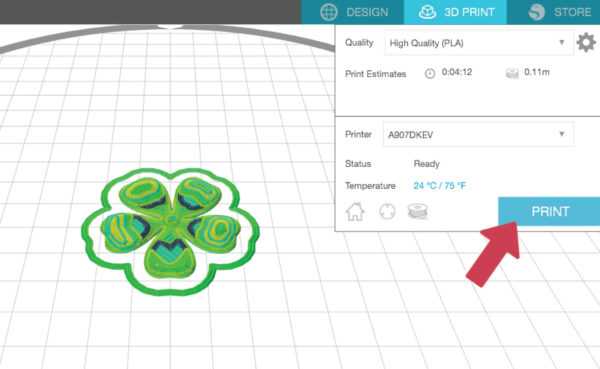
4. Go to the 3D Print tab, and for your Print Quality, chose “High quality.” In this tab you also can see the status of the Silhouette Alta® as well as the estimate of the filament length in meters needed to print and an estimate of the total printing time.
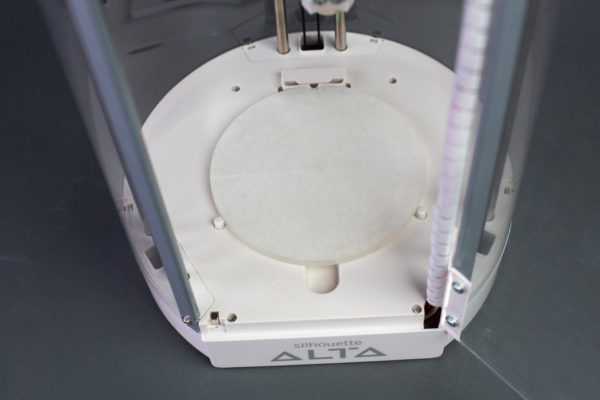
5. Apply platform tape on the platform and place the platform under the print nozzle with the tape side facing up. Make sure the notch of the platform lines up with the notch at the bottom of the machine. You also can spray platform with adhesive glue or use glue stick to help filament stick better to the platform.
6. Load the filament in your Alta 3D printer. To do so, in Silhouette 3D™, click on the Filament button.
7. Next, click on Load Filament.
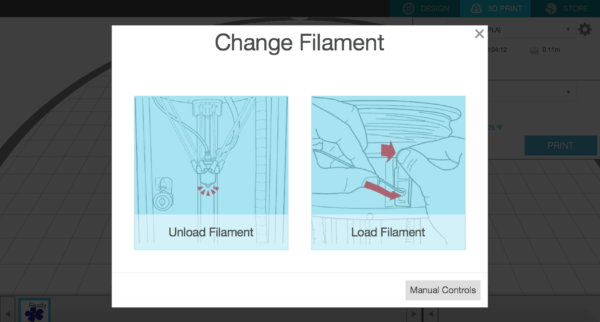
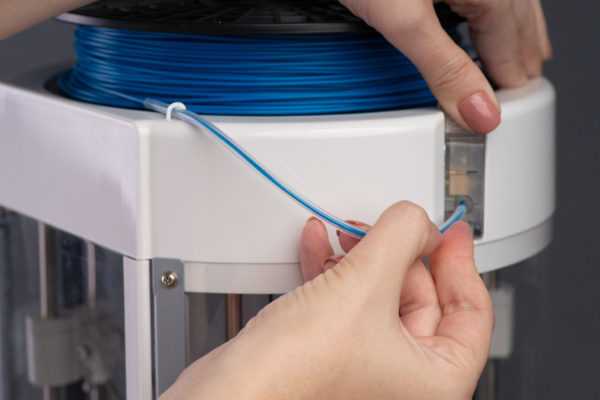
8. Go through the following steps to load your filament properly: place your filament roll on top of your machine, feed the filament through the eye and then the filament tube, press the tab on the filament loading lever to open the hole where you insert the filament, then release the tab and then press Load.
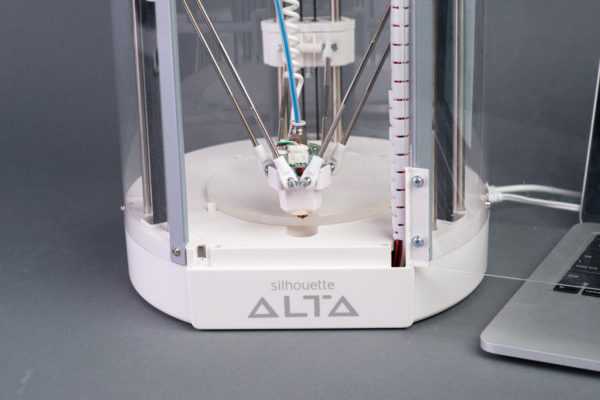
9. The machine will feed the filament through the inner print tube and heat up the print head.
10. When you’re ready to start your 3D print, click Print.
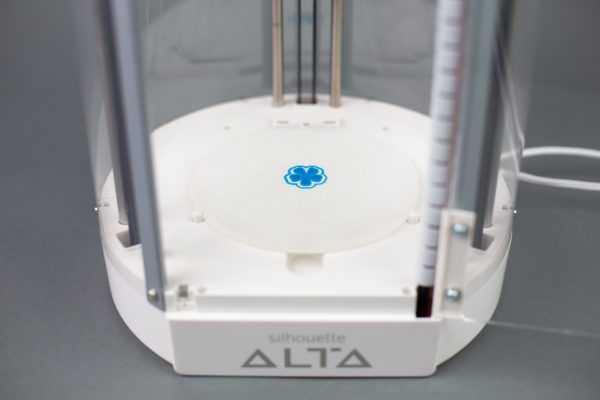
11. When the machine has heated the filament to the indicated temperature set in the print settings, the machine will begin to print the design. After your machine is done printing the design, give the design a few minutes to cool.
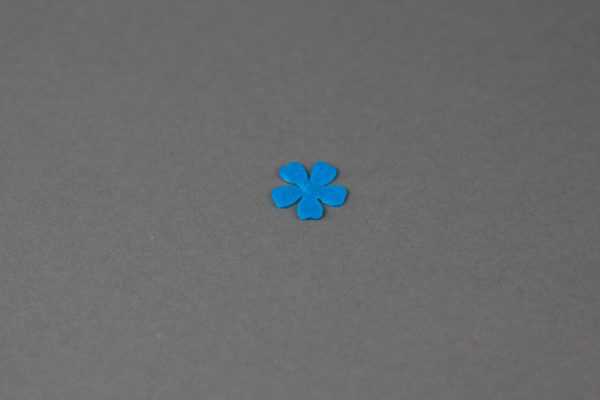
12. Then gently remove the design from the platform. Begin to break away the first layer to reveal your printed design.
13. Repeat the same process to print the second flower to complete your earrings. (It is recommended that you print each design one at a time to prevent what’s called webbing or stringy filament.) For the bobby pin flower, enlarge the flower design in the Silhouette 3D® by dragging corners of the selected shape until the shape is approximately 1.2 inches x 0.09 inches x 1.2 inches. Then proceed to print that flower.
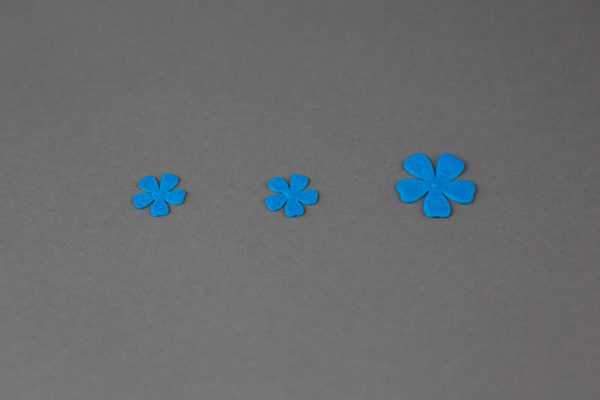
14. Once all three flowers have been printed, they are ready to be painted.
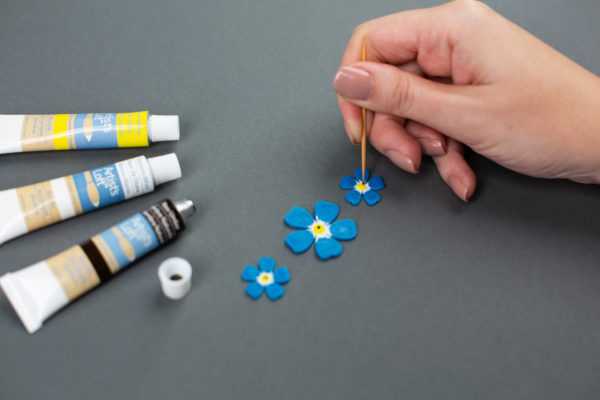
Step Two: Paint the Flowers
1. Paint flower centers with white, yellow, and brown acrylic paint.
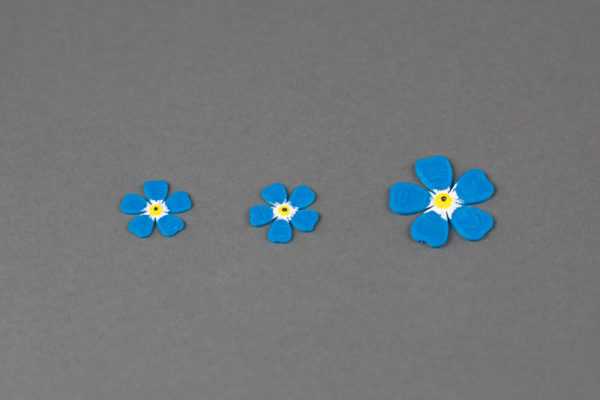
2. Once the paint has dried, your flower is now ready to be glued on to the earring and bobby pin pad.
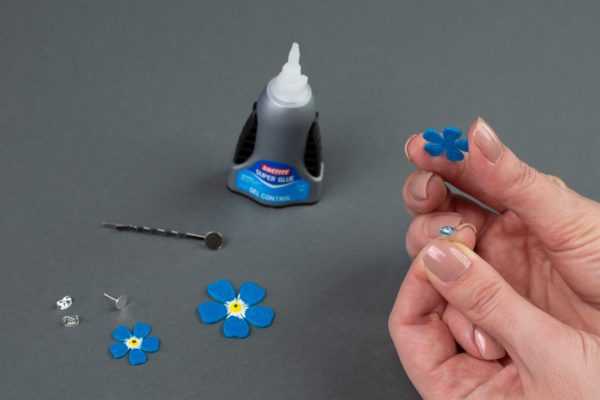
Step Three: Glue the Painted Flowers
1. There are two types of glue you can use. You could use an epoxy that would last a little longer or you can use a super glue designed for jewelry (you can find this next to the jewelry supplies in a craft store). For this tutorial, we are using the super glue option. Take the flower and turn it upside down. Apply a small amount of super glue onto the middle of the flower or the earring pad. Take the earring back and apply it to the flower, where the glue is, bonding the two items together. Wait the allotted time, which will depend on your glue of choice.
2. Repeat this process for the other earring and the matching bobby pin. Enjoy!
With the 25 free designs that come with the Alta, there are five flowers total, and you can easily turn any of them into quick gifts!