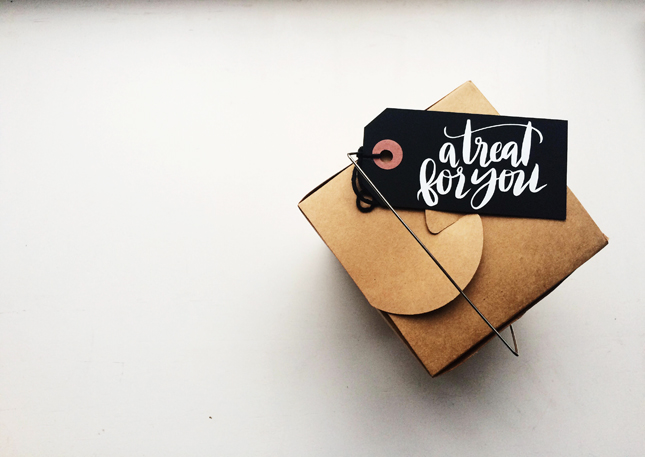
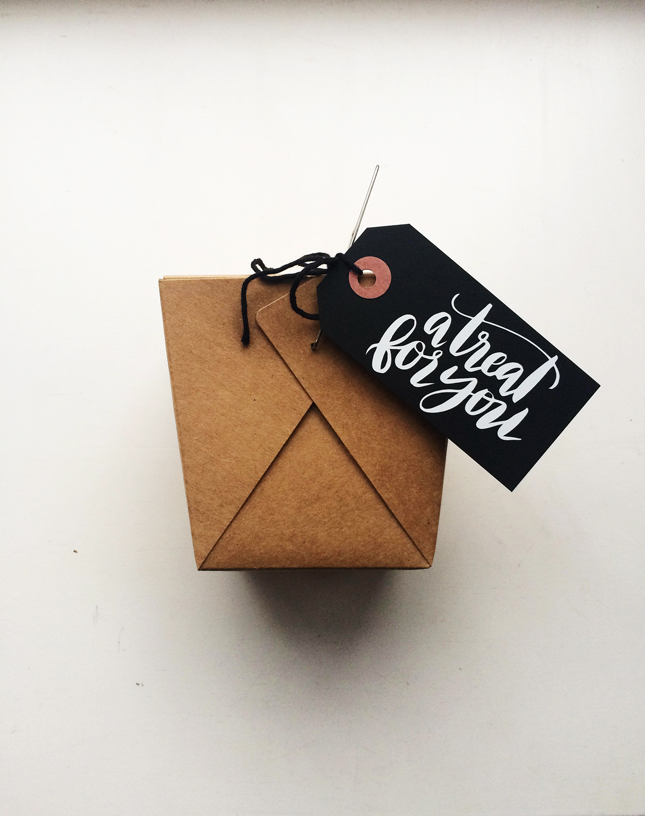
Ah, treats. My love language. My go-to. I know some of you feel me on this one. Whether in the form of candy or a fresh-baked cookie, it’s the direct way to my heart. And what better than to be able to give a sweet treat to a friend topped with a little handmade tag love? That’s right. In this tutorial, I will take you through the steps of how to create your own treat tags using the Silhouette Adhesive Vinyl, which can be adapted for anything from gifts to organizational tags. Whatever your little hearts desire! Mine desires sugar.
For this project, you will need:
- Silhouette CAMEO® or Portrait®
- Silhouette Adhesive Vinyl
- Silhouette Transfer Paper
- The Hook Tool
- The Scraper Tool
- Blank Gift Tags
Let’s begin!
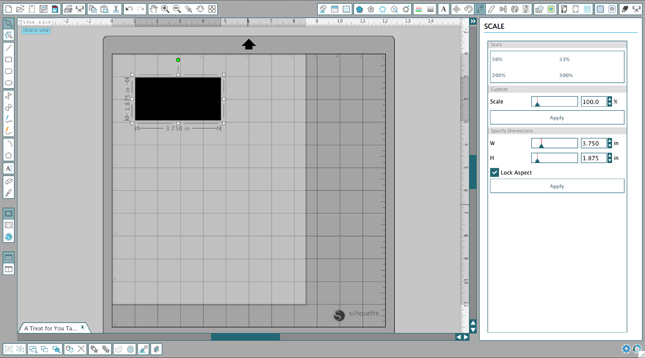
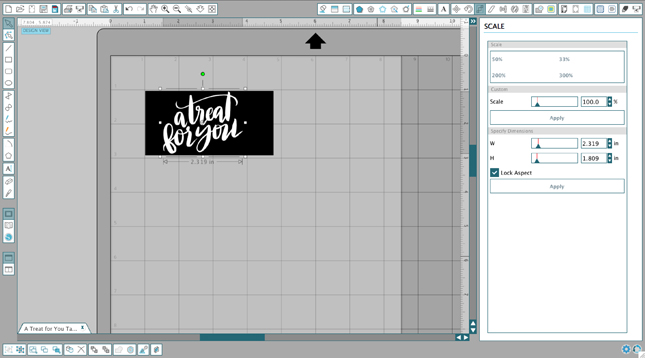
- In Silhouette Studio®, start by creating a rectangle equivalent to the size of your gift tag to use as a template for sizing your design.
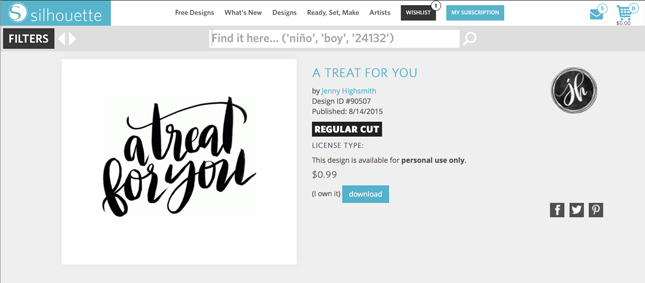
- Browse the Silhouette Design Store, and pick a phrase or design you’d like to adorn your tags with. The design I chose is #90507 (A Treat for You).
- Size the design to fit within your rectangular tag template. Once sized, the rectangle can be deleted and you can duplicate your design to be cut out however many times you need.
- Ready to cut? The cool part about using vinyl is that to feed it into your CAMEO or Portrait, you won’t be needing a cutting mat. The one thing you will need to check, depending on the width of your vinyl/machine, is that the rollers are locked in to the right spot so that your vinyl doesn’t move all around. If you only have a scrap piece of vinyl you’re trying to use, great! Your best bet with scrap pieces is to throw them on your cutting mat, and put them through your machine that way.
- Note: When doing vinyl projects, there are a few things you’ll need to get acquainted with: the hook tool, weeding, and using the transfer paper with your scraper tool.

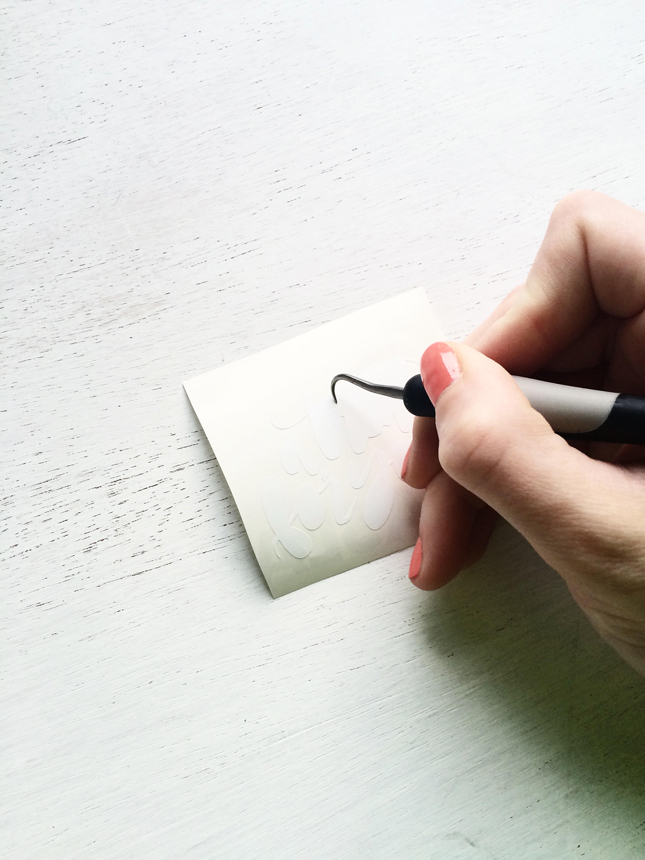
- Once your design is cut out, you will want to use the hook tool to weed out the excess vinyl pieces. Weeding simply means to remove the unwanted bits from your design until only the final design remains.
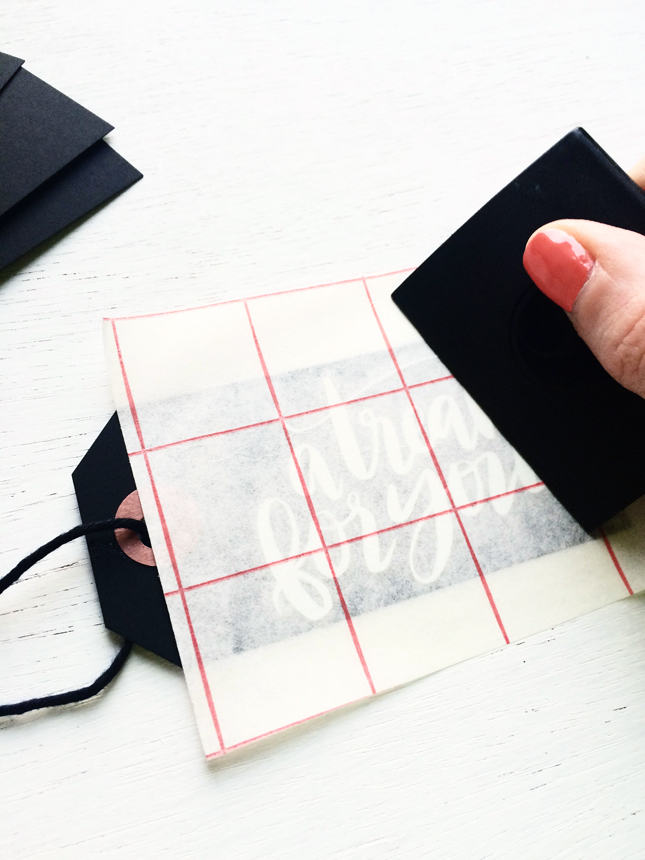
- Transferring your design: Begin by cutting a piece of transfer paper that covers the entirety of your design. The transfer paper is the sticky, semi-transparent material with a red grid printed on it. Peel the backing off your transfer paper piece and place it sticky-side down on your vinyl design. Using the scraper tool, rub over the top until the entire design is attached to the transfer paper side. From there, place the piece stick-side down on top of your tag, using your scraper tool once more to finish off the transfer.
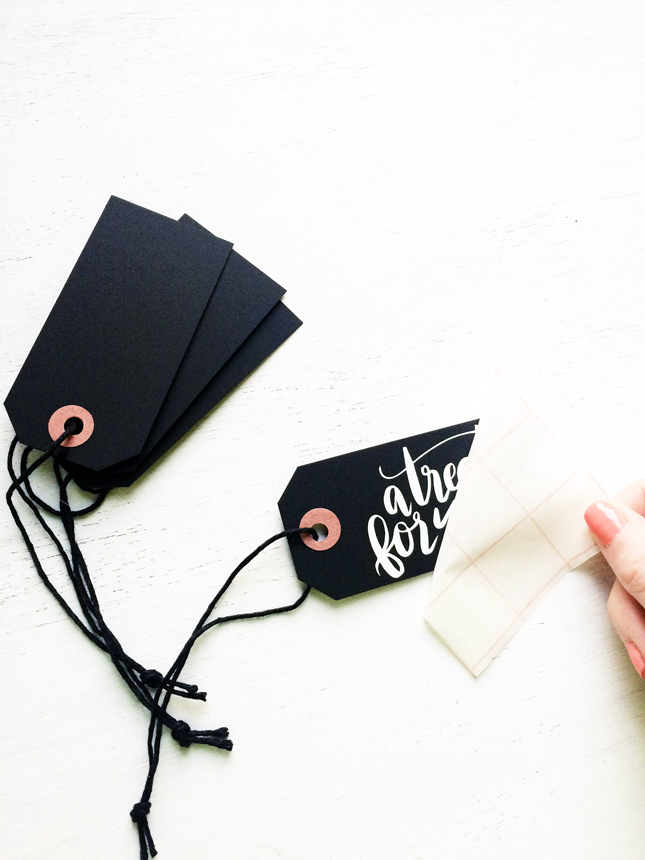
- Peel back the transfer paper, and there you go! If any of your design pieces are still sticking to the transfer paper, use the scraper tool once more before peeling the entire piece of transfer paper off.
Now pick those people you want to shower with sweets and get to makin’!

Kelly Wayment
January 22, 2016
So pretty! Excellent tutorial, and I wouldn’t mind finding one of those beautiful treat boxes on my doorstep. Just sayin’. 😉
Brittany S
January 28, 2016
If only they were actually packed full of treats! 😉
Leon
January 23, 2016
This is my favorite project among all in this blog.
Thank you, Brittany!
Brittany S
January 28, 2016
Wow, Leon. What a compliment! Thank you!!