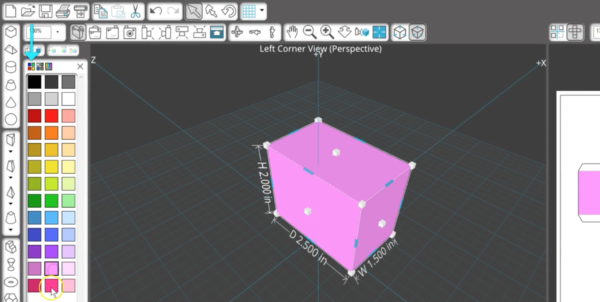
In this tutorial, you’ll learn about applying colors and textures to existing shapes in Silhouette ModelMaker™. Open the Color Palette by clicking on this icon in the lower left of the Edit Window.

The easiest function is choosing a new color for a selected shape. These are the preset colors in the basic Color Palette.
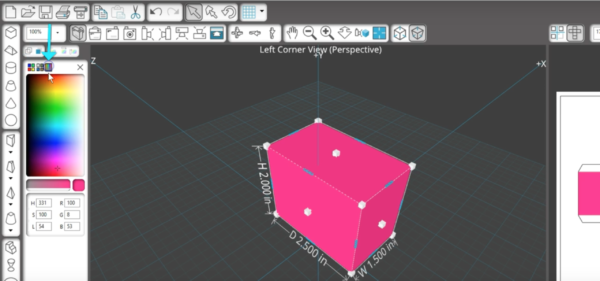
You can also choose a custom color by clicking your pointer within this True Color Palette, add grey, or input specific color codes.
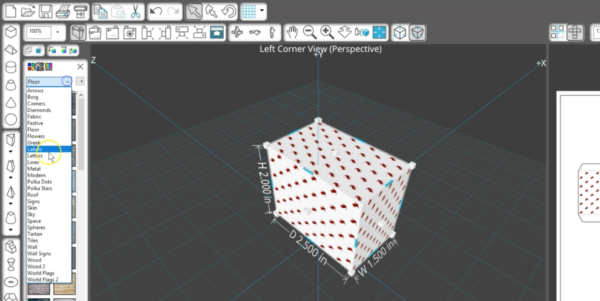
But solid colors aren’t the only option for your shapes. You can also add textures by going to the Texture Palette.
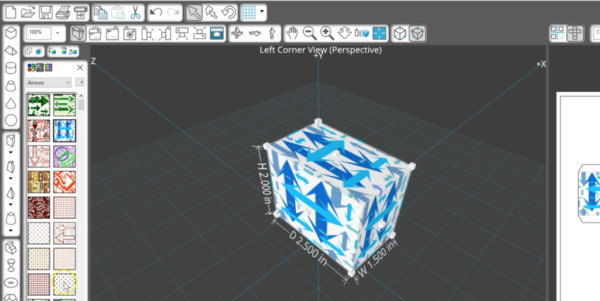
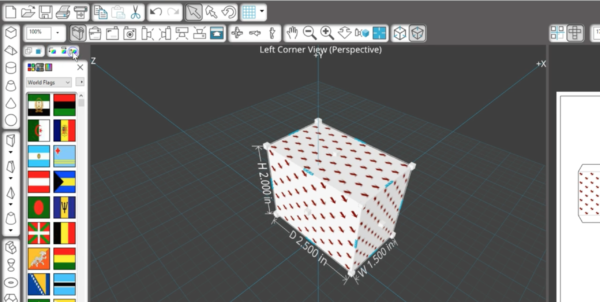
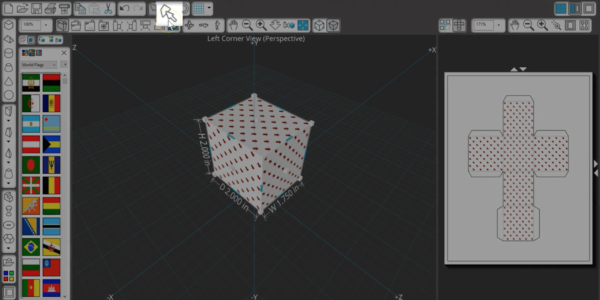
You’ll find quite a wide selection of textures, or patterns, to apply to your selected shape. We won’t go through them all here, but there are arrow textures, fabric, floor textures, polka dots, wood, and even flags.
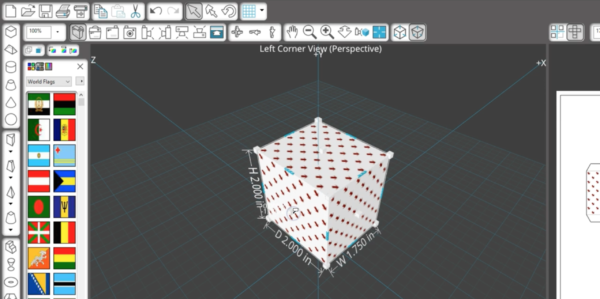
Once a texture is applied, you can use these orientation options to rotate the texture, invert the texture horizontally, or invert the texture vertically.
Not every texture will look good on every shape, and you may need to stretch the shape for it to look right.
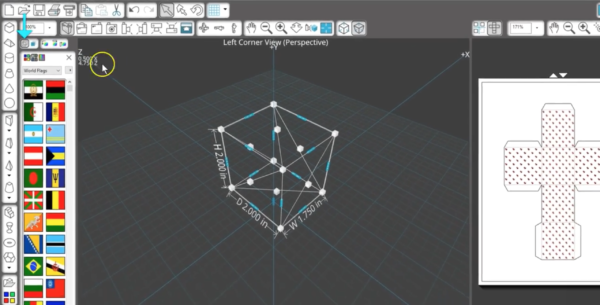
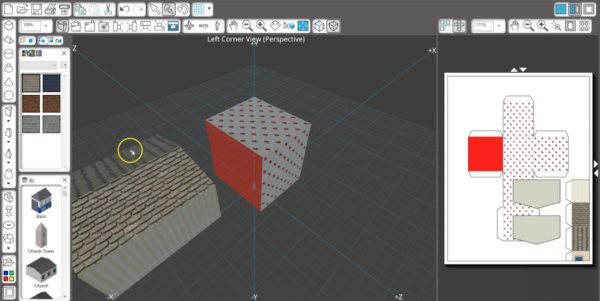
While a shape is in the wire frame view, you won’t see the texture or color until going back to solid view, but you can see in the Output Window that the texture or color is still applied and will print when you send the job to the printer.
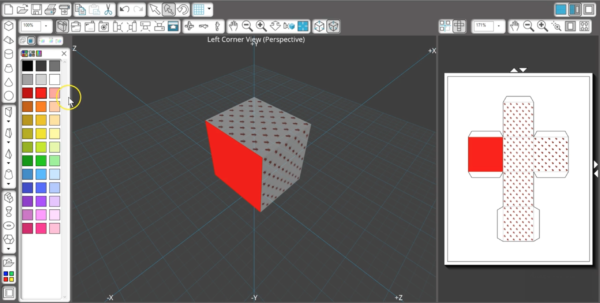
Finally, you should know that you don’t have to change the entire shape’s color or texture all at once. You have another selection tool up here that lets you select just one face of the shape at a time. Click on this icon, and the shapes will go transparent except for the face you’ve selected.
The selected face will take on the texture or color you choose while it’s selected.
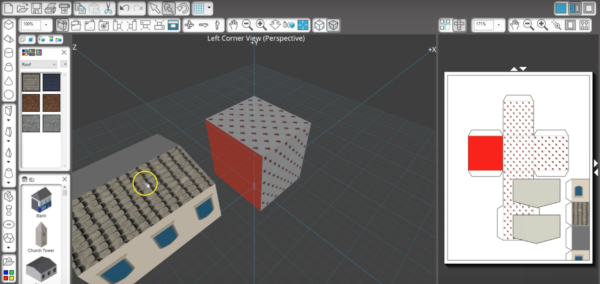
This is especially nice on QuickShape models so you can change things like individual walls and rooftops.
When you choose the Select icon again, the shapes become fully visible once more.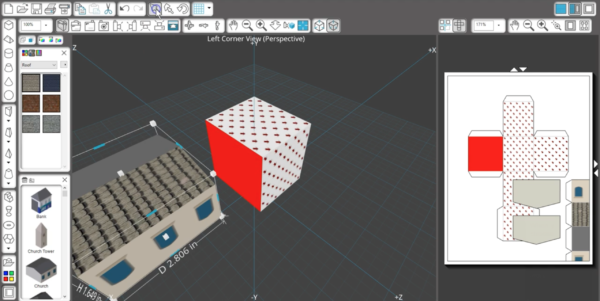
You can also drag a color or texture to a shape’s face while in the regular Select mode.

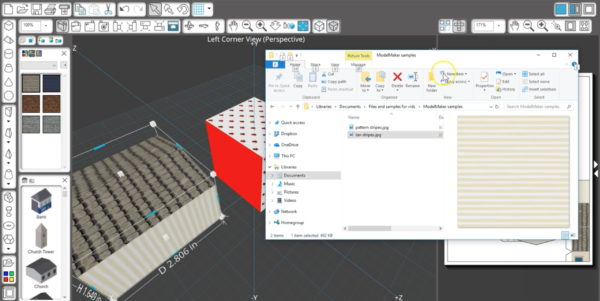
That includes dragging an image from a folder on your hard drive to a shape’s face.
To change the orientation of one face at a time, you should be in the face selection mode.
Colors and textures are a nice feature for these models that can be printed on your home printer using Silhouette’s Print & Cut feature in ModelMaker™.