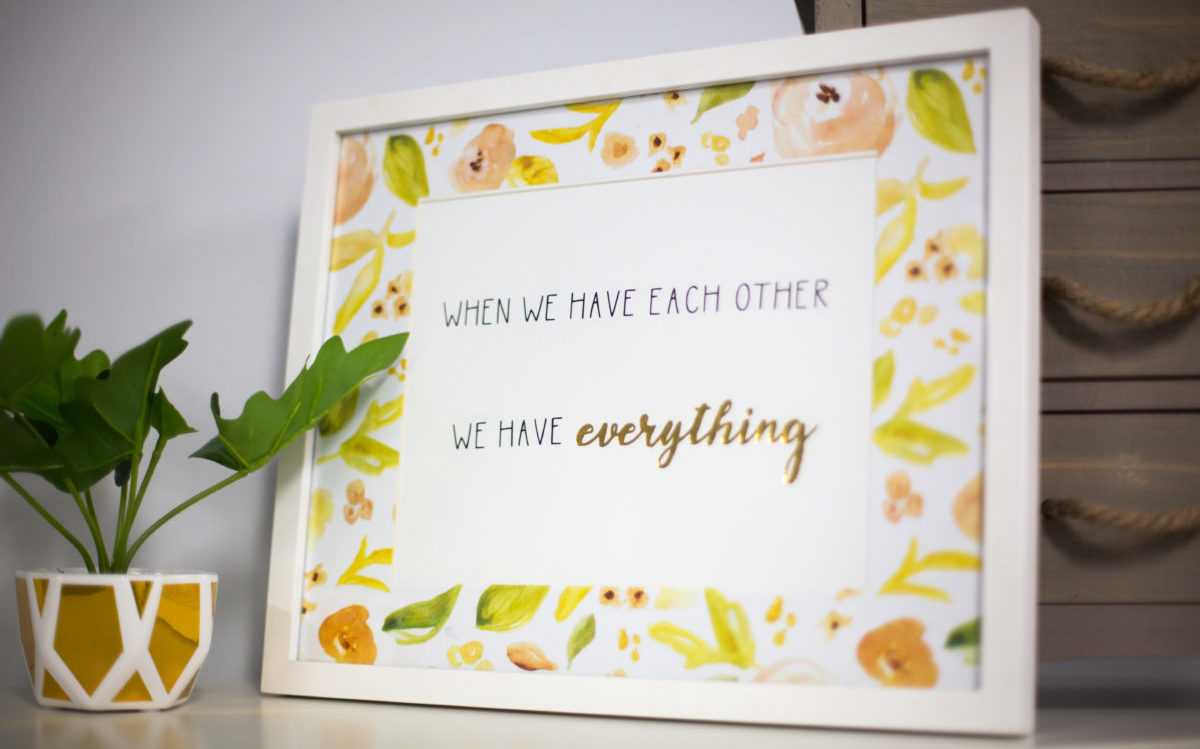
We spend hours adding different fonts to our carts. What about you? We are always on the search for the perfect font for our projects. Imagine how excited we were when Gina Marshall uploaded her Sweetheart Font. We used this font to make an amazing art print that can be hung anywhere in your home. Follow along to see how we pulled it all together!
Supplies Needed:
- Silhouette CAMEO® and Silhouette Curio™
- Silhouette Studio®
- Cutting Mat – 24 in.
- Cutting Blade
- Silhouette Foil Transfer Sheets – Gold
- White Cardstock – 11 x 17 in. and 8.5 x 11 in.
- Black Vinyl
- Silhouette Transfer Tape
- Large Curio base (if making a 5 in. x 7 in. print or larger)
- Printer
- Design ID #247402
- Design ID #187366
- Design ID #187204
Step One: Print the Floral Mat
- For this project, we decided to work with a really large frame that included a matting. Our idea was to ditch the matting and replace it with something more eye-catching. We love the watercolor flowers that our design artist Angie Makes creates and picked Design ID #187204 as the focal point.
- Download and locate the floral design in your library and double-click it to open it in Silhouette Studio.
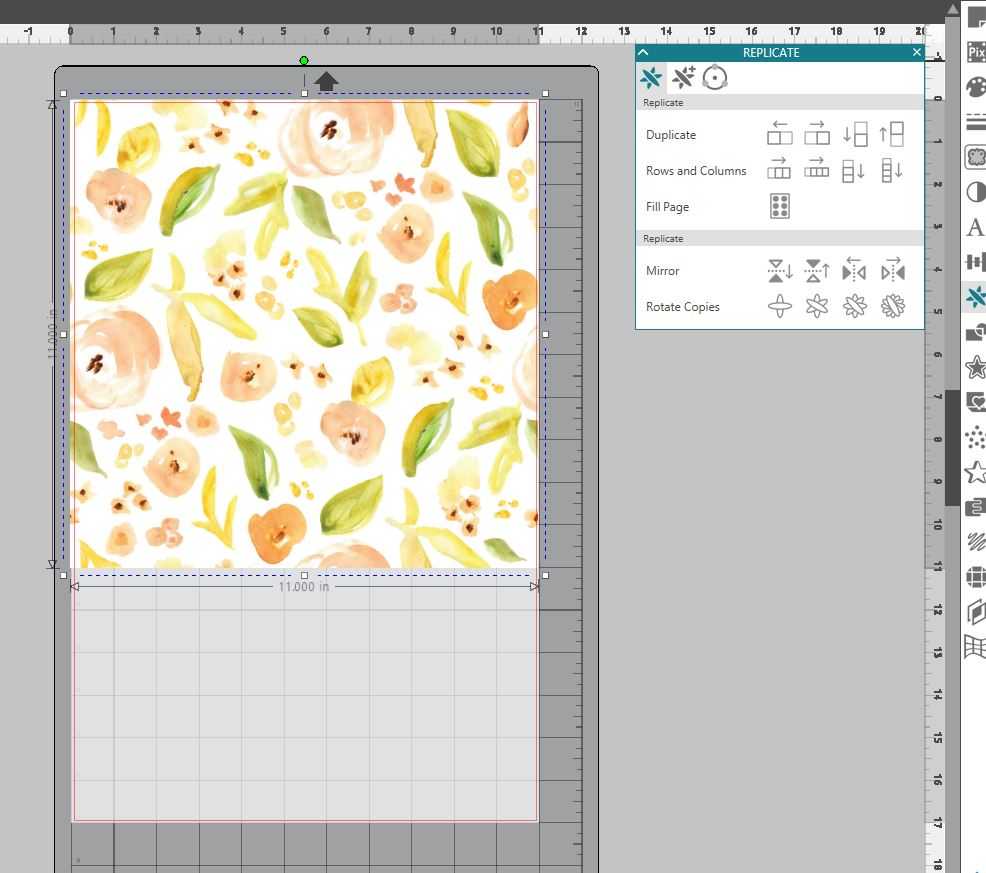
- Select the Page Setup icon (the first icon on the toolbar on the right-hand side) and adjust your page size. Our frame was large enough that we decided to print on 11 x 17 paper. This is what we set our page dimension to.
- With our page dimension set, we want to take the floral pattern and fit it within those parameters. Shrink your design by selecting it and dragging in the boxes in the corners. Shrink the design until it fits the 11-inch width.
- You’ll notice the whole page is not covered. We need to replicate the design to fill the rest of the page. Select the Replicate Tool (also located on the toolbar on the right-hand side) and select the third duplicate icon with the arrow pointing downward. This will then fill your page while matching up that pattern perfectly.
- Our pattern is all set, and now is the time to print it.
Step Two: Cut the Floral Mat
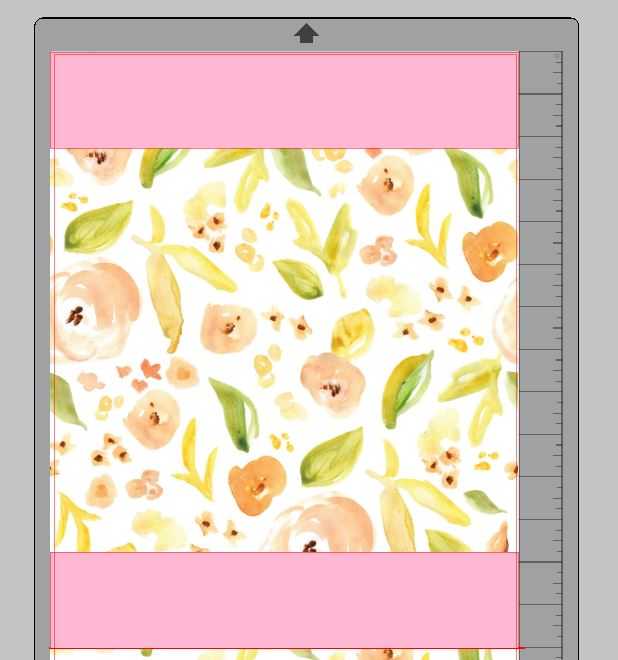
- Now that the page is printed, it is time to cut it to size. Our frame is only 14 inches long. We will want to use the Line Tool (located on the toolbar on the left-hand side) to draw a line at that 14-inch mark.

- Next, we will need to measure the matting that was in the frame. We want our floral mat to be the exact same size. One side of our matting was 2.25 inch wide. We then created a rectangle to duplicate that side. Create a rectangle that is 2.25 x 11 inches. Place this rectangle at the top and bottom of your page.
- Now we will measure the other side of the frame. That matting measured 1.75 inches wide by 14 inches long. Create a rectangle again with those dimensions. Then place that rectangle along the adjacent sides to complete the matting.
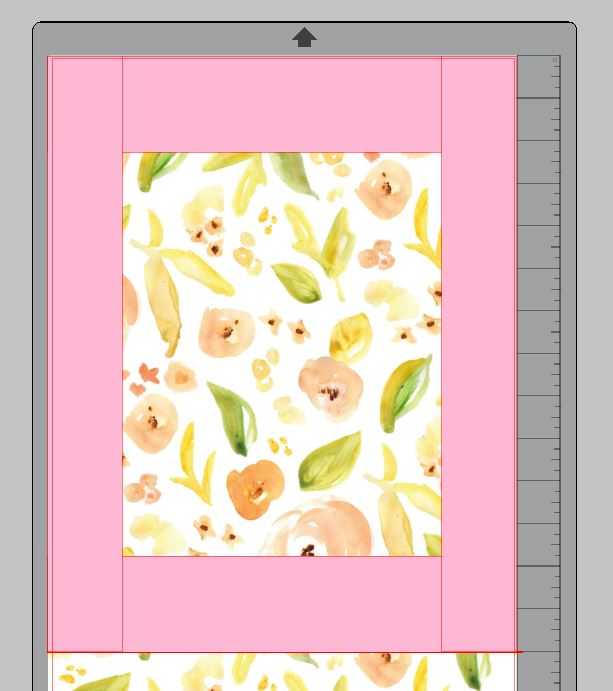
- Our matting is now complete. But we need to tell our machine where to cut. If it cuts it now we will not get one shape. To do so, select all of the pink rectangular boxes. Then Select the Modify tool (located on the toolbar on the right-hand side) and click Weld. All four pieces will now become one solid shape.
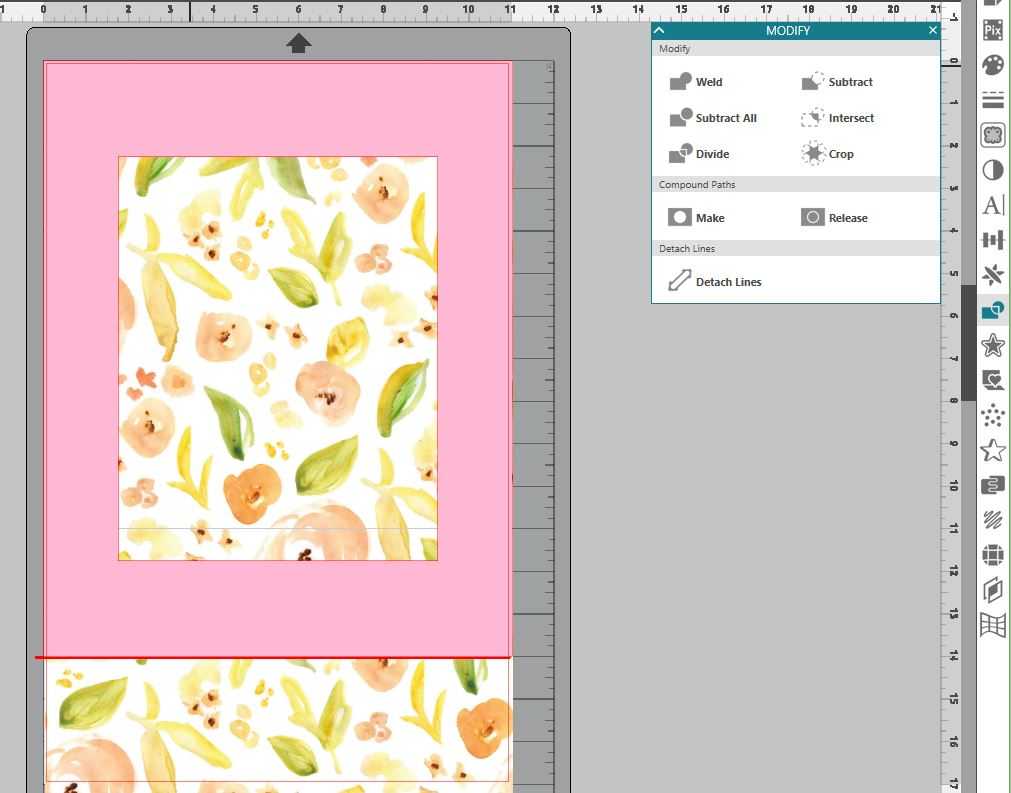
- Remove that line we created earlier, and we are all set to cut out our design. Select the Send button in the top right-hand corner. You will see in red that a rectangle in the middle is highlighted to be cut. This is exactly what we want.
- Next select your material as “Cardstock, Plain” and adjust your blade to the correct setting.
- Place your paper on your cutting mat and load into your machine.
- Select Send once more in Silhouette Studio®, and your machine will begin to trim your floral matting.
Step Three: Create Your Art Print
- You will first want to know how big the print needs to be to fit inside your matting. Our’s measured to 9.5 x 7.5 inches. We made a rectangle as a guide so that we would know what boundary to stay within.
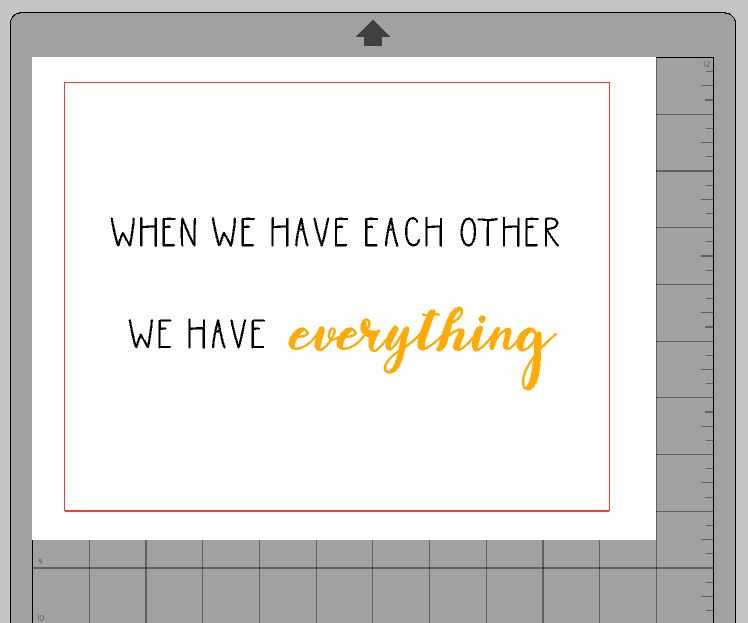
- Next, we took Design ID #247402 and Design ID #187366 and used them both to write the phrase “when we have each other we have everything.” We wanted the word “everything” to stand out from the rest of the phrase, so this is what we will foil later. We wrote out that word with the cursive design. The thinner font we used to write out the rest of the phrase.
- Once you have your phrase to your liking, cut out the thinner phrase in black vinyl.
Step Four: Set Up Foil and Cut Lines
- In the Send Panel, choose Action by: Simple so that we can set up what will cut and what will be embossed with the embossing tool when we apply foil from the foil transfer sheet.
- Select the phrase and set it to “no emboss” (this is because we already cut it out of vinyl).
- Select everything else and set it to emboss. This feature will come up once you’ve adjusted these settings.
- Material = Foil Transfer Sheets
- Action = Emboss
- Tool = Fine Embossing Tool
- I also set my Passes to 2 for the embossing foil, just to give it good adhesion.You can compare your Send panel settings to the image above.
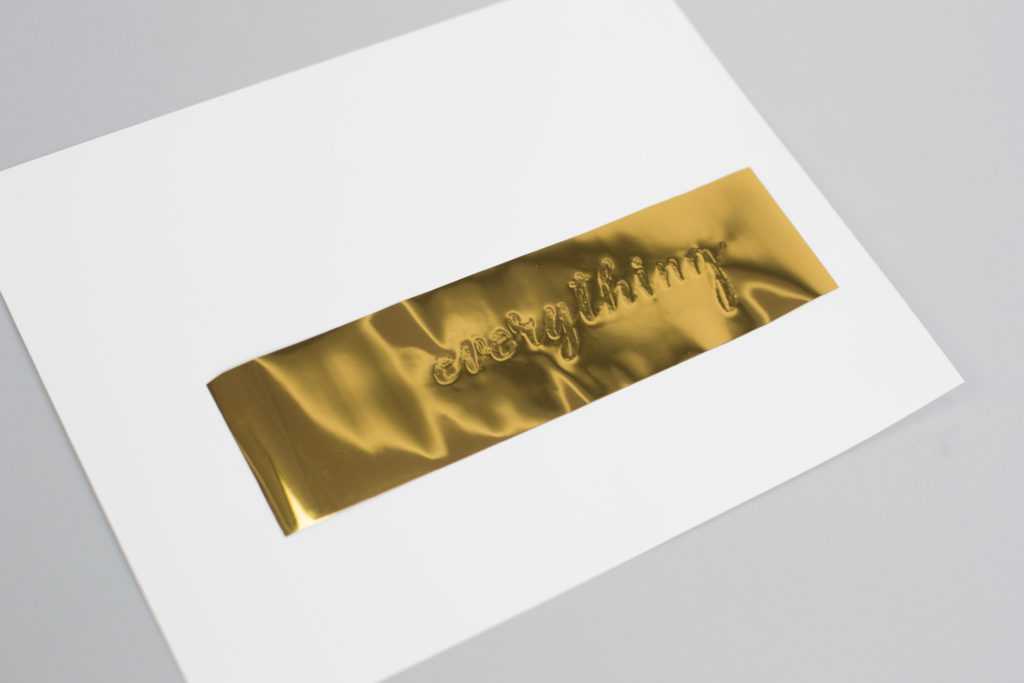
Step Five: Foil the Design
- Place your cardstock on the cutting mat with Platforms = 6 (the standard for cutting almost all paper with Curio).
- Trim a piece of transfer foil just large enough to cover the area we traced. It should be larger than the area to be foiled but small enough that it is within the cut lines.
- Remove the foil’s backing and press it (shiny-side up). It’s slightly tacky so that it will stay in place.
- Load the base and make sure the ratchet blade is in the left tool holder and the fine embossing tool is in the right tool holder.

- Press Send in the software.
- The right tool holder will use the embossing tool to press against the foil.
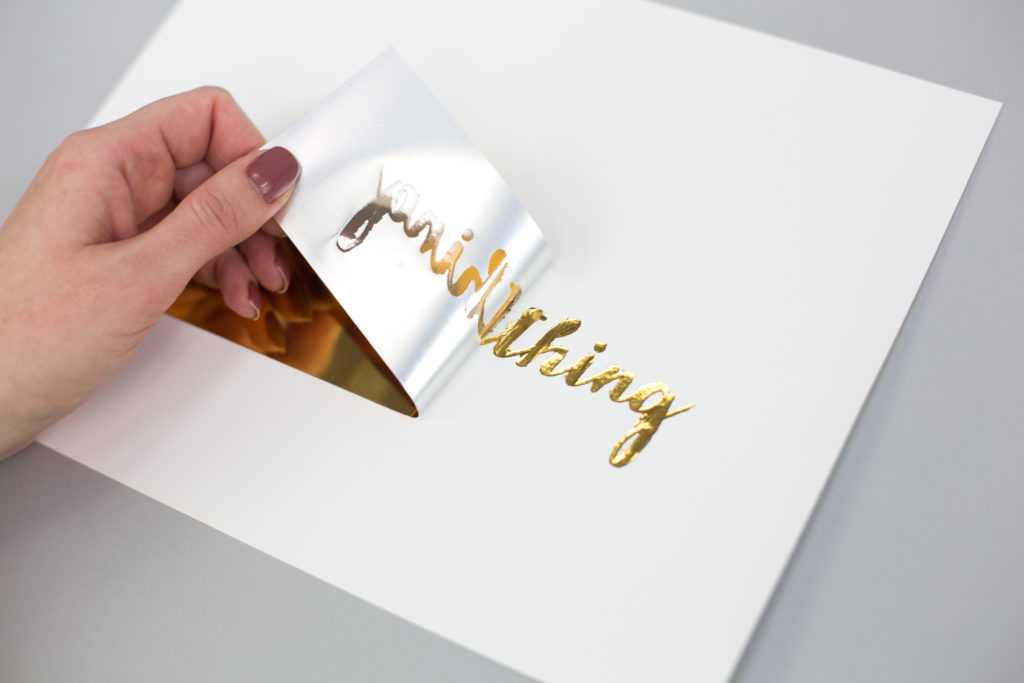
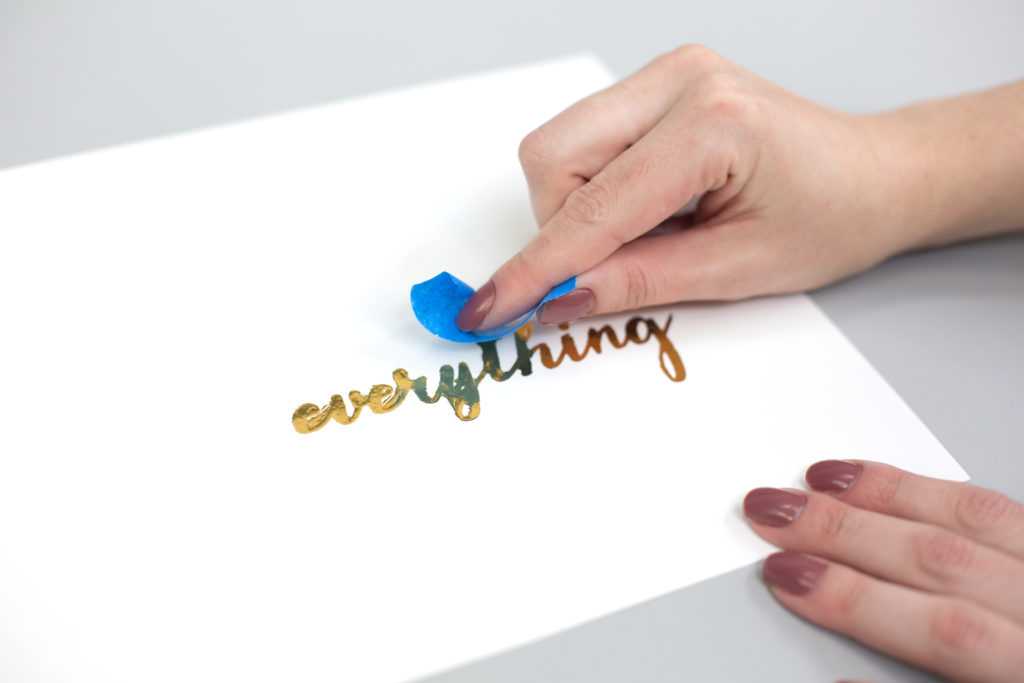
- All that’s left is to peel away the foil transfer sheet. Use some low-tack tape to dab away the excess foil.

Step Six: Assemble the Art Print
- Cut a piece of Transfer Tape large enough to cover your vinyl phrase. Peel the backing from your Transfer Tape and place onto the vinyl.
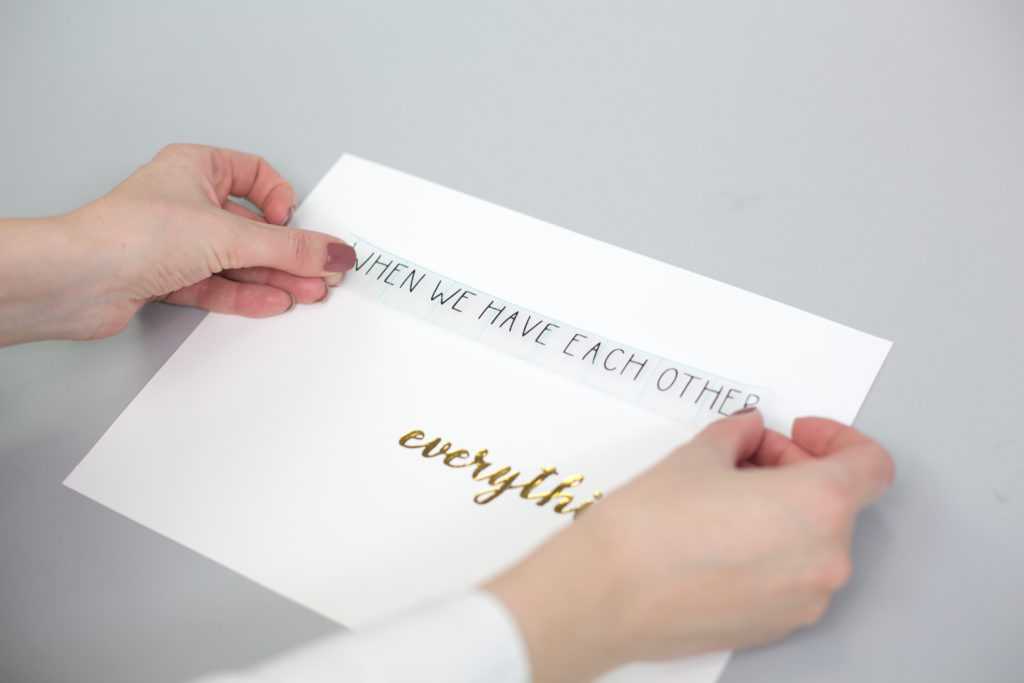
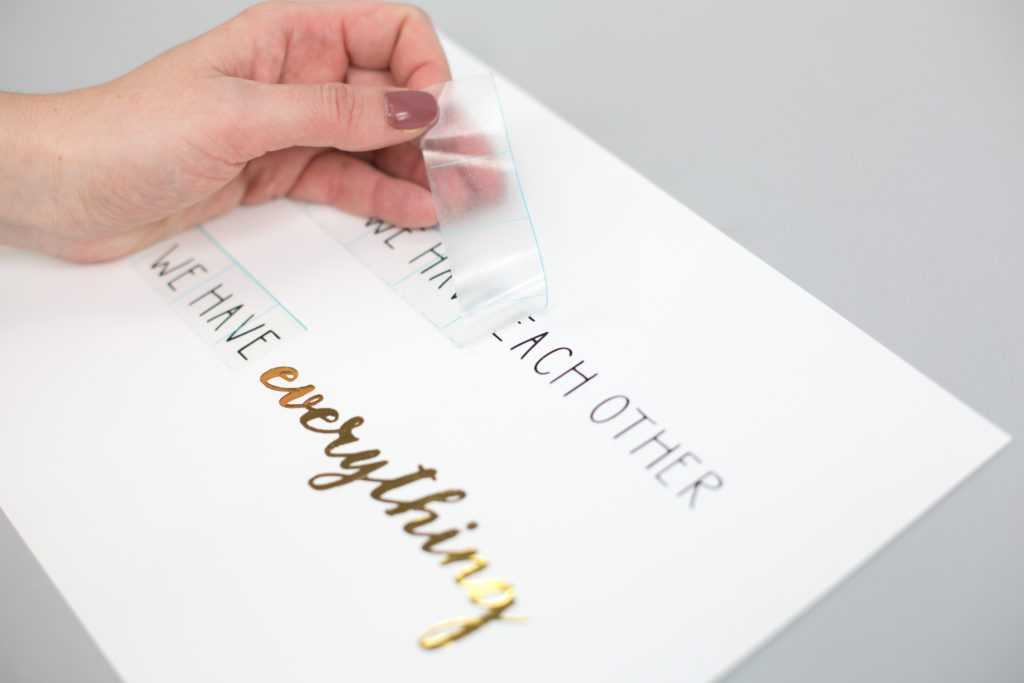
- Using Transfer Tape, place the vinyl phrase on the page. Peel off the Transfer Tape slowly.
- Next, place the matting inside of your frame.
- Lastly, place the art print directly in the frame and tape in place to keep it from sliding.
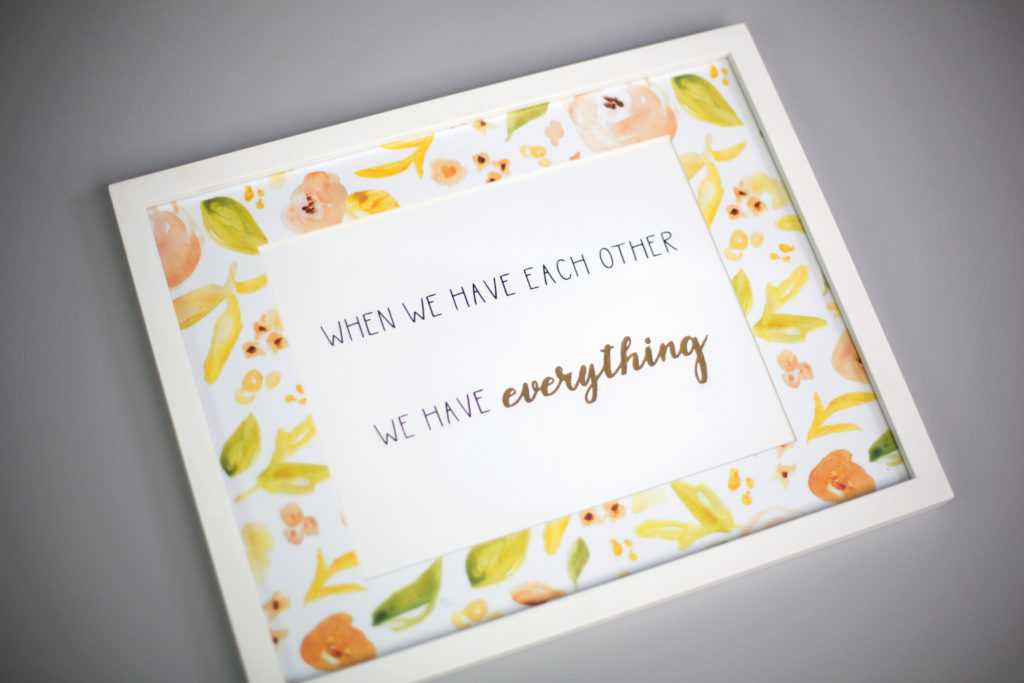
You have now completed the art print! Find a place to display it in your home where you can admire it every day.