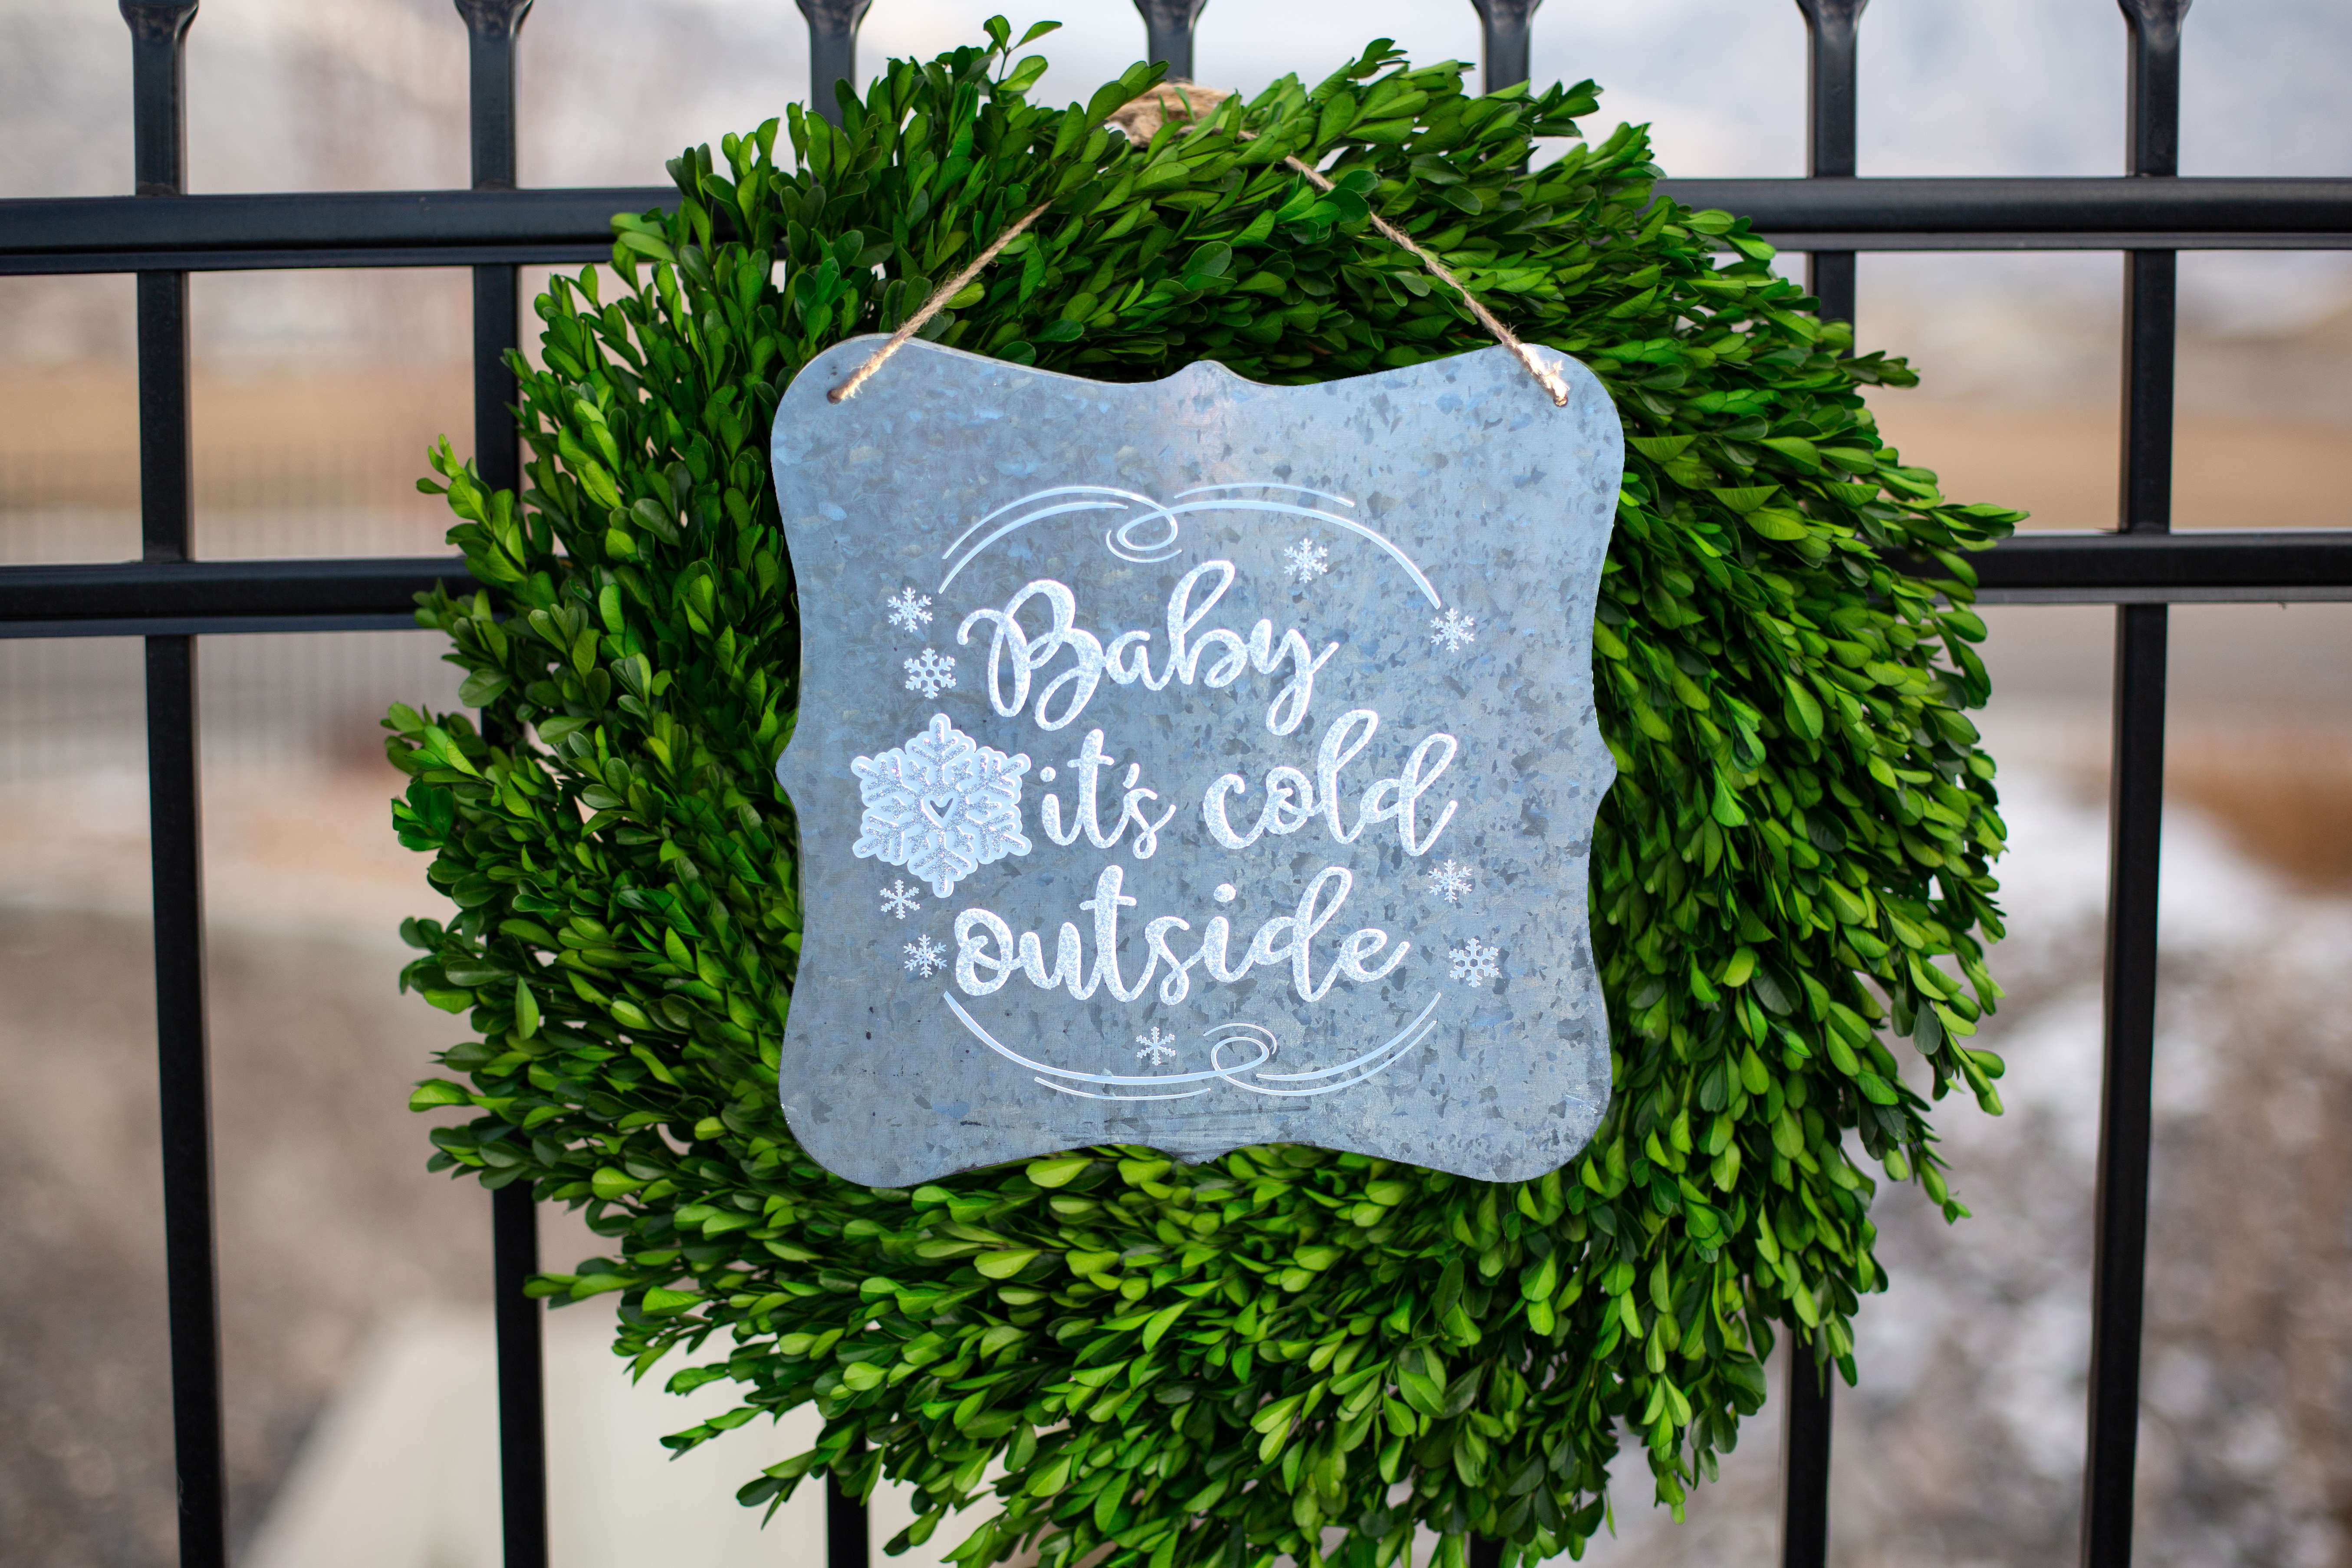
Yep, it’s winter. And it’s cold. So let’s embrace it with some home decor. Today we are going to make a sign to hang on your front door, sit on your mantle, or display in your kitchen!
Supplies Needed:
- Silhouette CAMEO® or Silhouette Portrait®
- Silhouette Studio®
- Silhouette Cutting Mat
- Silhouette Cutting Blade
- Silhouette Glitter Vinyl – White and Silver
- Silhouette Glossy Vinyl – White
- Silhouette Transfer Tape
- Silhouette Strong Tack Transfer Tape
- Metal Sign
- Design ID #282541
Step One: Open Design in Silhouette Studio®
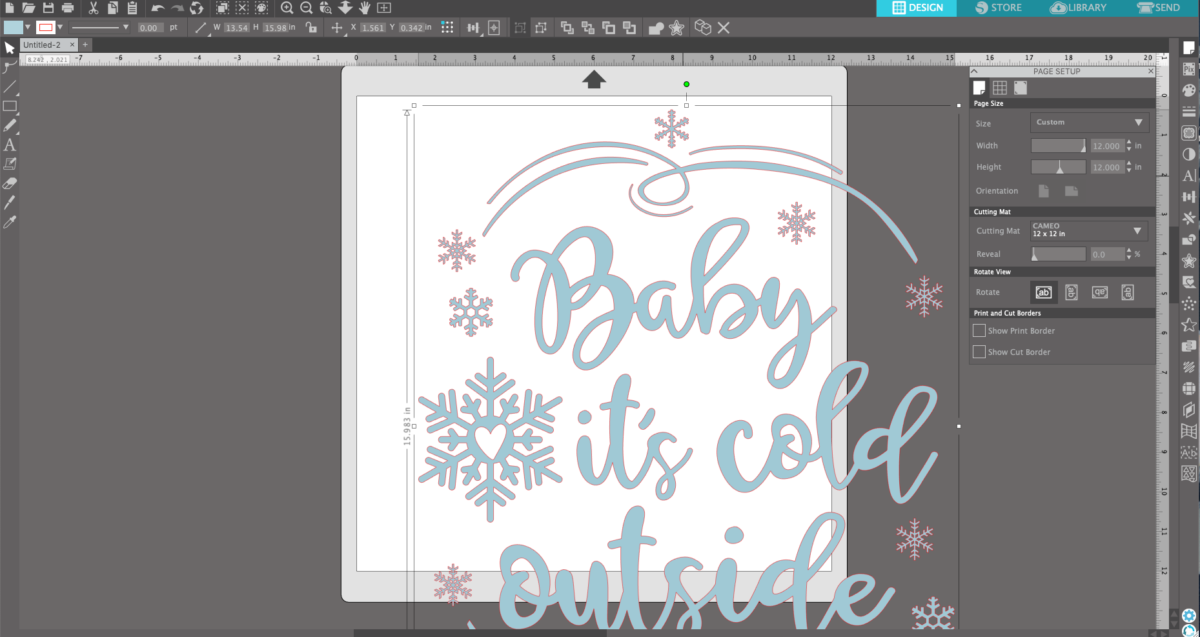
1. Open the design (Design ID #282541) you purchased from the Design Store by locating it in your Silhouette Library.
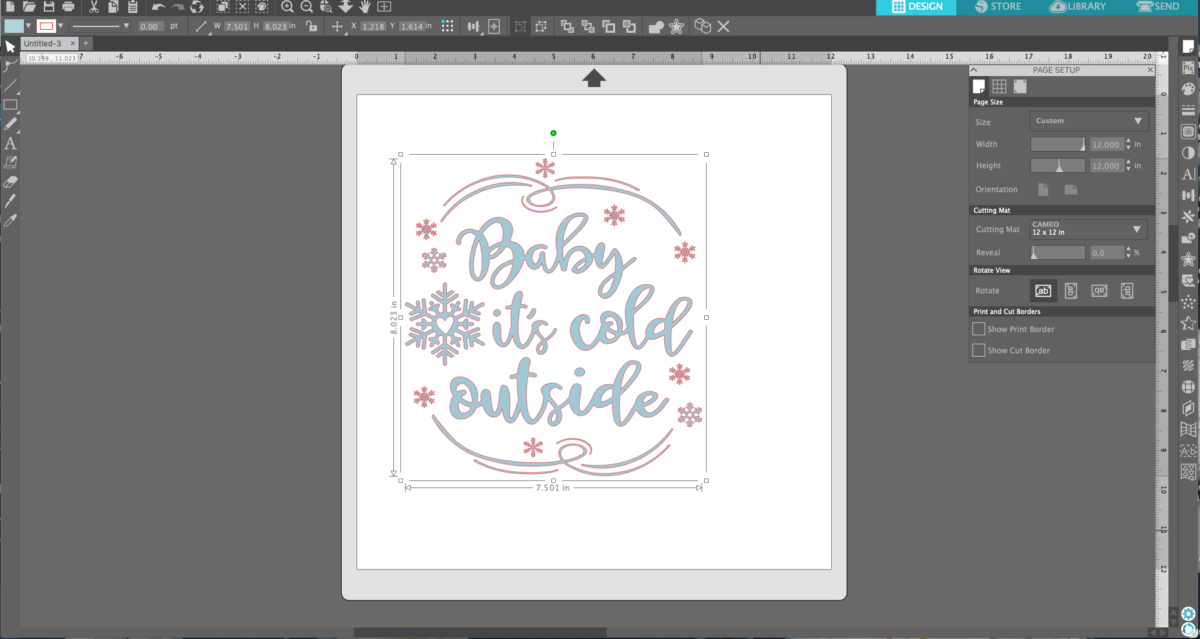
2. Resize the design to your desired size. The metal sign we found for the final product is more square than rectangular. So first we scaled the entire design down by using the square blocks on the corners of the design. And then we widened the image by clicking and dragging the right-hand middle square of the selected design to make the image a little more square.
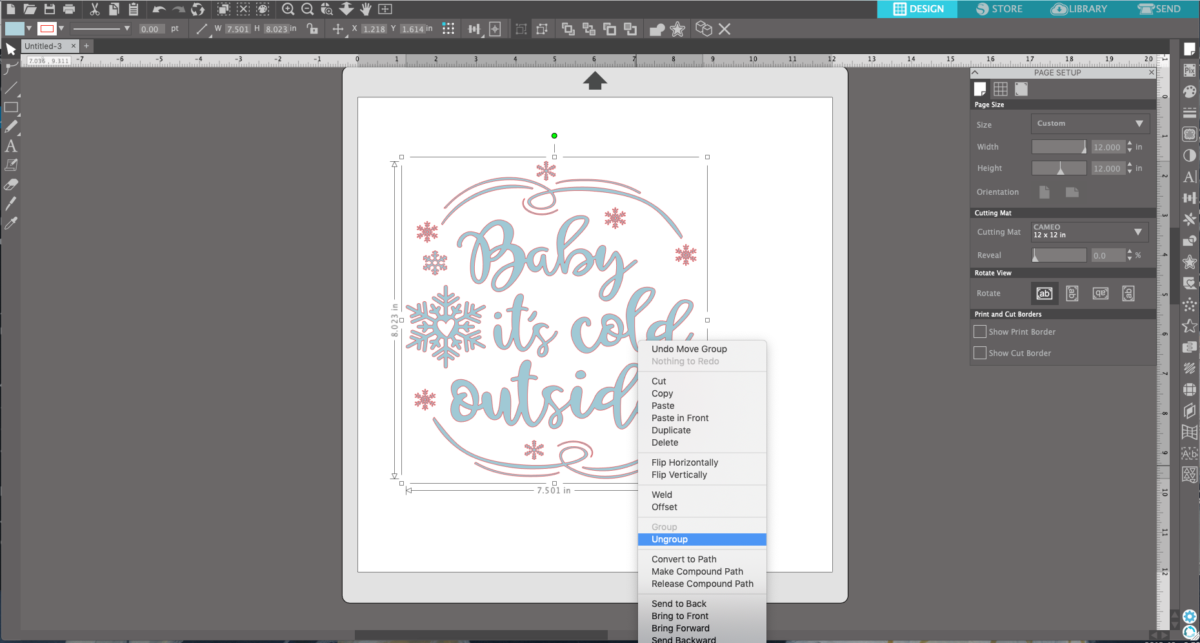
3. Now ungroup the image by right-clicking and choosing Ungroup from the drop-down menu.
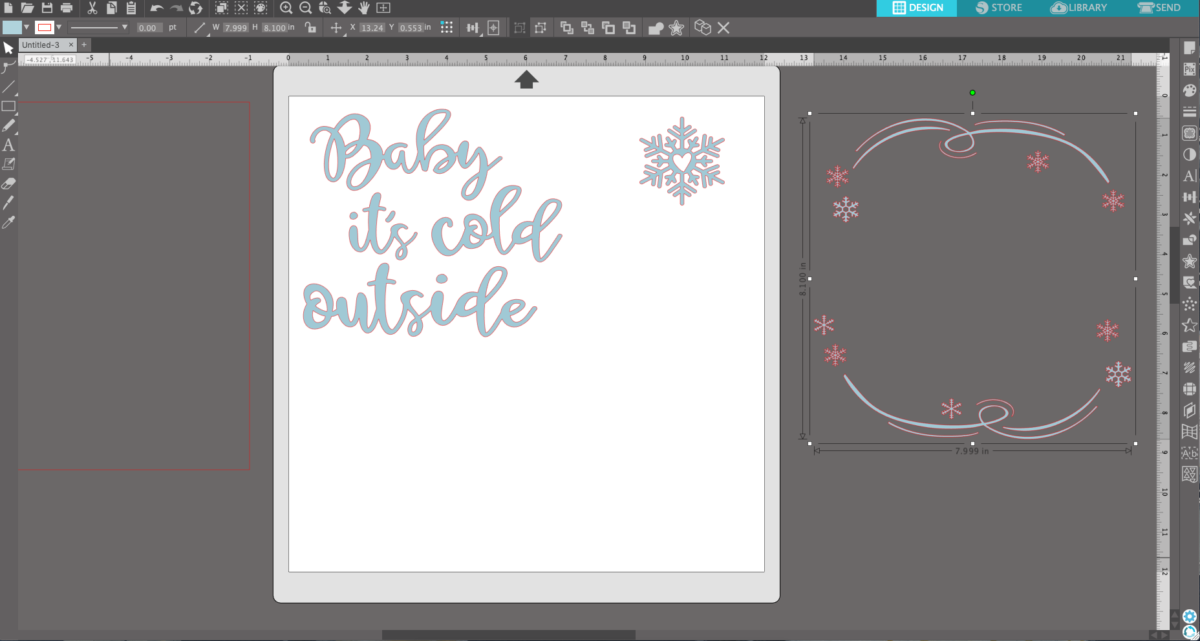
4. Select and move out of the cutting area what you don’t want cut right now. Leave in the cutting area what you are wanting to cut from the same material and color. We wanted the phrase cut from white glitter vinyl and the large snowflakes out of silver glitter vinyl. These will have the same cut settings, so they can be cut at the same time if you use a cutting mat.
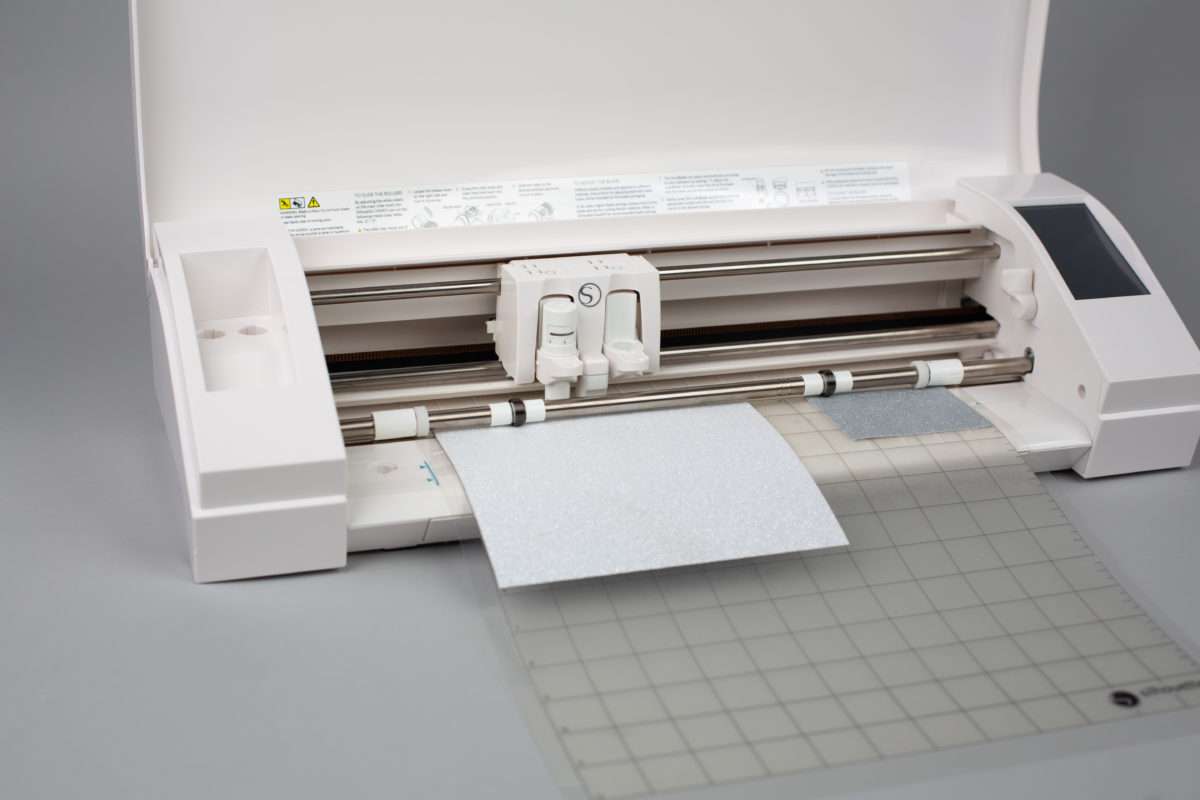
5. Now remove the font and large snowflake from the cutting area and move the small snowflakes and embellishments into the cut field. Send to your Silhouette machine using the cut settings for “Vinyl, Glossy.”
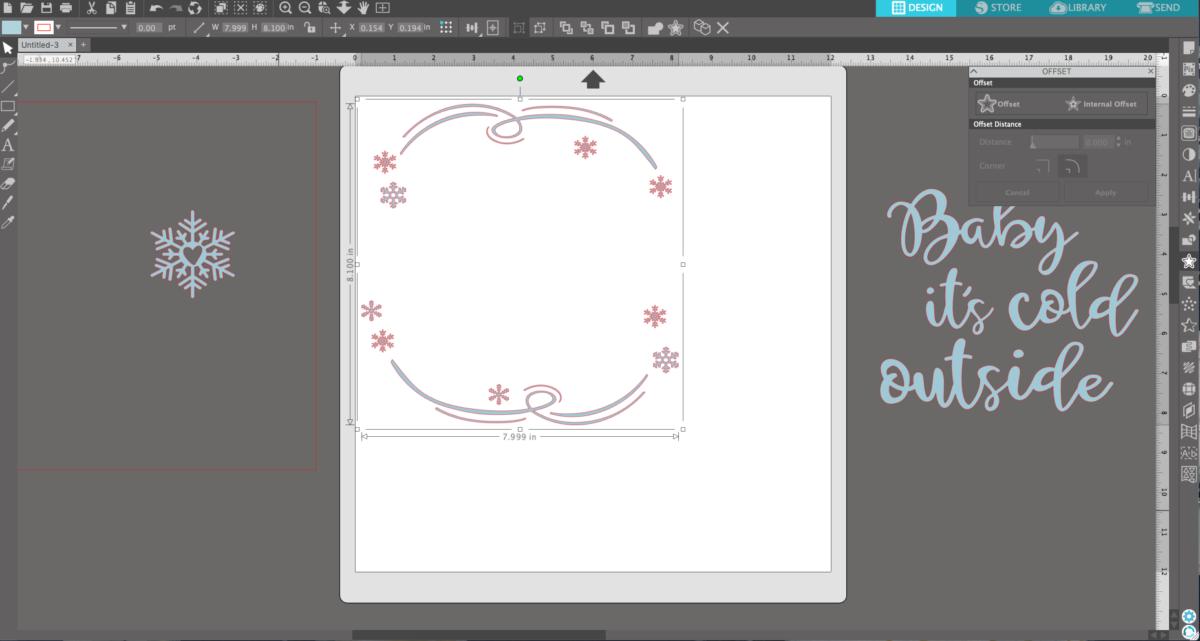
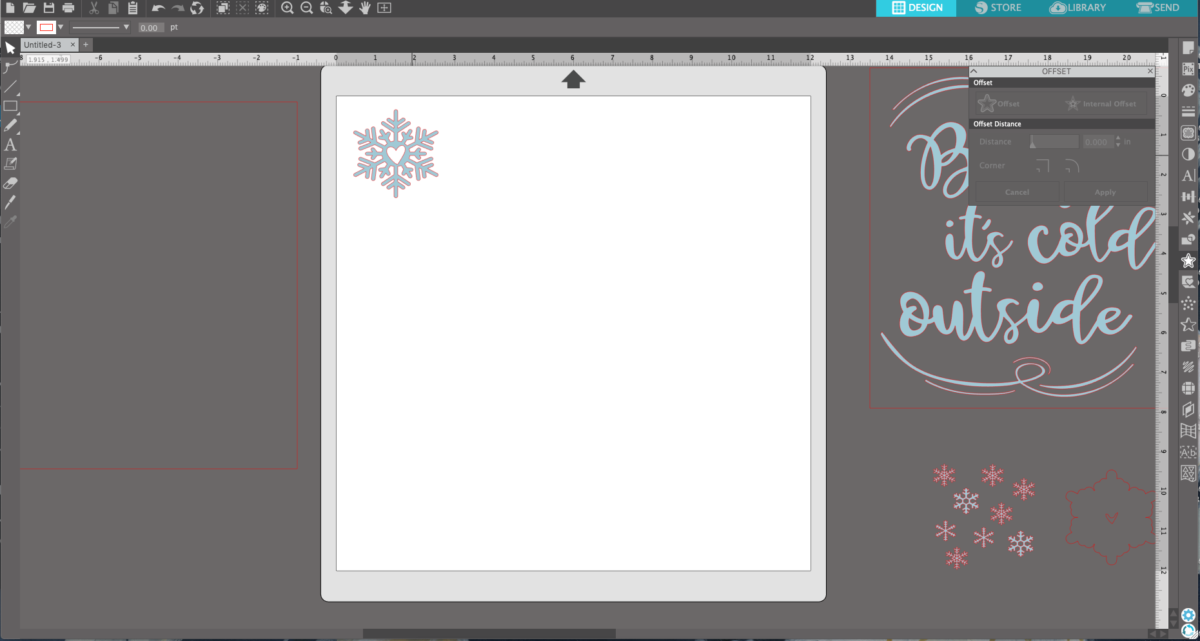
6. We wanted to make our large snowflake stand out a little bit so we are going to give it a white background.
7. Place the snowflake in the cutting area. Now choose the Offset tool from the right-hand toolbar.
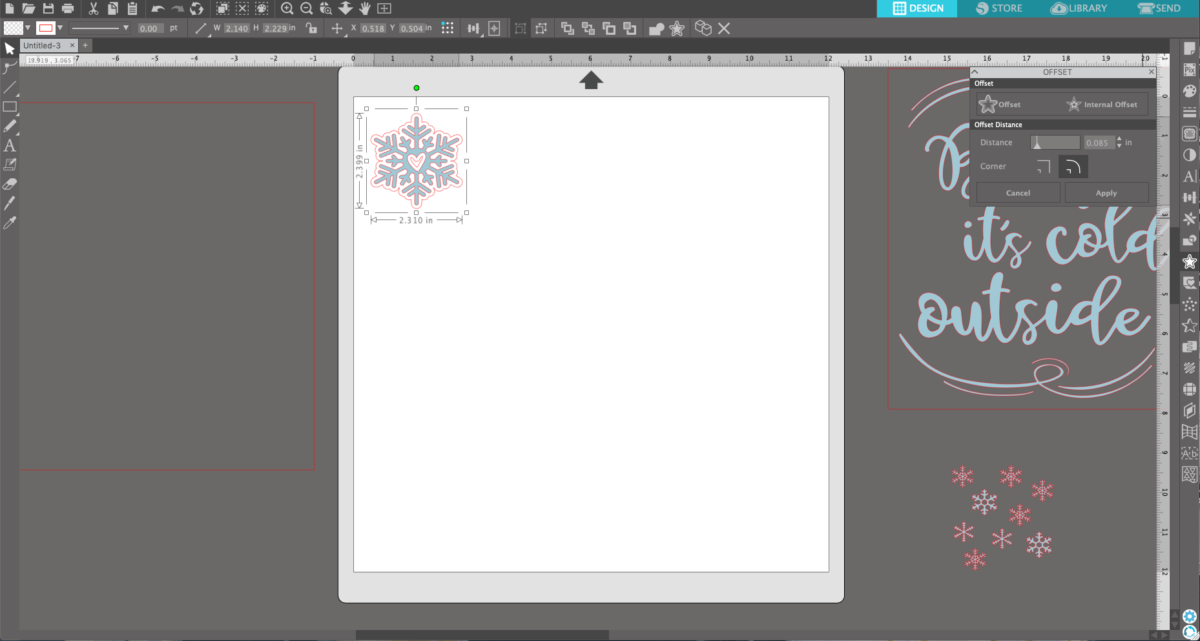
8. Click Offset, and adjust the scale. We chose an offset scale of 0.070 inches.
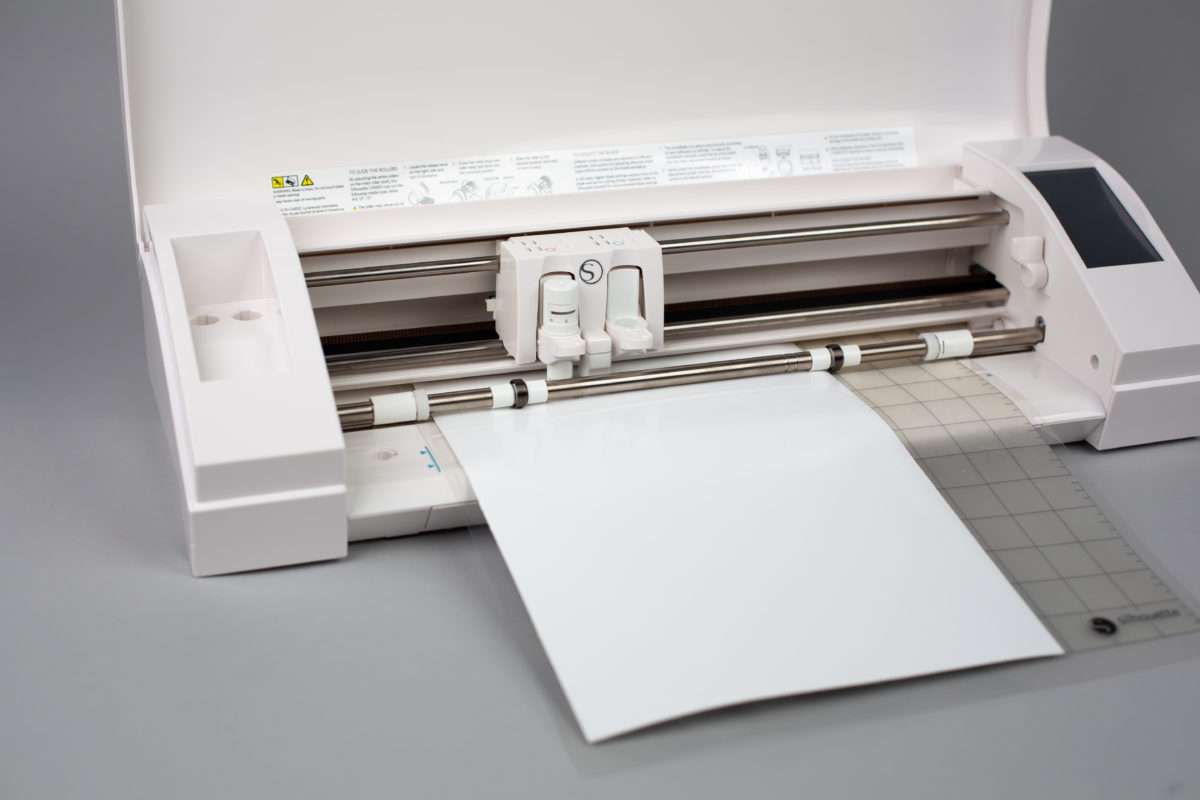
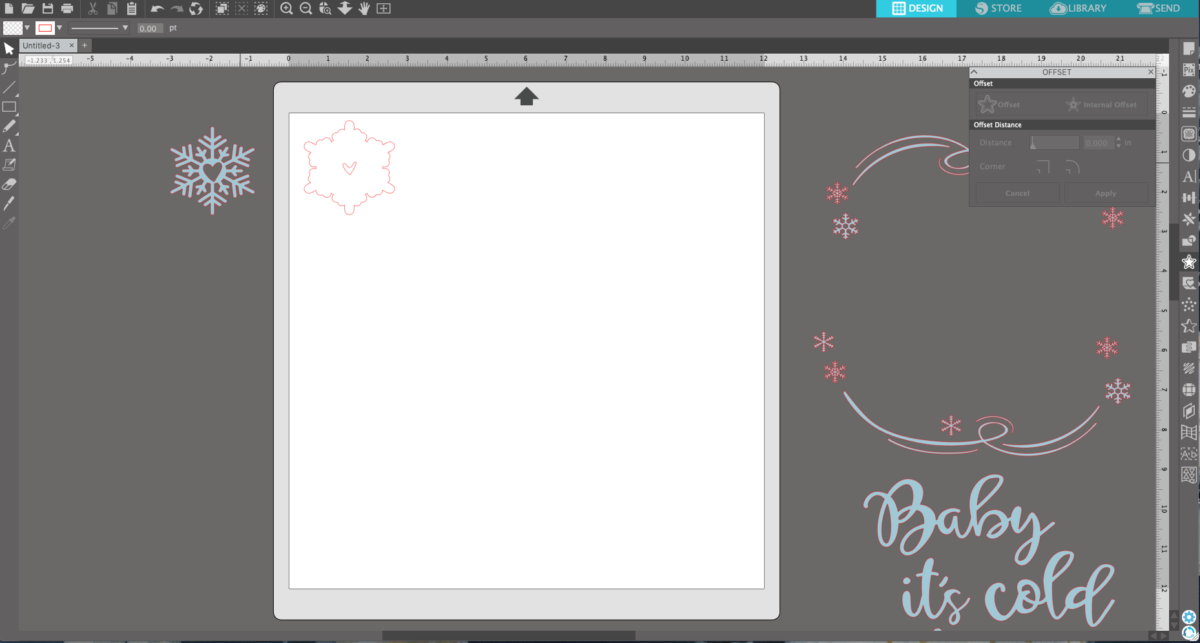
9. Now remove the blue snowflake from the cut field, leaving only the outline, and send the design to your Silhouette using the “Vinyl, Glossy” cut settings.
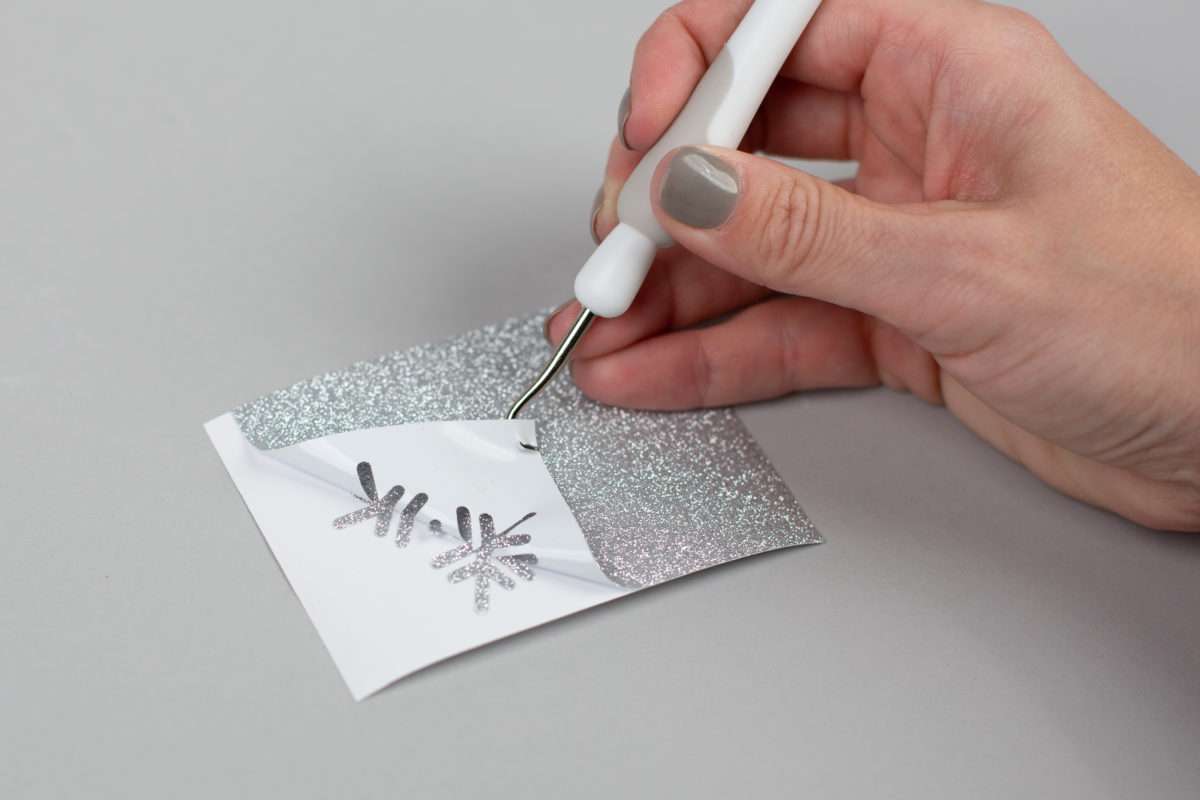
Step Two: Weed the Vinyl and Transfer to Sign
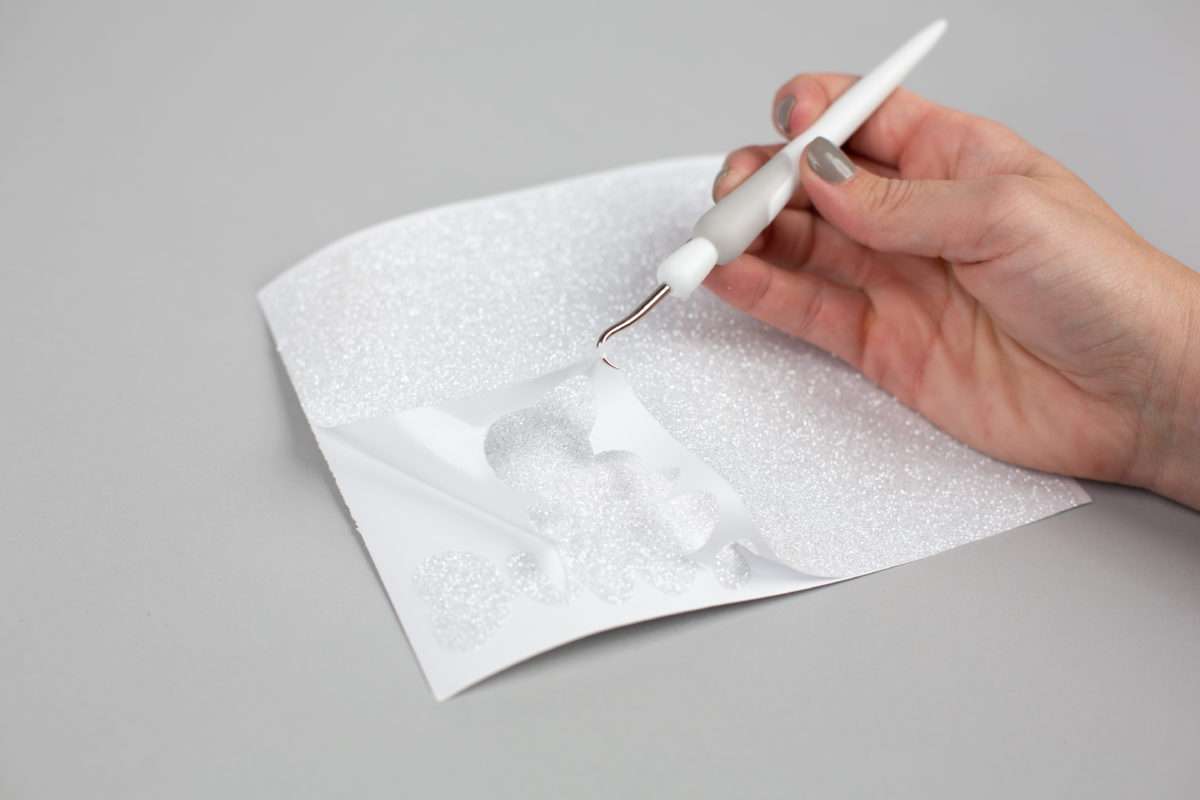
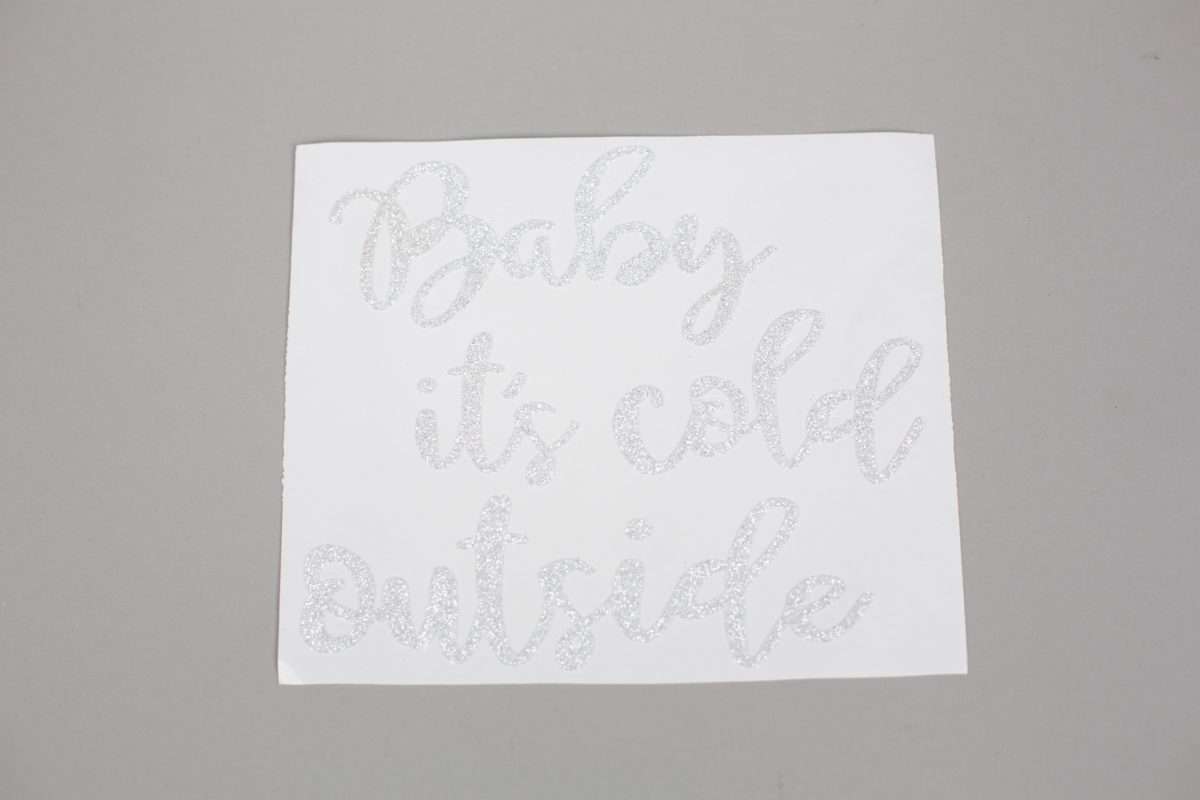
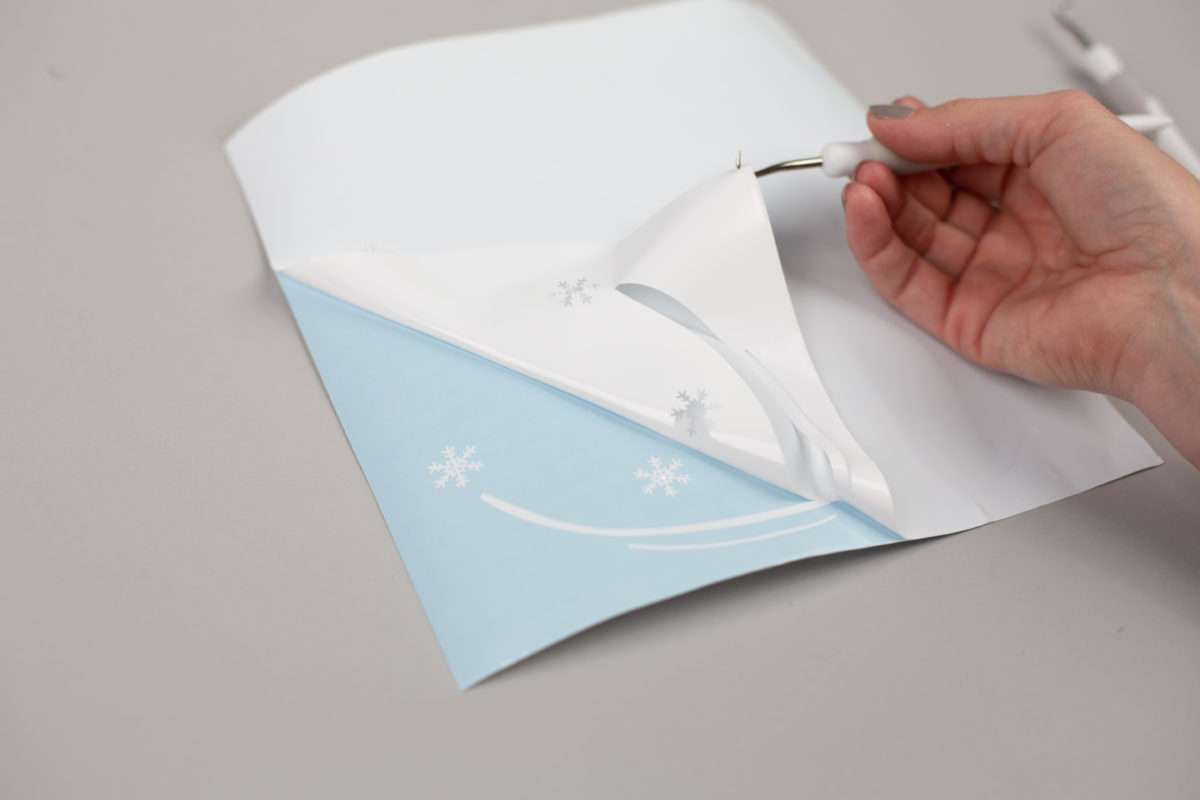
1. Remove the vinyl from the cutting mat. Using the Silhouette hook tool, weed or remove the excess vinyl from the design.
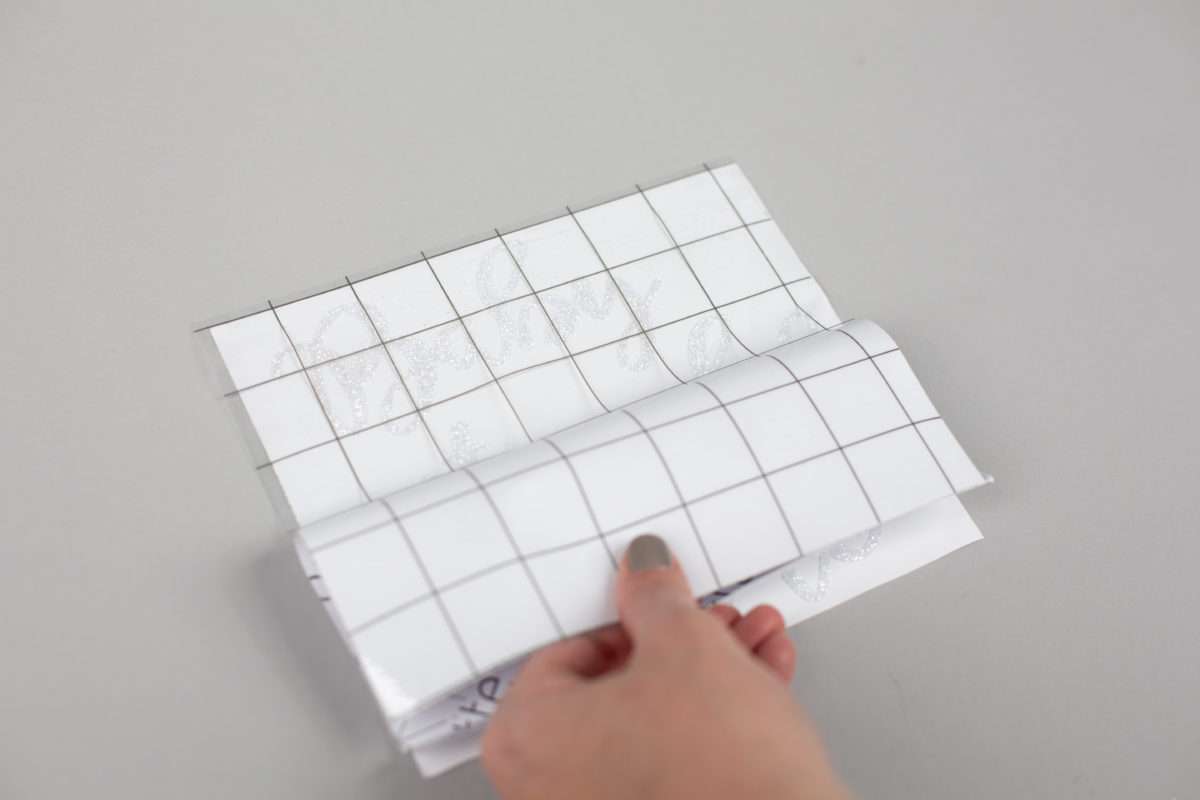
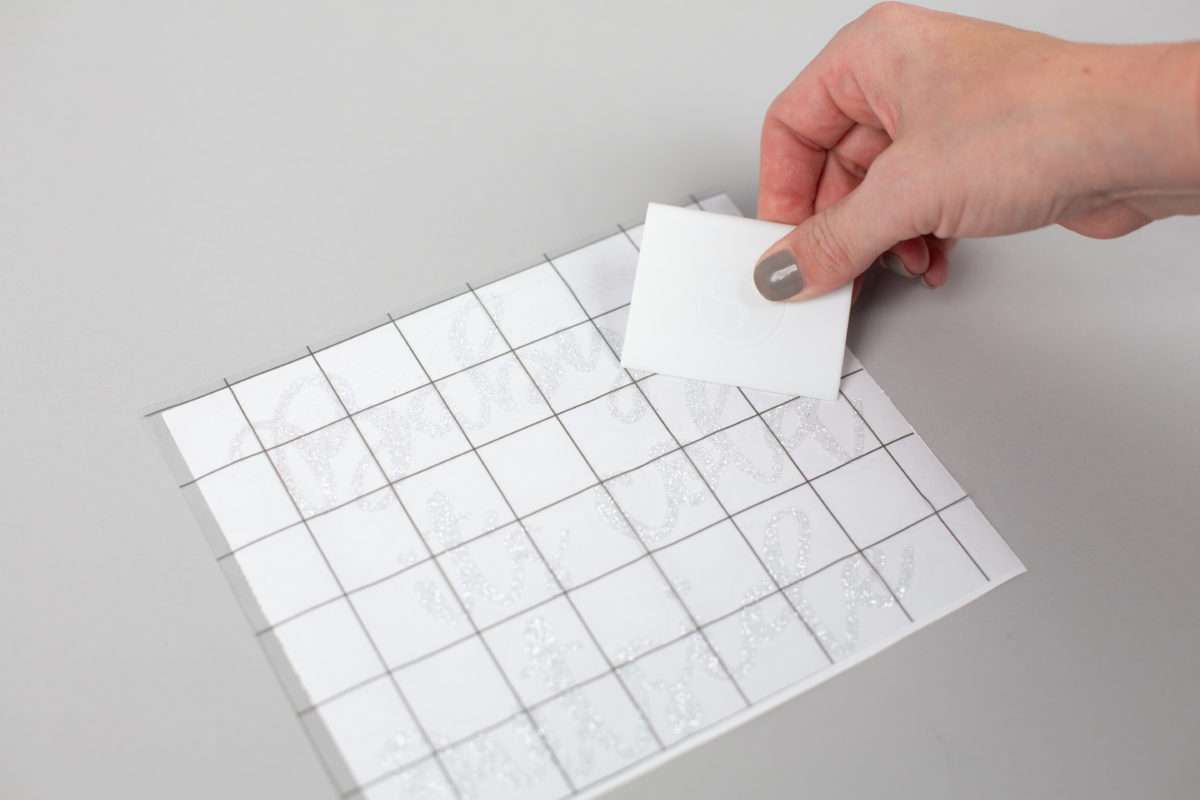
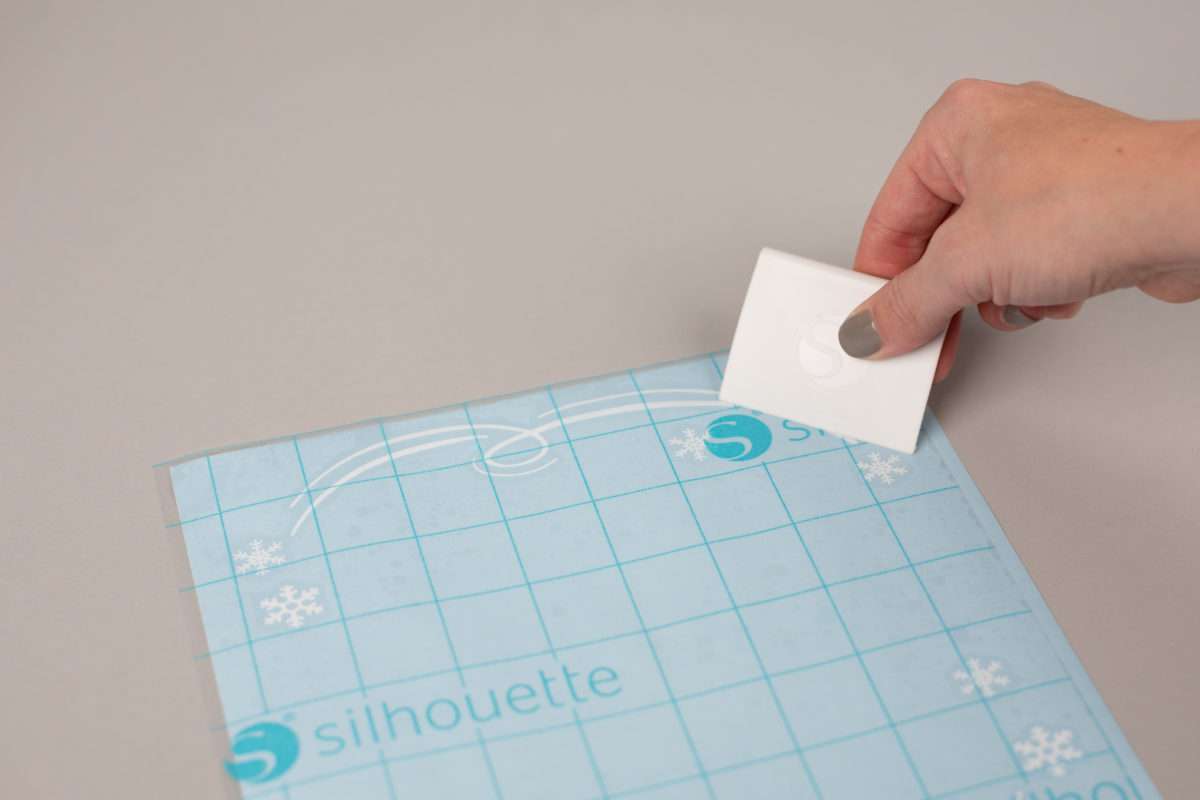
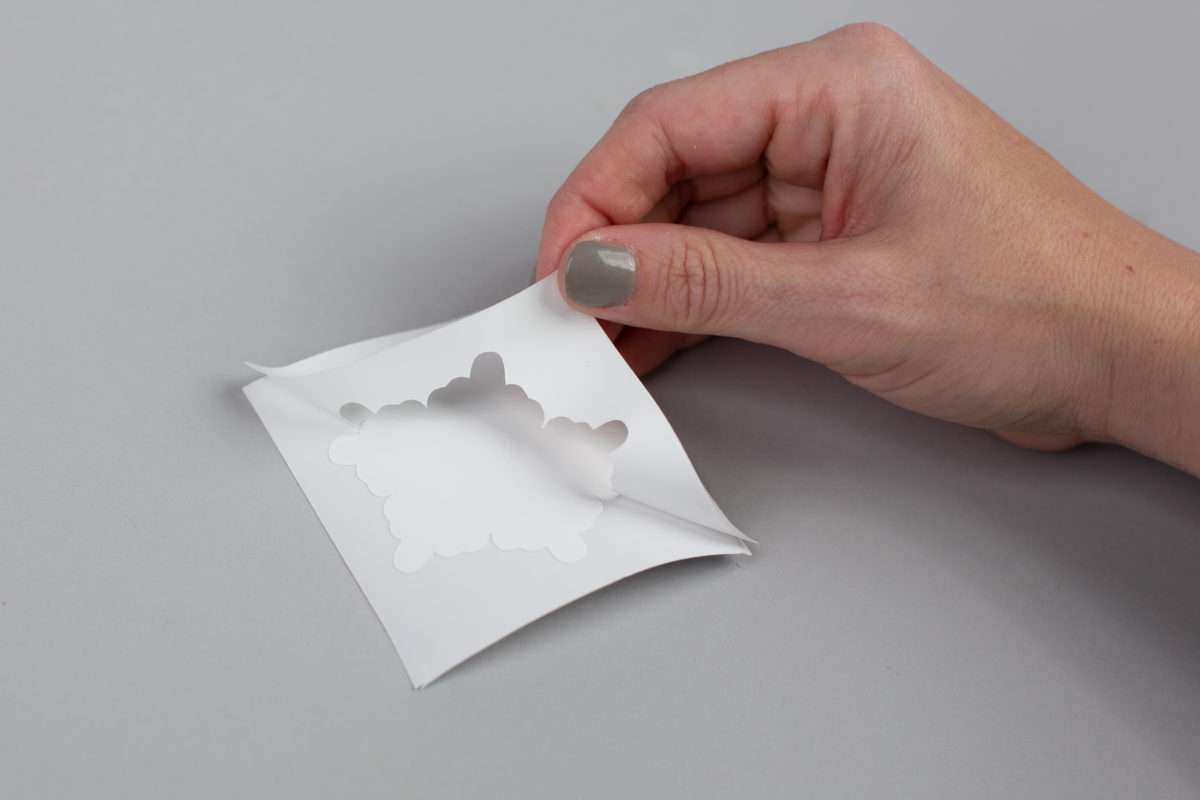
2. When your design has been weeded, place the transfer tape over the design and rub over the entire design to create a secure bond.
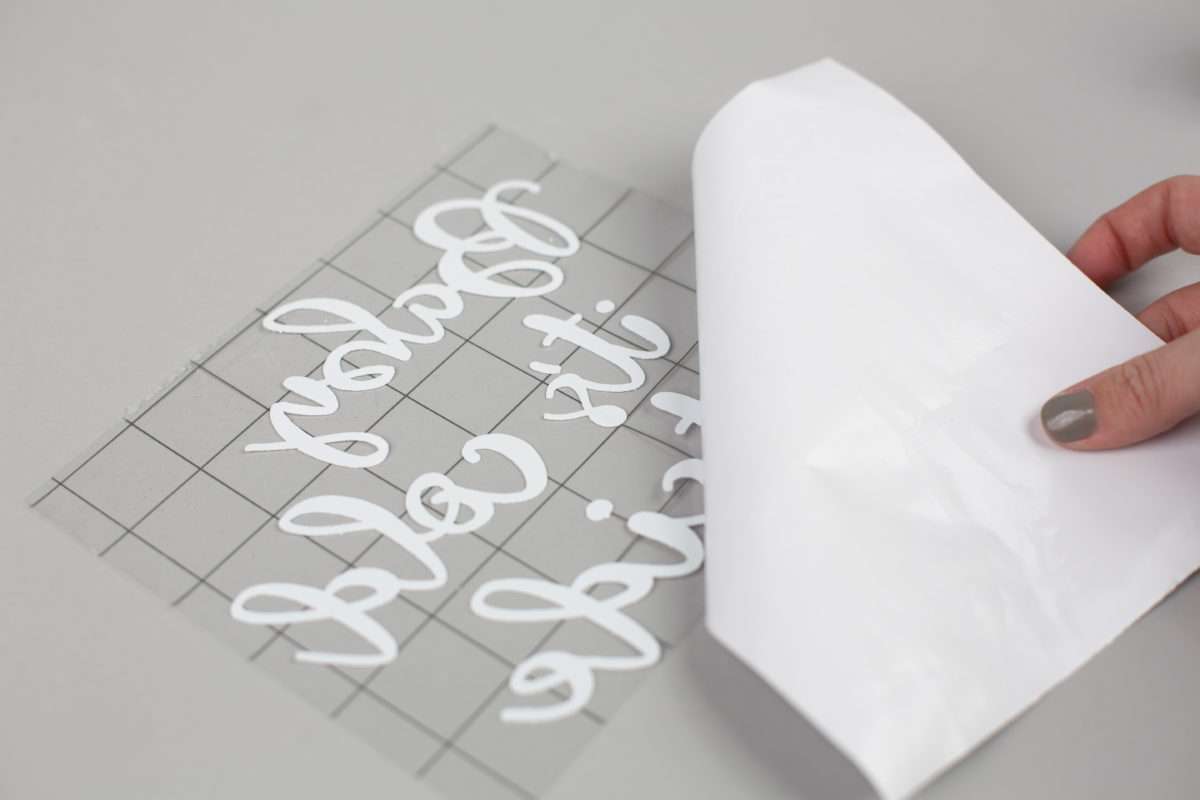
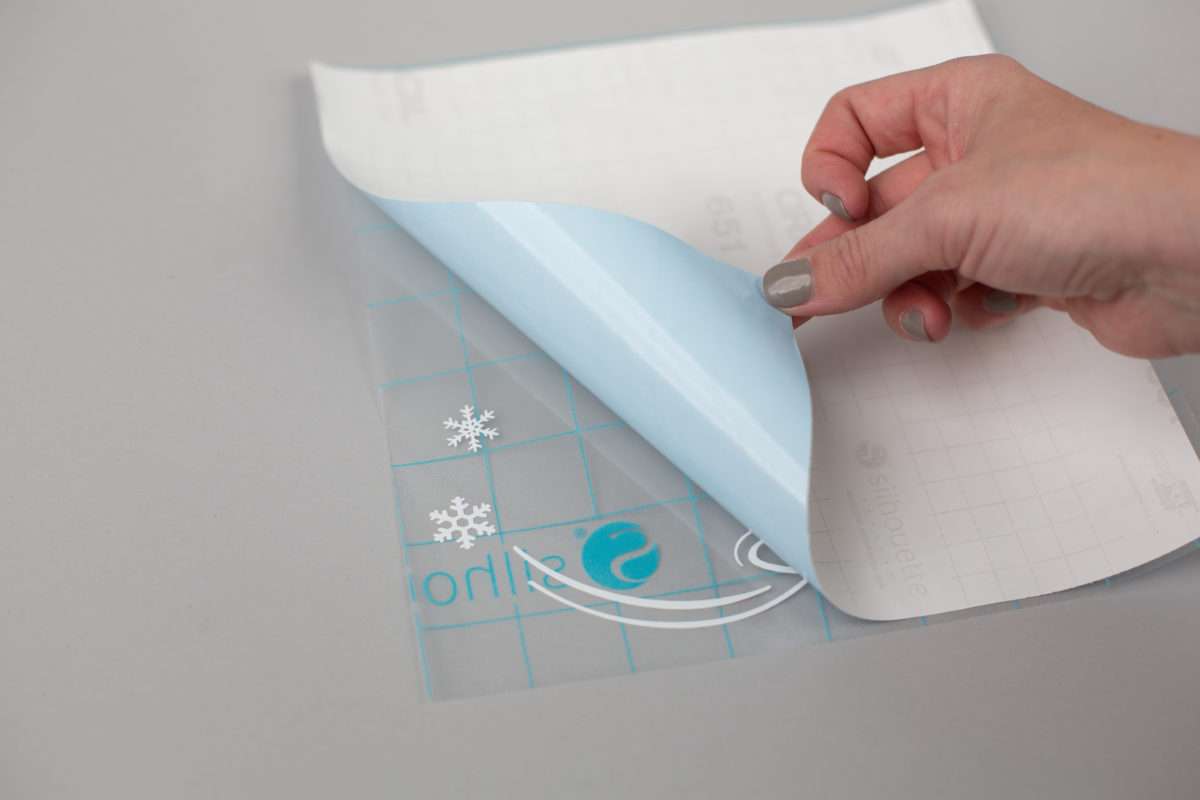
3. Peel the transfer tape from the vinyl backing.
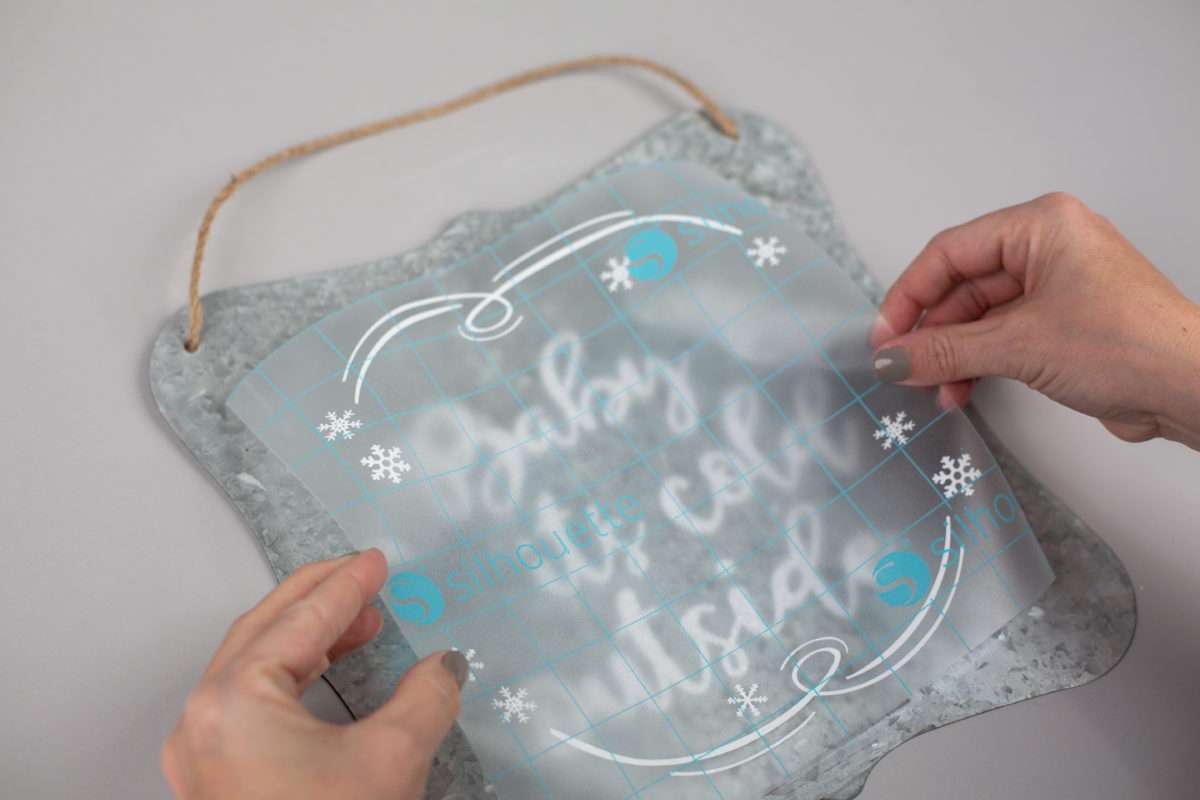
4. Start by eyeing where you are going to place the phrase, taking time to align and center it before setting the transfer tape down.
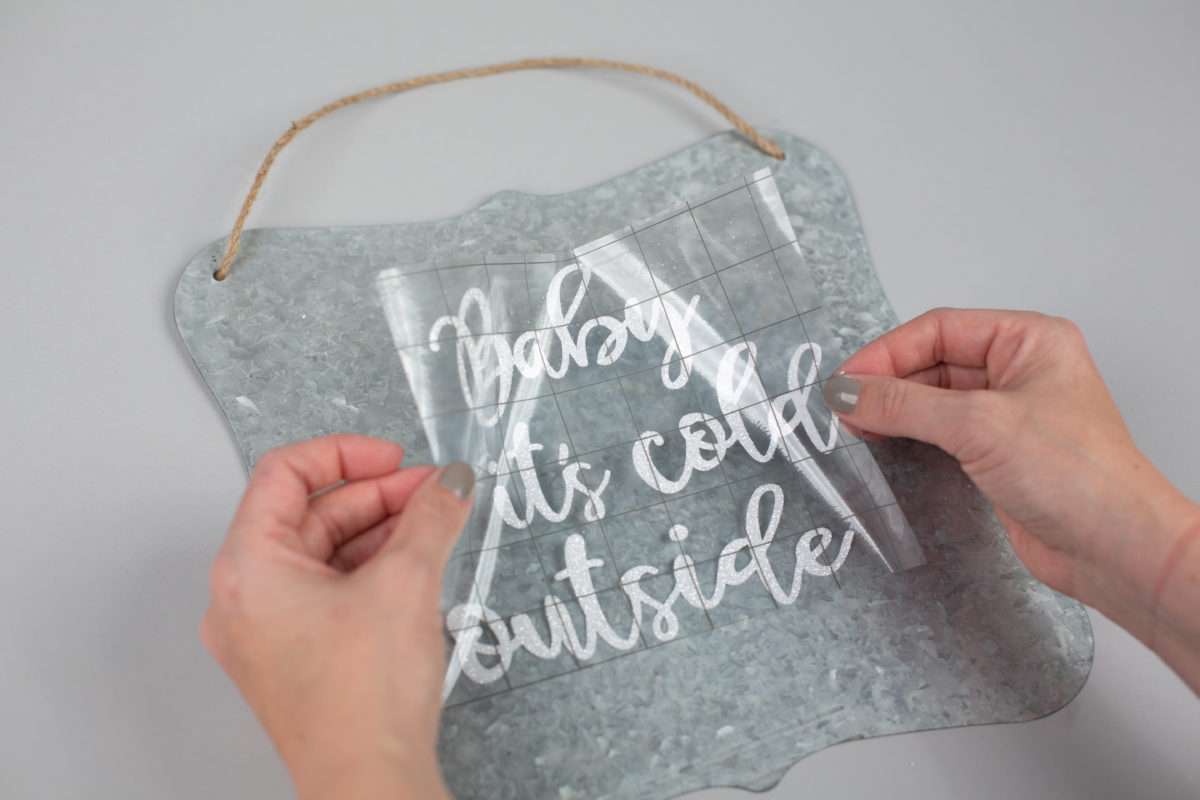
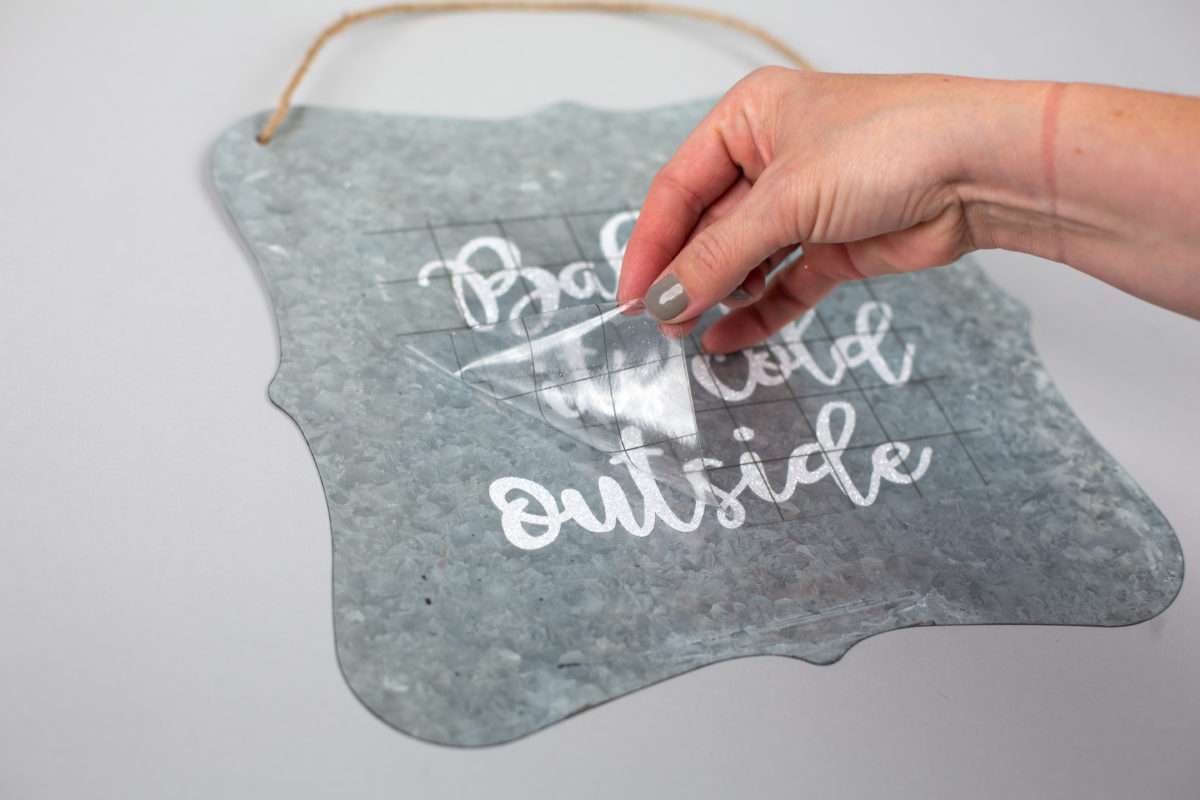
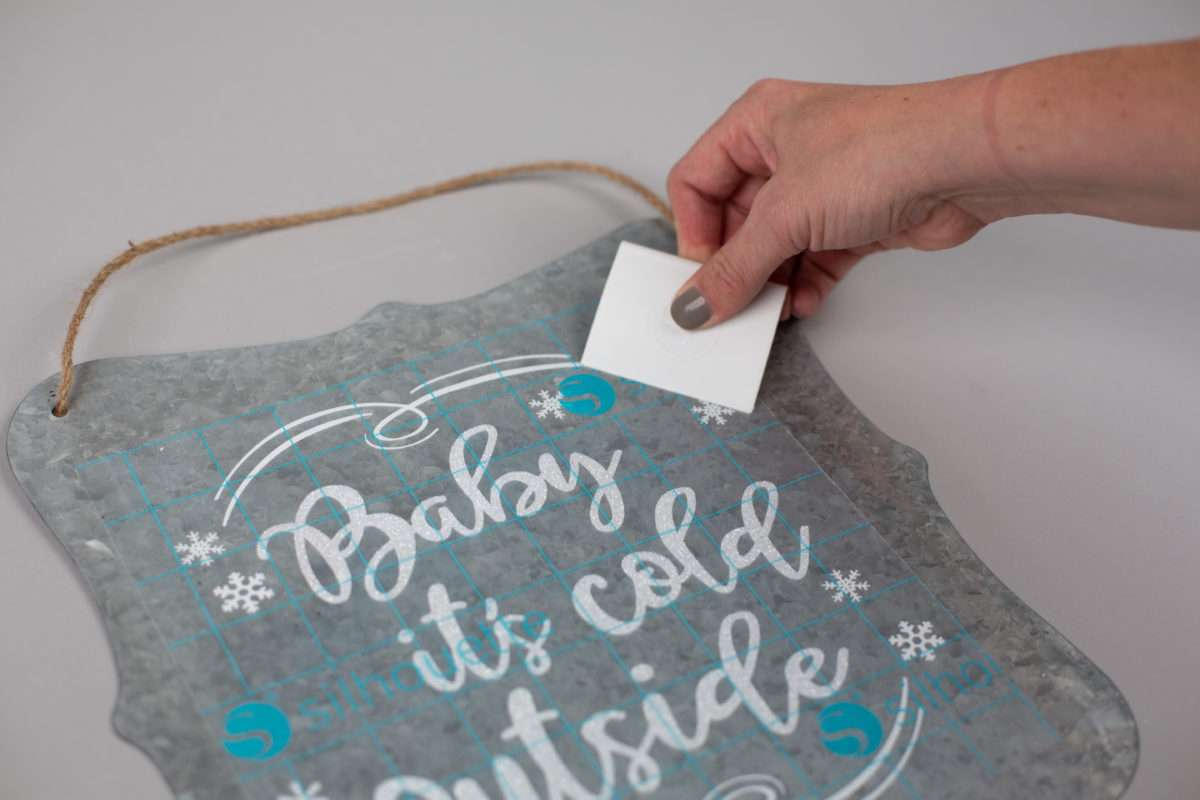
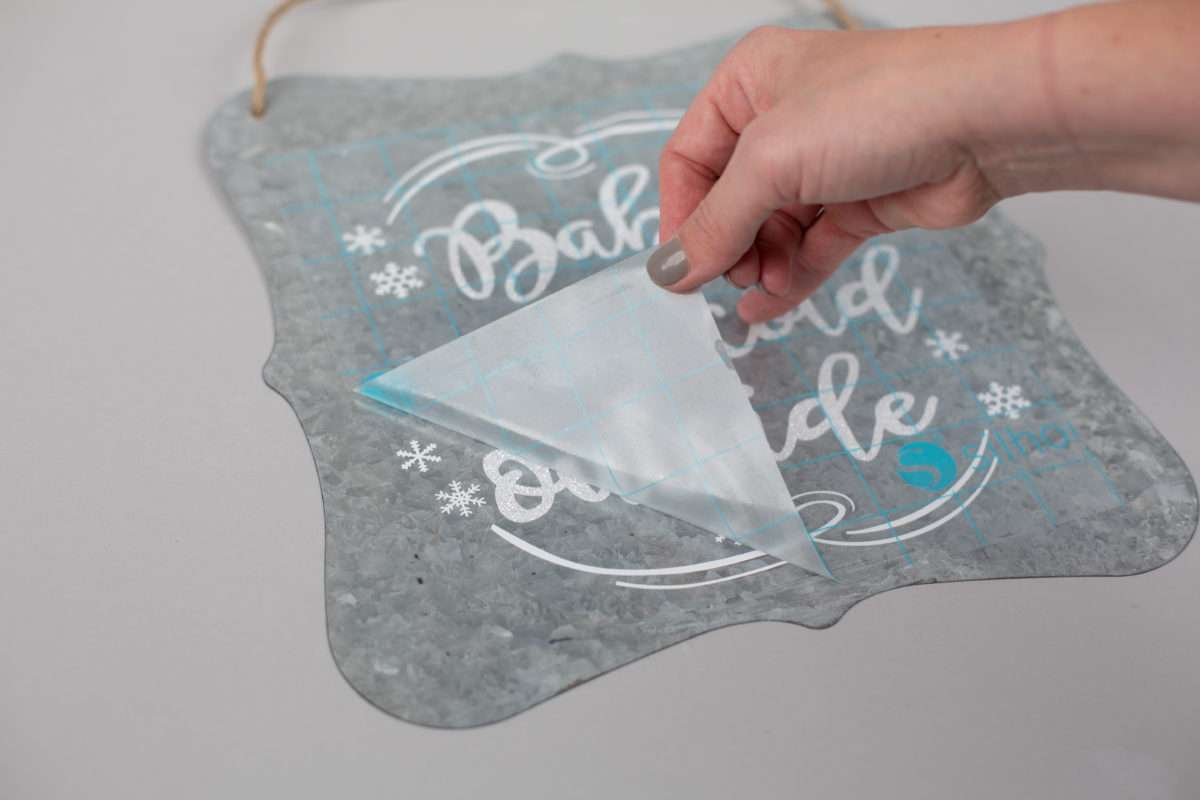
5. Once centered, place the transfer tape down and again rub over the design. Carefully peel the transfer tape off of the sign.
6. Now repeat the steps above with the small snowflakes and embellishments.

Step Three: Layer the Vinyl
1. Weed the excess vinyl from the large silver snowflake and from the large snowflake outline.
2. Next we are going to layer the large snowflake vinyl. Placing strong tack transfer tape over the silver glitter snowflake.
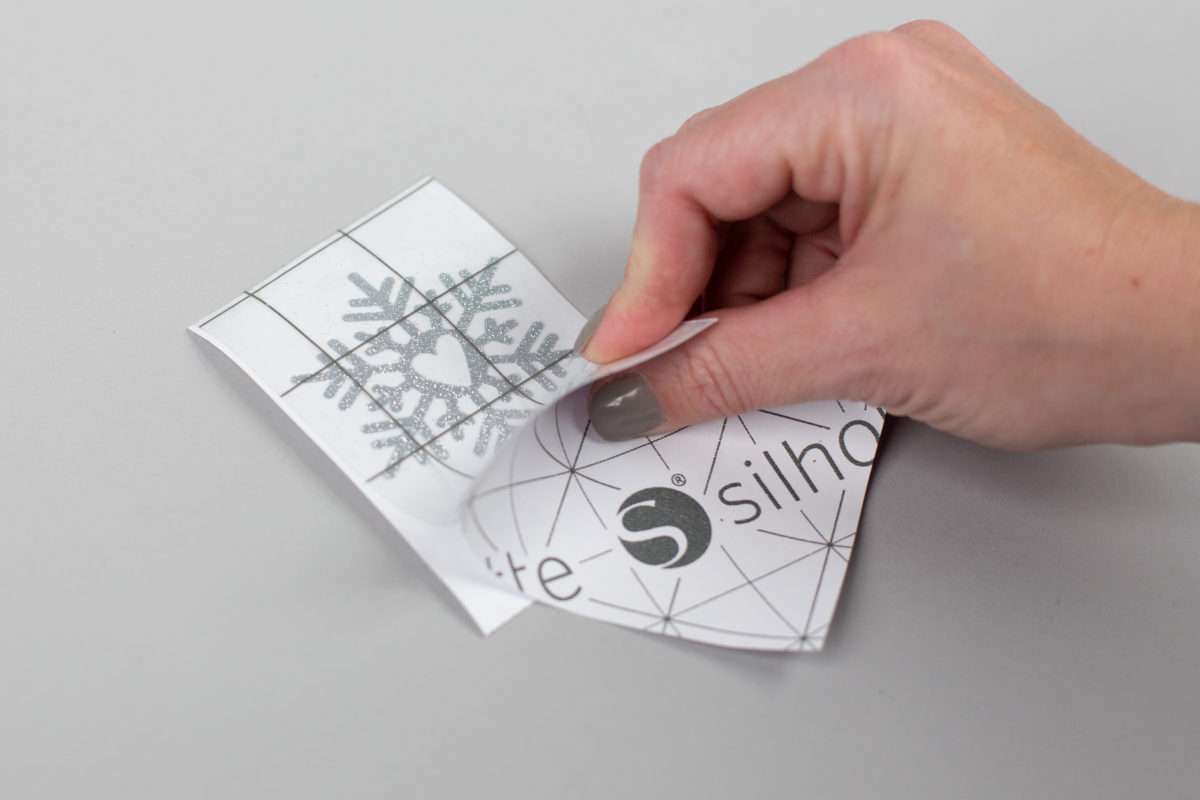
3. Peel the design off of the vinyl backing.
4. Place the transfer tape with the snowflake over the white outline.
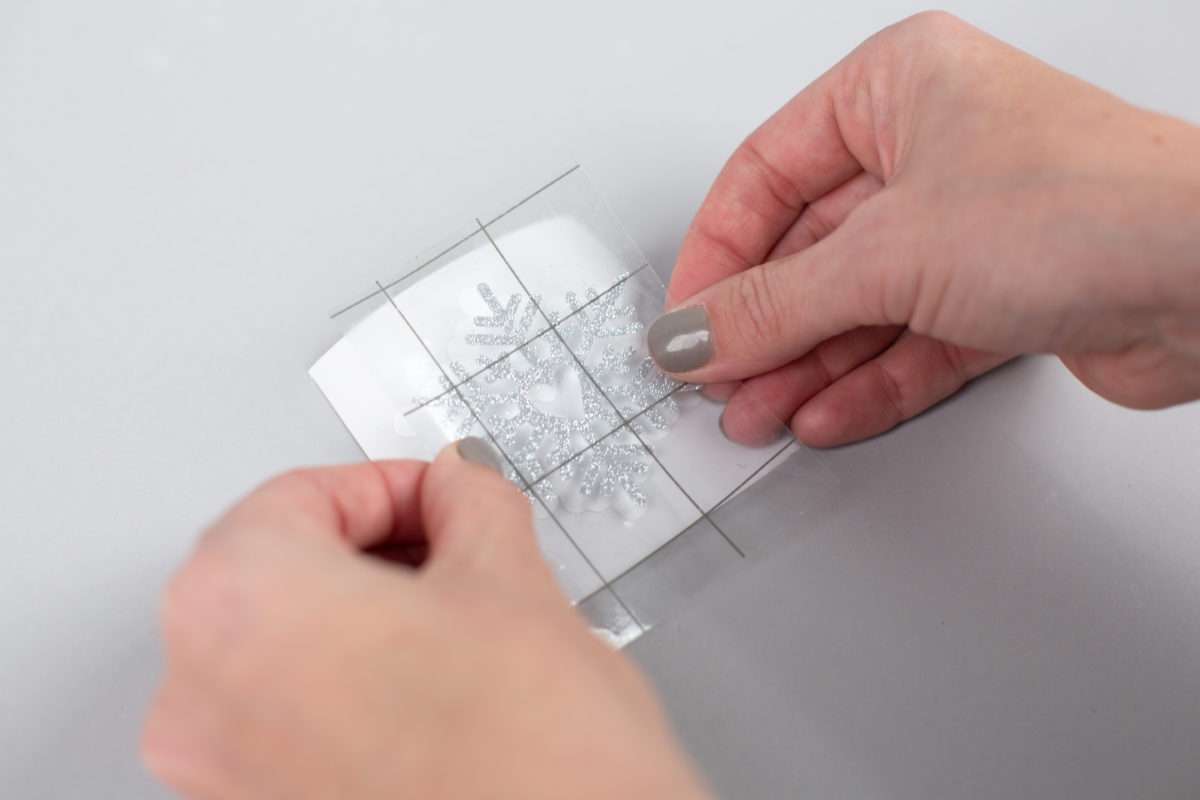
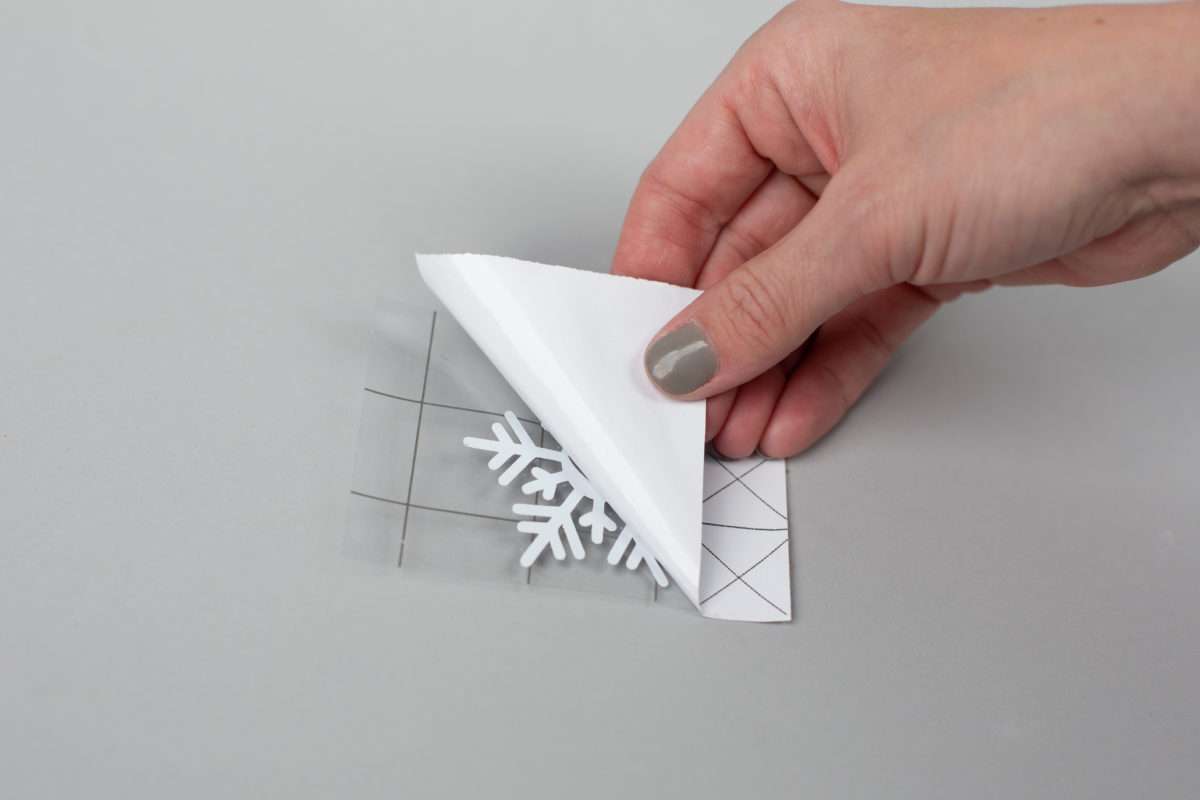
5. Rub the transfer tape down onto the design.

6. Peel the transfer tape back now with the silver and the white vinyl attached.
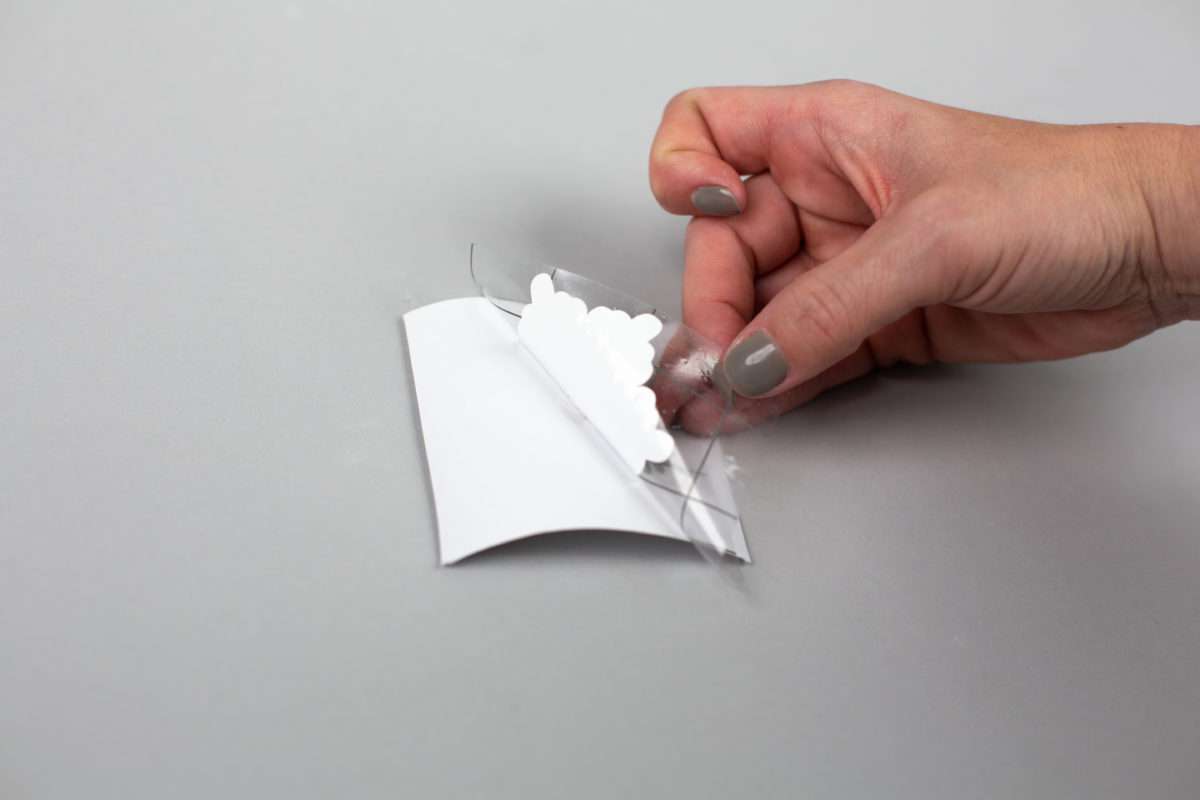
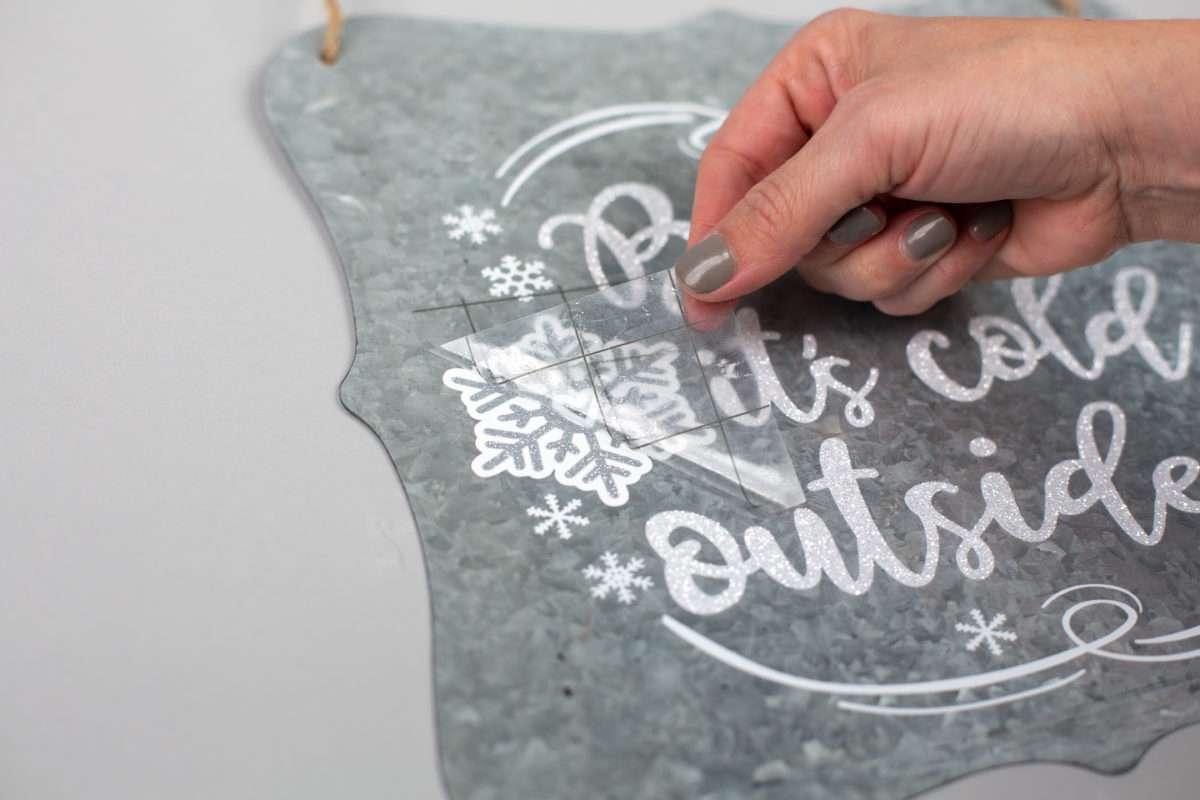
7. Take the layered snowflake on the transfer tape and place it on the sign.

8. Place the snowflake on the design and rub the transfer tape and peel back the transfer tape leaving both layers of vinyl adhered to the sign.
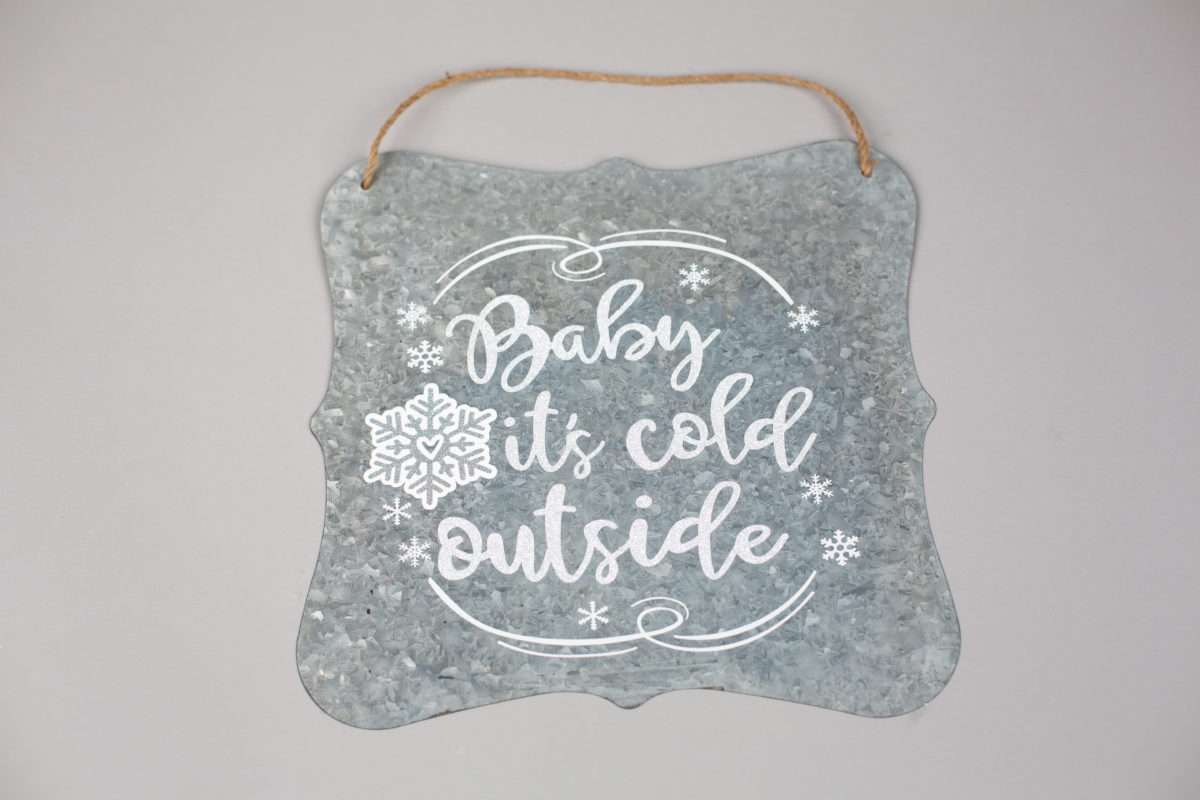
Now bundle up and enjoy because “Baby, it’s cold outside!” Where will you use this design? Be sure to tell us in the comments below.
Marcia Lindner
January 3, 2019
love this but can’t find a metal sign. Where did you find one and what size did you use?
Silhouette
January 3, 2019
We found it in Hobby Lobby. We couldn’t find it on their website to link to the product, but it’s about 6 in. x 6 in.