Autumn is my most favorite time of the year. I love all the warm colors, cool winds, and fuzzy sweaters that come with the season, don’t you? Most importantly, it’s the time of year I think crafting really kicks in for décor, cards, and holiday projects.
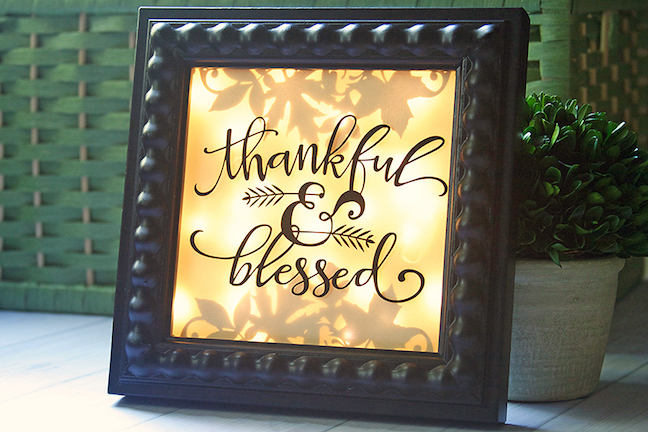
Today, I want to share with you how to make a lovely backlit shadow box frame that I’m sure will make your home just a little cozier as we get closer to Thanksgiving.
Materials and Tools needed:
- Silhouette CAMEO®, the Portrait®, or Curio™
- Silhouette Cutting Mat appropriate for your machine
- Thankful & Blessed Phrase (ID#98592) and Fall Leaves Split Damask (ID# 68028)
- Hook Tool
- Silhouette Matte Vinyl in Black, cut to 6 in x 6 in
- Silhouette Adhesive Cardstock in White, cut to 6 in x 6 in
- Transfer Paper
- Vellum
- Gold Vellum (available at your local craft store)
- One Set of Mini Lights
- 6 in. x 6 in. Shadow Box Frame, preferably with wooden spacer inside
Step One: Prepare and cut your vinyl.
- For this project, I resized the design page in Silhouette Studio® to show as 6 in x 6 in, even though I was going to cut on a larger 12 in. x 12 in. cutting mat. It made centering the vinyl design on the glass much easier later on. You can adjust the Width and Height in the Design Page Settings.
- Open up Thankful & Blessed Phrase (ID #98592). Using the Scale Tool, make sure the Lock Aspect box is checked and resize the design to a width of 5.25 in..
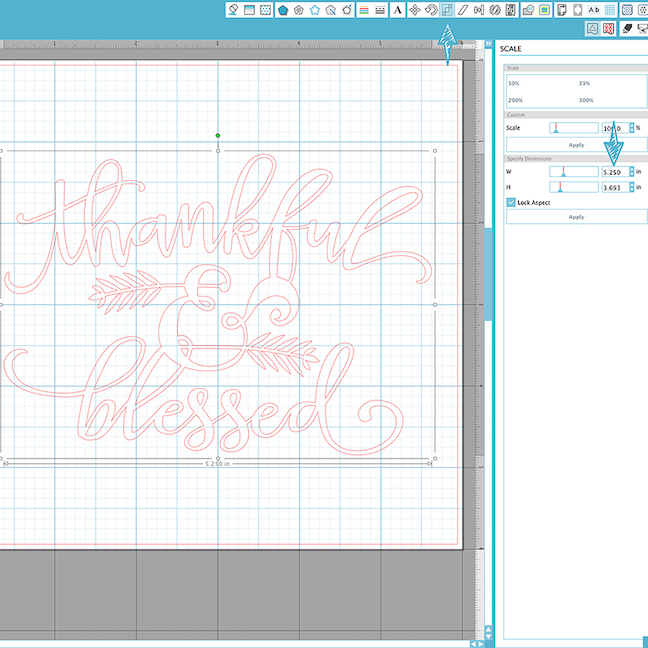
- Center the design on the page. Next, in the Cut Settings, make sure you have Vinyl chosen for your material type. Line up the piece of vinyl on your mat, leaving the backing on and load the mat into the machine. Adjust your blade accordingly (if necessary), and Send to Silhouette.
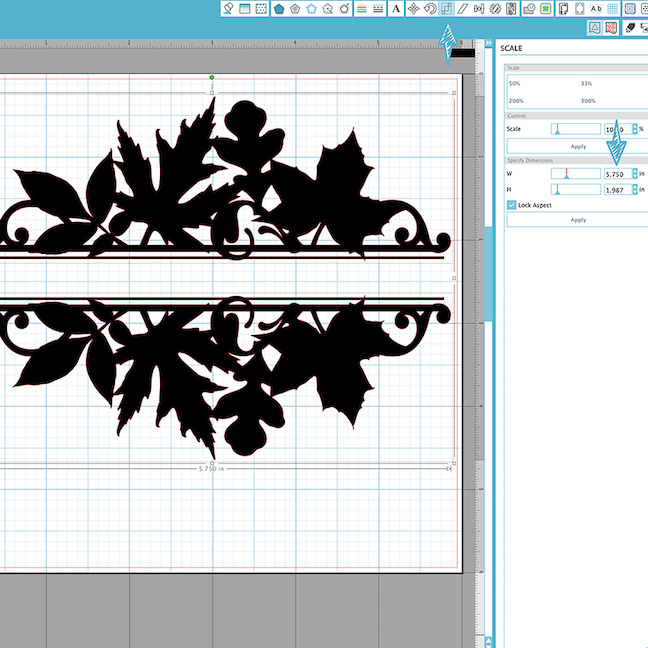
Step Two: Cut the cardstock to create the silhouette leaves.
Next up: cutting the leaf designs for the silhouette image.
- Open the Fall Leaves Split Damask design (ID# 68028) and just like in Step One, use the Scale Tool to change the width to 5.75 in.
- Lay your cardstock on the mat and load into the machine. Make sure the Cut Settings and blade are set for Adhesive-Backed Cardstock and then click the button to Send to Silhouette.
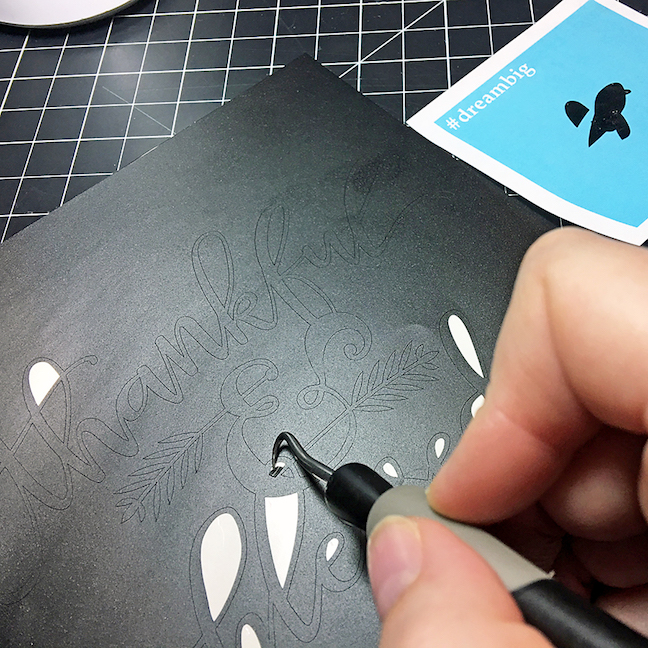
Step Three: Weed your design and transfer to glass.
Use the hook tool to weed your design. Take care around the smaller parts of the design so as to not stretch or tear them. A Post-It note is a great place to put the tiny bits as you’re weeding 😉
Once your design is ready to transfer to the glass, cut a piece of 6 in. x 6 in. transfer paper. Lay the transfer paper over your vinyl design and smooth with a scraper tool. Don’t lift your design off the backing yet.
Now comes the tricky part: getting your design on the glass while keeping it straight. The best way I have found for making sure my design is centered correctly is called “the hinge method” for transferring vinyl. Kelly Wayment explains it beautifully in this post. Make sure you clean your glass first to ensure a smooth finish.
Step Four: Preparing the vellum.
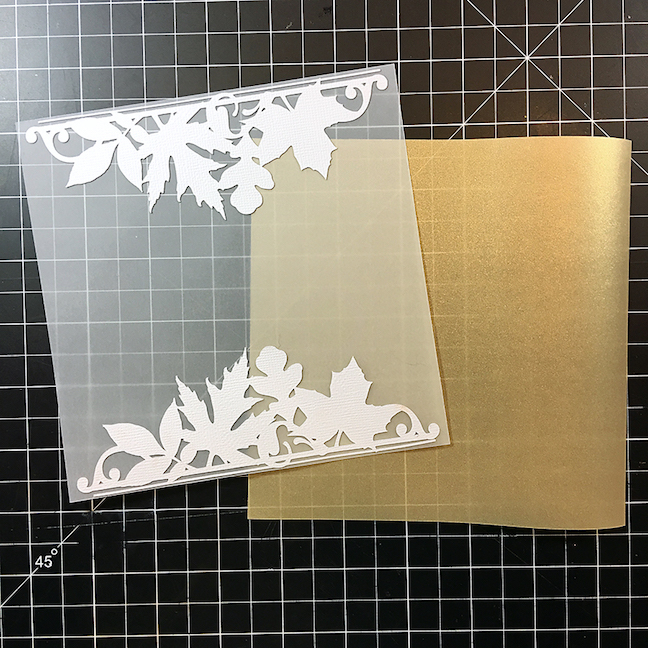
- Cut a piece of Silhouette Vellum and a piece of gold vellum that measure 6 in. x 6 in. Adhere the white leaf designs on the white vellum, as shown.
Step Five: Putting it all together.
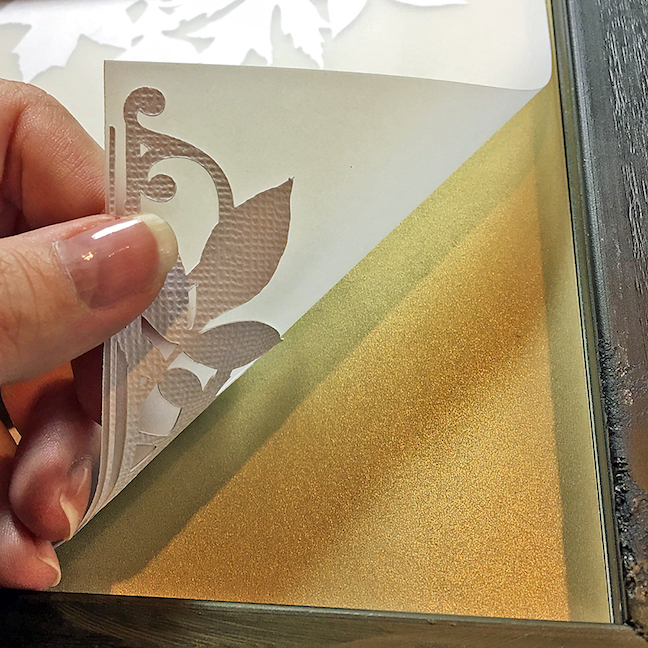
Set your frame face down. Carefully lay in your glass, so the vinyl is on the outside, then add the gold vellum, the white vellum with the cardstock designs face down, and then the wooden spacer to keep it all in place.
Step Six: Adding the lights.
For small frames like this one, I find the mini lights work best as they don’t take up much space. There’s no right or wrong to this – just tuck them in however you’d like. Use tape if you’d want to space them evenly and stay put as you’re closing the frame.
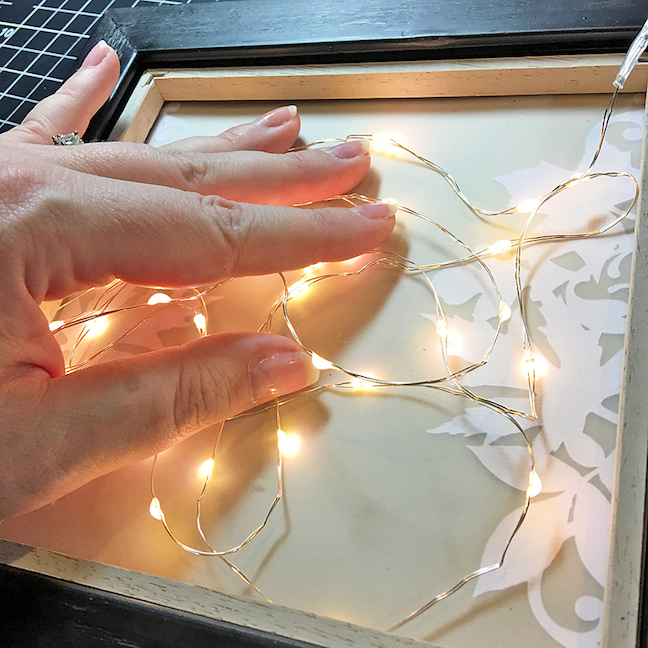
Let the thicker part of the wire poke out of the backing (like in the upper right-hand corner of the photo). That way, you can stick the battery pack on the back of the frame for easy access. Once you have the backing on the frame, you’re all set – switch it on and enjoy the warm, happy glow of the lights.
Julie Heyer
October 26, 2016
WOW, fantastic project!!
Niki Coursey
October 31, 2016
Thank you, Julie!
Frederique
October 27, 2016
Oh…….How wonderful, I really love what you have made. Thank you so much for this tutorial. I wish this phrase could be in french too ! Or maybe a tutorial to explain how to make one in another language ? It Would be a great idea even if it can’t be as fancy as this phrase, I Would love it. (Frederique from France)
Niki Coursey
October 31, 2016
Merci beaucoup, Frederique! Je parle un peu le français parce que je suis Canadienne 🙂 You can easily use French words to create something similar to this design. The secret is the Weld Tool. Give this a try: open Silhouette Studio and use the Text Tool “reconnaissant”, “&”, and “béni” separately, then select all three and use the Align Tool to center them one above the other. Choose a flourish that you like (like the wheatears in this project), position them where you want them, then Select All of your design and use the Weld Tool to make it all one piece. You can check how it is going to cut in the Cut Settings Preview and make any adjustments you need. I hope that helps! –N
Niki Coursey
October 31, 2016
I meant to say use the Text Tool to type out your words separately 🙂
Marilyn
October 27, 2016
Absolutely beautiful!
Niki Coursey
October 31, 2016
Thanks, Marylyn 🙂
Leanne
October 27, 2016
I really love this project! Thank you!!
Niki Coursey
October 31, 2016
I’m so glad, Leanne! Thanks!
janet
October 29, 2016
It’s beautiful. I just recently made a card with headlights that come on (used a car image from the Silhouette store and a Chibitronics kit 🙂
Niki Coursey
October 31, 2016
What a great idea, Janet! I haven’t tried any of the Chibitronics yet, how do they work?