I have a lot of friends in the wedding industry. Whether it’s styling, card making, or photography one thing I have learned from them is that Wedding Season is insanely busy and equally exciting. I also know that wedding budgets can be small and tight so I wanted to show you how you can save money on wedding decor by just using your Silhouette CAMEO®.
You Will Need
- Silhouette CAMEO®
- Silhouette Vinyl
- Silhouette Vinyl Transfer Paper
- 2 pieces of plywood (I used 13 in x 7 in)
- Rope
- Power drill
- White and pink acrylic paint (use any color that goes with your wedding decor)
FIRST STEP
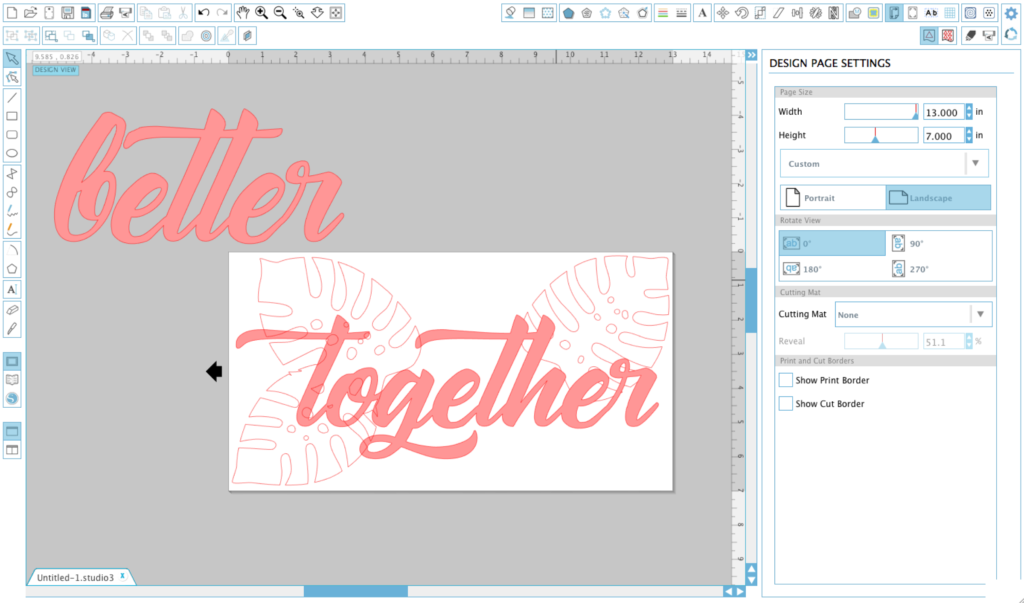
Open your Silhouette Design Studio. I then changed my page size to 13 in. x 7 in. (which is the size of my wood pieces) located on the Design Page Settings. This way I have an idea how big or small my designs need to be.
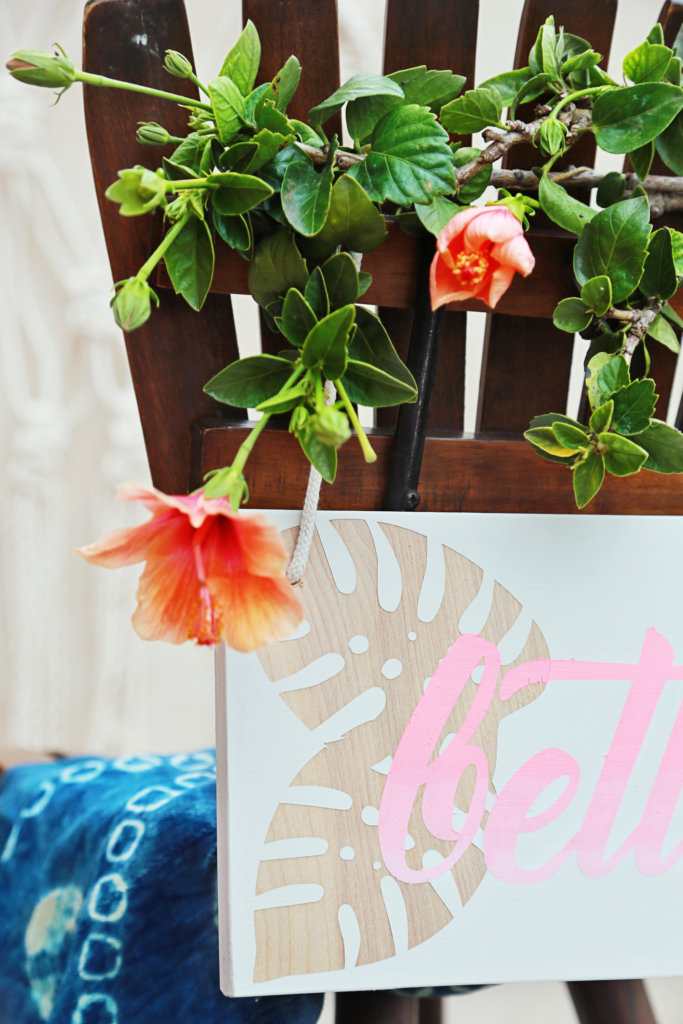
Since it’s almost summer I wanted to set a tropical wedding scene so I chose these adorable tropical leaves from Amy Robison Designs (Design ID #83618).
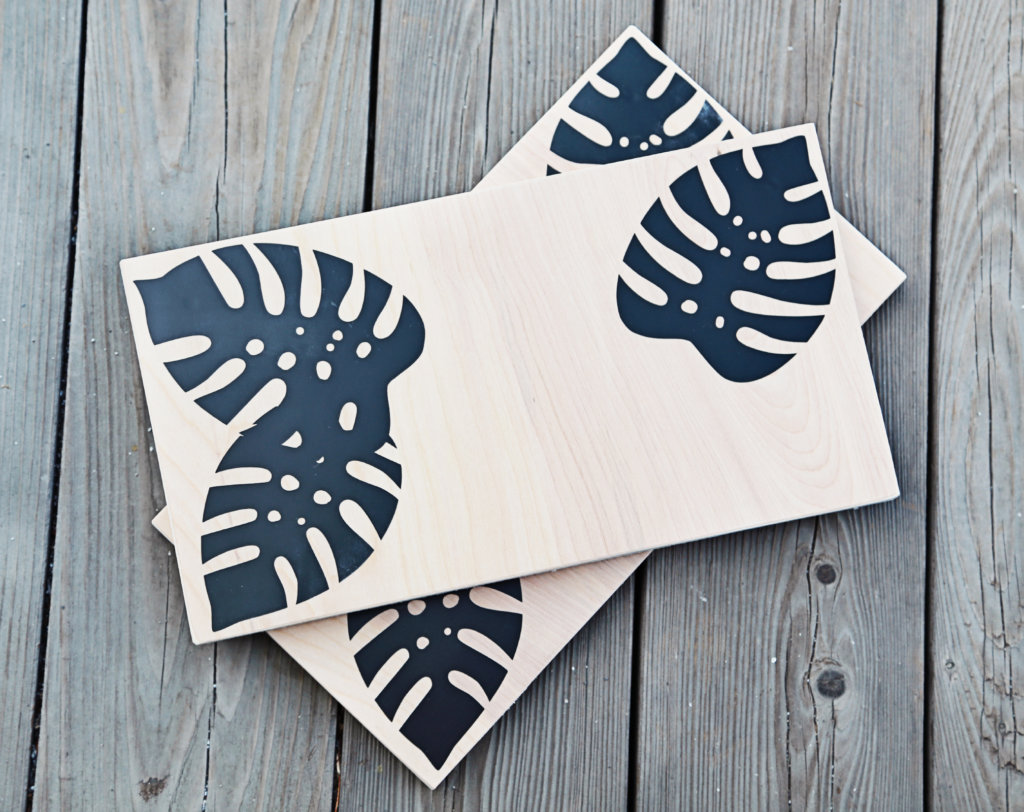
Once you have the design set into place then it’s time to cut the Monstera leaves with my Cameo using Silhouette Vinyl.
SECOND STEP
Here are my wooden pieces. I did pre-drill a couple of holes on top of the wood for the rope to go through before I placed the vinyl leaves. Then I painted the entire wood with white acrylic paint. It will need 2 coats of paint to get a better coverage. That’s just how it goes with white paint.
THIRD STEP
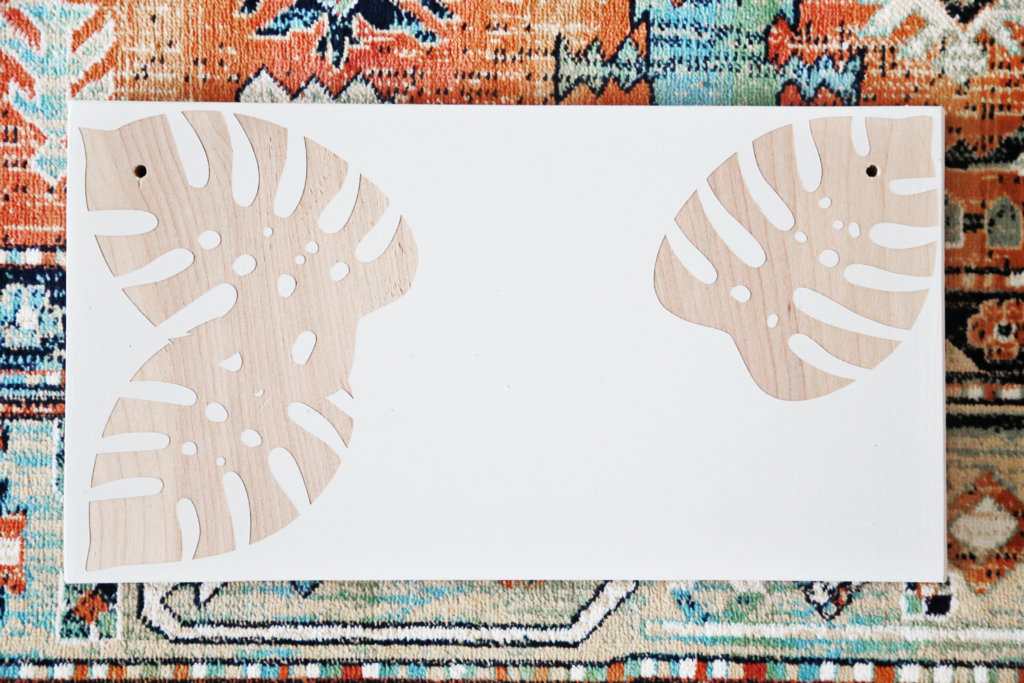
I slowly peeled off the vinyl leaves from the board exposing the beautiful wood grain. Which is what I had envisioned. Isn’t it great when the design in your head actually comes together in real life? Well at least this portion has and I still had a couple more additions on the design.
FOURTH STEP
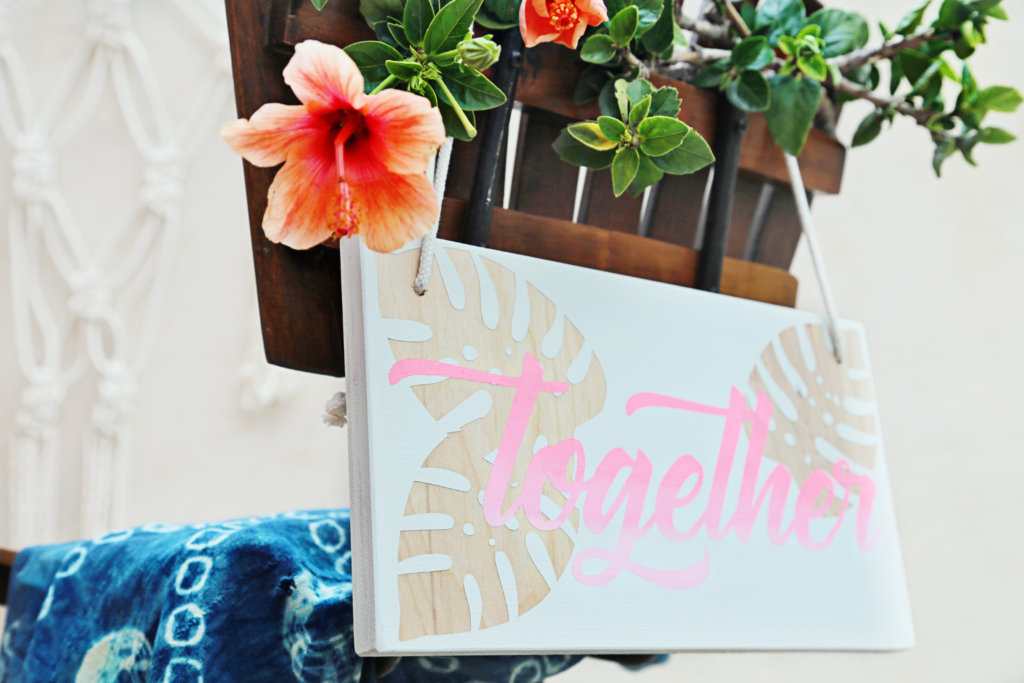
I had cut the words ‘better’ and ‘together’ with my Silhouette CAMEO® 3 using vinyl as well. But this time I’m using it as a stencil and I didn’t want to just use straight pink paint. I wanted to challenge myself to something that I’ve never done before and that was painting with an ombre effect.
Every crafting how to’s or DIY’s I’ve found has been in the vast knowledge of the internet. You can find practically anything online and there were many on the ombre subject.
I just used both my white and pink acrylic paint but made 3 different shades of pink. The top portion of the word is just straight pink (which is why it’s the brightest and more vivid). The middle portion I mixed half white and half pink paint creating a medium pink color. Lastly, the bottom portion on the word is 2 parts white and 1 part pink paint giving it a lighter shade of paint.
Now the key to an ombre effect is to continuously blend the different color paints so you can get that subtle change in colors.
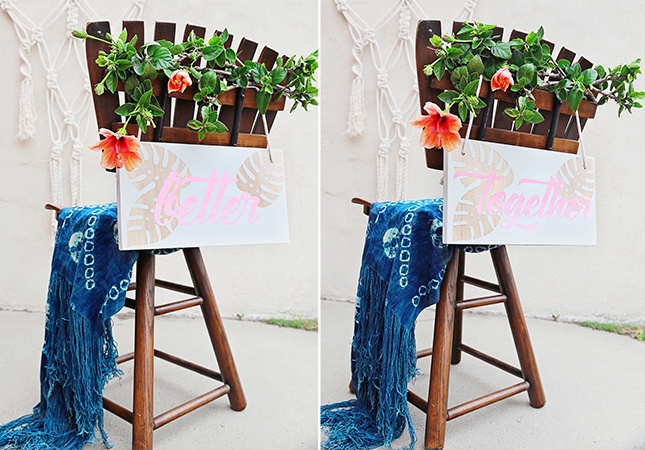
BETTER TOGETHER

I chose Better Together because I thought it breaks away from the usual Mr. and Mrs. signs. Sometimes it’s good to be different and your wedding should be a reflection of you and your style.
Kelly Wayment
May 19, 2017
Love it, Kathi!
Kathi Arbiso
May 25, 2017
Thank you, Kelly!