If you are looking for the perfect teacher gift, you’ve come to the right place! Carl Buechner said, “They may forget what you said, but they will not forget how you made them feel”. The impact a teacher has on your child is immeasurable. Why not make them a special something to let them know how much they mean to you? We have created several sign options that you are sure to love.
Supplies Needed:
- Silhouette CAMEO®
- Silhouette Studio®
- Silhouette 12-Inch Vinyl or 12-Inch Stencil Material
- Silhouette Cutting Mat
- Design ID#44442
- Silhouette Hook (for weeding vinyl)
- 12 in. x 12 in. chalkboard
- Frame
- Silhouette Transfer Tape
- Paint
- Foam paintbrush
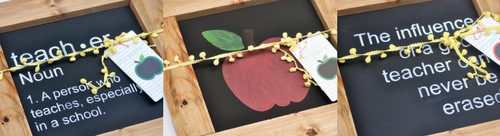
*All designs and cut files are featured at the bottom of the post. Choose your design and then start at step one.
Step One: Open Chosen File Using Silhouette Studio®
- Choose a design (or two or three!) and open the file in Silhouette Studio®.
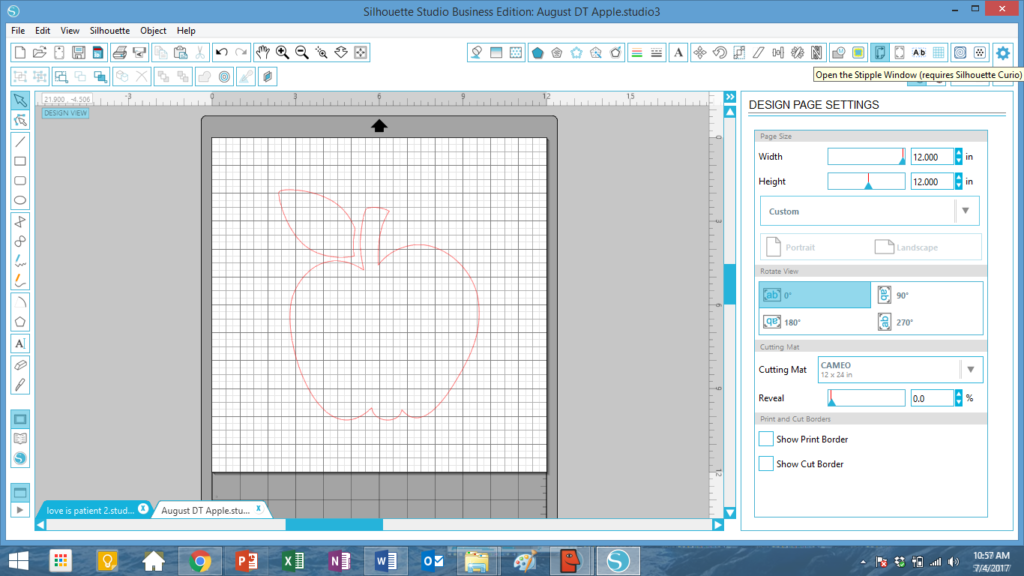
Step Two: Cut Design With The CAMEO
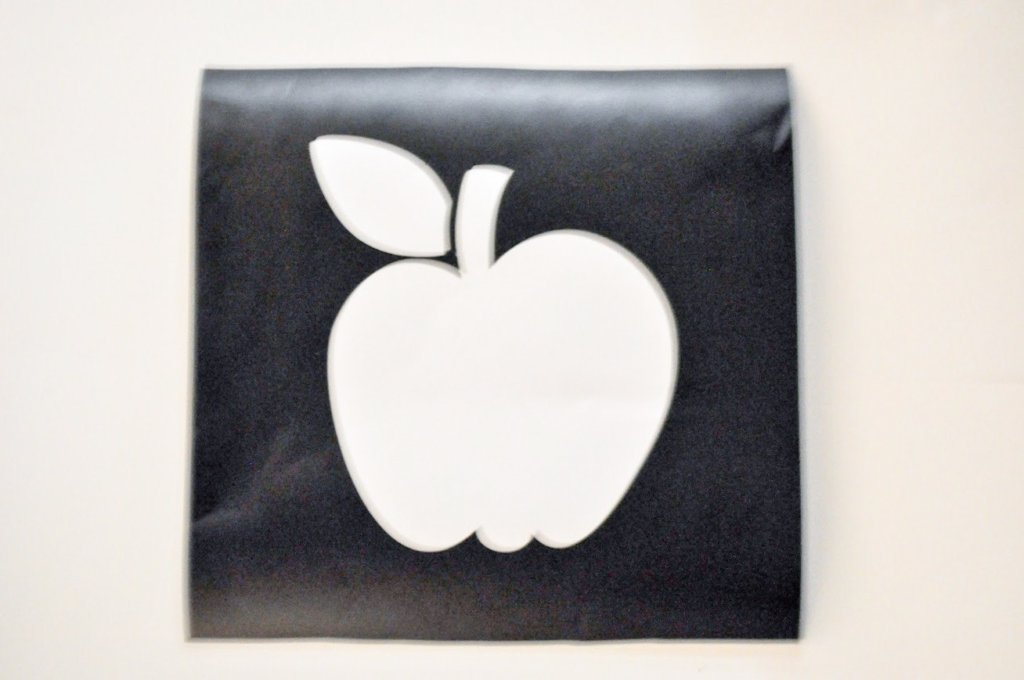
Make adjusts to your design as you see fit. Please keep in mind that we have allotted at least a 1-inch perimeter (for aesthetic reasons–more on some designs) along all four sides for framing purposes. Once you have the design exactly like you want it, prepare vinyl or stencil material by cutting a piece that is 12 in. x 12 in. Cutting your material to this size will help ensure perfection and ease while placing it on the chalkboard. Cut the design with your Silhouette CAMEO®.
Step Three: Weed and Apply Transfer Paper to Design
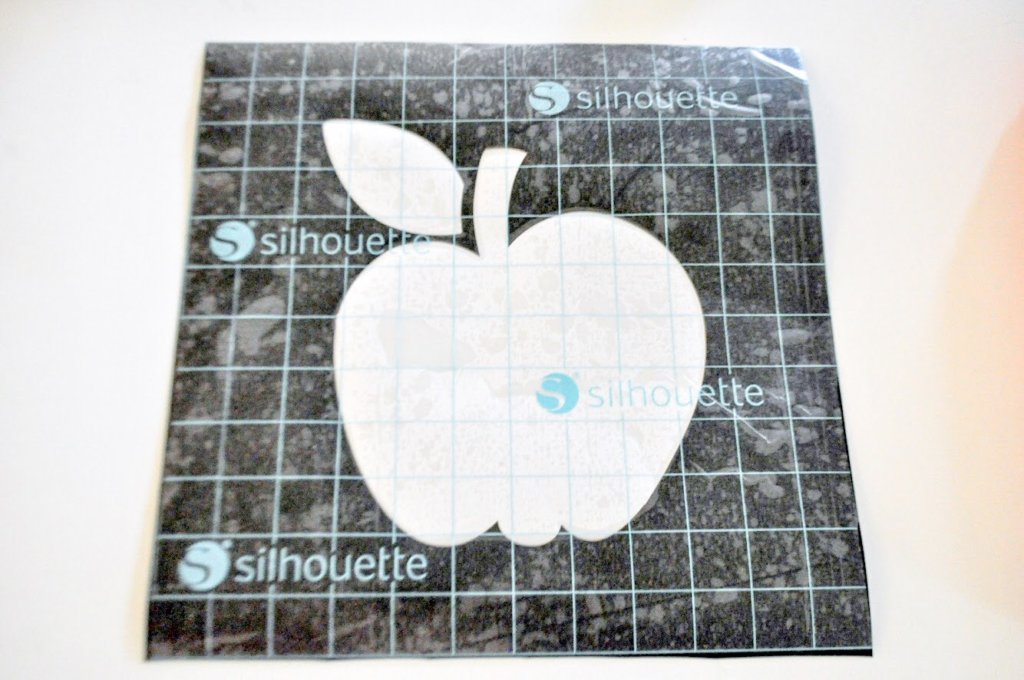
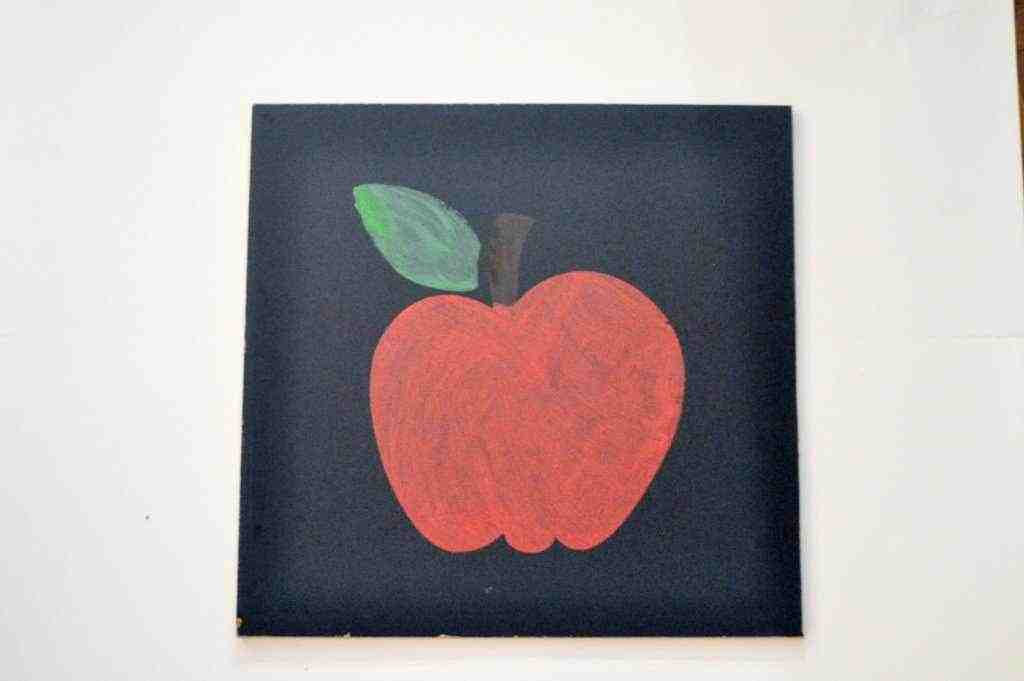
- Next simply remove the pieces that will be painted. Because this is a stencil, the leaf, stem, and apple were removed. Then apply Silhouette Transfer Tape by removing the back paper.
- Carefully apply Transfer Tape sticky side down to the apple stencil. If you aren’t familiar with this process, the Transfer Tape will allow you to place the stencil on your sign. Be sure to avoid any creases or bubbling (For an in-depth tutorial on stenciling, check out this awesome Silhouette Blog Post).
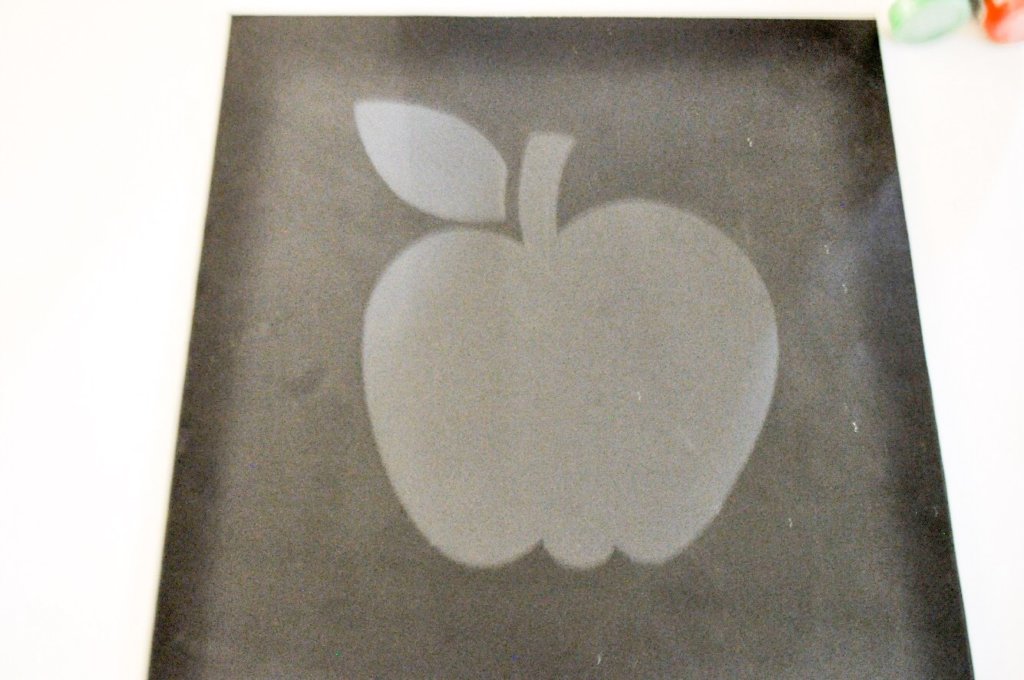
Step Four: Apply Stencil To Chalkboard
- Remove paper backing on the backside of the vinyl. Line up all four corners of the stencil to the chalkboard and press firmly, again working out any creases and small bubbles. Remove transfer paper and run fingers along the designs perimeter. This will help eliminate/minimize paint bleeding.
Step Five: Painting Your Design
- Using desired paint colors, lightly dab paint on the chalkboard. Working paint from the stencil to the center of the design will help avoid paint bleeding. Some designs we lightly paint to give an authentic “chalk look” and other designs are painted heavier to give the illusion that vinyl was used.
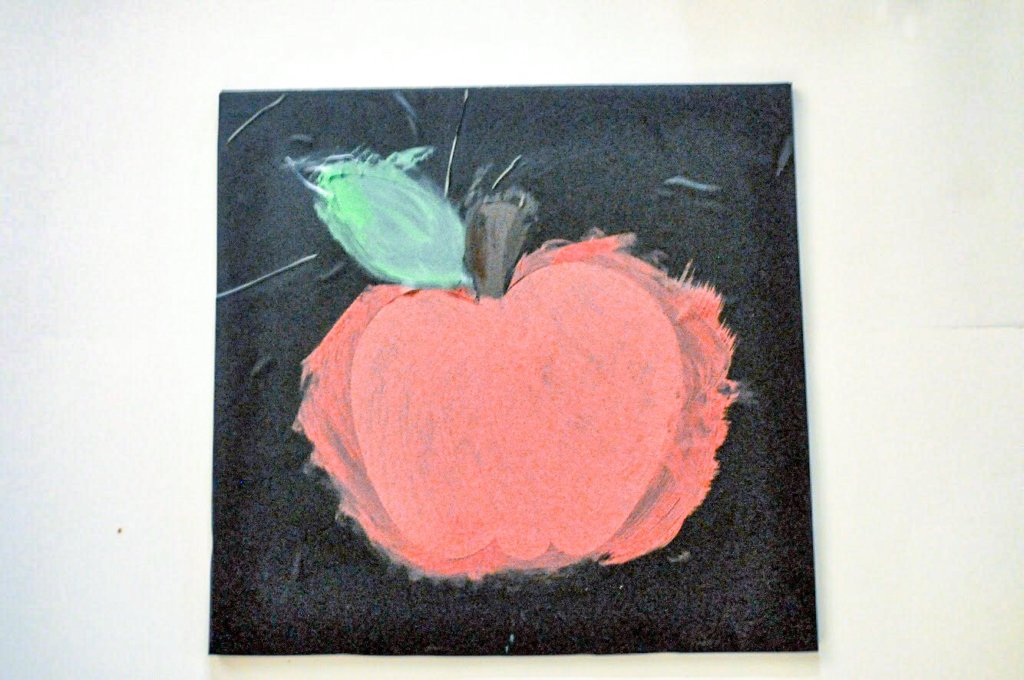
Step Six: Removing Stencil
- Once painted, remove stencil before paint fully dries. This will eliminate the risk of paint peeling off with the stencil.
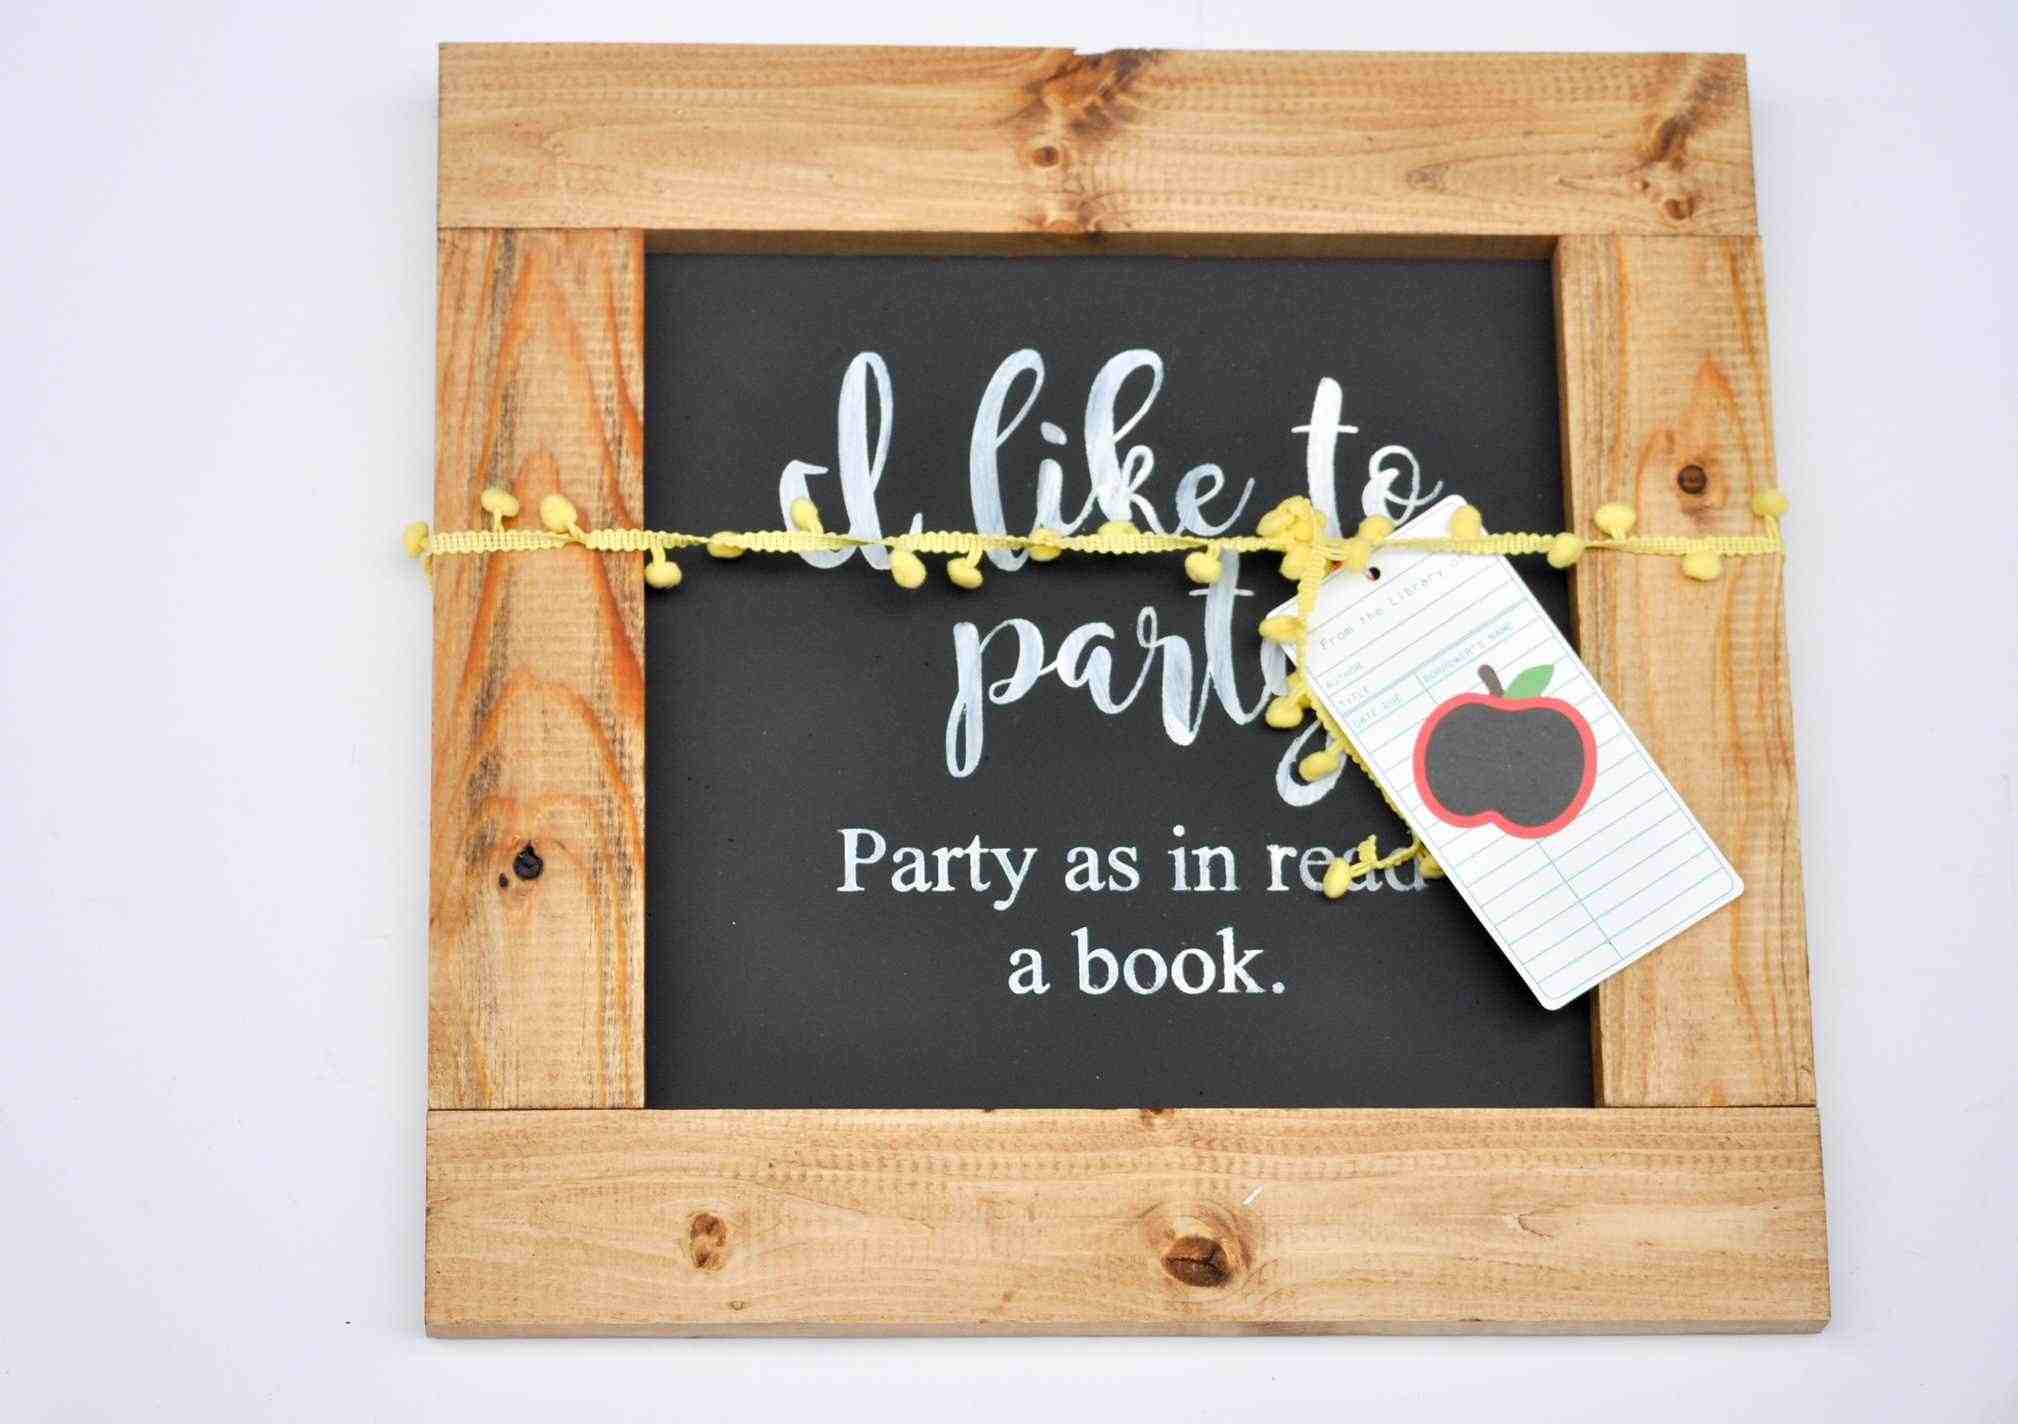
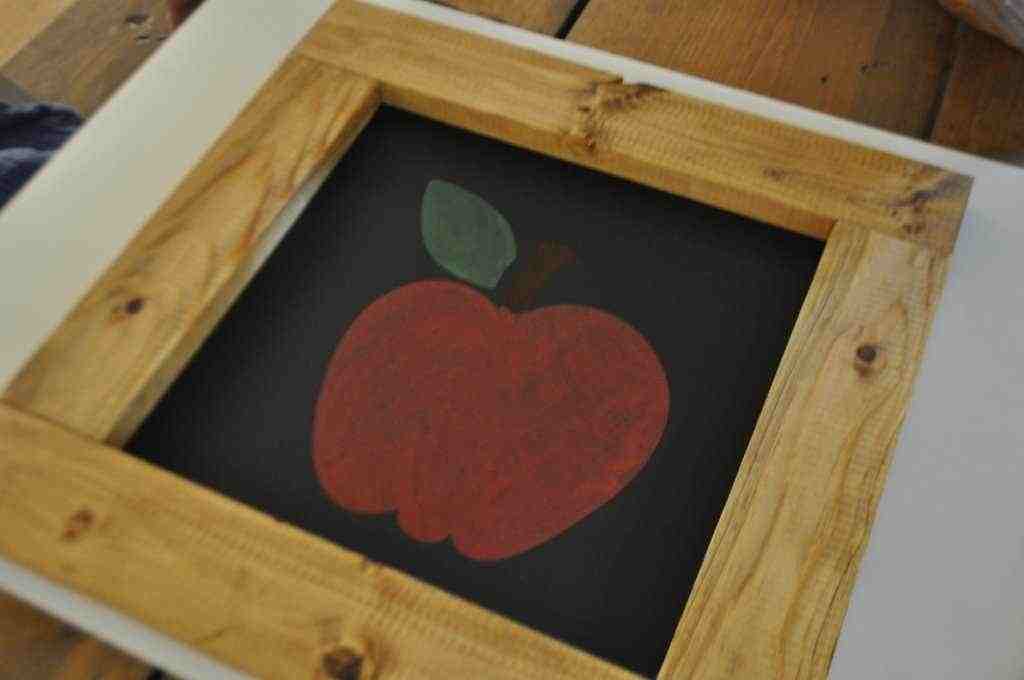
Step Seven: Add The Frame
- The final step is to frame! We love a good rustic frame.
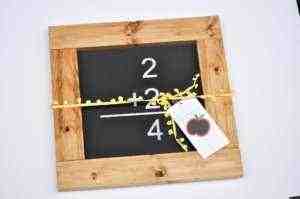
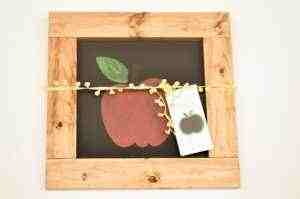
You now have an adorable sign that you can give to that teacher in your life, or if you are a teacher you can make one for your classroom.


Do you give your children’s teacher(s) a beginning of school year gift? We’d love to hear what you’re doing at the start of this school year.