To change your Preferences in Silhouette ModelMaker™, go to File > Preferences.
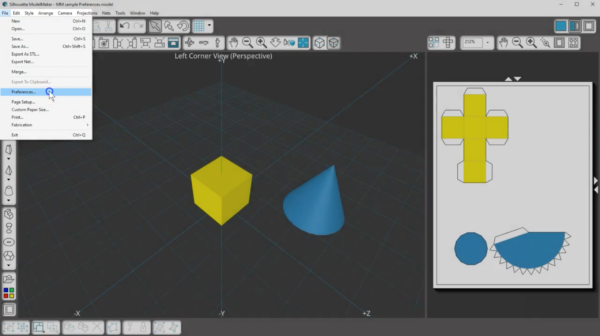
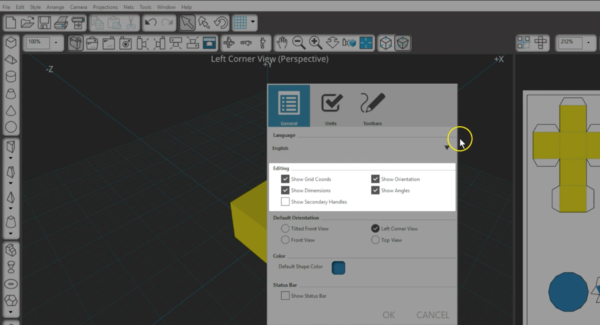
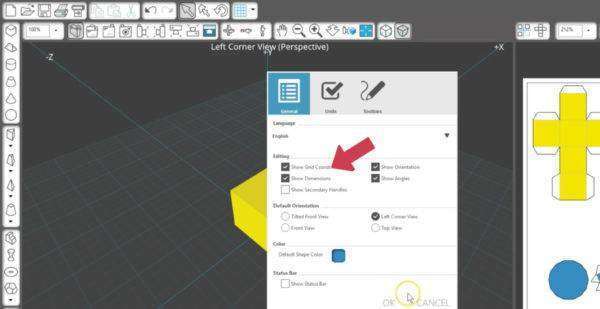
This lets you make general changes to things like the default view, unit of measurement, and your toolbars so that you can choose the best options for your personal work style and monitor size. The first tab, called General, lets you change your language, editing options, default orientation, default shape color, and show or hide the status bar.
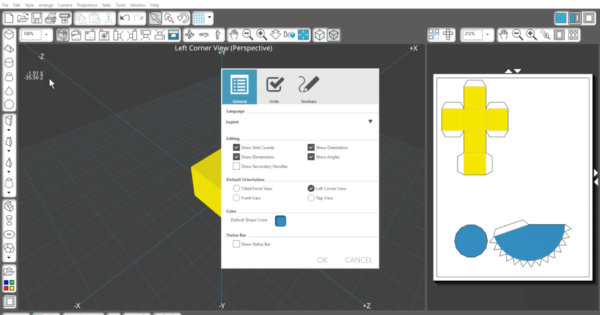
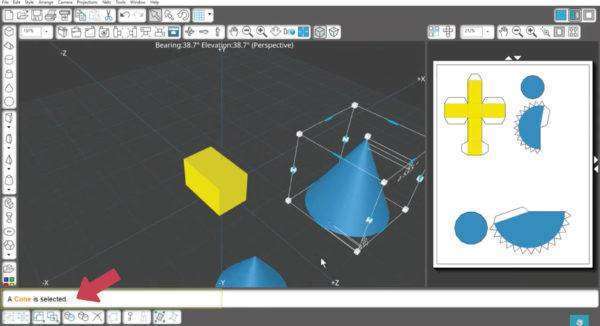
The Editing choices affect how much information is shown on your screen in the Edit Window.
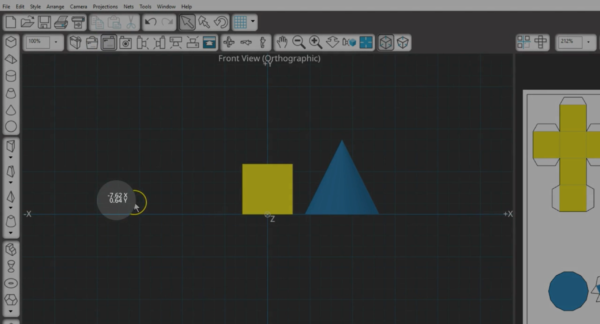
Grid Coordinates are these numbers that change as you move your mouse across the page.
They constantly show where your mouse is with the X, Y, or Z coordinates appropriate for the selected camera view. If you find you don’t need them, uncheck their box in Preferences.
Show Dimensions means that when you select a shape you can see its dimensions in the Edit Window.
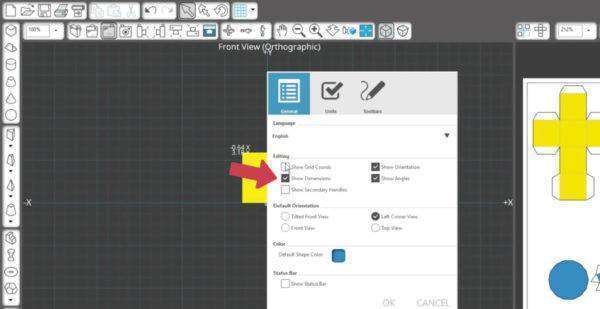
You can turn these off in Preferences.


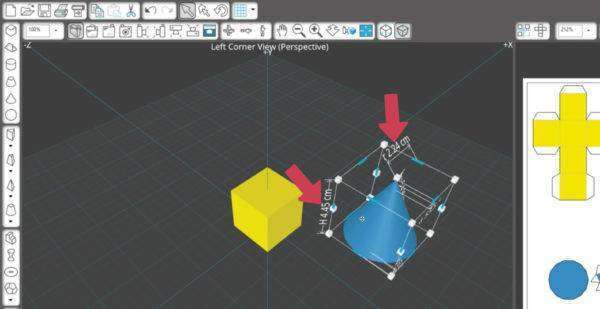
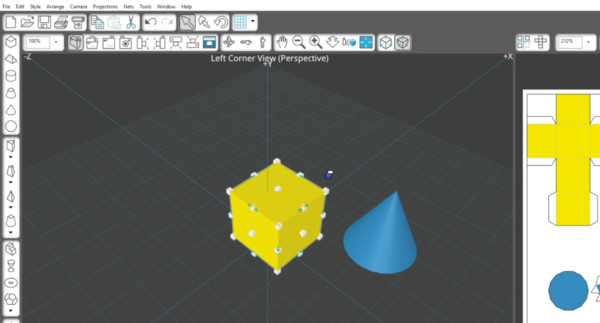
Back in Preferences, you can choose to show secondary handles. These are easiest to see on simple shapes, like a cube.
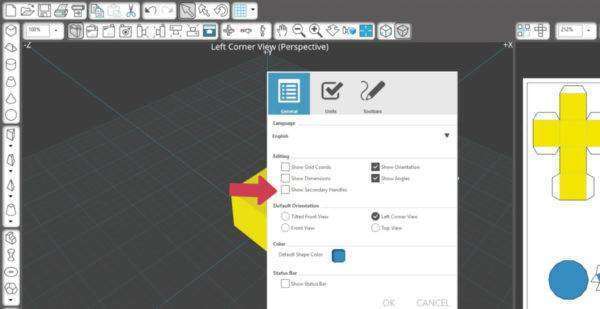
Normally, you have white grab handles to scale and stretch your shape at the corners and on flat faces of a shape. Secondary handles show up along the middle of the edge of simple shapes and allow you to scale the shape in different methods. You may find they get in the way of the blue translation handles, so you might want to keep them turned off.
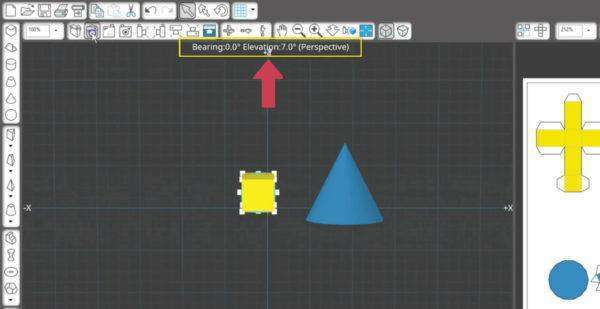
Show Orientation is another option.

Orientation is this label near the top of the Edit Window. This changes as you change camera views and rotation views. You can turn that off in Preferences if you feel you don’t need it.
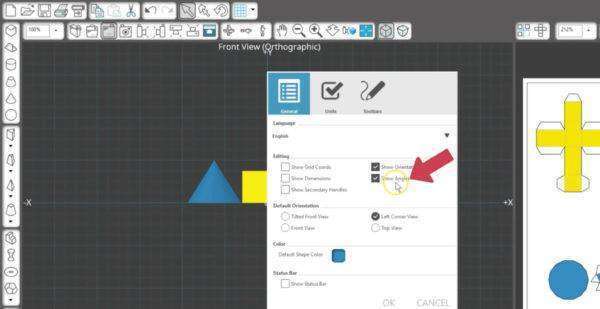
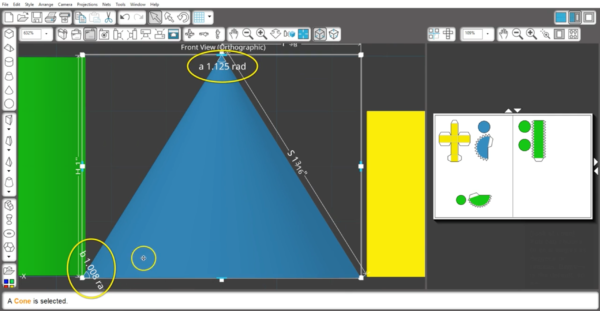
Some shapes, like the cone and frustum of cone display angles.

You can turn that on or off in Preferences as well.
One last bit of information you can display on your screen is the Status bar.

It’s off by default, but if you turn it on, then this status bar at the lower right area of your screen will tell you what actions are happening as you work on your screen.
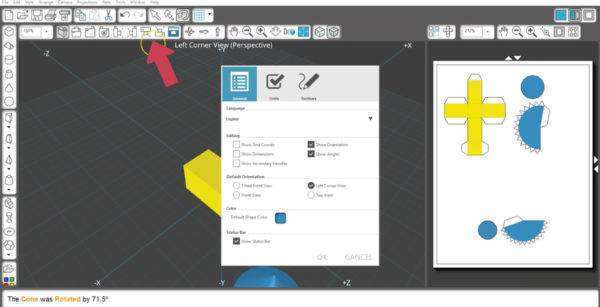
Back in Preferences, the Default Orientation lets you choose a camera view to which it will initially open or reset to.
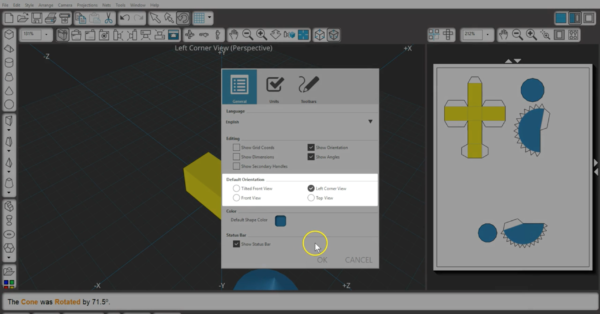
These views are among the same choices you’ll find in the toolbar above, so you can choose your favorite. Left Corner View is the default.
Finally, on the General tab, you can choose a default shape color. Blue is the default, but you can choose something else.
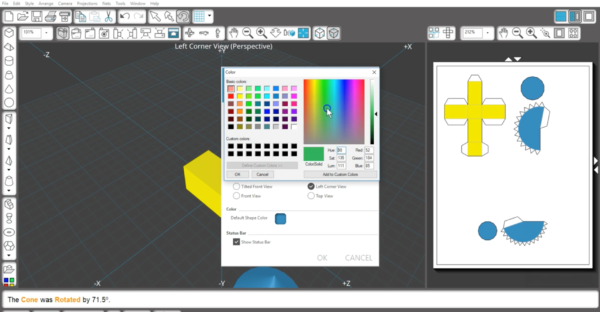
The default shape color only affects the initial color of shapes when you first open the program. As soon as you make a color selection with the color palette, subsequent shapes will all take that color until it’s changed again.

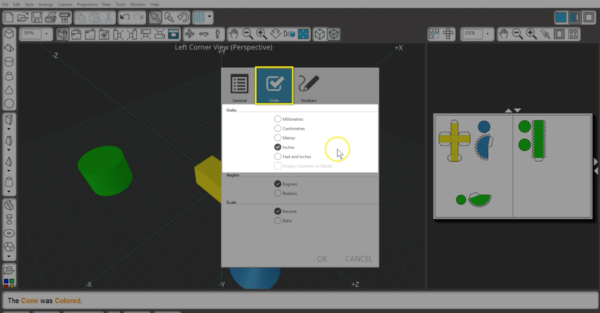
In the Units tab, you can change from centimeters to inches or to any of the units you see here.
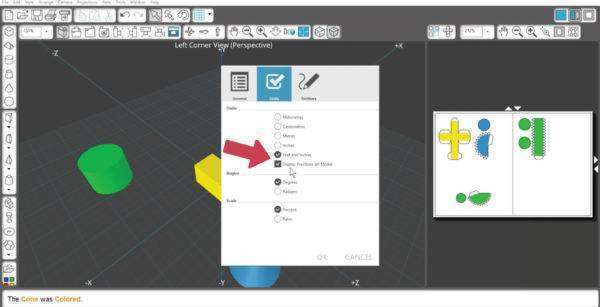
If you want to work with inches and prefer to see fractions instead of decimals, choose Feet and Inches, and check the box for Display Fractions on Model.
You can choose to view angles as degrees or radians. Degrees is the default, so go to Preferences Units tab and choose radians, if you want.
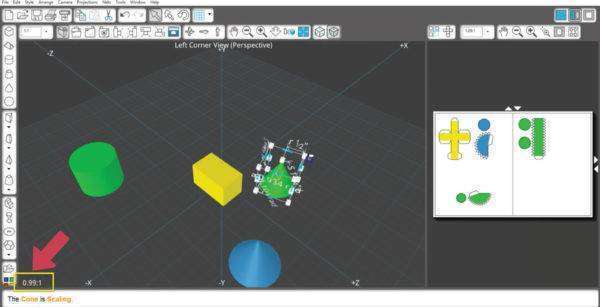
And you can choose to view the scale change as a percent or ratio. The scale change appears here in the lower left corner as you resize an object with a corner handle, and that will show in ratio or percentage, based on your choice in Preferences.
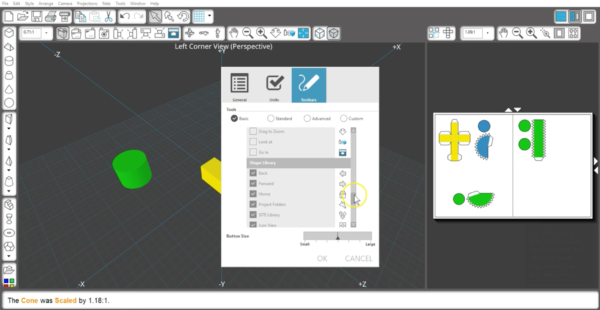
Finally, the Toolbars tab in Preferences lets you customize each toolbar. Your toolbar choice can be changed here in the Tools menu, which affects how many buttons you see. By default, Custom shows every available tool, and once you know what buttons you never use, you may want to turn those off to clear up your space. Or, start with one of the other toolbars and add the few icons you know you use frequently.
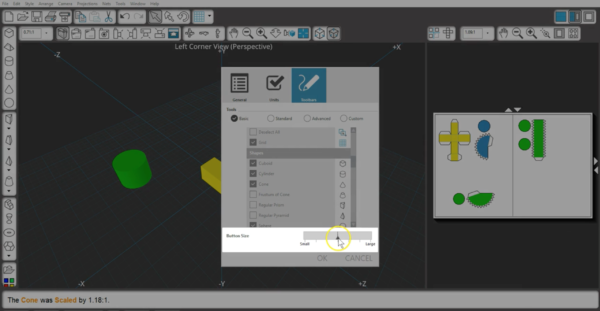
You can also change the button size for your tools, but keep in mind that your screen may lose visibility of some of those buttons if you have a full toolbar and choose the largest button size. A small button size may be nice if you have a small computer screen and still want a full toolbar.
That’s how to use Preferences to customize your workspace in a way that works best for you.