
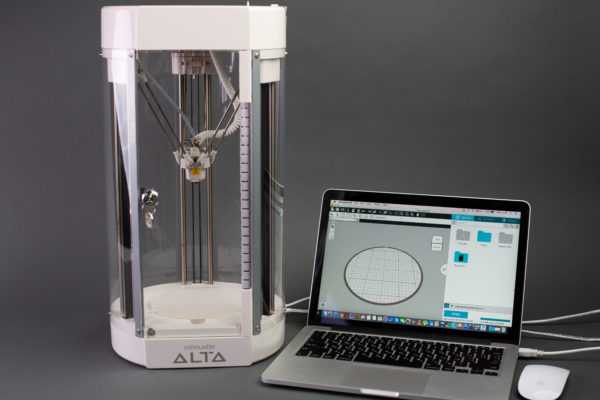
If you’re looking for some unique ornaments to add to your Christmas tree this year, then this tutorial is for you! We’re going to show you how you can create your own ornaments using the Silhouette Alta® and how you can add paint them and make them look glossy and perfect for Christmastime!
Supplies Needed:
- Silhouette Alta®
- Silhouette 3D™
- Alta Platform
- Alta Platform Tape
- Alta Filament – White
- Abrasive Sanding Sheet
- Metallic Acrylic Paint
- Mod Podge® Dimensional Magic
- Design ID #268275
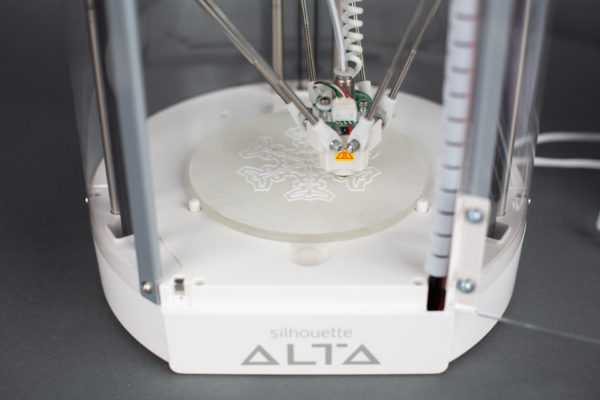
Step One: Printing the Design
1. Connect the Silhouette Alta® to the power supply. Then connect the Alta to your computer with the included USB cable. Turn the machine on by pressing the power button.
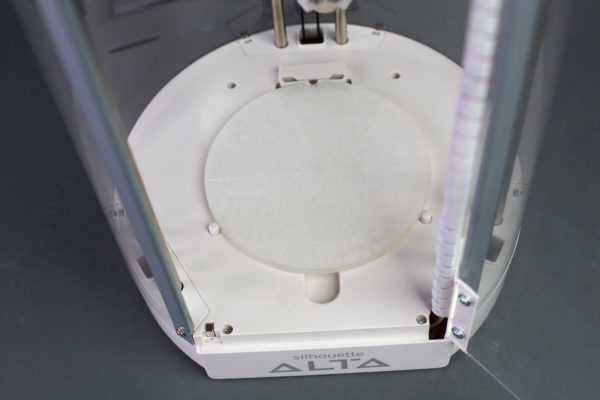
2. Apply platform tape on the platform and place the platform under the print nozzle with the tape side facing up. Make sure the notch of the platform lines up with the notch at the bottom of the machine.
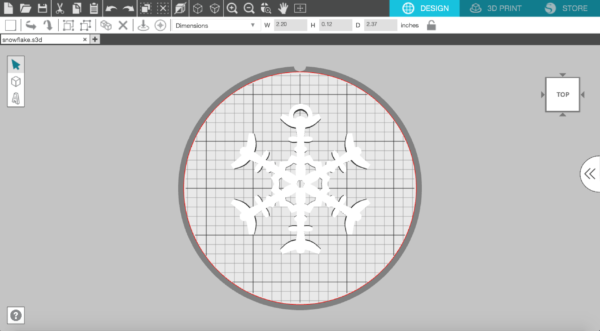
3. All downloaded 3D designs for the Alta can be found in your Library in the 3D Designs folder in Silhouette 3D™. Double-click the thumbnail to open the Christmas Pendants Set (Design ID #268275) and choose snowflake. Resize the snowflake by dragging one of the design’s corners.
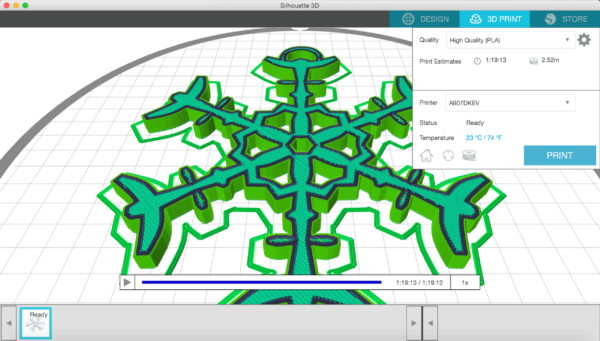
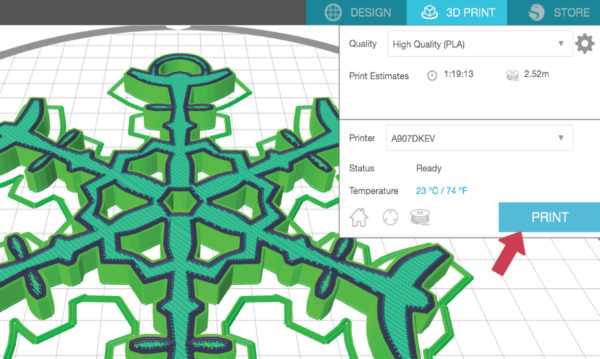
4. Go to the 3D Print tab, and for your Print Quality, chose “High Quality.” In this tab you also can see the status of the Silhouette Alta® as well as the estimate of the filament length in meters needed to print your object and an estimate of the total printing time.
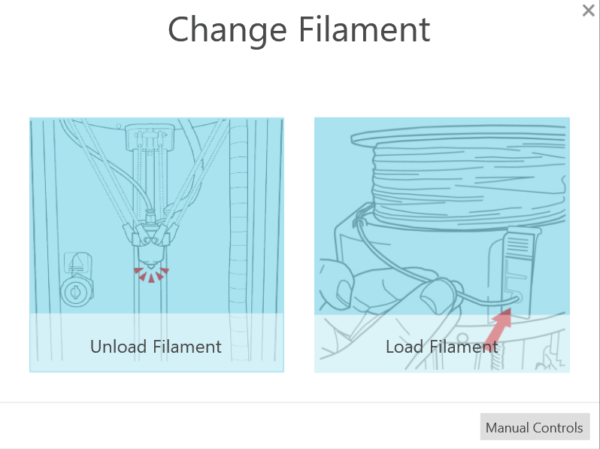
5. Load the filament in your Alta 3D printer. In Silhouette 3D™, click on the Filament button.

Go through the following steps to load your filament properly: place your filament roll on top of your machine, feed the filament through the eye and then the filament tube, insert the filament through the opening in the filament loading lever using light pressure until you feel it stop as it comes to the motor gear.
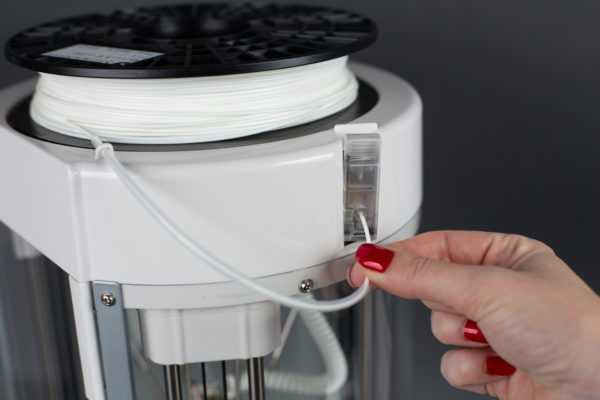
Keep hold of the filament and click “Load” in Silhouette 3D™. Continue applying light pressure as you push the filament farther into the hole.
Once the gear grabs the filament, release your hold of the filament. The Alta will continue to feed the filament through the machine.
6. When you’re ready to start your 3D print, click Print.
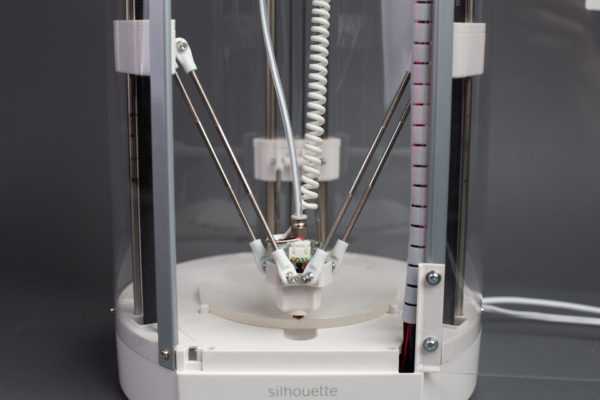
When the machine has heated the filament to the indicated temperature set in the print settings, the machine will begin to print the design.
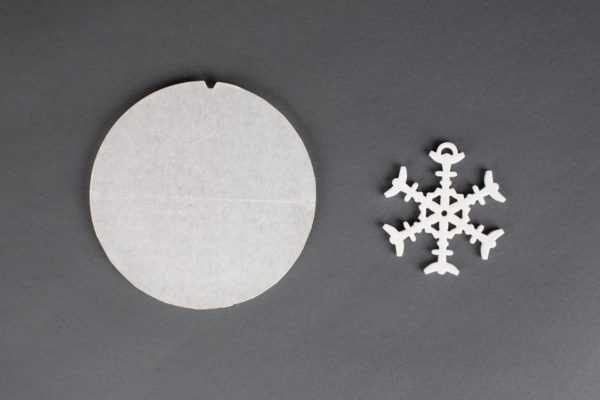
After your machine is done printing the design, give the design a few minutes to cool.

7. Then gently remove the design from the platform. Begin to break away the first layer to reveal your printed design.
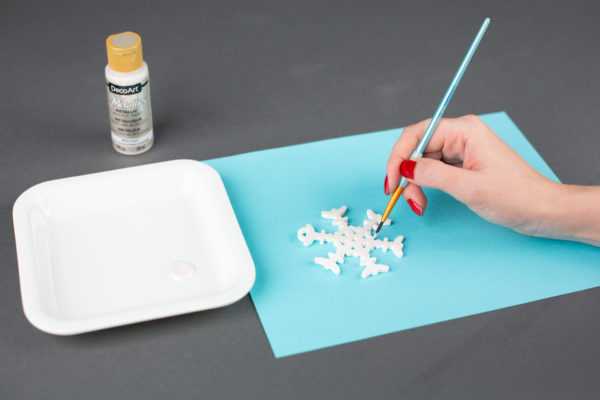
Step Two: Paint the Snowflake
1. Sand the snowflake using a sanding sheet to make the surface of the 3D print more smooth.

2. Paint the snowflake with white metallic acrylic paint.
3. When the paint is dry, apply Mod Podge® Dimensional Magic to the snowflake to add a glossy look to the project.

4. Print other ornaments using the 3D designs from the Christmas Pendant Set (Design ID# 268275) and sand and paint them as described above.
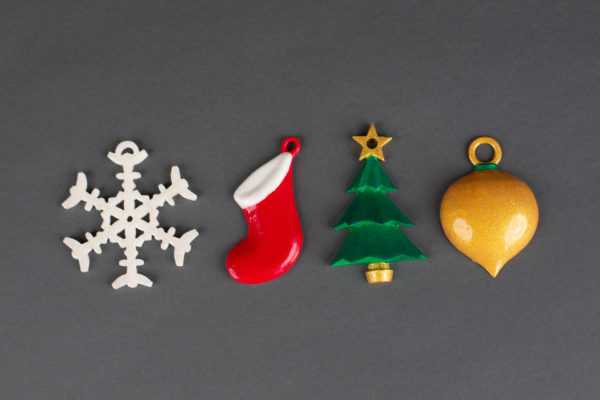
5. Insert some thread or string through the holes of the ornaments, and your ornaments are ready!
These ornaments will make great additions to your Christmas tree. If you want to see what other ornaments you can make, search for other designs at the Silhouette Design Store. Remember that there are some 2D designs that you can easily convert into 3D designs using the Silhouette 3D™ software, so there are lots of possibilities!