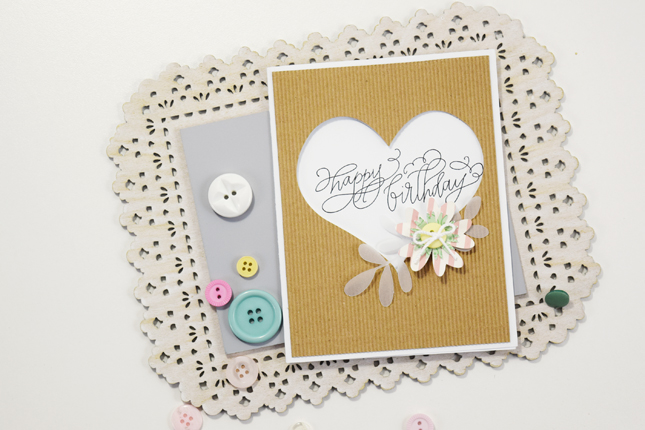
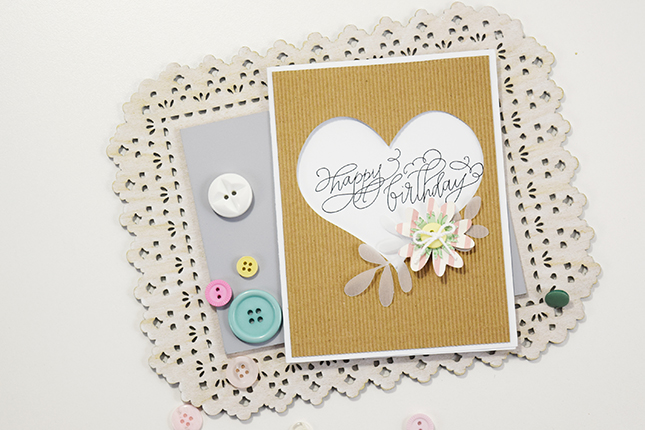
Hello friends, it’s Becki, here to share with you a card I created using adhesive corrugated paper and my Silhouette CAMEO®. Making handmade cards is one of my favorite things to do. I love sending happy mail to family and friends. The card I have to share with you today is a birthday card.
You will need:
- White cardstock
- Button
- String
- 2 scraps of patterned paper
Step One: Open Designs in Silhouette Studio®:
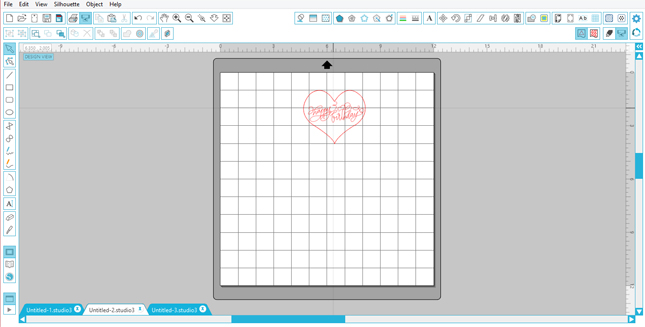
(1) Start by opening the heart cut file and the sketch pen “Happy Birthday” file.
(2) Place the files on the mat so that the heart would cut in the center of the front of the card.
(3) Make sure the “Happy Birthday” sentiment fits in the heart.
Tip: Turning on the cross hairs feature will make placing the heart and sentiment much easier.

Step Two: Cut Heart & Sketch Sentiment
I cut the heart out of white cardstock. Easy!
(Not sure how to adjust your Cut Settings in Silhouette Studio®? Check out Kaitlin’s awesome DIY Ice Cream Shirt tutorial. She goes through the process in step three!)
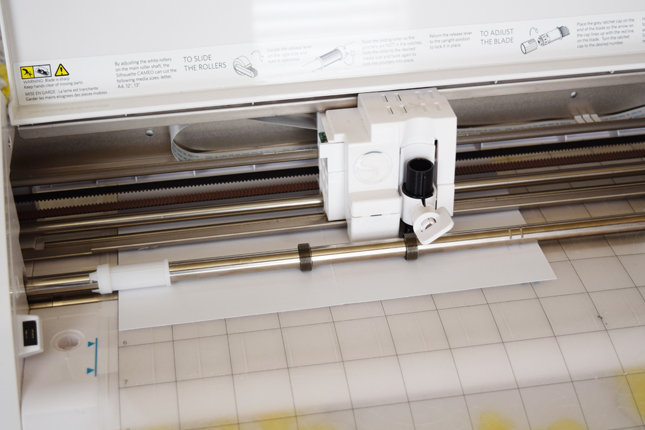
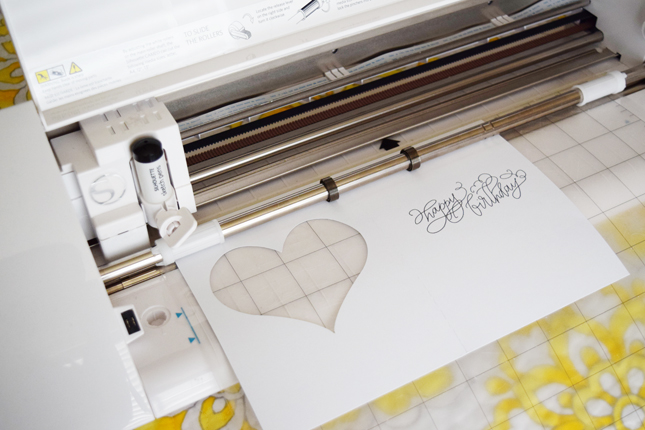
When it is time to add the sentiment to the inside of the card:
(1) Flip the white cardstock (with the heart already cut) over.
TIP: This is so that when I sent it through my Silhouette Cameo again the heart was on the left side and the sentiment was on the right side.
(2) Send cardstock through the CAMEO again, this time using the sentiment sketch file (in this case, “Happy Birthday!”).
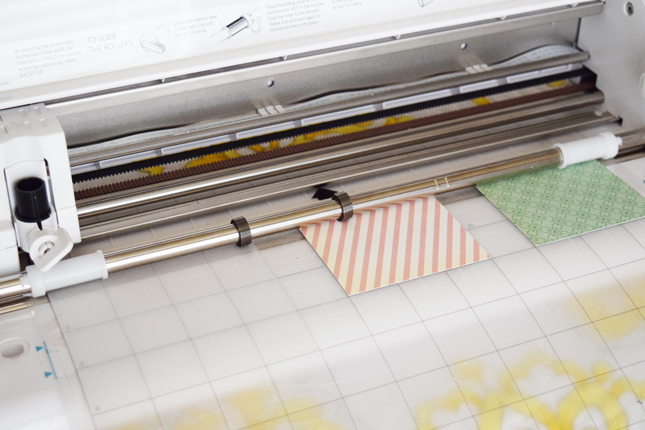
Step Three: Cut Out Flower Pieces
I put all the flower and leaf pieces all on the same cutting mat so that I only had to put the cutting mat through the machine once.
This is how I set up the cut files:
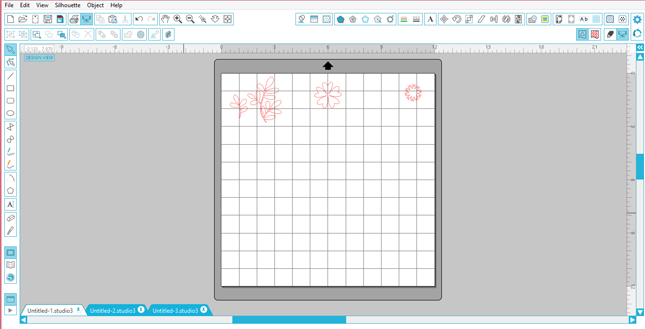
As you can see, I placed three different pieces of paper (including Silhouette Vellum) on the cutting mat and used the grid in Silhouette Studio® to line up the designs with the paper on the mat.
(The vellum is in the top left corner, it’s just really hard to see in this photo.)
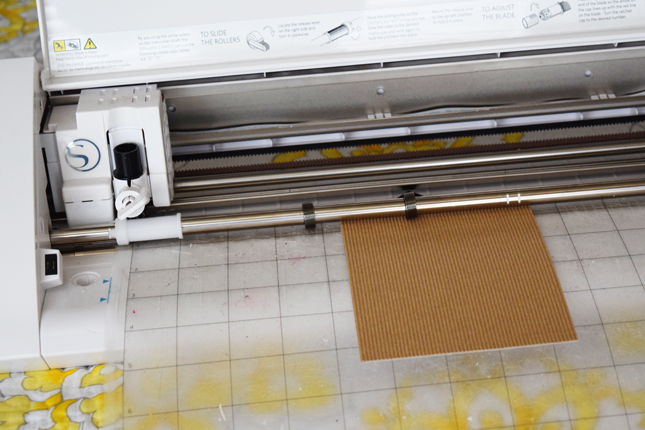
Step Four: Cut Heart Out of Corrugated Kraft Paper
(1) Place the corrugated paper right over where the heart was previously cut.
(2) Send the heart design to your Silhouette.
NOTE: Did you make small mistake or measure the design wrong? No problem! Just trim the corrugated paper to the size of the card front.
Step Five: Assemble the Card
Now that all the pieces of the card are cut, it’s time to put everything together!
The Adhesive Corrugated paper made this so EASY because I didn’t have to worry about gluing the corrugated paper to the card base. All I had to do was:
(1) Peel the backing off of the card.
(2) Place it on the front of the card.
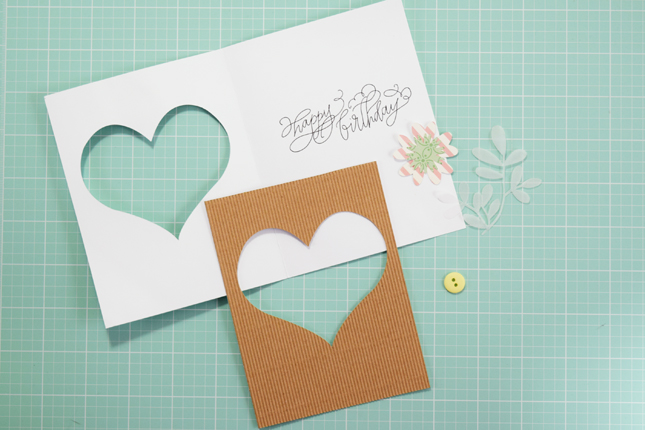
I love how this card turned out and I’m sure it will make someones day when they open their mailbox and find this adorable card there.
Linda Huffman
April 28, 2016
Love this little card project. Easy to understand. Gotta make this one.
Becki Adams
April 28, 2016
I’m so glad you like the card, Linda. I’d love to see the card you create! Thanks for stopping by the Silhouette blog.
Aubrey Claybrook
April 28, 2016
This is such a fun idea!!! Love the mix of materials 🙂
Becki Adams
April 28, 2016
Thanks, Aubrey! I love mixing materials to create lots of texture! <3
Connie Wilson
April 28, 2016
Pretty! 🙂
Marilyn
April 29, 2016
Love your card and thank you for the details! I need several Happy Birthday cards right now!
janet
April 29, 2016
Lovely card, and I bet the mixed textures look fab in real life! Thank you for a great idea and tutorial 🙂
Annie W
April 29, 2016
This came out beautiful Becky…love the sketched sentiment!