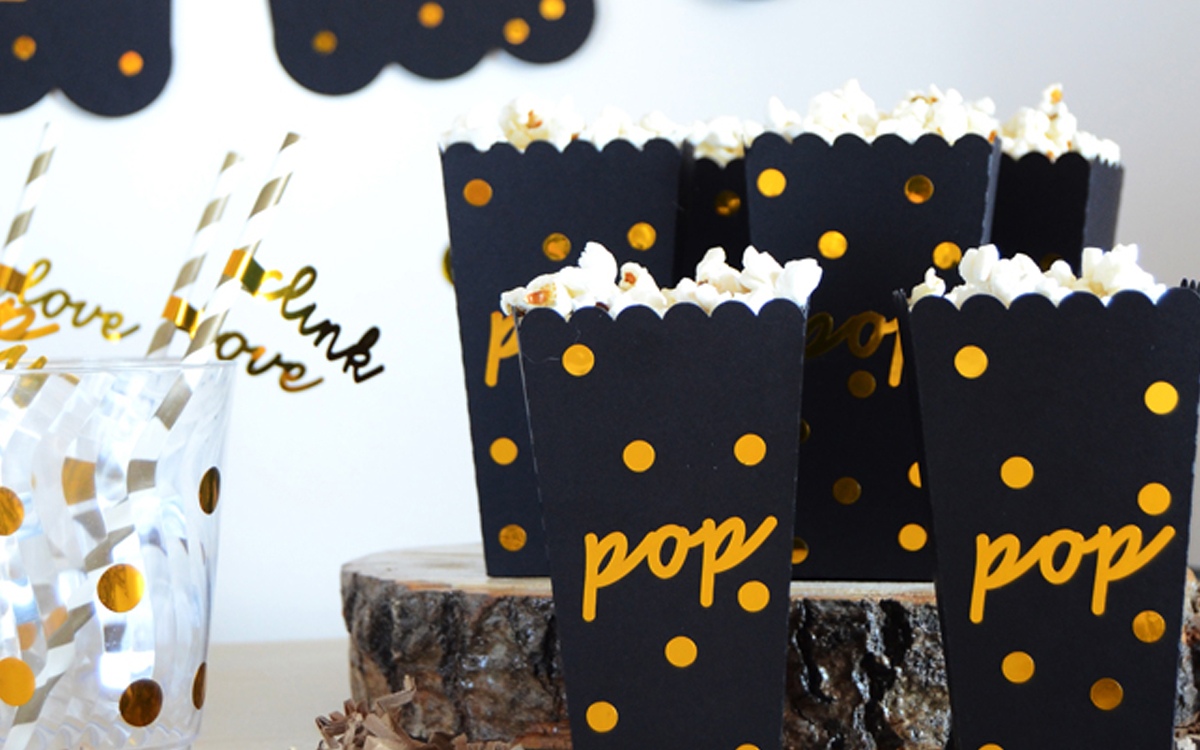
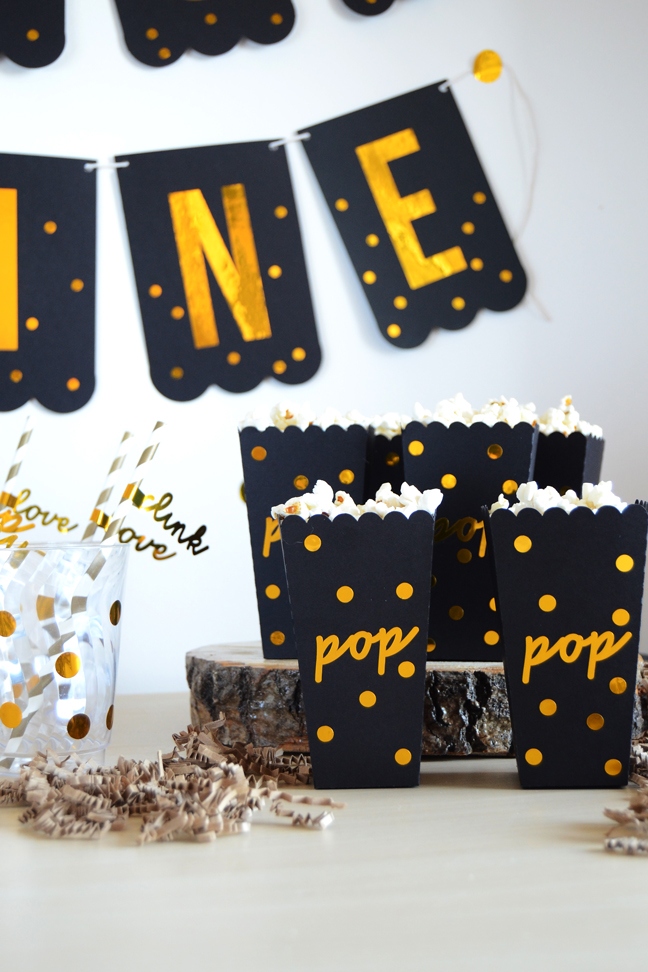
Planning a movie night slumber party with your girls? Here’s a couple of ideas to create coordinating decor for a treat bar at your mini get together and blow your guests away.
Sometimes it’s good to sit back and relax with your friends – stay in, watch a movie, drink some wine (or soda if you’re more into that), and gossip the night away after. I need three main things when watching a movie: popcorn, drinks, and candy. Follow as I create coordinating decor using my Silhouette Portrait®, so you can create your own easy and fun treat bar too!
Supplies needed:
- Silhouette Portrait®
- Silhouette cutting mat
- Silhouette transfer paper
- Silhouette Studio®
- 8.5 in. x 11 in. cardstock (in your color of choice)
- Silhouette 9 in. adhesive vinyl (in your coordinating color of choice)
- Silhouette Pick-me-up® tool or Silhouette Spatula
- String
- Glue or tape runner
- Paper straw
- Crystal disposable cups
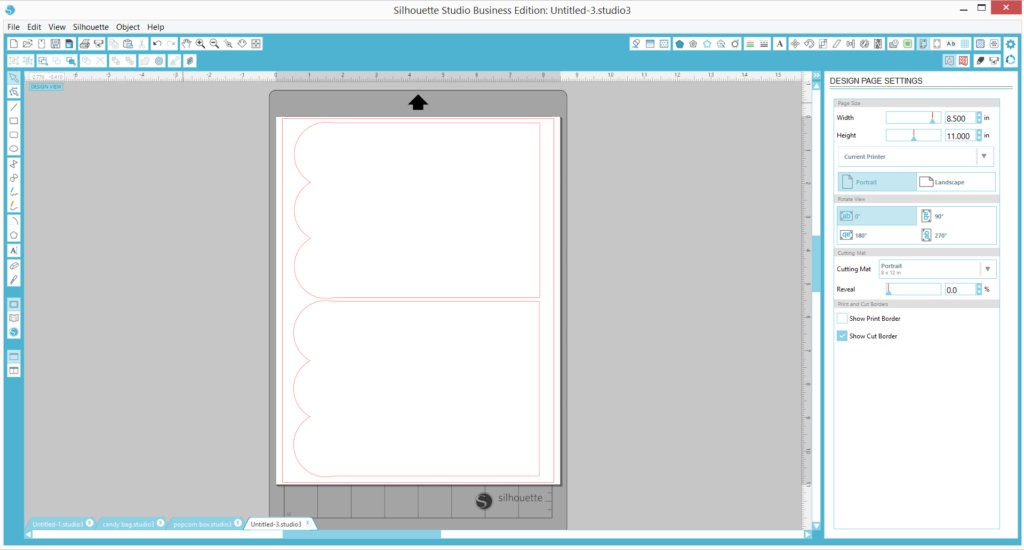
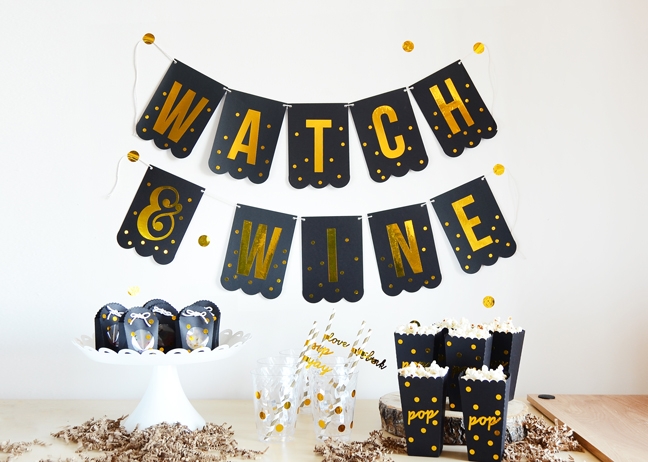
Step one: Create your bunting sign
Create your bunting sign by first selecting the shape you would like. To go with my theme of scallops and polka dots, I used the scalloped bottom bunting from the Build a Banner Set (Design ID #56847) and sized two-to-a-page on the Silhouette Studio®, using the Silhouette Portrait® size. Add holes for your string, and then send to your Silhouette Portrait® to cut on regular cardstock.
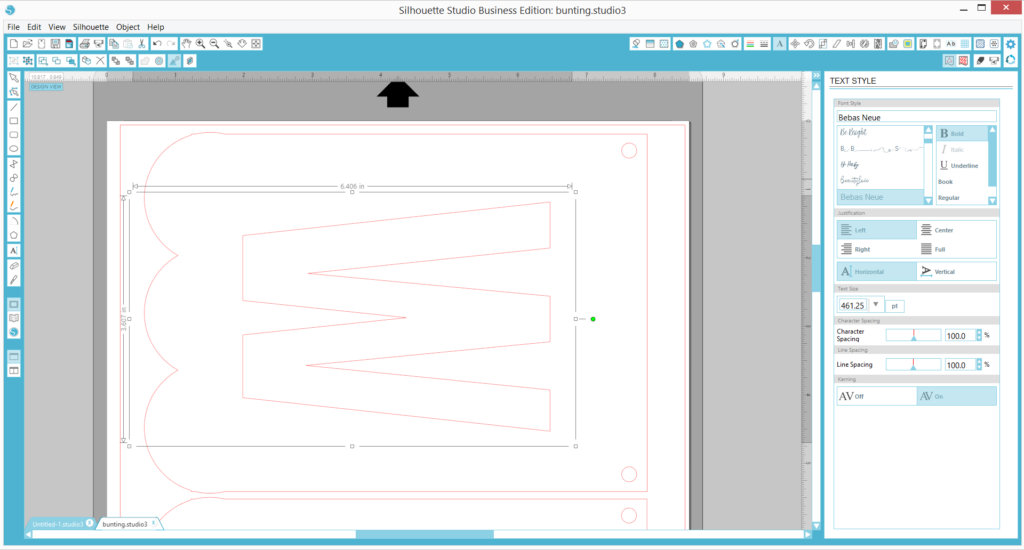
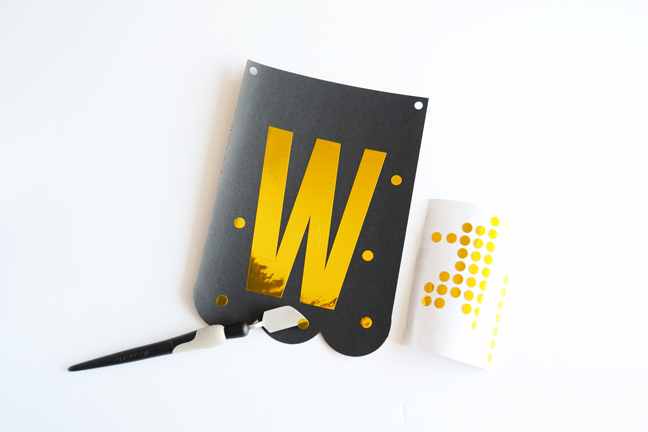
Now, size the letters you want to use based on the size of your bunting. Rearrange your letters to fit a letter-sized page (or two) and send it to your Silhouette Portrait® to cut on the 9 in. adhesive vinyl.
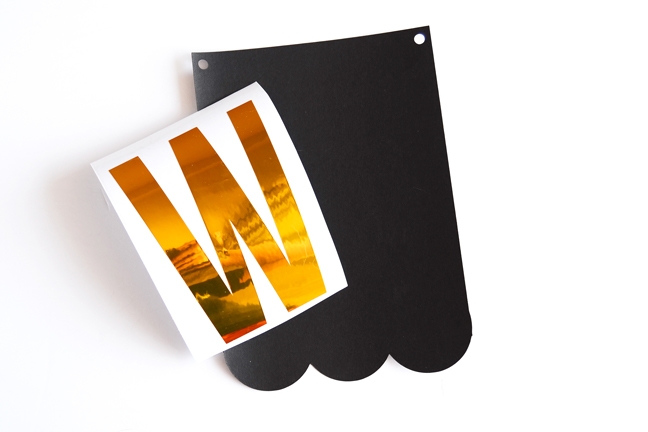
Using transfer tape, carefully attach the letters to the center of each bunting piece.
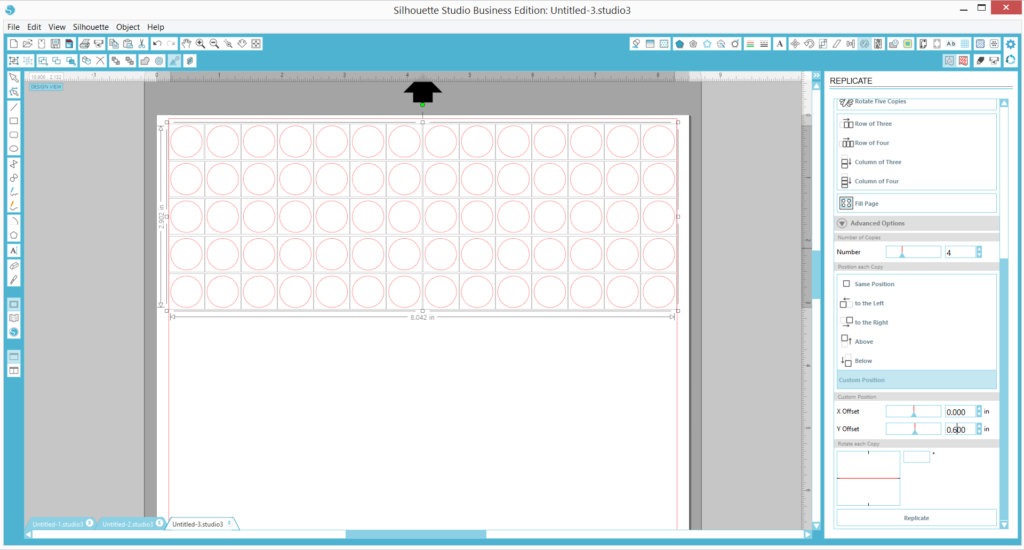
Create a basic circle on Silhouette Studio®, open the Replicate window, and copy your circles until you make enough circles to fill your page (or until you make how many you want to cut). I created two sizes, one to decorate the banner, popcorn containers, and candy bags, and another to decorate the cups. For more detailed instructions on how to replicate objects, refer to this tutorial here.
Embellish the bunting further by adding random dots to create a fun, bubbly polka dotty feel. Use the spatula tool to transfer the dots easily.
String your bunting pieces onto a long piece of string to assemble your banner.
Step two: Create your popcorn containers
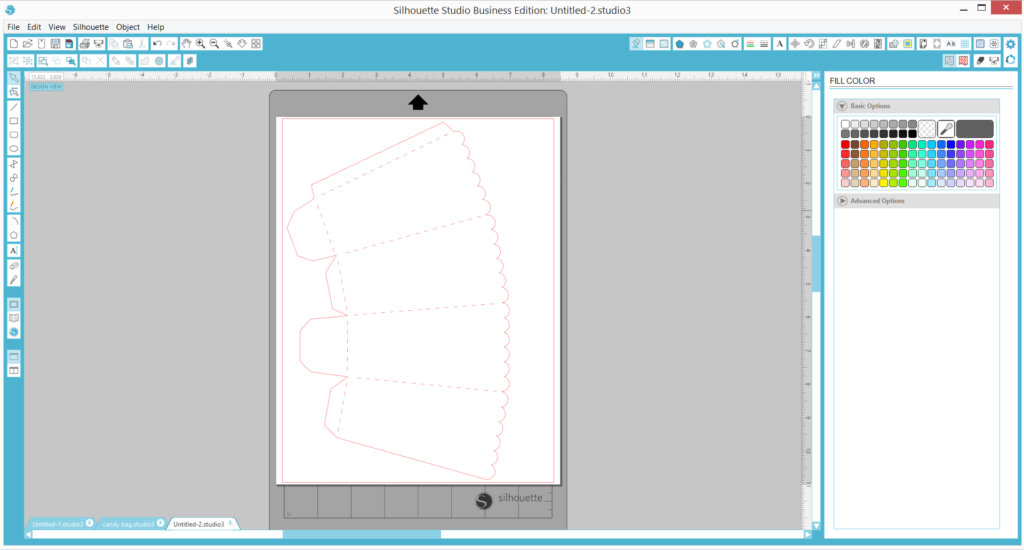
This Mini Popcorn Box (Design ID#21251) is the perfect size for your Silhouette Portrait®. Cut individual boxes on cardstock.
Once you have cut all your pieces, cut embellishments to adorn your box. I cut the word ‘Pop’ on gold adhesive vinyl and adorned each of the boxes with the vinyl word and again, random dots to continue the theme.
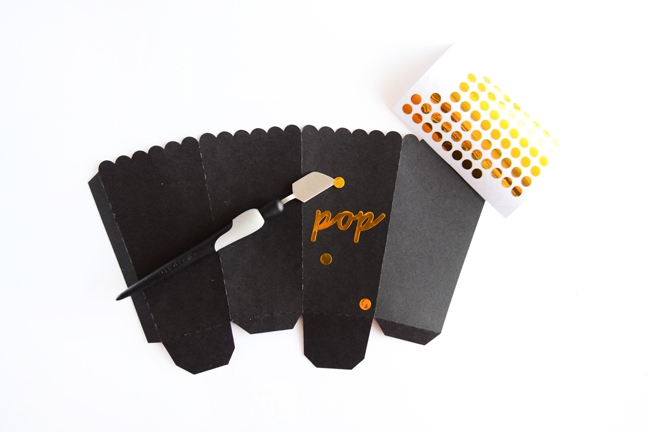
Use a tape runner to easily assemble each box and fill with popcorn.
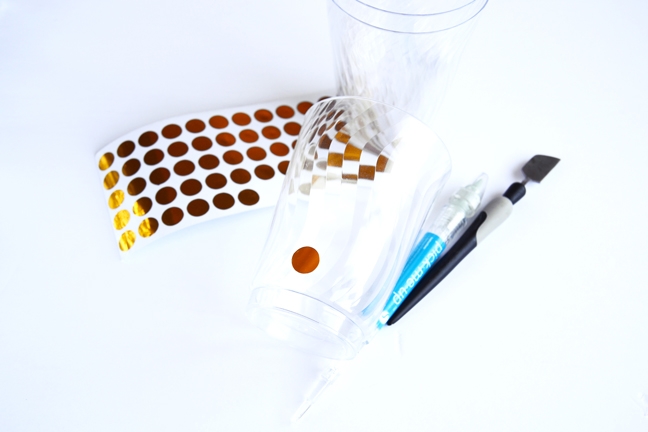
Step three: Decorate your cups
Using the circles you have cut from step one, adhere them on to your crystal disposable cups in a random pattern. Again, use the spatula or Silhouette Pick-Me-Up® tool to easily transfer the circles from the backing paper to your cup.
The cups and drink straws look so cute together and it’s definitely one way to liven the party up – so let’s learn how to make these fancy drink straws next!
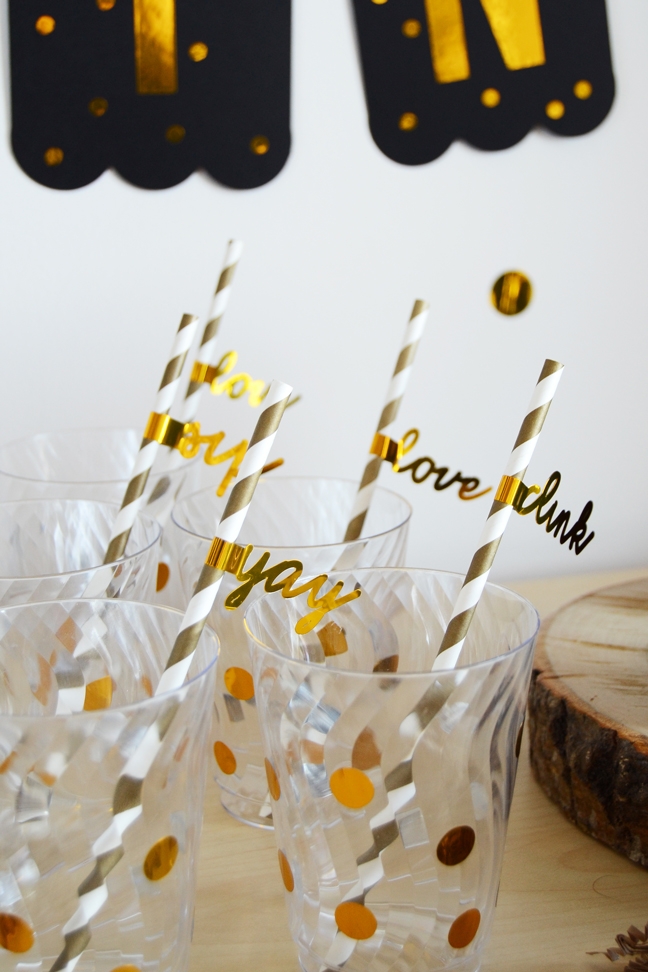
Step four: Create fun straw embellishments
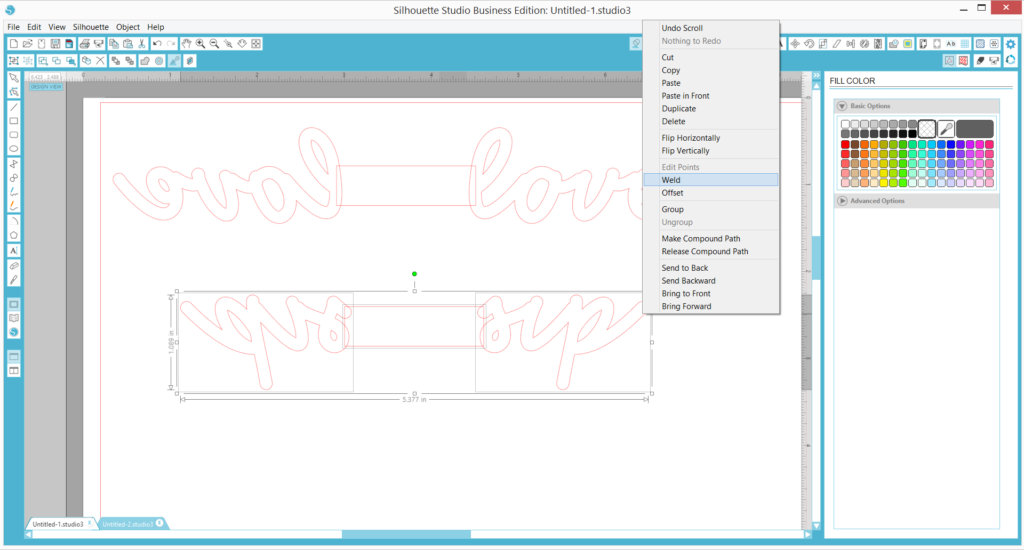
One of my favorite projects in this tutorial are these fun drink straw embellishments – and creating them is so easy. I used the Candy Apple Bold Script Font (Design ID#153682). Type your word on Silhouette Studio®, select and right-click, and choose Weld to attach your letters together.
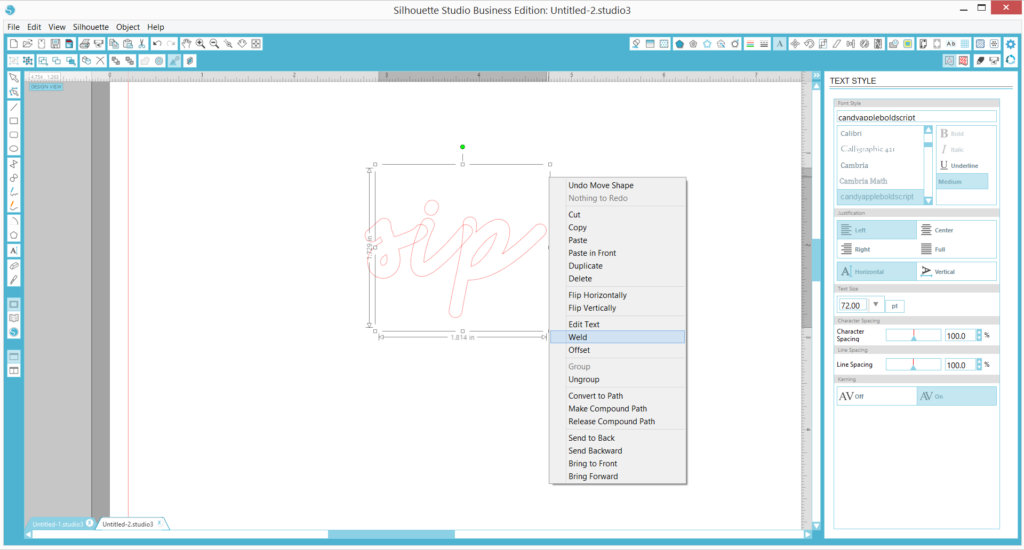
Duplicate the word by pressing Alt and clicking on the word. Drag it to the left, making sure it’s completely aligned with the other word, right-click, and select Flip Horizontally.
Create a rectangle to connect the two words, making sure that the distance between the words is about 1.7 in. when sized down. Select all three shapes, right-click, and choose Weld.
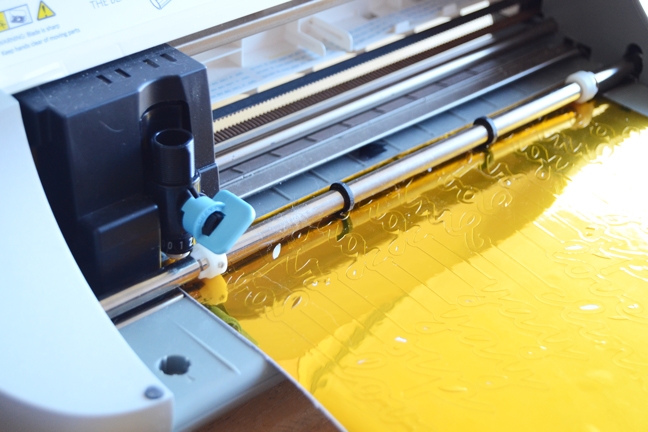
Arrange the words to fill your portrait-sized cutting area and send to your machine to cut.
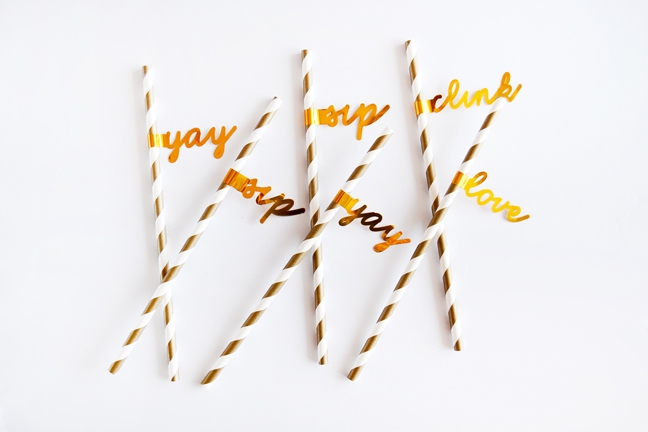
Carefully peel off the word from the backing and attach the middle on to a paper straw. Align the words and adhere them to each other.

Just imagine how else you can customize these! Create words, names, even images and transform them as fun drink flags.
Step five: Create your candy bags
Finally, let’s create the candy bags. I used the Scalloped Top Tie Box (Design ID#187438) and removed the front and back faces, as I did not opt to use them. Draw a circle on top of one of the sides to create a window. Select both bag and circle, right-click, and choose Subtract. Size it down and arrange to two-per-page and cut on cardstock.
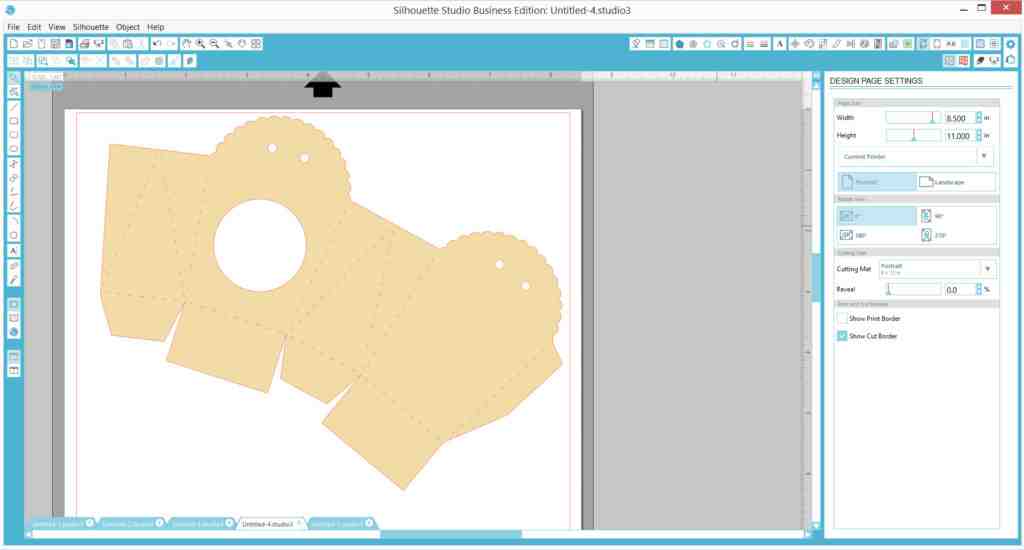
Cut a piece of acetate or clear or semi-opaque plastic to glue on the inside for the window area, and assemble your bag. Use the extra circle confetti cut from step one to decorate the front of the bag.
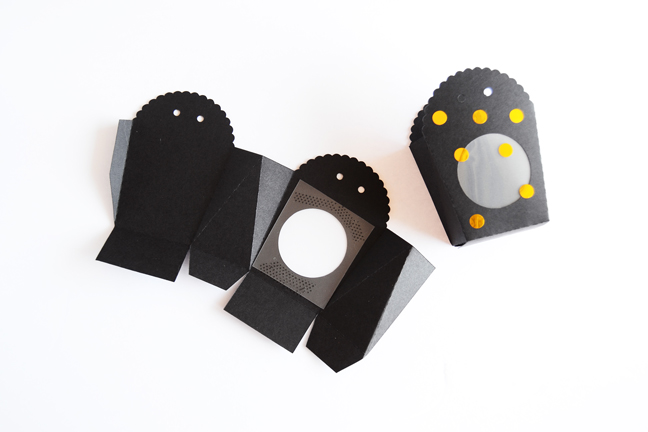
Fill it with candy and securely close it with string.
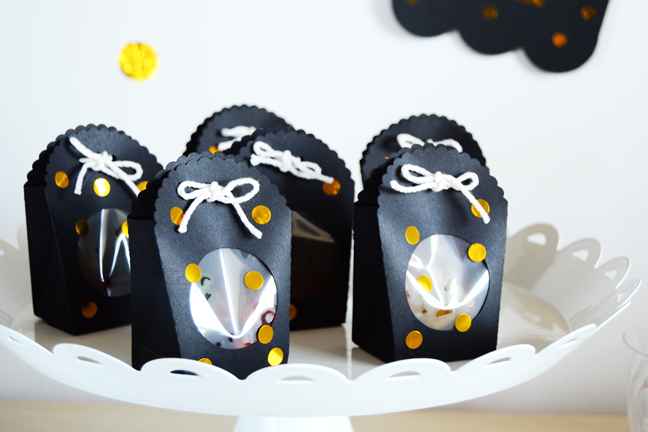
And you’re done! Individually, these projects may not pack a punch, but set them up and adorn them with more confetti and gift bag filler and your treat bar will look glam.
And to think that all these were done by my tiny but mighty Silhouette Portrait®!
What kind of party do you like to host?