
I love how easy it is to make stamps with the Silhouette Mint™ – and they’re the perfect tool to create customized teacher stamps too! My sister in law is getting married and I wanted to gift her with a brand new set of stamps with her married name for her to use in school. See how I designed this from start to finish so you can create your own customized teacher stamps – perfect for your use or to gift to your child’s teacher this coming school year!
Supplies Needed:
- Silhouette Mint™
- 45 mm x 45 mm Silhouette Mint™ Stamp Kit
- 30 mm x 30 mm Silhouette Mint™ Stamp Kit
- Mint Ink
Step One: Creating Your Design
I designed my stamps on Silhouette Studio® since I felt it was more convenient for me. You can definitely use the Silhouette Mint software for this, however, the instructions for this step is for the Silhouette Studio®.
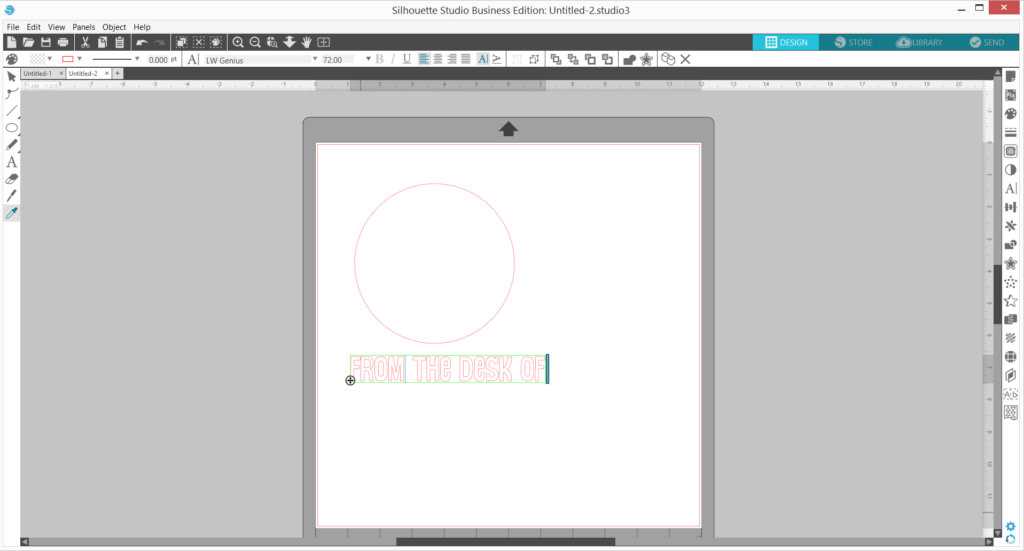
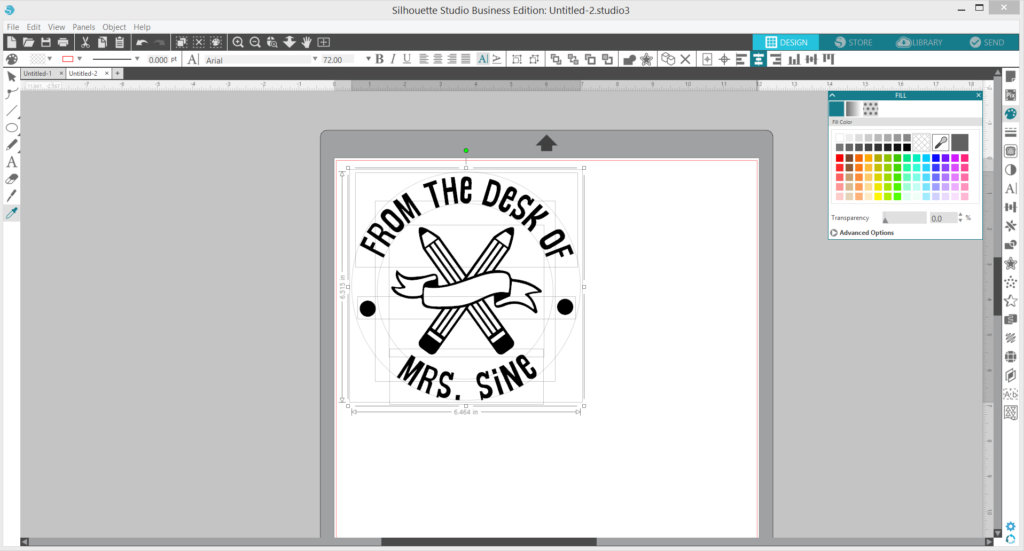
Create a circle and then type your preferred wording beside or below the circle – I used the LW Genius (Design ID #80718) font from the Design store for both of my stamps to create a fun, cohesive feel for the stamp set.
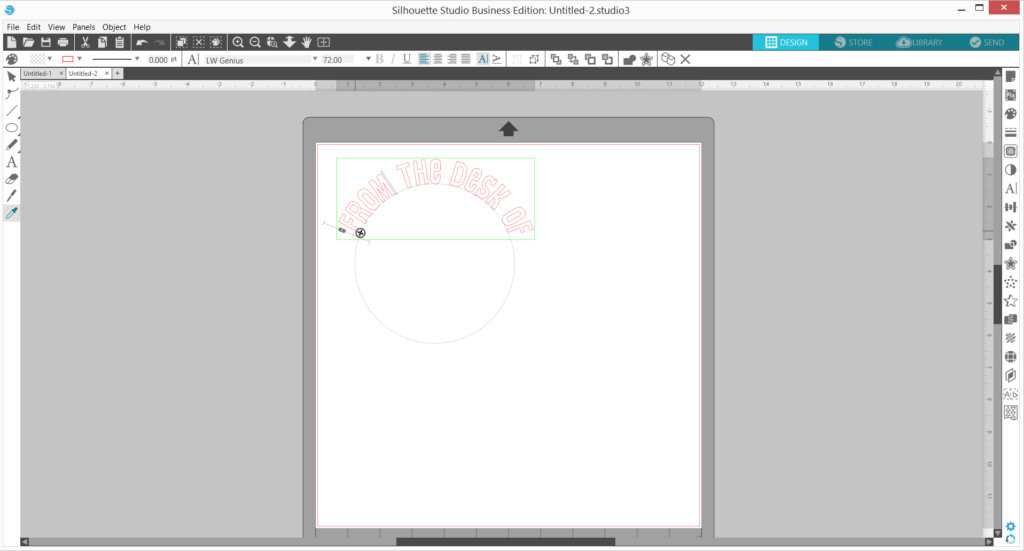
Double click the typed phrase until a green box appears around it, and drag the text by clicking and holding the multi-directional arrow on the corner of the text to your circle. Use the same multi-directional arrow to position it where you want it on the circle.
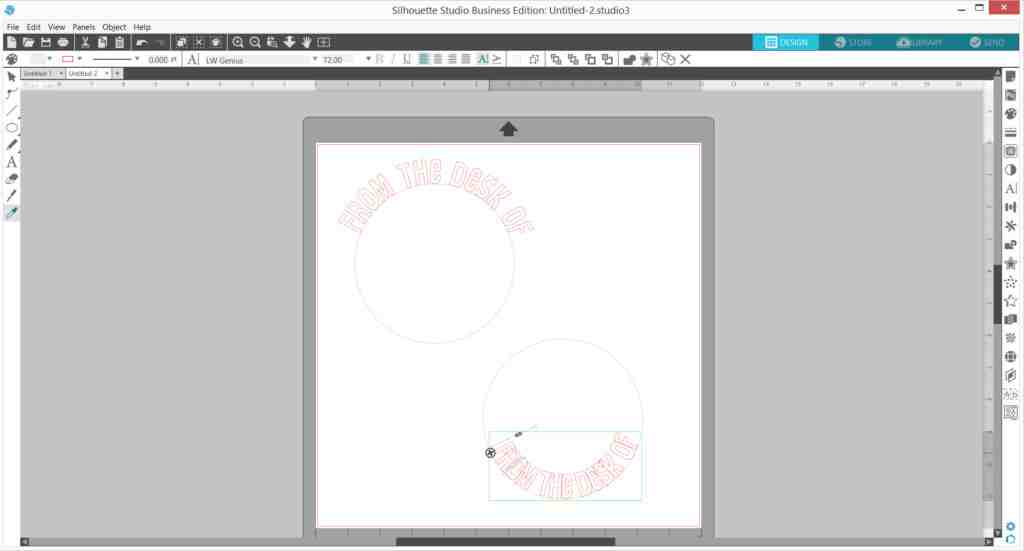
Copy both the circle and the text by selecting both, right-click and then click Copy, right-click again to select Paste. You can also do this with keyboard shortcuts (CTRL+C and then CTRL+V on a computer). Double-click the text and replace with the text you would like.
Move the second circle set on top of the first one and align them both. Ideally, you would like the outer circle (where the bottom text lies) bigger than the first circle to give it a completely round look so you can resize as needed. Don’t forget to adjust the bottom text size to be the same as the top text size. Adjust the character spacing as needed by going to the character panel as shown in the photo above.
Add extra details to your stamp to make it look more fun! I used the Pencil Banner (Design ID #147539) and some circles for this stamp, and modified the notebook from the Back to School Planner Stickers (Design ID #147056) and some stars for the other stamp image.
Select all the images in your stamp except for the two big circles, and fill them with black. Remove the line color.
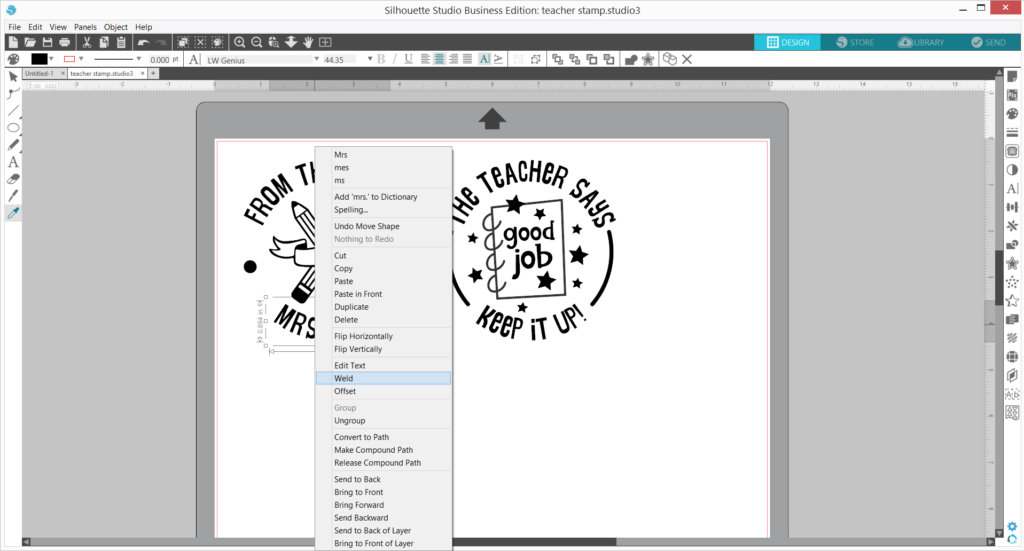
Select the letters, right click and click Weld to keep the size of the letters when you resize. Group all the elements together, and save this document.
Step Two: Print Your Stamp
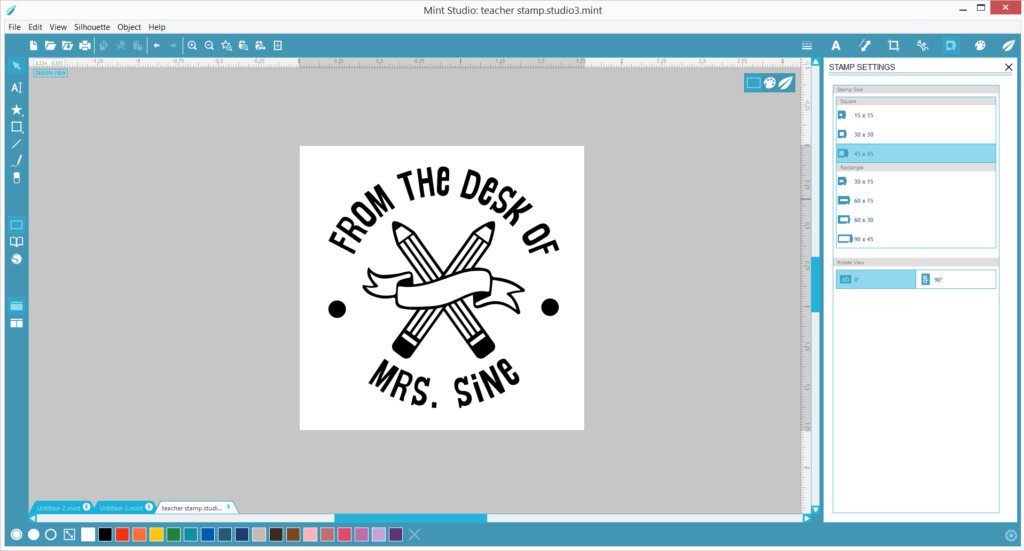
In Mint Studio®, open the file you just saved. Click on the stamp image you would like to print (group them if they are not grouped together) and select the size you would like on the Stamp Settings panel. Resize the stamp image as needed.

Send it to your Mint and watch the magic! It literally takes seconds for it to print a stamp.
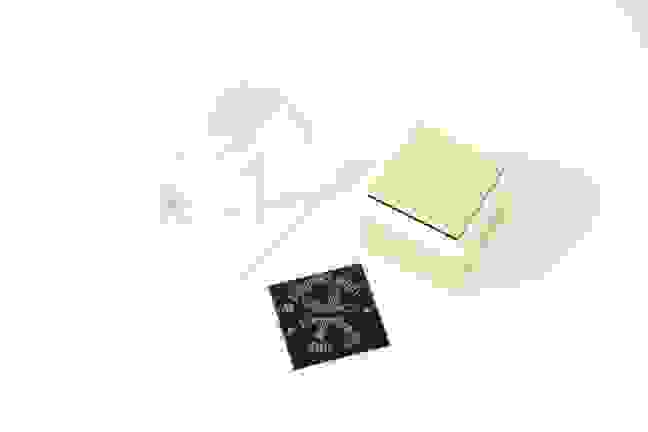
Remove the stamp from its carrier and mount it on the corresponding stamp base.

Ink your stamp with your chosen color – I used red and black – however, there are a ton of colors to choose from! Let it rest for about 10 minutes for so the stamp absorbs the ink.
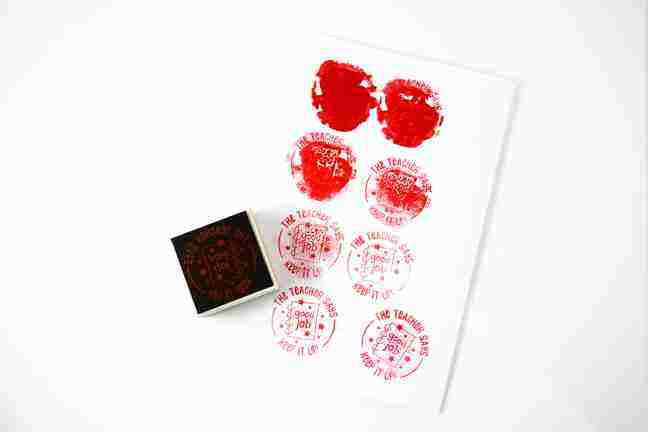
Once it has rested, stamp away the excess ink on a piece of paper.
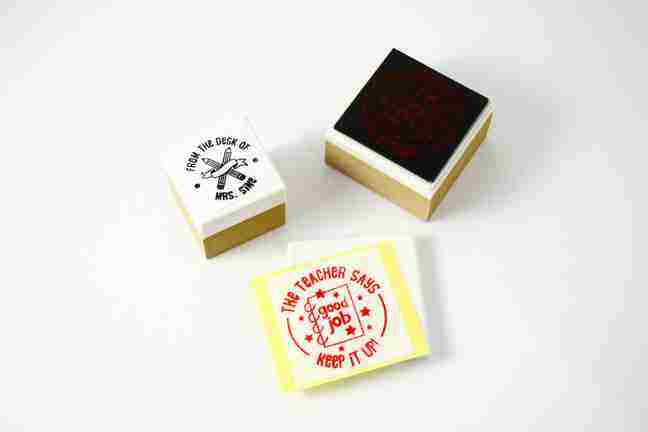
Don’t forget to stamp the image as well onto the accompanying sticker to label your stamp – and you are done!


Something personalized and branded like this would be the perfect gift for teachers this coming school year – it’s something they’d be able to use for a long time! What kind of stamps do you like making with your Silhouette Mint™?