
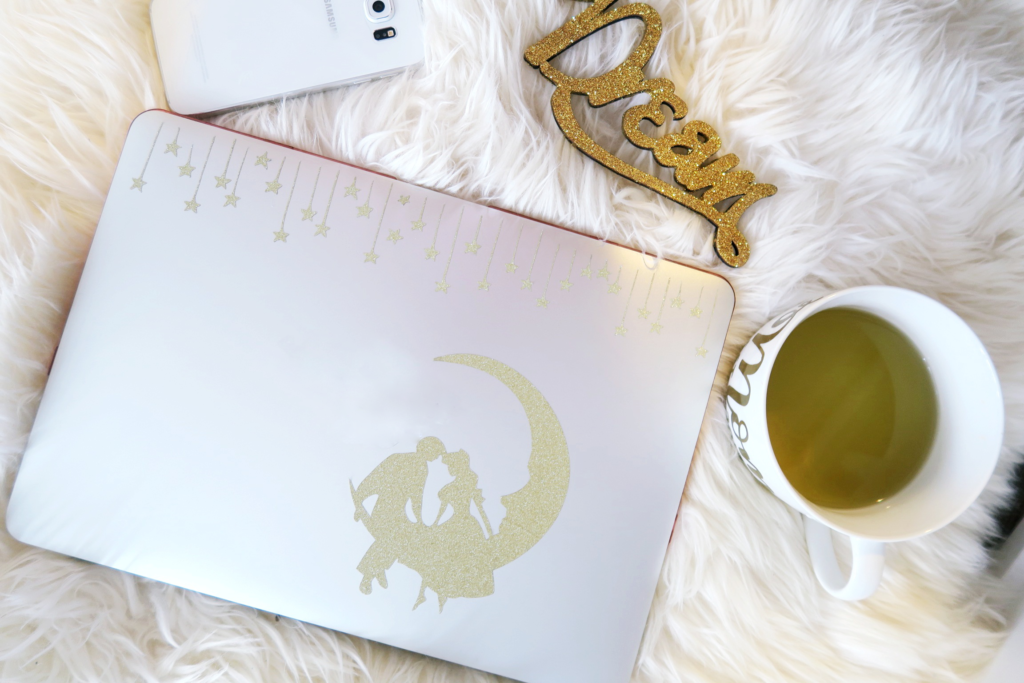
Have you ever sat in a coffee shop and wondered how the person across the table got their awesome laptop decal? Now you can make your own! I’ve always been such a dreamer and a hopeless romantic, so it’s no surprise I decided to choose a very dreamer-like image from the Silhouette Design Store. In this tutorial, I am going to share with you a fun and easy way to decorate your laptop using your Silhouette Cameo®.
Supplies Needed:
- Silhouette CAMEO®
- Silhouette Transfer Paper
- Silhouette Cutting Mat (Cameo 12 X 12 in.)
- Silhouette Gold 12 x 12 inch Vinyl
- Silhouette Spatula
- Silhouette Scraper
- Silhouette Design Store ID# 76388
Step One: Load the Design Into Your Silhouette Studio®
- Select the image you want to put on your laptop by selecting File —> Open. If you bought your image off Silhouette Design Studio, select File —> Library. Once you have uploaded your image, your image should appear on your Silhouette Studio®.
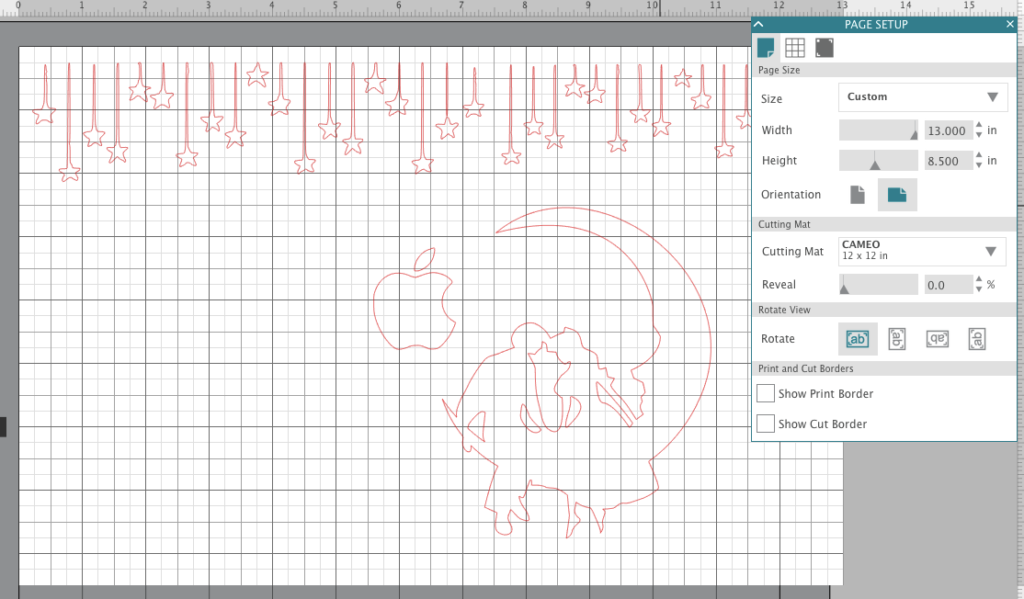
- When creating decals on your laptop, it’s best to set your page layout to the exact dimensions of your laptop. I own a MacBook Air and it’s 13 inches wide and 8.5 inches height. I also positioned my computer’s icon so I can have a visual of where I want to place my images.
- To set your page layout, go to the page icon as shown below or select File —> Print Page Setup.
Step Two: Adjust Your Image
- I created the falling stars and lined them up along the top of the laptop.
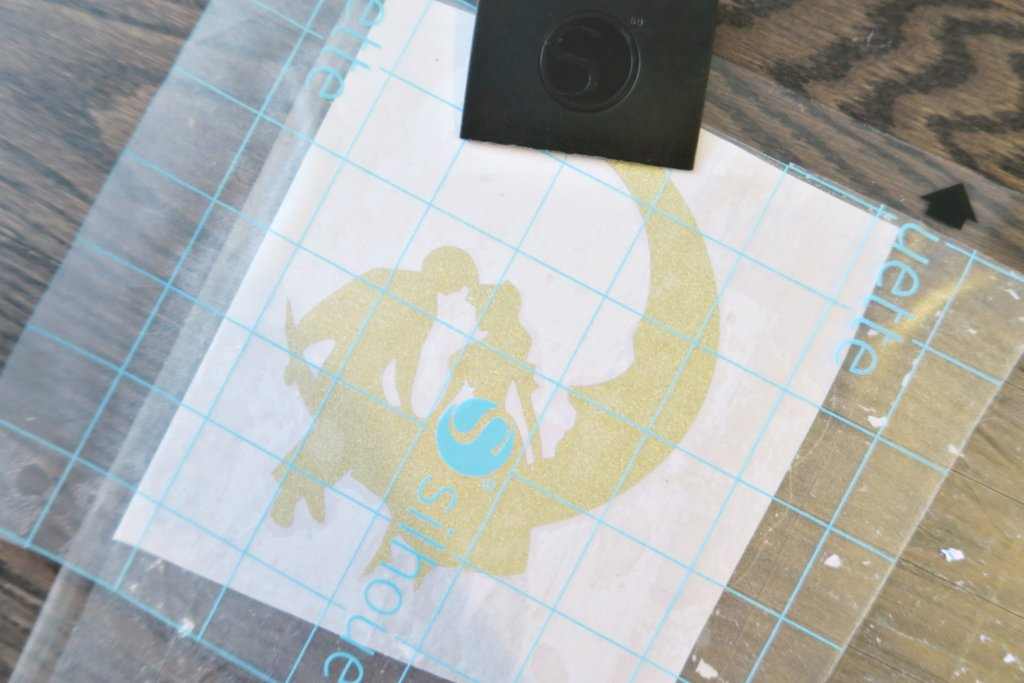
- Next, I adjusted the Lovers on Moon Silhouette Design image, ID # 76388, so it’s right next to my computer’s icon.
- Once you are happy with the position of the images, you are ready to send your image for cutting.
Step Three: Send Your Image to Your Silhouette CAMEO® For Cutting
- Select the SEND tab on the top right corner of your Silhouette Studio®.
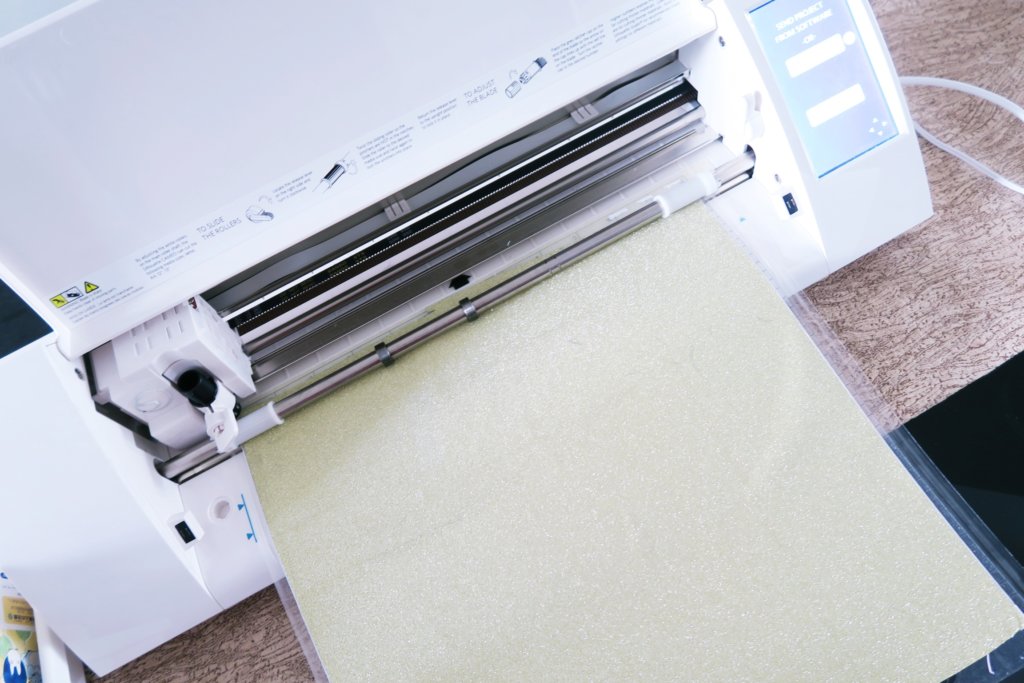
- Set your material to vinyl; the software will recommend cutting your vinyl at a blade pressure of 1. If you are using a Silhouette Ratchet Blade adjust now.
- Place your vinyl on your Cameo 12 x 12 in. Press the LOAD CUT MAT button on your Silhouette CAMEO® .
- Once everything is set, hit SEND. Your Silhouette CAMEO® will start cutting.
Step Four: Transfer Your Image
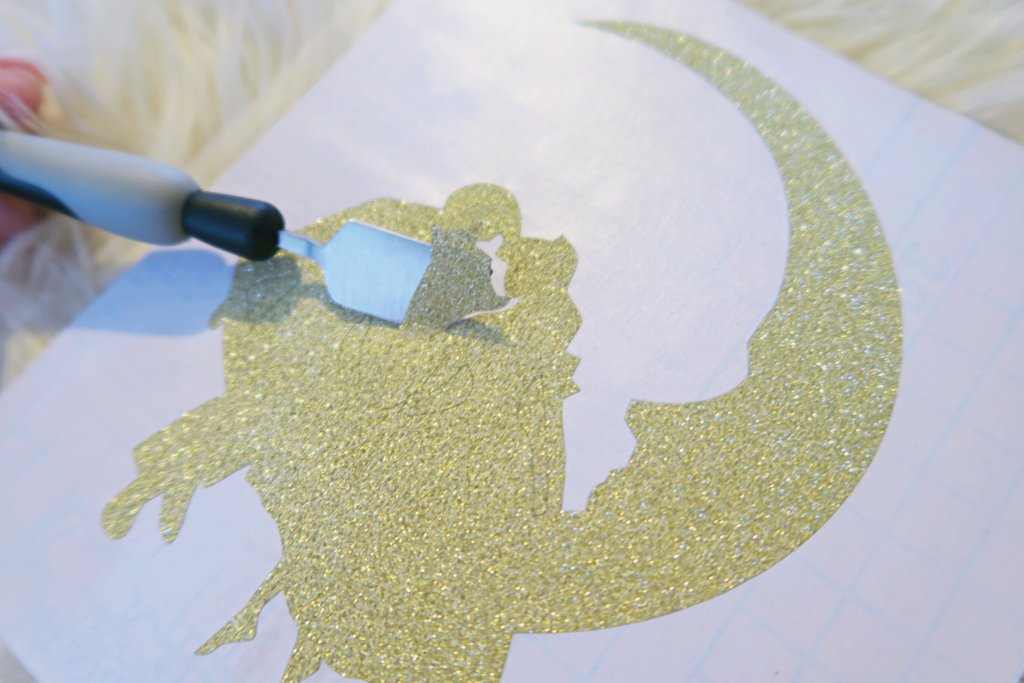
- Once it’s cut, remove your vinyl from the Silhouette Cutting Mat.
- Then carefully weed the excess vinyl to reveal your image. For a clean removal, you can use the Silhouette Spatula tool.
- Next, place your Silhouette Transfer Paper on your image to help transfer your images in place.
Step Five: Transfer Your Image
- Transfer the vinyl to your laptop. For best result, use the Silhouette Scraper tool to burnish the vinyl to your laptop.
- Carefully remove the transfer paper from your laptop and your image will stay on your laptop. If you come across areas that are not transferring well, use the Silhouette Scraper tool and burnish that area again.

And you are done! Enjoy your unique laptop decal!
What laptop decal will you make?
janet
August 19, 2017
How beautiful – my daughter would love this. Thank you for the “how to” and inspiration 🙂
Evanna Lau
August 19, 2017
I’m so glad you enjoyed the post!
RONALD ANTINORA
August 21, 2017
SOOOOOOO GOOD !!
Kiran
August 27, 2017
How did you make the wooden ‘dream’?