By Silhouette Sep 27, 2017
Creating Your First Pop-Up
Supplies Needed:
Step One: Set Up Your Design
- Open Design ID #205781 in Silhouette Studio® by locating it in your library.
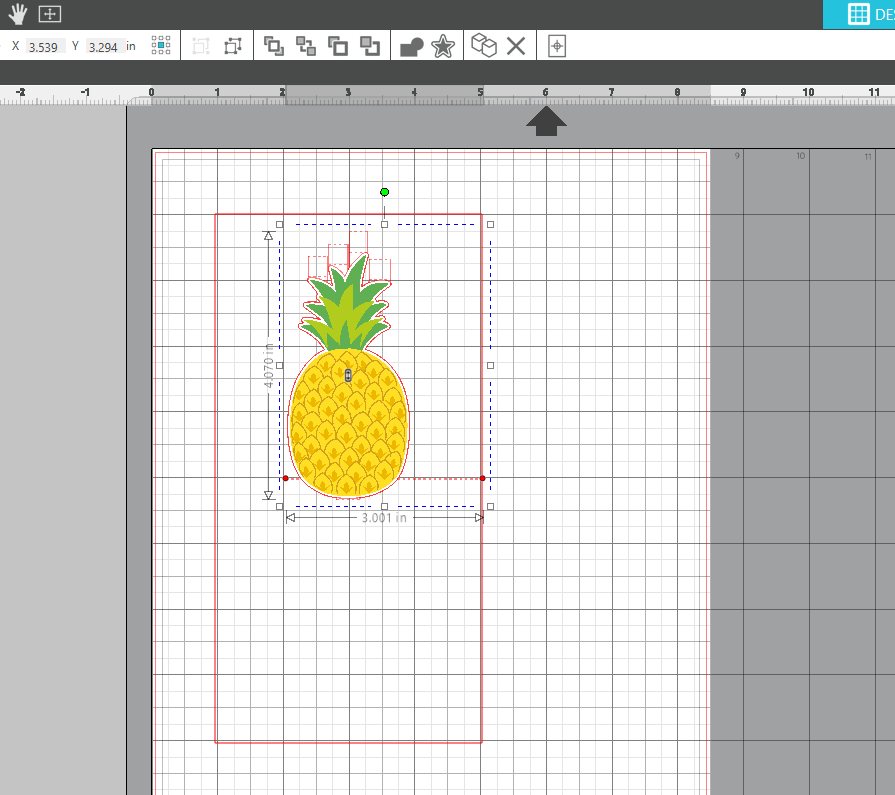
- Drag the colored shape off of the outline base shape. Once these items are separate, select the outline shape.
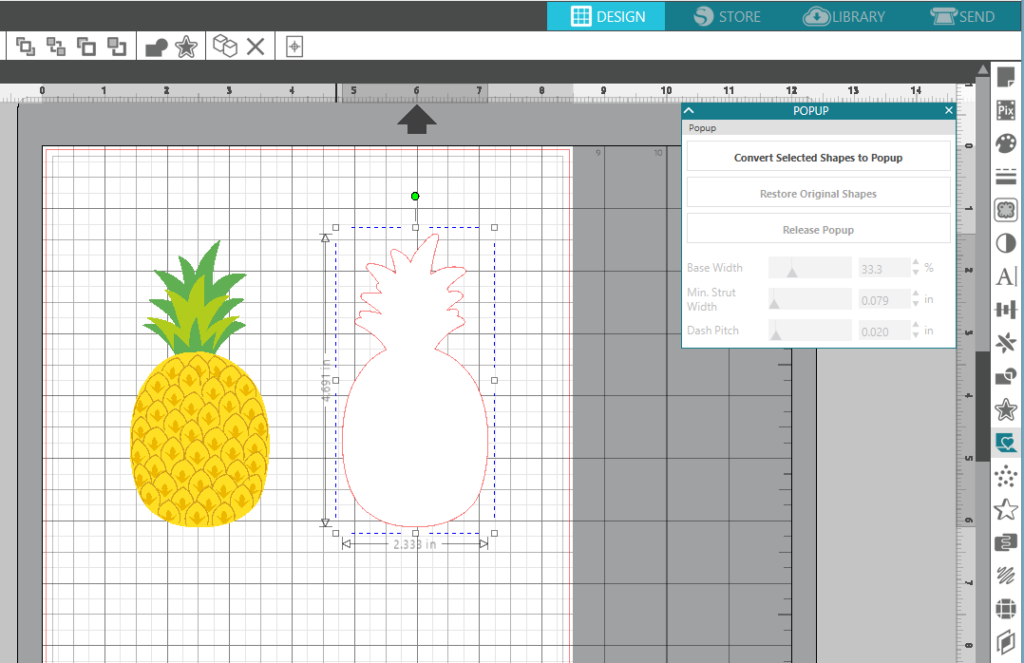
- With the outline shape selected, open the Popup panel and select Convert Selected Shapes to Popup.
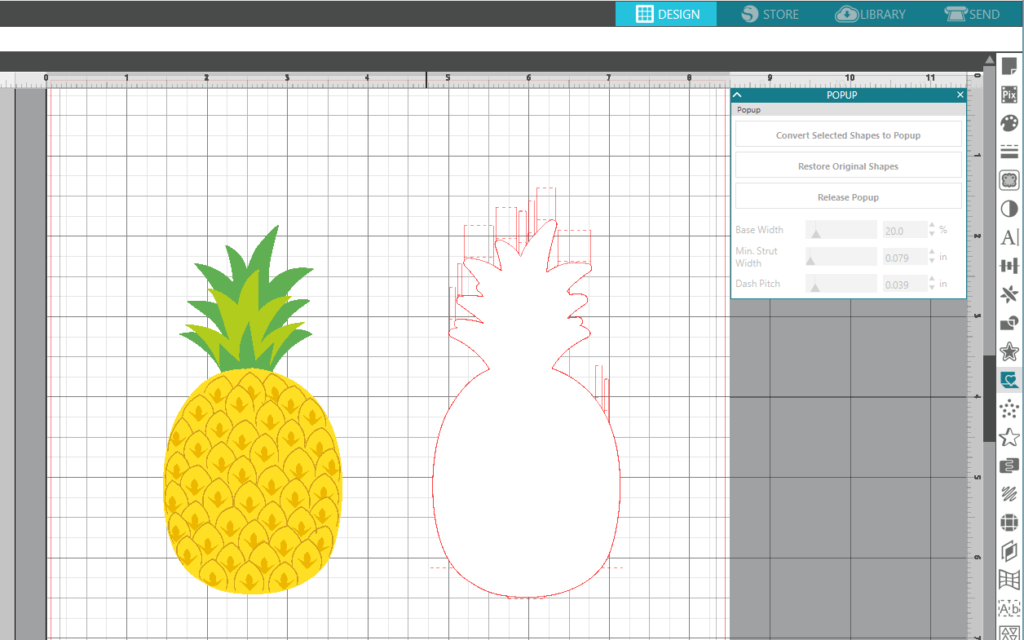
- You will notice that the Popup feature will add tabs on the top and bottom of your shape. This will allow the image to pop up from the card. If you have the Designer Edition or above of Silhouette Studio®, you will be able to have more control over the Popup feature. You have the ability to adjust the size and the number of tabs that are connecting your shape to the card.
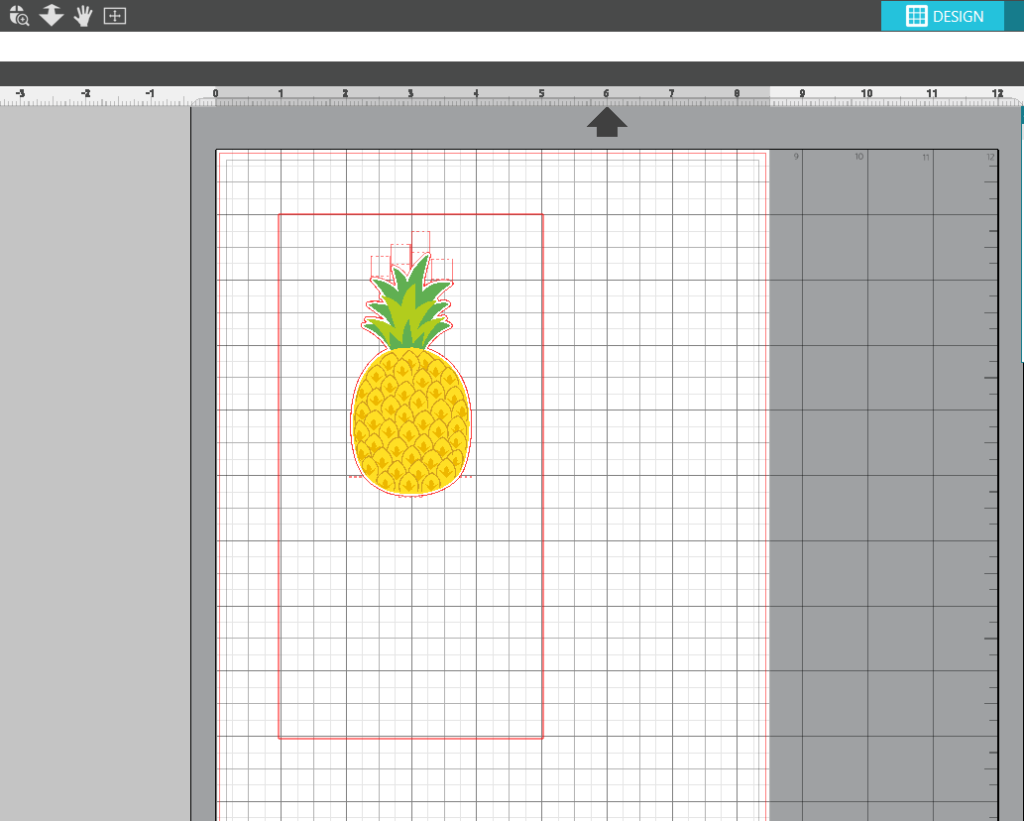
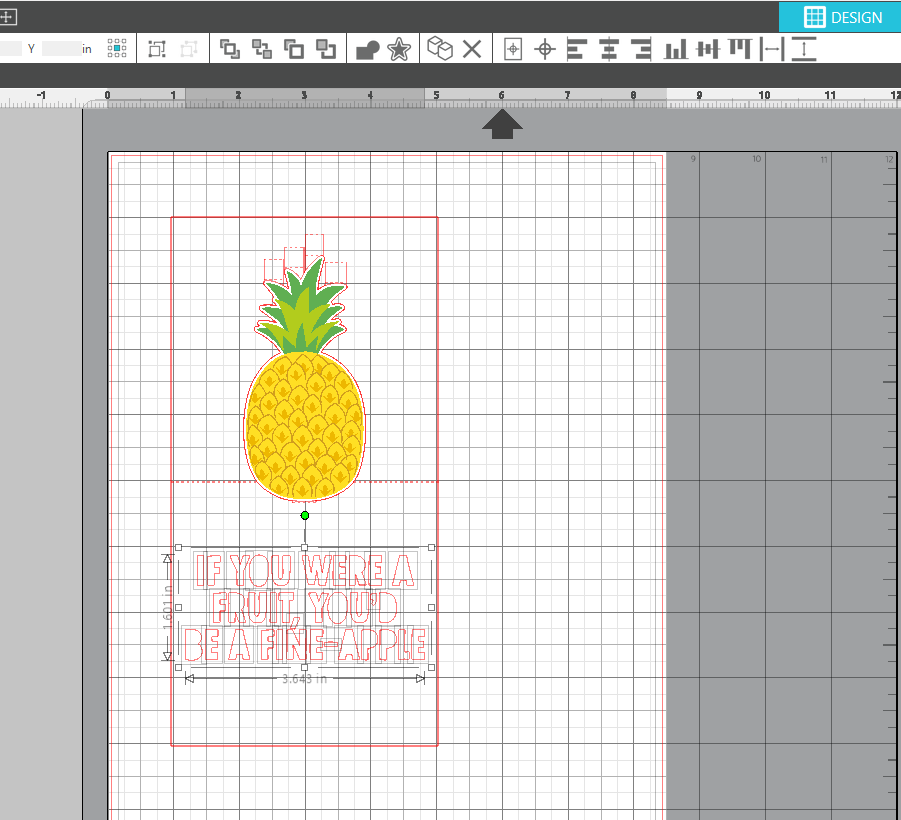
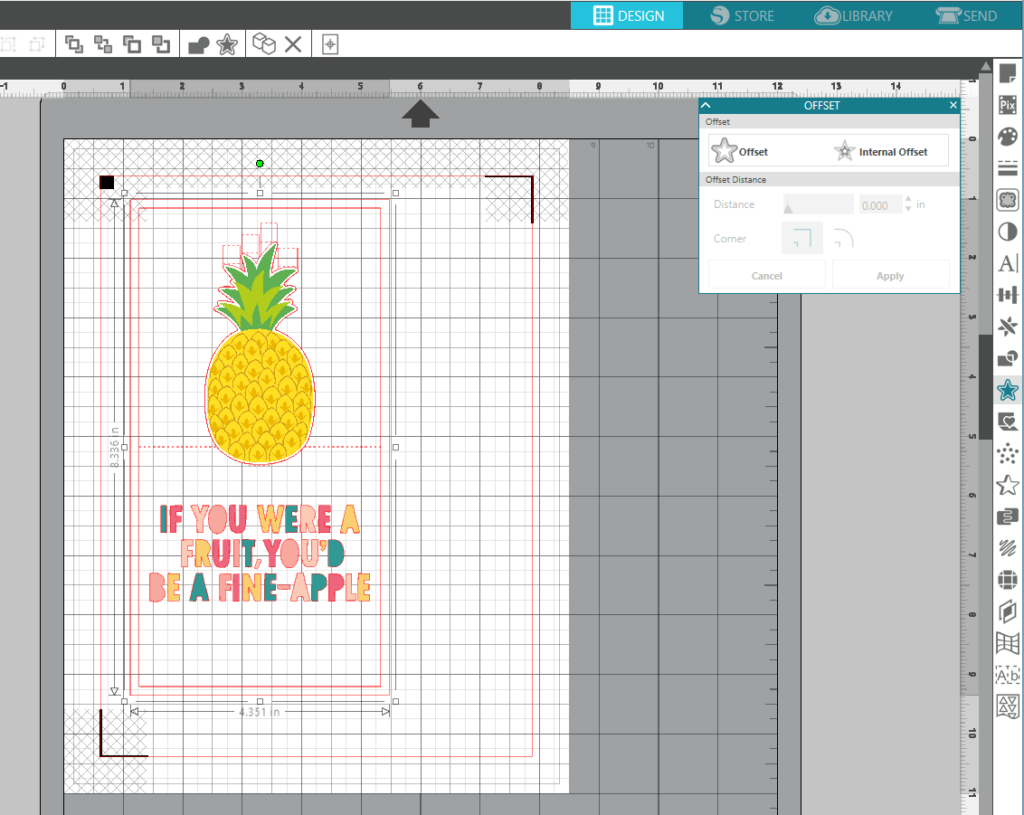
- Using the polygon tool, located on the left-hand side, create a rectangle the size you want your card to be (mine is 4 x 8).
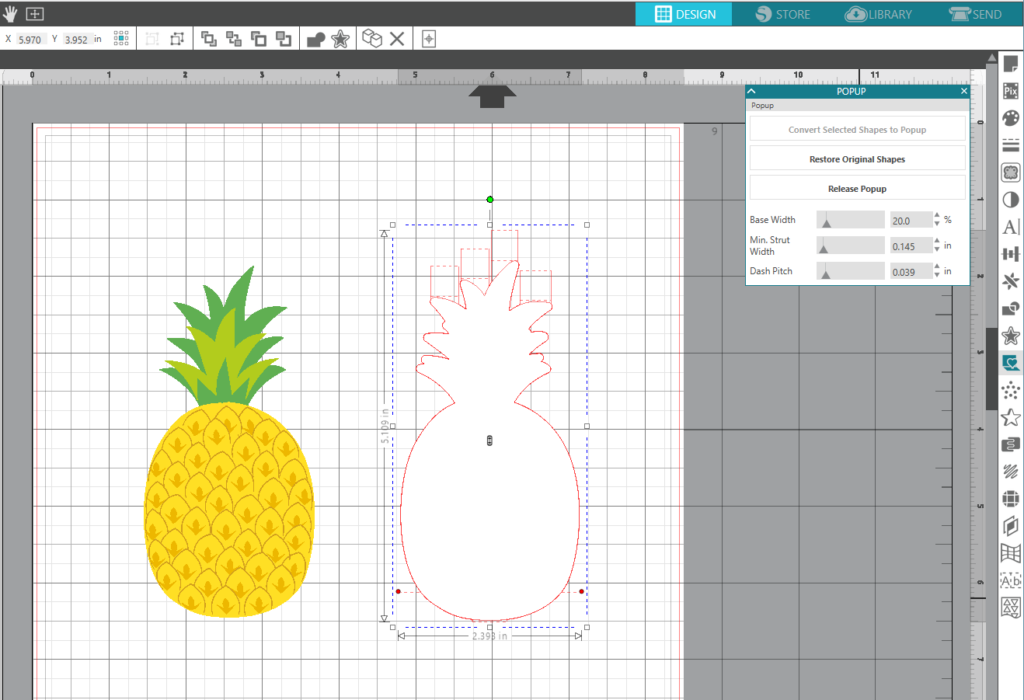
- Select the colored design of your pineapple and center it inside the outline of the pineapple. Select both shapes, once together, resize and move them into your rectangular shape. Making sure that the perforated line is at the midway point of your rectangle.
- You can adjust the length of the perforated lines by selecting the pineapple outline and dragging the red dots that appear to the edge of your card.
- Now it’s time to add your text. Type out what you want your card to say, then locate and select Design ID #160327 from your fonts window. Resize and center your font on the second half of your card design. You can do this by selecting your text and using the corner points to make it smaller or bigger.
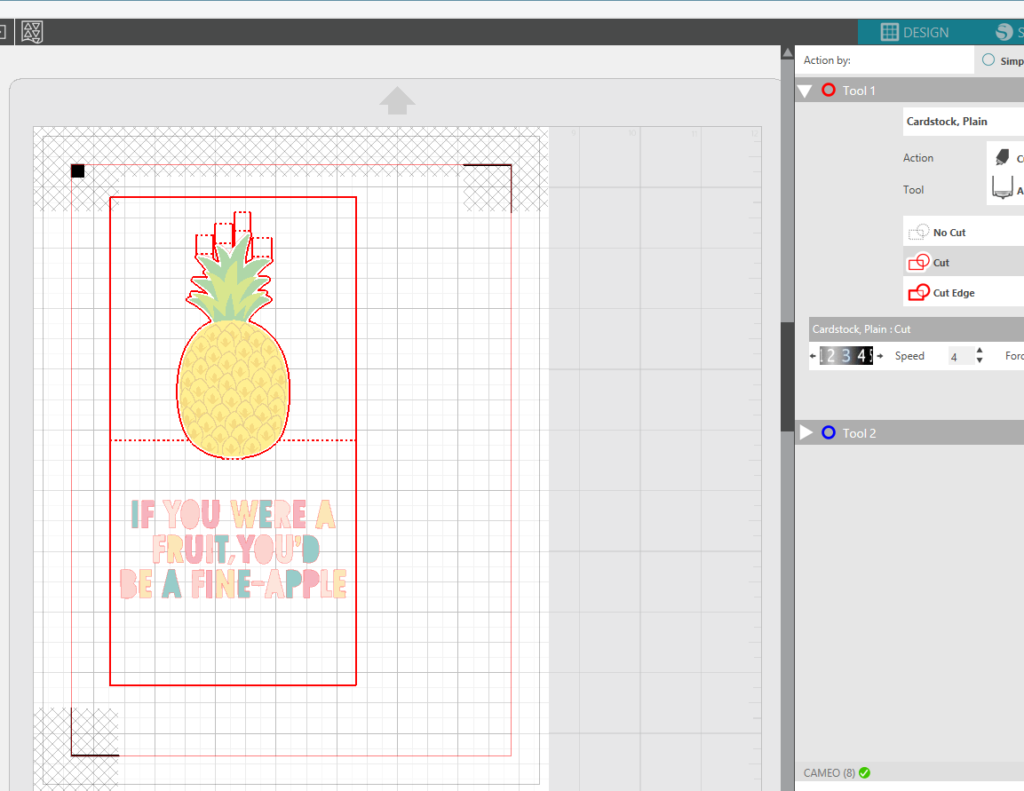
- Once your font is in place, select the text, right click and select Ungroup. This will allow you to change the colors of each individual letter. Once you have your Font changed to the colors you want, select them all again, right-click, and select Group.
- In the Page Setup panel turn on the registration marks by setting the style to Type 1. Adding registration marks is important because your machine reads these in order to cut your shapes out perfectly.
- In the Send tab, make sure that your font is set to the No Cut option. You can do this by selecting your font and clicking No Cut.
Step Two: Assembly
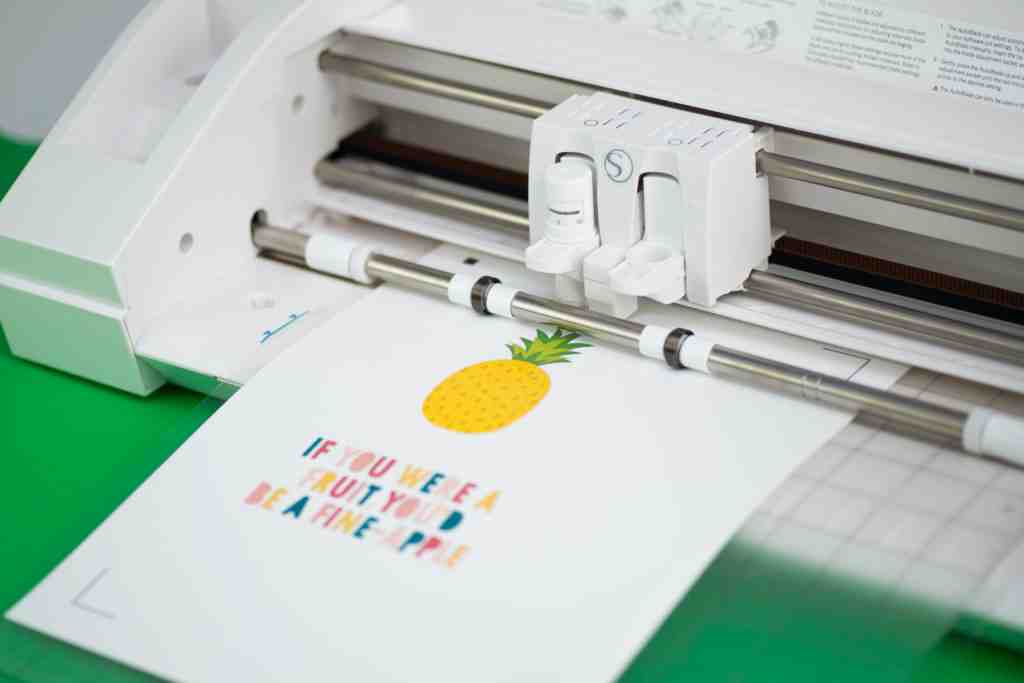
- Print out your design on the white card stock by selecting the printer icon.
- Place your printed cardstock on your cutting mat and load your cutting mat into your machine.
- In Silhouette Studio®, select the Send window in the top right-hand corner. Select the card stock cut setting and select Send. (Remember that if you don’t have an AutoBlade, you will need to adjust your blade settings.)
- Your machine will read the registration marks and then cut out your design. (Tip: If your machine is having trouble reading your registration marks, try manually moving the blade directly over the square registration mark. You can do this by moving the blue arrows in the Send window in Silhouette Studio®.)
- Once your machine has cut out your design, remove the card from the cutting mat carefully.
- To create the outside of your card, select the rectangle shape you already created in Silhouette Studio® and open the Offset window. Offset the shape to your desired size and hit apply.
- Select and move the other shapes out of the way, and cut out the outside of your card using the pink cardstock.
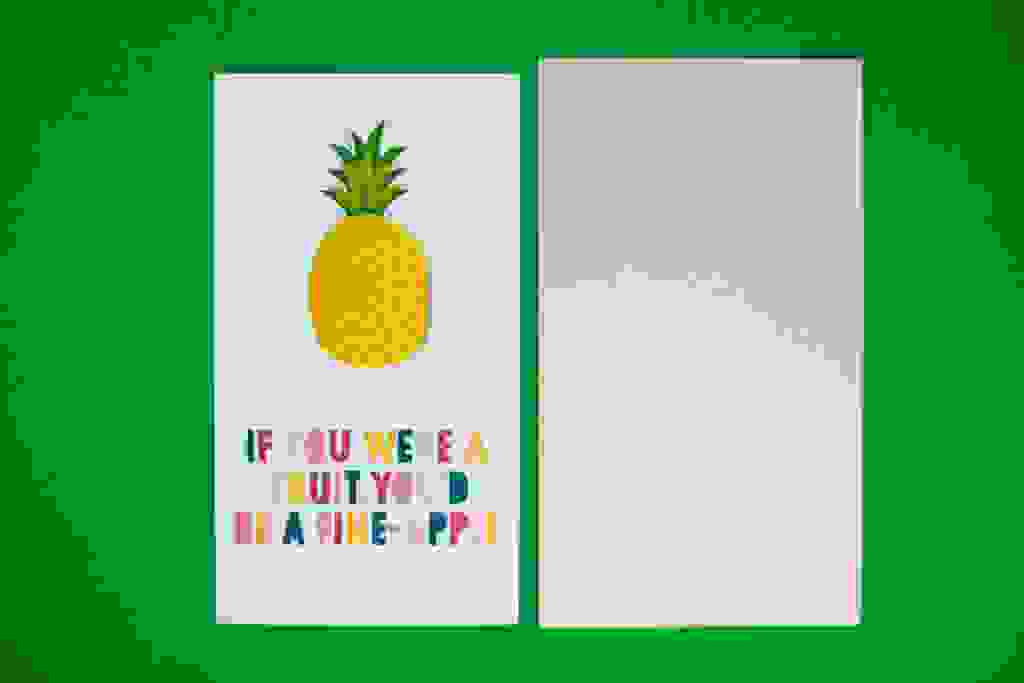
- Carefully fold your card along all the perforated lines. Fold the pink cardstock you just cut in half.
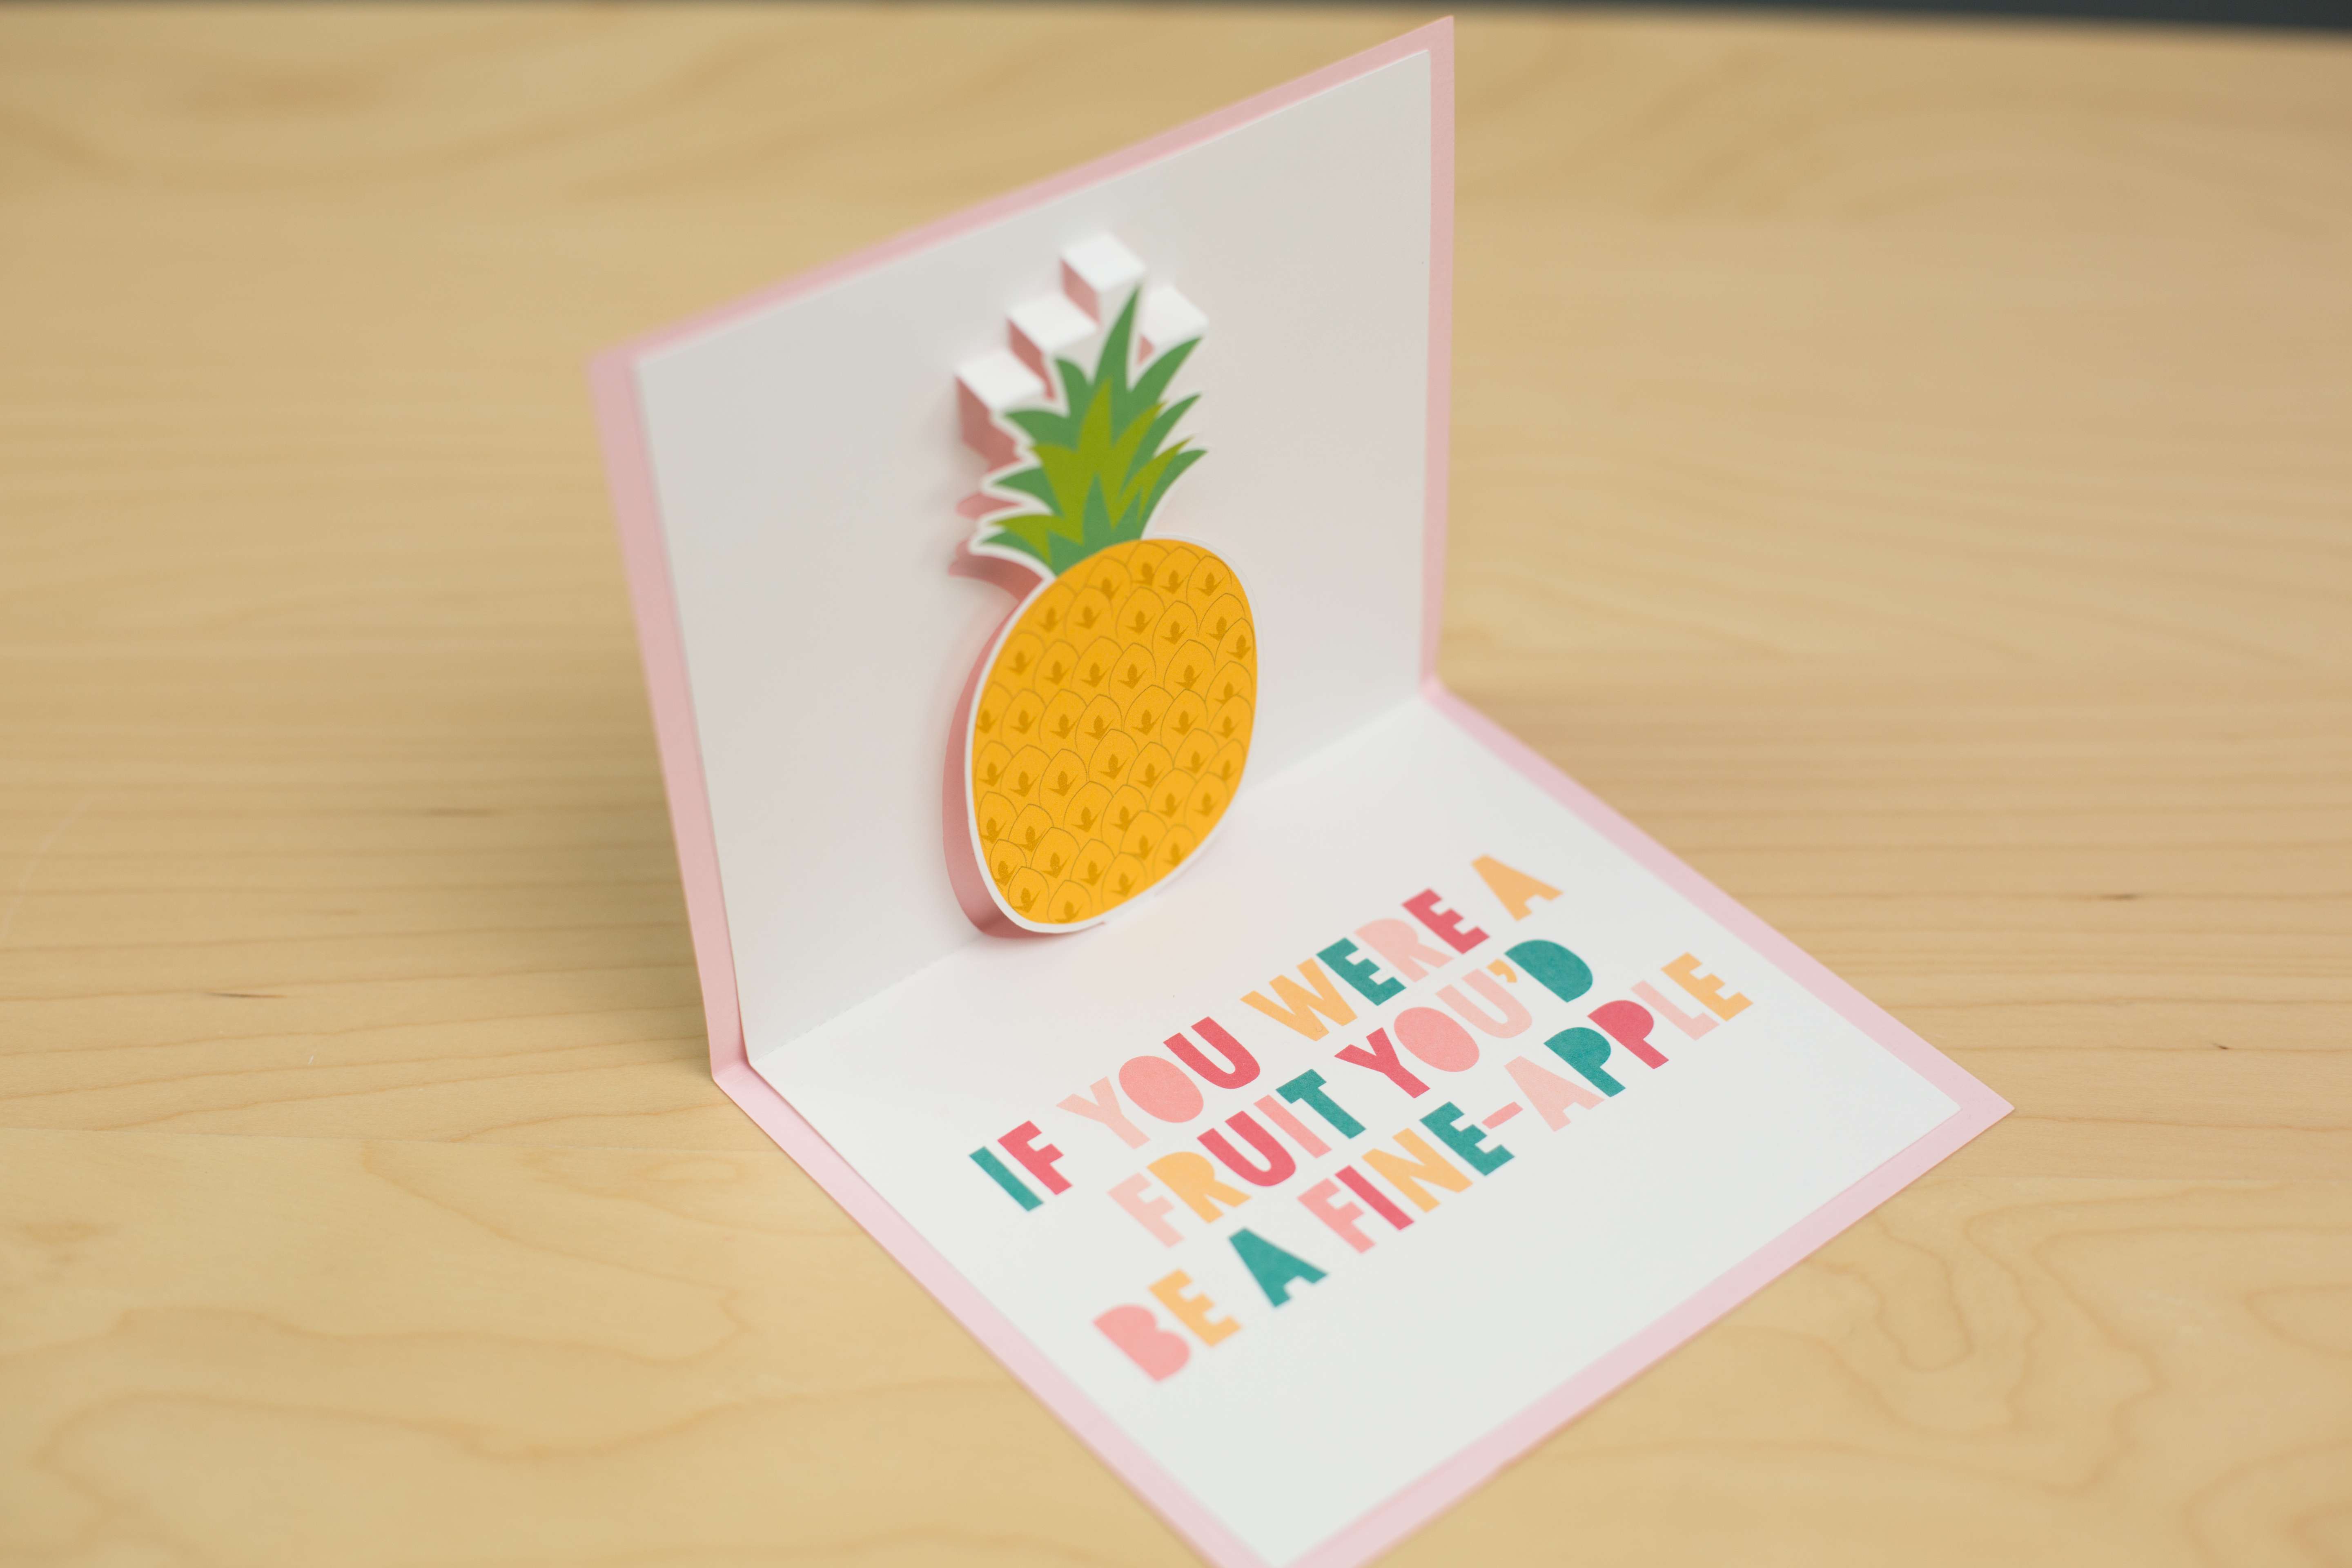
- Using the tape runner or glue, attach the pineapple card to the pink rectangle. (Tip: When taping or gluing, make sure you get around all the edges but avoid getting anything on the tabs.)
You might also like:
Vicki Davidson
September 27, 2017
Oh I love this and will have to try it soon. Thank you for the inspiration.
Betsy
October 1, 2017
Very cute and good directions. I’ll be trying this today!
Suzanne
October 5, 2017
Just curious if you could answer something for me, because I tried this with a graduation cap image for the first time tonight. When I positioned the graduation cap in the middle of the card (I used the pop-up guideline to match up the center fold as directed above)… when the card was completely folded and closed for an envelope, the pop-up folds projected out past the folded edge of the card. Do I just need to make the backing cardstock bigger, like a bigger frame around the card to conceal the pop-up “legs” (not sure what to call those pop-out cutouts that are above the image)? Did your pineapple’s popup top legs stay completely inside the frame of the white cardstock when the card was folded in half or did some of it creep out onto the pink? I hope this make sense.
Kelly Wayment
October 10, 2017
I think it just depends on your design and how close to the top edge of the white paper it is. It also depends on how deep you make the pop-up “legs” (if you have Designer Edition or higher where the depth is adjustable). You could make your design smaller to keep it farther from the top edge or make the backing cardstock bigger, as you suggested.