
In this blog post, we will be learning how to create a beautiful copper accent for your planner or journal with this fun copper embossable foil! The best part of this project is it features this darling summer flower design!
Supplies Needed:
- Silhouette Curio™
- Silhouette Embossable Foil
- Stippling & Etching Tool
- Curio Base Kit
- Planner or journal
- Design ID #267813
- Design ID #72320
Step 1: Measure Your Planner or Journal
- First measure your planner and decide on a good size for your custom foil. The embossable foil sheets are 5 in. x 7 in., so the design would need to fit within that space.
Step 2: Create Your Design
- Open a new page and go to Page Setup panel. Select Size: width 7 inches and height 5 inches
- Select the size of the Curio embossing mat you would like to use.

- Open Design ID #267813.
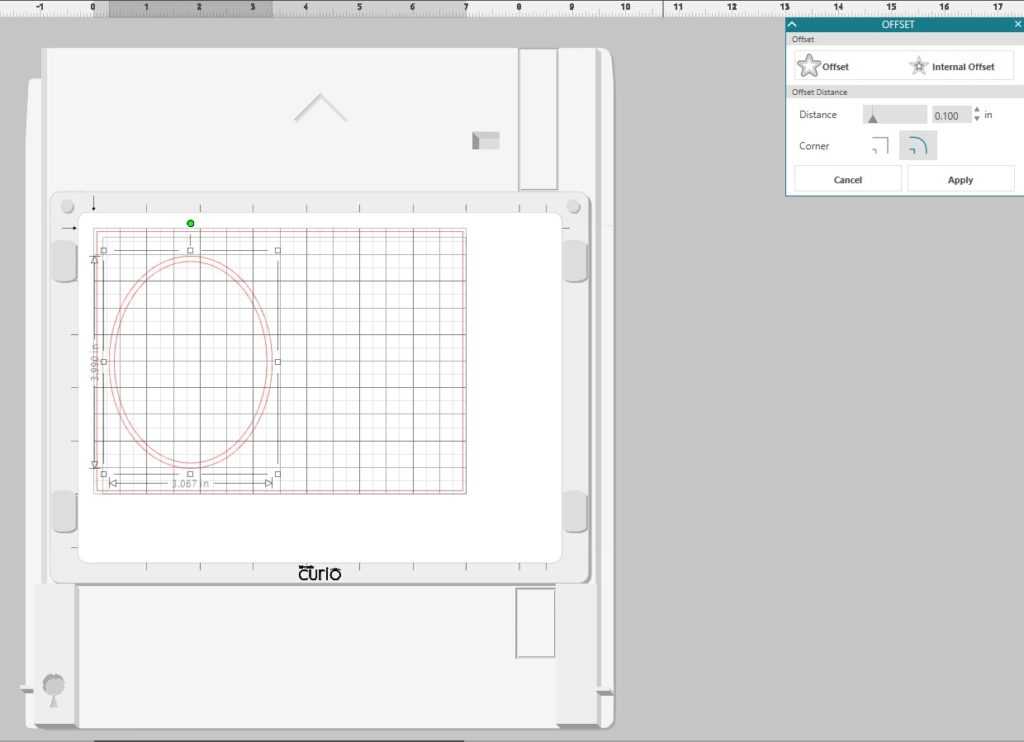
- Draw an oval design by going to the drawing tools and selecting the Draw an Ellipse tool.
- Resize the oval to the size you need.
- Go to the offset panel and create an Offset line with a .1 inch distance and click Apply.
- Next Offset the most outer oval. This will create a guide so that you will be able to cut the foil. To do this, go to the Offset Panel and create an Offset with a distance of .125 and click Apply.
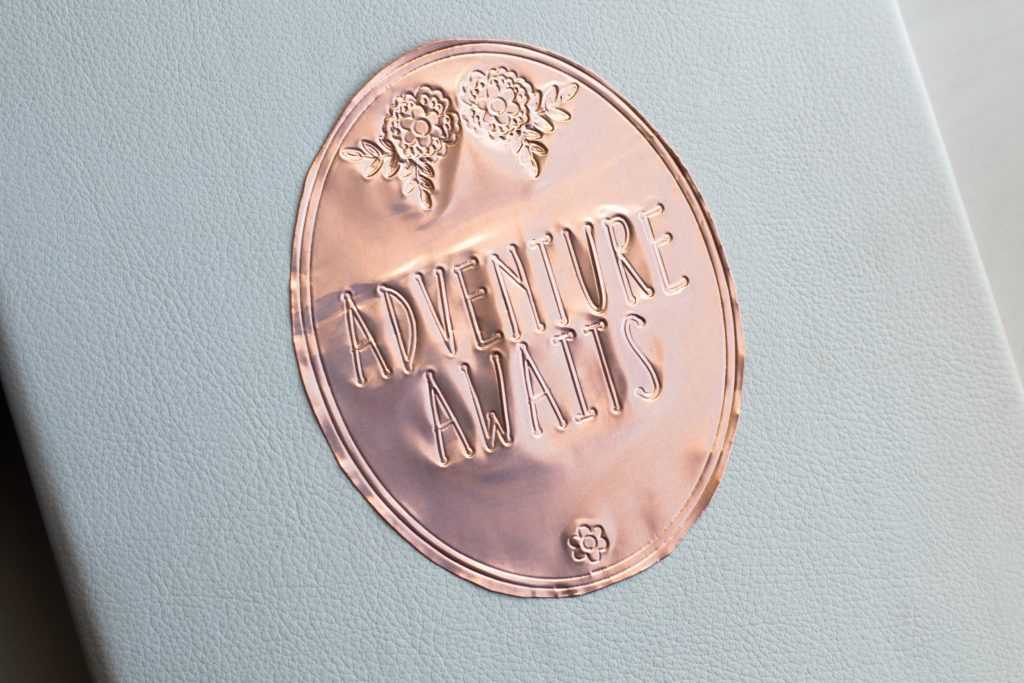
- Select your favorite font and type your text. I chose to use the Long and Lean Dot font by Dreseden Carrie.

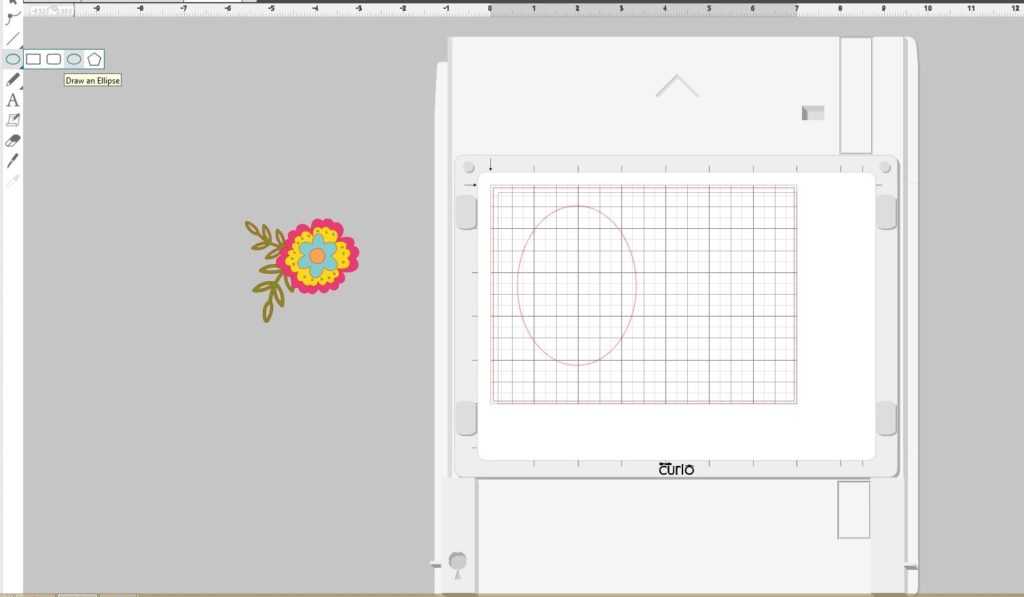
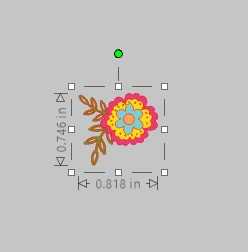
- Select the Summer Flower Design and resize it to the size W: 0.807 in. H: 0.729 in and rotate the design to your liking by selecting the green circle control point. Click and drag the circle to your desired location inside the oval.
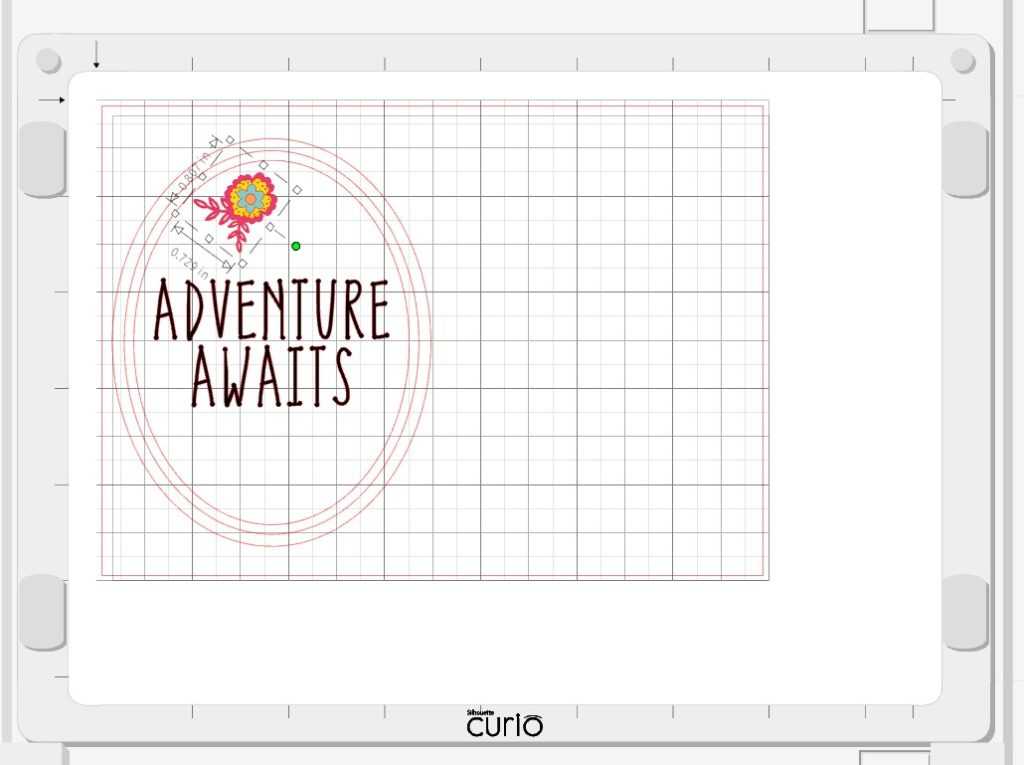
- Next go to Object, click Replicate, and Mirror Right to mirror the flower design. I moved the mirrored design slightly to the right so that the two designs would not be touching.
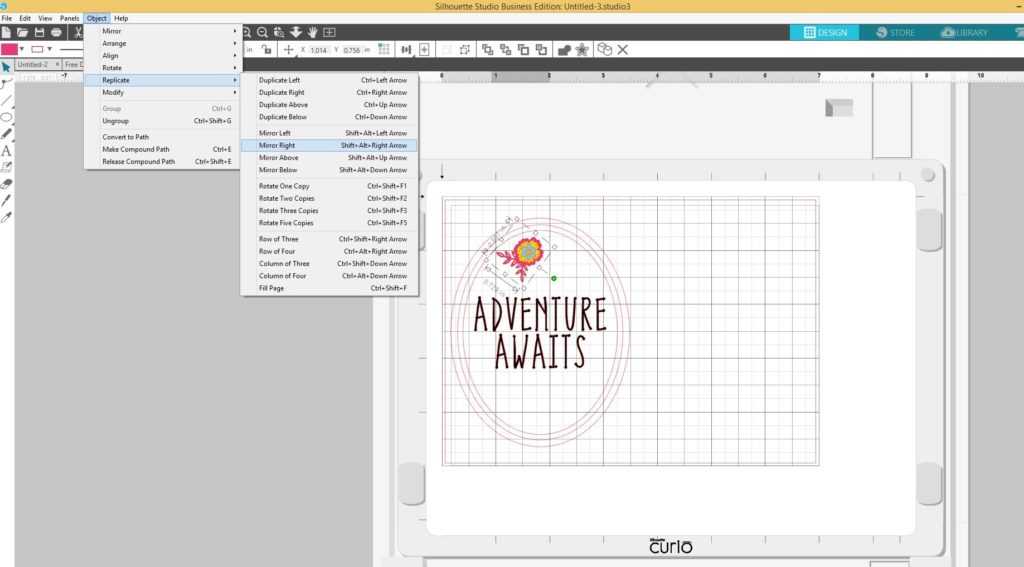
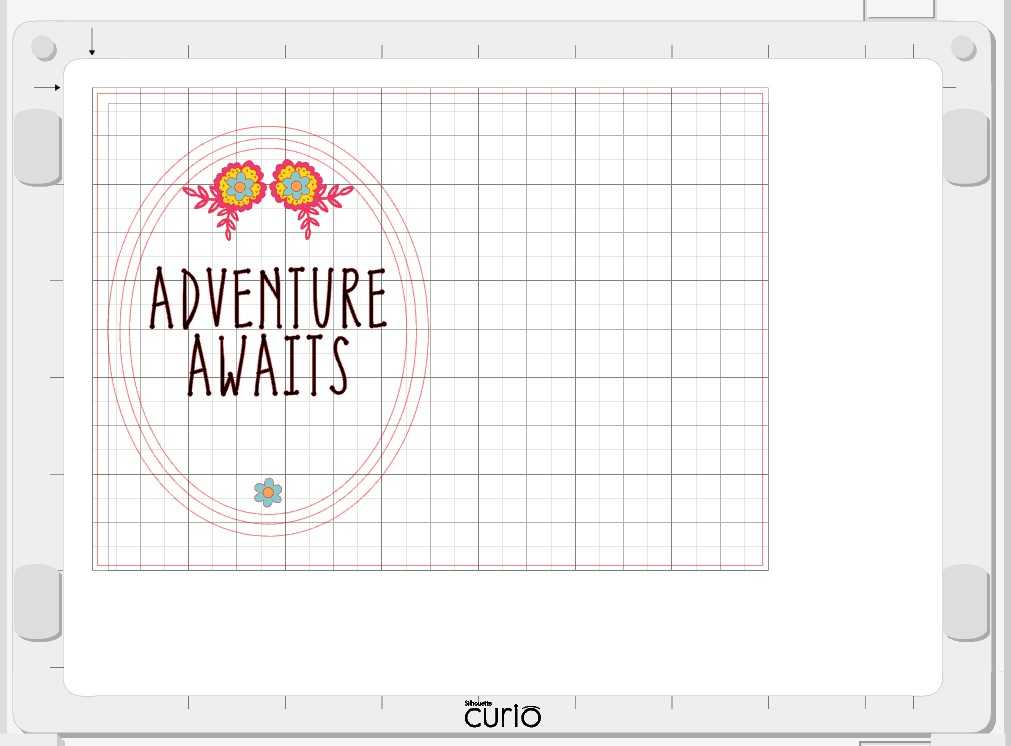
- Select one of the flowers and copy and paste it to another location on the screen.
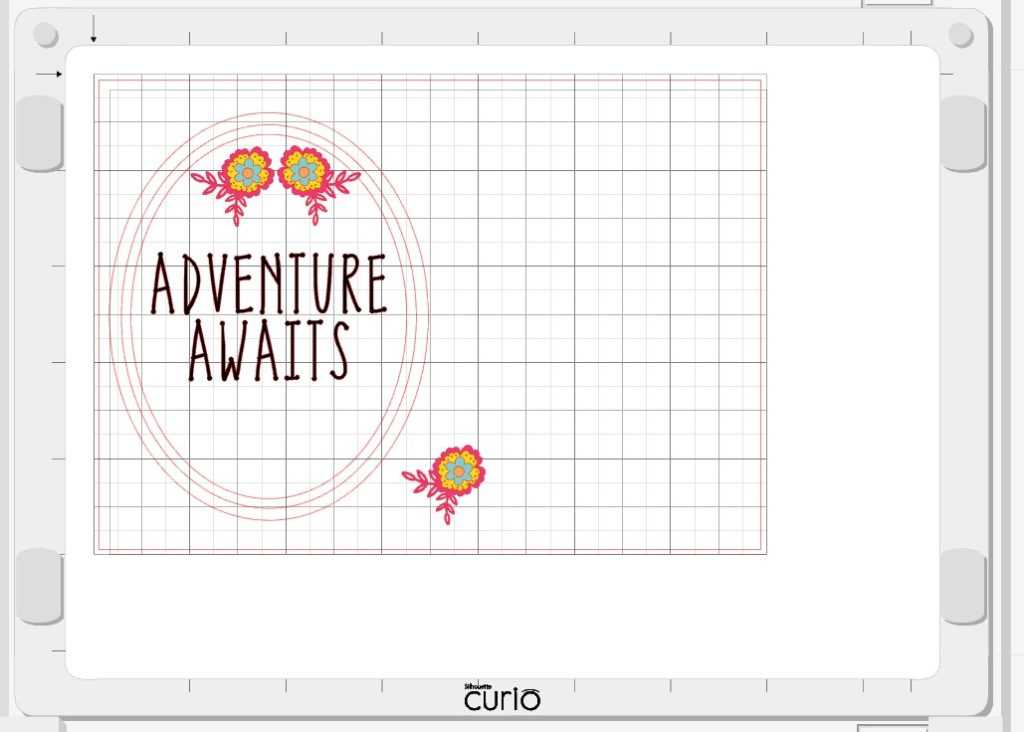
- Select the third flower and ungroup the design. Delete all but the blue flower and the center. Group the two pieces together and center them at the bottom of the oval.
Step 3: Deboss the Foil
I chose to deboss my project, and that means I am using the embossing tool to create a recessed design into the foil. To deboss, I put my foil face up on the embossing mat. If I were to choose embossing, which creates a raised design into the foil, I would put the foil face down on the embossing mat.
- Since we are using the embossing mat, we will need to add our 2 platforms underneath our embossing mat onto the base. Check out this tutorial on the different features of the Silhouette Curio.
- Put the embossable foil sheet face up on the mat and line the image up to the 2 arrows on the left hand side of the mat.
- Load the base into your machine and press the load/unload button. The Curio will move the base into the proper location.
- Go to the Send tab, choose “Foil, Embossable” as your material, select your embossing tool, and choose Emboss as your action. Then select the Send button.
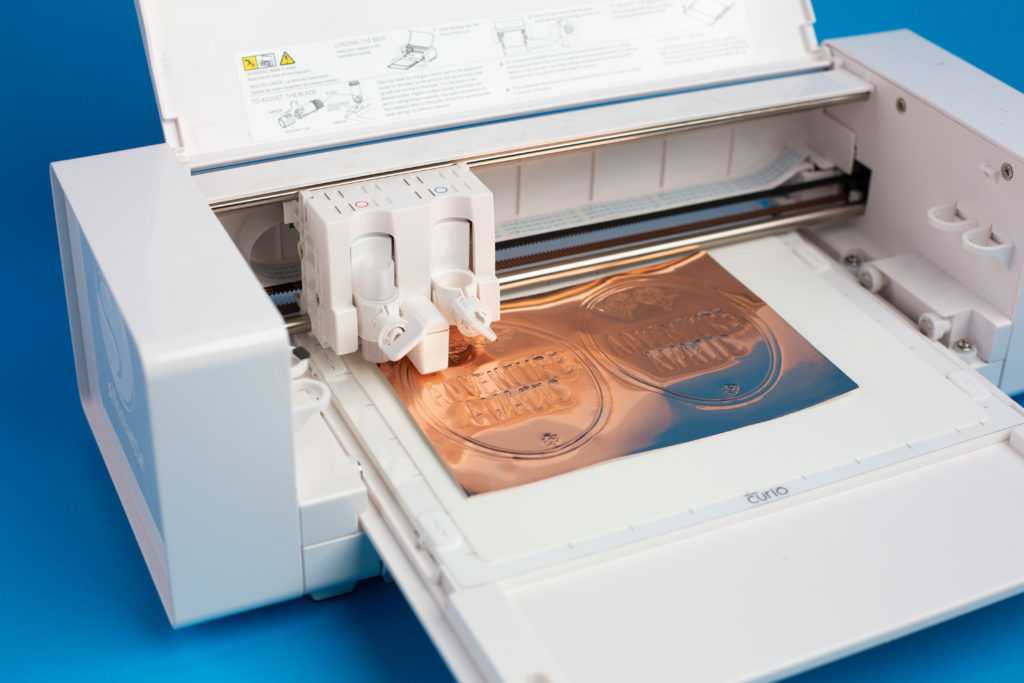
- Once the machine is finished embossing, press the load/unload button and carefully take the embossable foil off of the mat.
- Cut along the outermost oval with your scissors. (To avoid dulling the Silhouette blade, it is not recommended that you cut this material with a Silhouette machine.)
- Carefully place this on your planner or journal and enjoy the unique beauty of this design.
What font are you going to use for your embossable foil design?