School is about to be back in session. While books and curriculum are important, let’s be honest, so is making a statement when it comes to your locker. Now, I’m no teenage girl in high school, but I do have tons of friends who have them, and I was told that tribal elephants are the new Lisa Frank.
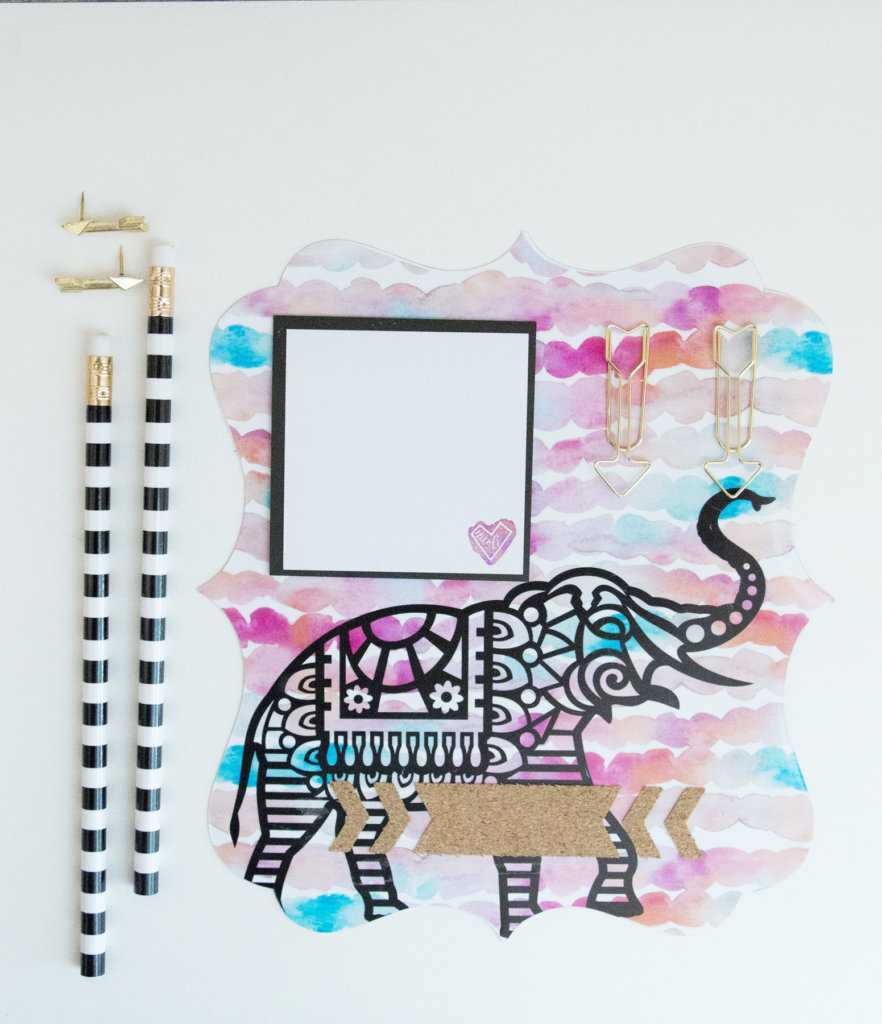
Get ready to create a personalized magnet for your locker that you can jot down reminders, hang photos, and make everyone in the halls jealous.
Supplies Needed:
- Silhouette Curio™
- Silhouette Printable Magnetic Paper
- Silhouette Cork Sheets
- Silhouette Mint™
- Mint Stamp Sheets 15 x 15 mm
- Mint Ink (I used Ash Pink and Orchid)
- Small Note Pad
- Any Large Gold Paper Clips
- Clear Drying Glue or Glue Gun
- Design #171187
- Design #150866
- Design #33619
- Design #176212
- Design #139079
Step One: Design Your Layout
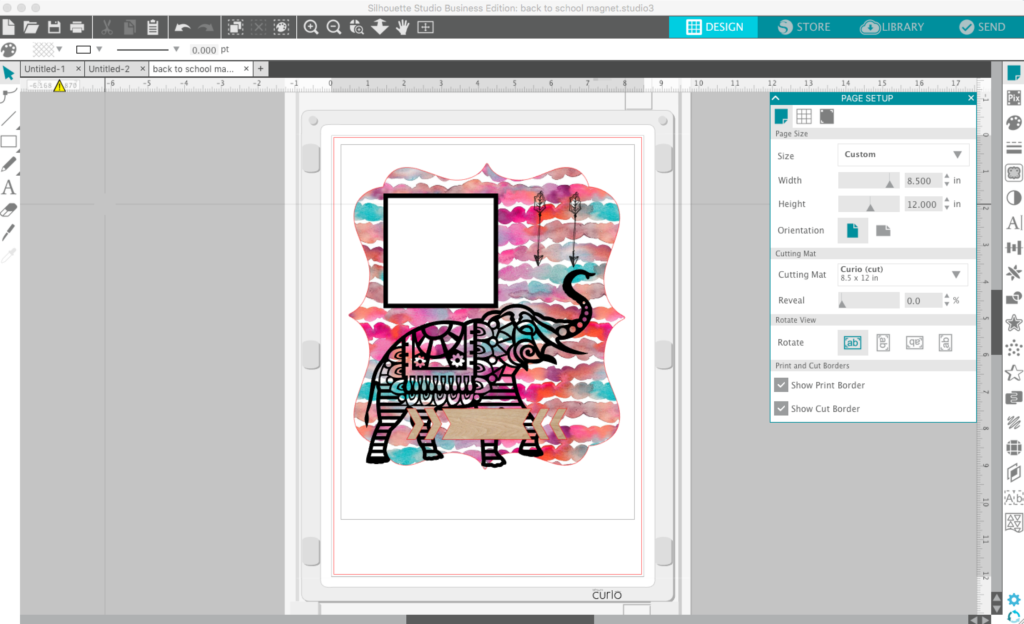
I always like to create a rough layout before I start projects like this. It helps give you a better idea, spatially, how your project will look. It would be a shame start assembling your object and realize nothing fits! I know from experience.
1. Measure your notepad and paper clips, then create shapes to represent those objects in the appropriate sizes.
2. Open Design #139079 in Silhouette Studio®. Ungroup the design and delete the floral image, leaving only the cut line object, as this will be our background shape. Resize it to your desired size. (My size was about 7.5 inches wide)
There are many designs in the Design Store that you can choose from, but I’m in love with this shape and thought it worked well with the overall design.
3. Open your background Design #171187 and resize it so that it fits within your background shape. Select both objects, with background object in the back, and select Crop from the Modify settings.
4. Now, open your elephant, Design #150866, filling it with black, and resizing it to fit within your background shape.
I left a little of the elephant’s feet hanging outside of the background shape; that’s okay since it will be cut away.
5. Lastly, open the banner objects, Design #33619, ungroup, and delete all except the middle design. Resize this to fit nicely on the bottom of your layout. (I sized mine to about 4.37 inches wide)
Once you have all your objects created, go ahead and play with the layout as you please. When doing this, remember that your note pad and paper clips need to stay at their actual size, so don’t accidentally resize them.
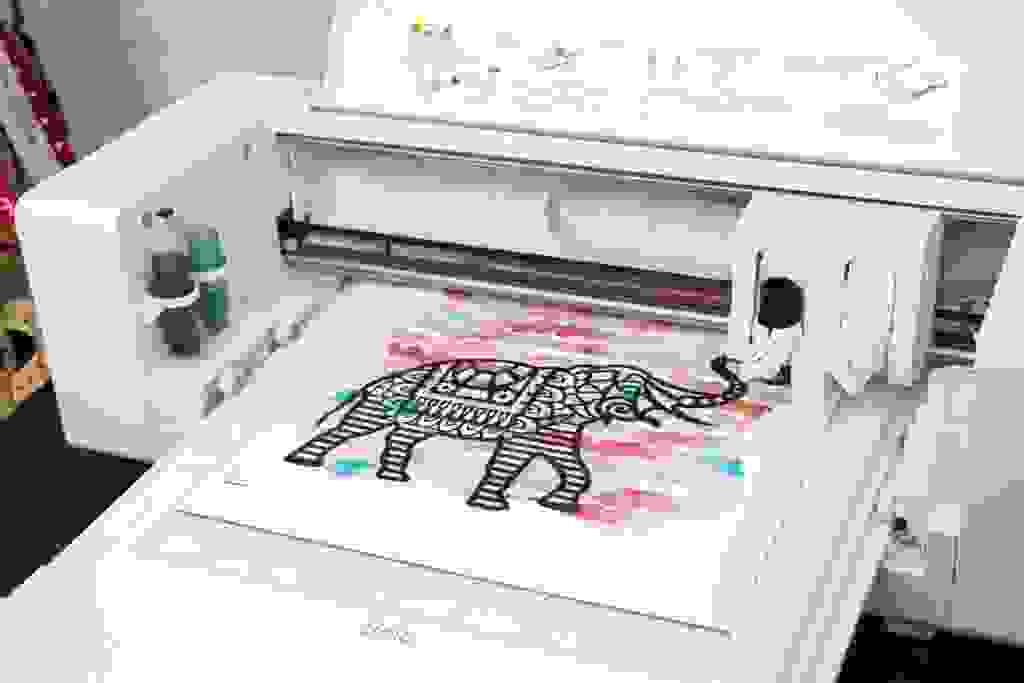
Step Two: Print and Cut Your Background
1. Make sure you move your notepad, paper clip, and banner shapes out of the design area; you don’t want to accidentally print them. Then, make sure only the background shape has a cut line; we don’t want to cut the elephant shape out.
Tip: Select the elephant design and change the line color to No Line Color, and then change the background shape to a Red line color. When you’re ready to cut, in the Action settings, you will be able to set it so that only the Red lined objects will cut.
2. Turn on your registration marks, making sure your image doesn’t go outside of the print or cut lines. Adjust as needed.
3. Load your magnetic paper into your printer and press Send to Printer.
4. Then, load your printed design onto your Curio Cutting Mat, adjust your blade as needed (I used Blade:4, Speed: 1, Thickness:30, and I also set a double pass) and press Send to Silhouette.
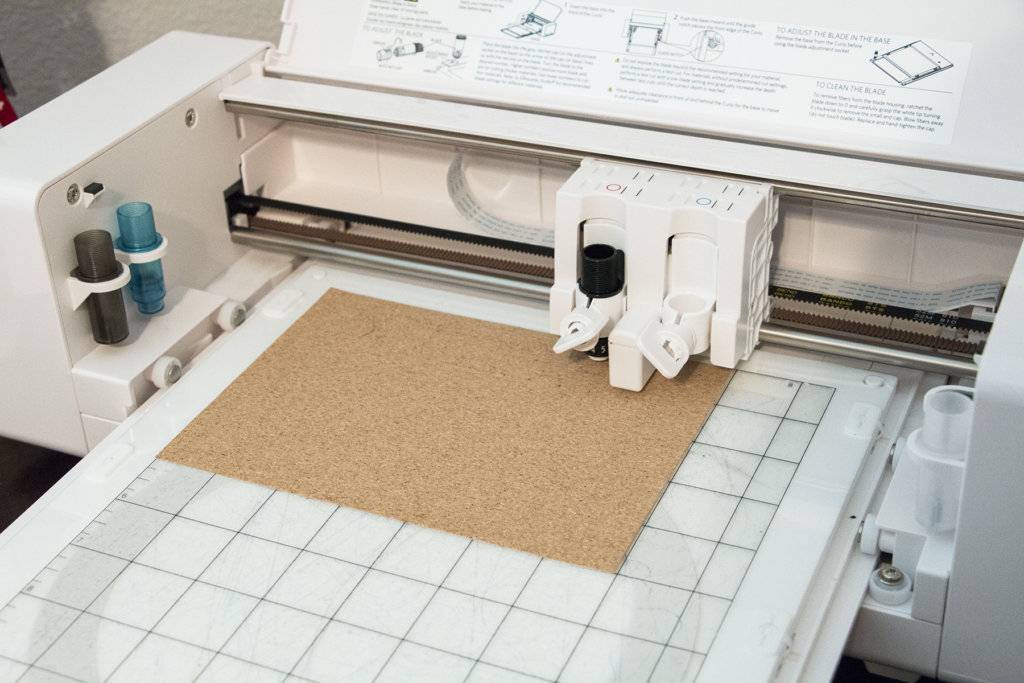
Step Three: Cut Cork Banner
1. Move your background design away from the design area, and then move your banner shape into view.
2. Since you’ve already set your size, load your cork sheet onto your Curio cutting mat, adjust blade as needed (Blade: 7, Speed: 1, Thickness: 20) and press Send to Curio.
Step Four: Create Custom Stamp using the Mint Studio™
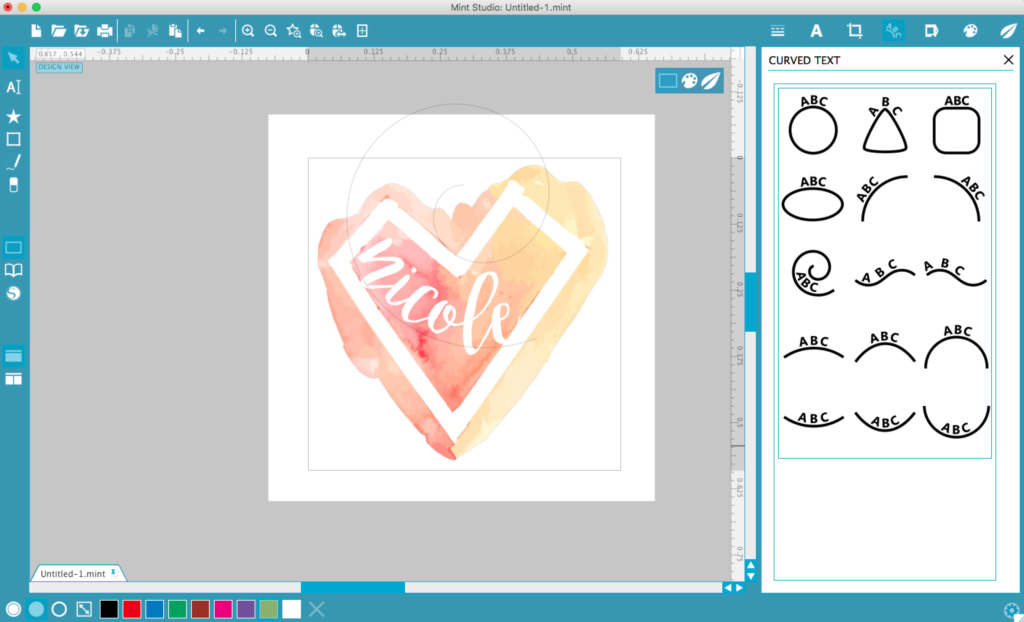
1. After you open Mint Studio™, choose the 15 x 15 mm stamp size in the Stamp Settings, and then open the watercolor heart, Design #176212. Resize the heart design to fit within your drawing area.
2. Create your text, select white font, and your desired font. I used Bromello, which you can add to your font library from any free font website. Then, with your text selected, choose the spiral text shape in the Curved Text Settings. If needed, go back to your Text Settings and adjust your size and character spacing as needed. Position your text to fit within the heart on one side, or wherever your little heart desires (See what I did there).
3. With both the heart shape and text selected, click on the Stamp Filters button. You can play around with each one, but I chose to go with Realistic with a threshold of 0%.
4. Once you are satisfied with the final design, press the Send to Mint button. Load your stamp sheet into your machine and press Start Mint.
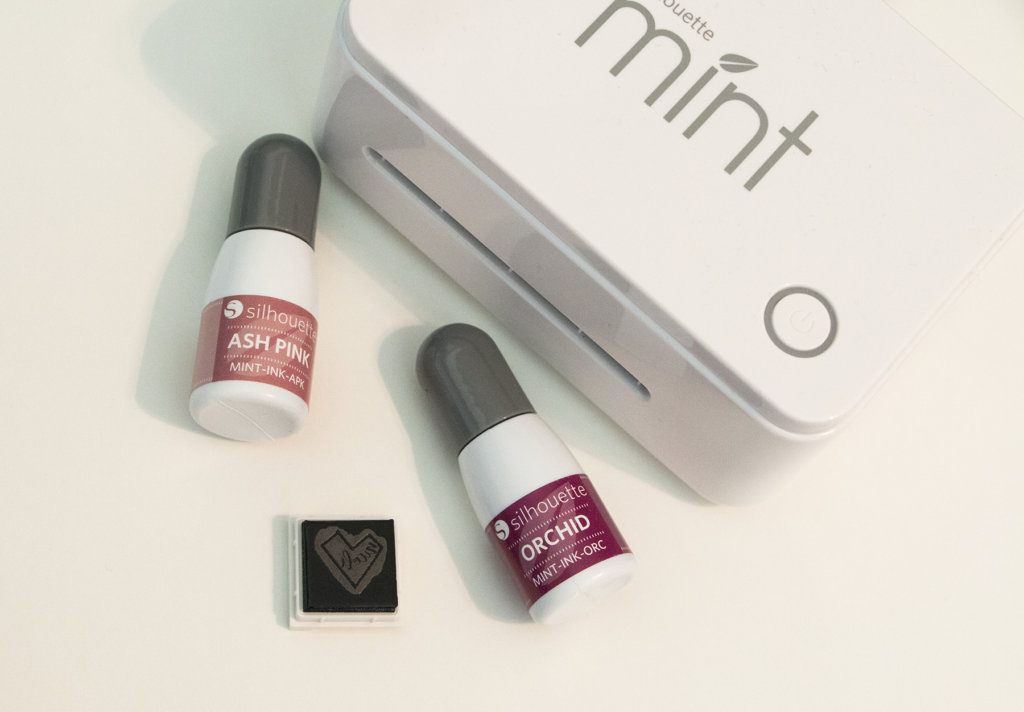
5. Once you place the finished stamp onto the stamp base, add your stamp ink. Since I wanted a watercolor look to match the magnet background, I used two colors. Since this stamp is so small, I wouldn’t suggest any more than two. Let the ink sink in, then stamp away the excess ink until your stamp shows up clean.
Step Five: Assemble
1. Using a clear drying glue, or glue gun, adhere the two paper clips into place.
2. Place a line of glue on the back of your notepad to glue it into place.
3. Peel off your banner design from the cork sheet and stick it towards to bottom of your magnet.
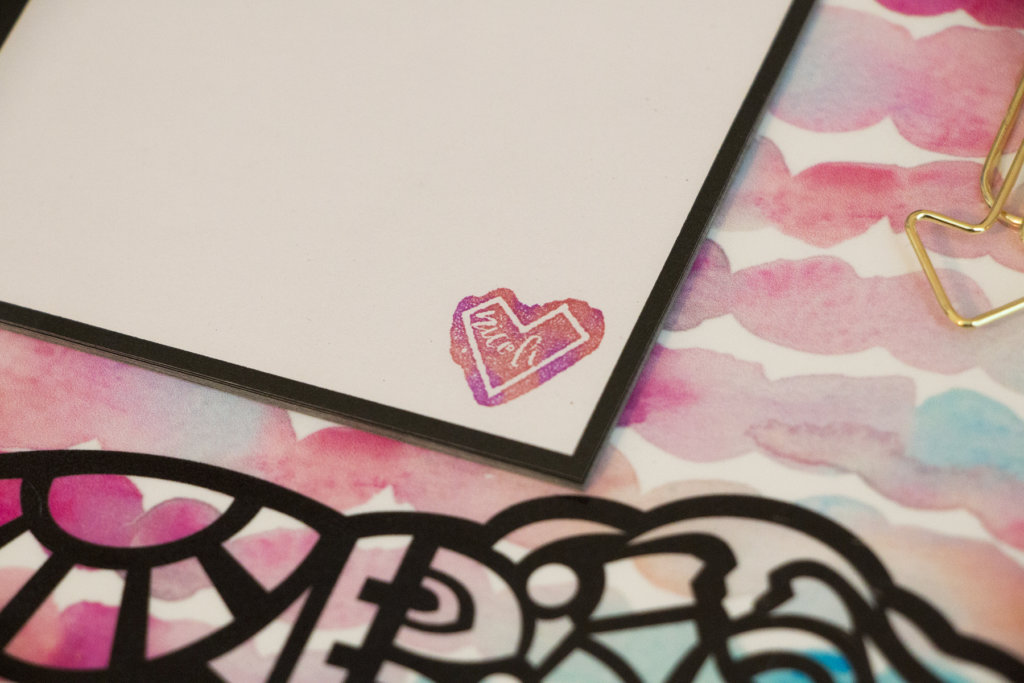
5. Stamp your custom heart design onto the pages of your notepad, where desired.
6. Slap your amazing magnet onto your locker and watch everyone get jealous.

With these basic steps, you can create a locker magnet that is customized and personalized to fit your style. Don’t be scared to play around with different backgrounds and shapes to create your own designs.
What are some other must have back-to-school essentials this year?