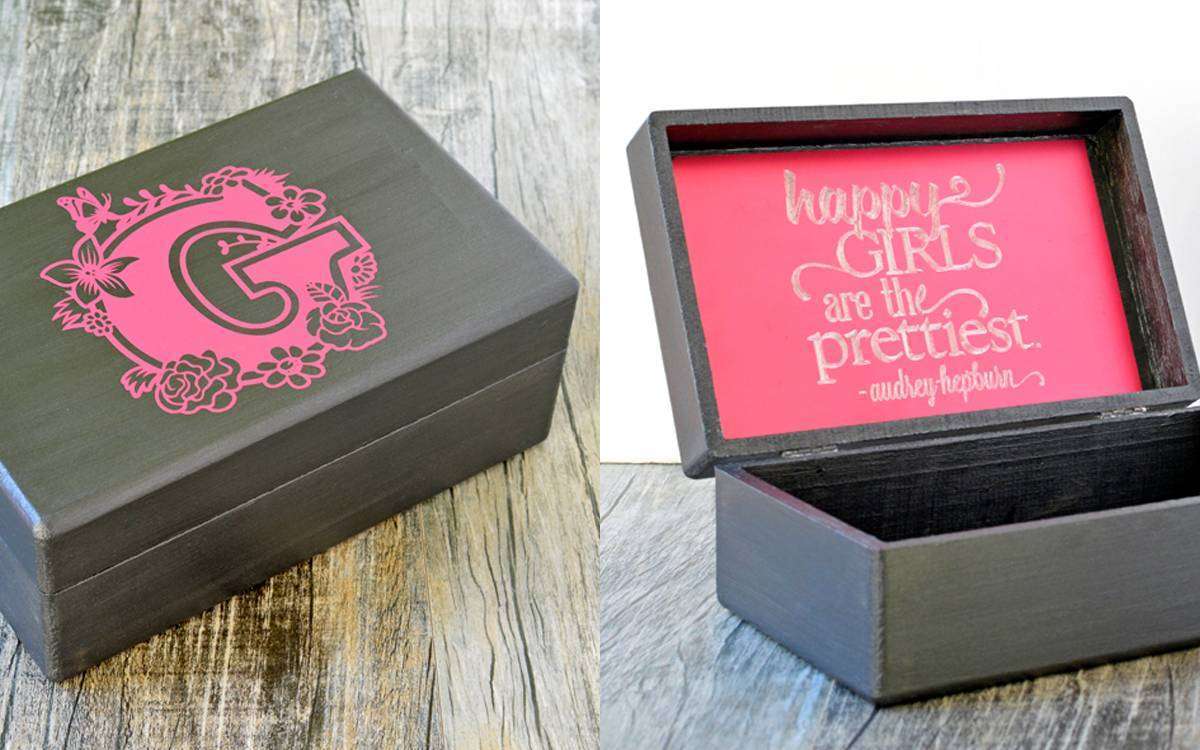
Few people enjoy the crafty gifts I make quite as much as my six-year-old niece. And because she loves them so, I do my best to create something fun and personalized to give her for nearly every special occasion. Valentine’s Day is only a couple of weeks away, so I broke out my Curio to turn an unfinished wooden box I found at my local craft store into a custom jewelry box with a little vinyl and metal etching.
Supplies Needed:
- Silhouette Curio™
- Matte Adhesive Vinyl
- Transfer Paper
- Hook Tool
- Scraper Tool
- Metal Etching Sheets
- Curio Stippling & Etching Tool
- Wooden Box
- Craft Paint
Designs Needed:
Step 1: Apply Vinyl Monogram to Box
Cutting vinyl designs with your Silhouette machine is super easy. Click here for a simple tutorial on cutting, weeding, and applying vinyl for this type of project. Cutting vinyl with the Silhouette Curio™ is just as easy, but you will need to understand the platform system it uses first (more information can be found here).
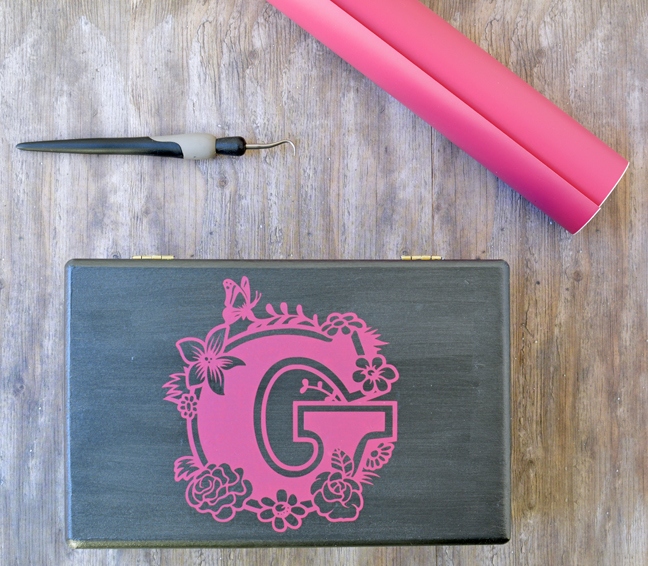
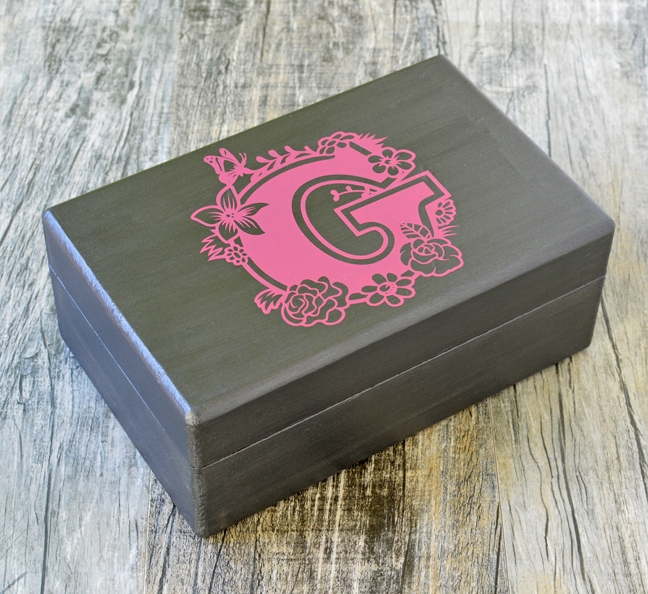
After painting an unfinished wooden box with dark grey metallic craft paint, I cut the “Secret Garden G” design (my niece’s initial) from pink matte adhesive vinyl and applied it to the top. You will need to:
- Trim an appropriately-sized piece of vinyl from the roll (6 in. x 6 in. in this case) and place it onto Curio’s cutting mat.
- Add two 2 mm platforms to the stack and mount all three platforms to your base.
- Send the “Secret Garden G” design to Curio to cut.
- Weed the design using the hook tool.
- Apply the design to the box with transfer paper and the scraper tool.
Step 2: Prepare the Design for Etching
Metal etching sheets are 5 in. x 7 in., but the inside of my box lid was slightly smaller. You can easily trim simple shapes from the metal sheets with a guillotine trimmer or a decent pair of scissors, so I cut my sheet down to 4.5 in. x 7 in. first.
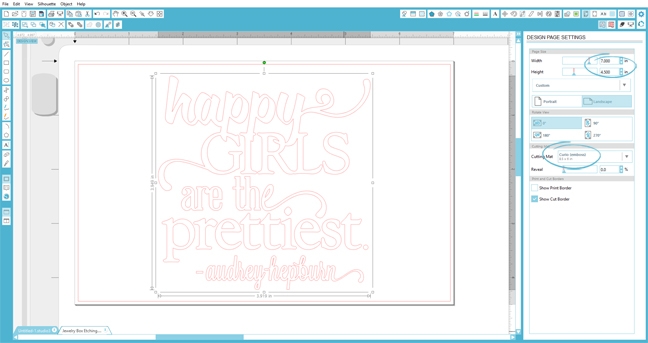
- Change the page size to 4.5 in. x 7 in. and the cutting mat to “Curio (emboss)” in the Design Page Settings Menu (circled above).
- Open the “Happy Girls Phrase” design and center it on your workspace.
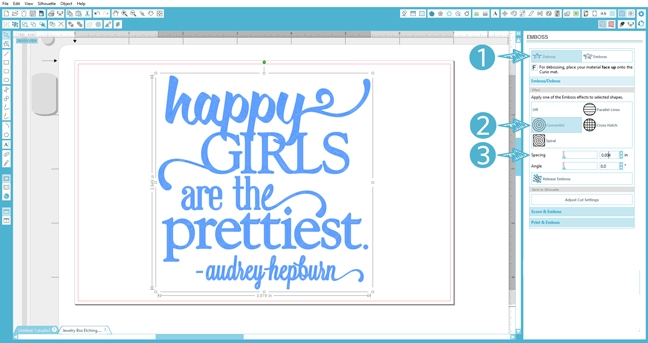
Unless you only want the outline of the phrase to be etched, you will need to fill in your text using the Emboss Menu. To do this:
- Click on “Deboss” in the Emboss Menu.
- Choose a fill effect for the design. (I chose “concentric” for a smooth fill.)
- Decrease the spacing until your design is completely filled. (0.004 in. is as low as the spacing will go.)
Step 3: Send the Design to Curio
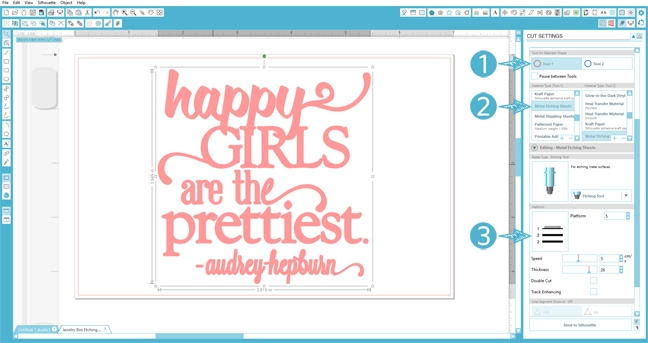
When you are happy with your design, open the Cut Settings Menu to prepare it for etching.
- Click on the Tool button that corresponds to the slot you have chosen for the Curio Stippling & Etching Tool.
- Change the material type to “Metal Etching Sheets.”
- Assemble the stack of platforms suggested by the software. For this project, I placed the metal etching sheet onto the embossing mat and added two 2 mm platforms underneath before mounting them to my base.
- Click “Send to Silhouette” once you have loaded your base and etching tool.
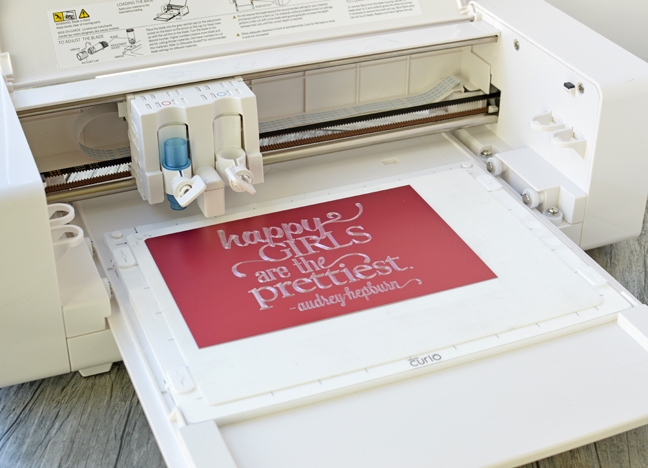
Curio will work its magic and soon you will have a gorgeous etched metal plate to apply to your project!
Tip: When the etching is complete, rub a damp synthetic chamois over the surface to remove dust and debris without scratching the rest of the paint. This will help brighten up your etched design.
Step 4: Adhere the Metal Sheet
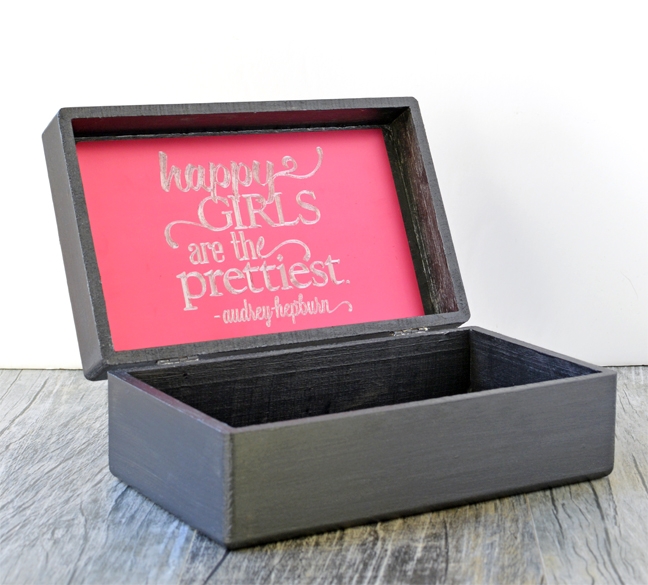
Many strong adhesives will work to bond metal etching sheets to a wooden box like this, but I recommend testing them first if you plan to give the item as a gift. Here I’ve used hot glue and the bond has remained intact. For an extra nice finish, I also adhered some velvet paper to the bottom to protect my niece’s fine jewelry. 😉
janet
February 3, 2017
Beautiful idea. I just entered the Curio giveaway, here’s hoping I win and try this project. Thank you 🙂
Annie Williams
February 3, 2017
Thank you so much Janet…and good luck!!