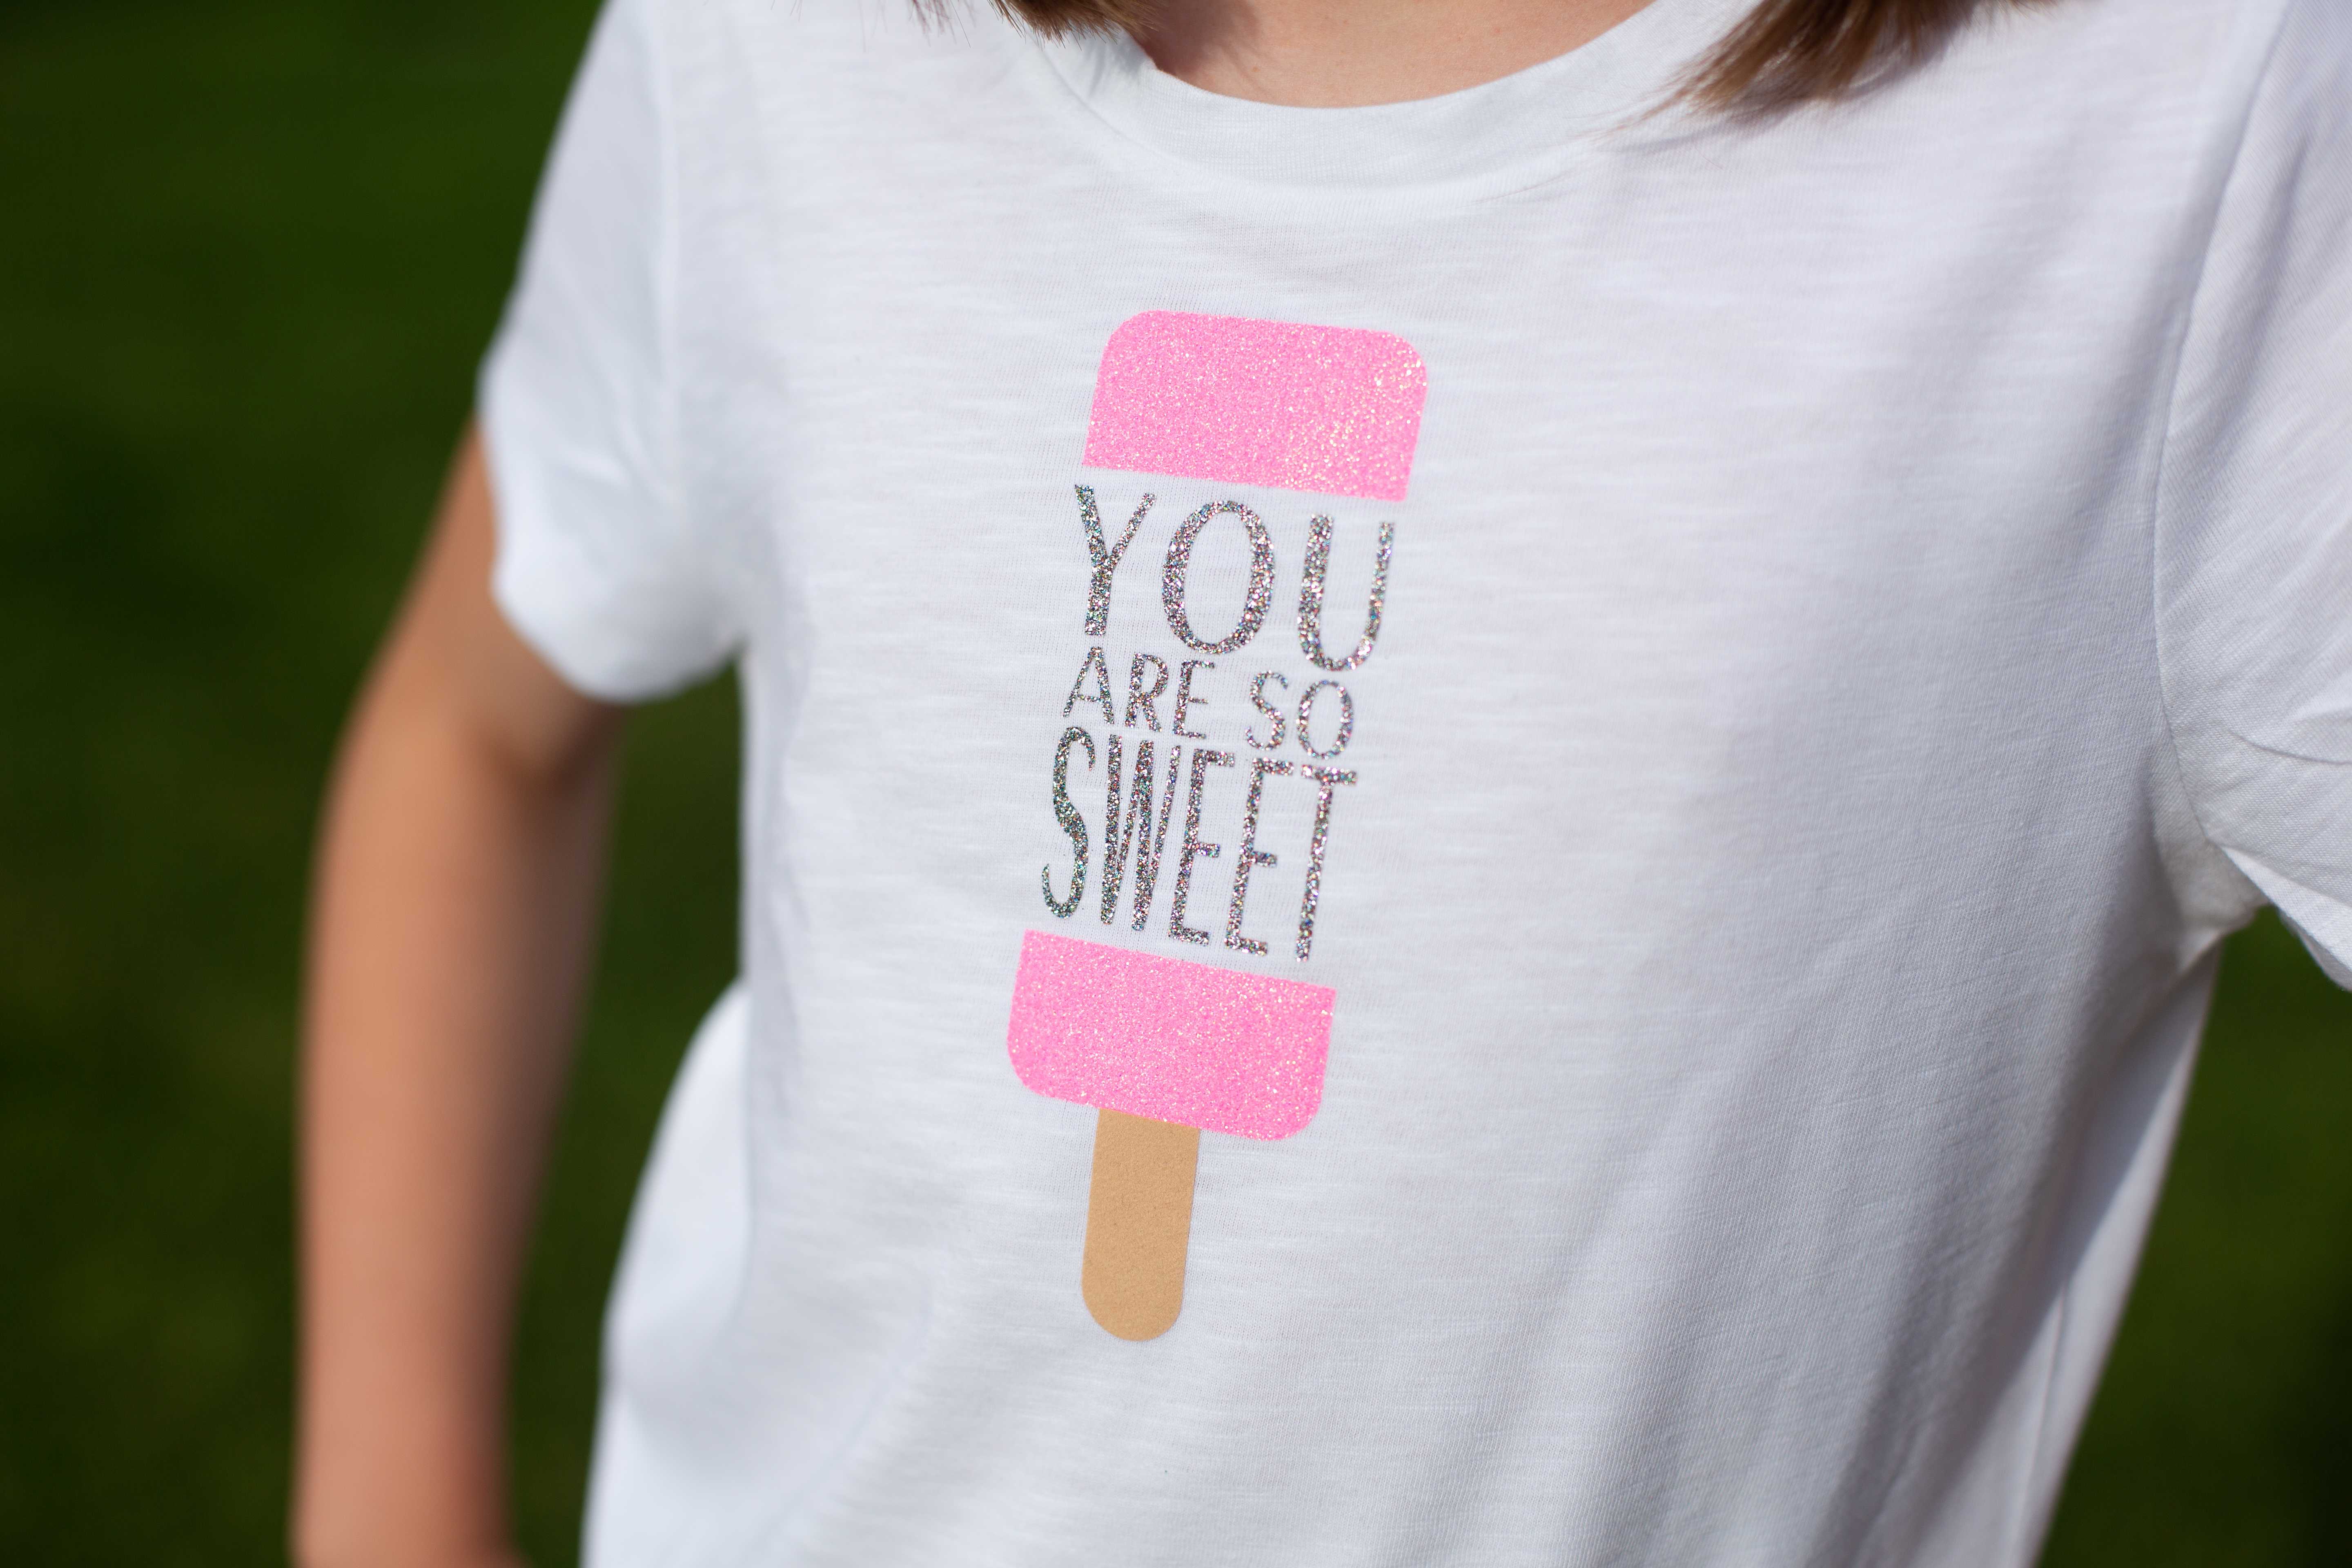
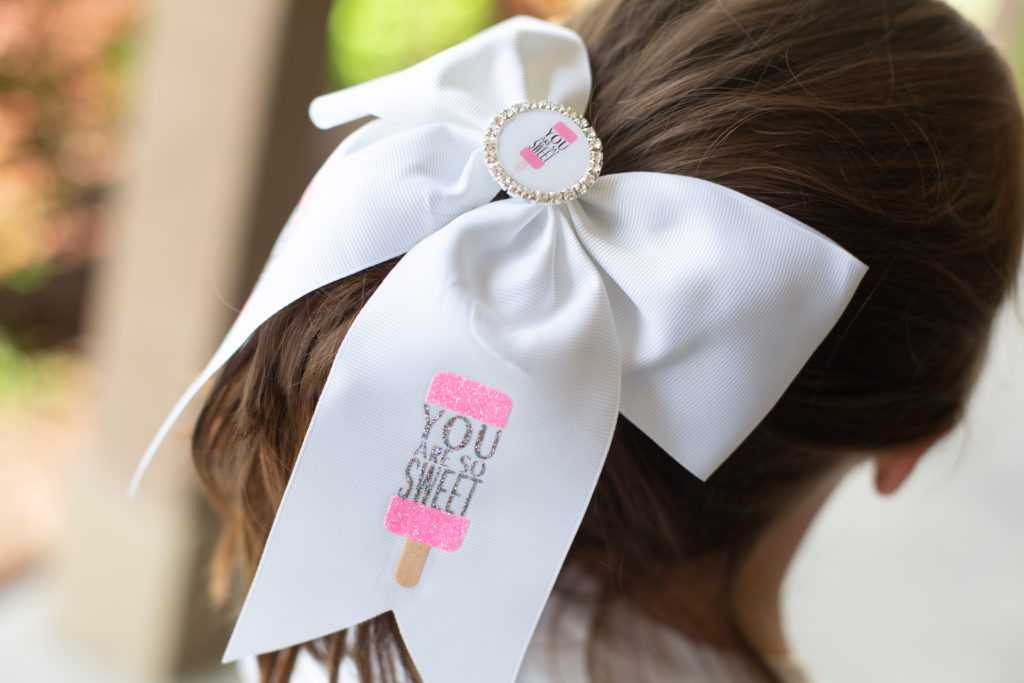
Summer is quickly approaching, and this sweet Popsicle design is just the thing you need to remind you to stay cool. I love this adorable t-shirt and matching cheer bow. This would be the perfect addition to anyone’s summer wardrobe.
Supplies Needed:
- Silhouette CAMEO®, Silhouette Portrait®, or Silhouette Curio™
- Silhouette Heat Transfer
- Silhouette Hook Tool
- Printable Adhesive Cardstock
- Iron
- Thin towel or parchment paper
- Shirt
- Premade Bow
- 1-inch round bottle cap — Can be found online or at your local craft store
- 1-inch or 25-mm epoxy stickers — Can be found online or at your local craft store
- Hot glue gun
- Design ID #267812
Step One: Creating Your T-Shirt Design
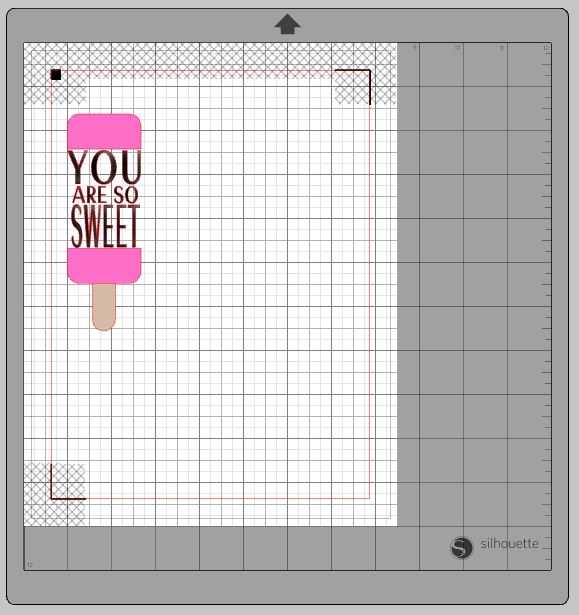
- Open up Silhouette Studio®.
- Select the Page Setup panel and adjust your cutting mat size to none (or select the size of mat that you are using).
- Download and open Design ID #267812.
- Adjust the design to your desired size for the t-shirt you are using.
- If you are using multiple heat transfer colors, adjust the colors of the design to match the heat transfer you will be using. Here is a more detailed tutorial on cutting by line type or line color.
- When cutting any design with heat transfer, you need to mirror your design or else your words will be in reverse. In order to mirror your design, select your design, right-click, and select “Flip horizontally.”
Step Two: Cutting the Design
- Load the heat transfer material into your machine with or without a cutting mat, shiny side down. I’m using pieces of scrap heat transfer vinyl for this child-sized shirt. I have also decided to use flocked heat transfer material for the Popsicle stick.
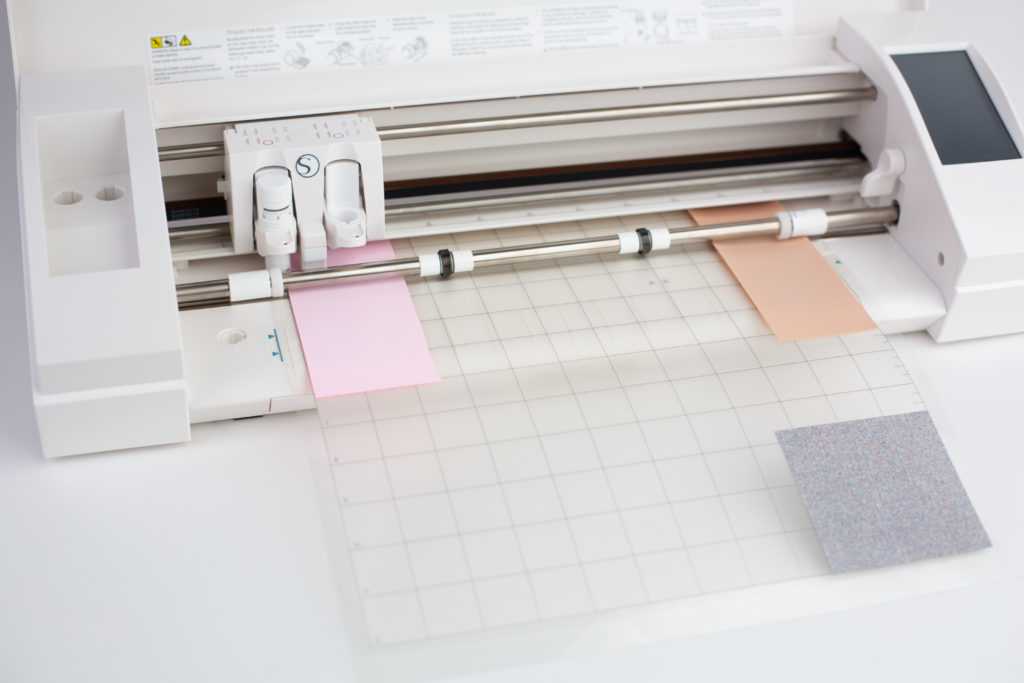

- In Silhouette Studio®, select the Send tab in the upper right hand corner. Choose the correct material type and which blade you are using.
- Select Send to initiate cutting.
- Once the image is cut, select Unload on your machine and remove the heat transfer from the machine.
- Remove the excess heat transfer from your design in a process called weeding with your Silhouette hook tool.
- Repeat this process if you are using multiple colors of heat transfer.
Step Three: Applying the Heat Transfer the T-shirt
- Preheat your iron.
- Place the t-shirt on your ironing board or a hard, flat surface.
- Find the center of the t-shirt. I like to find the center by finding the center of the collar and moving the design down.
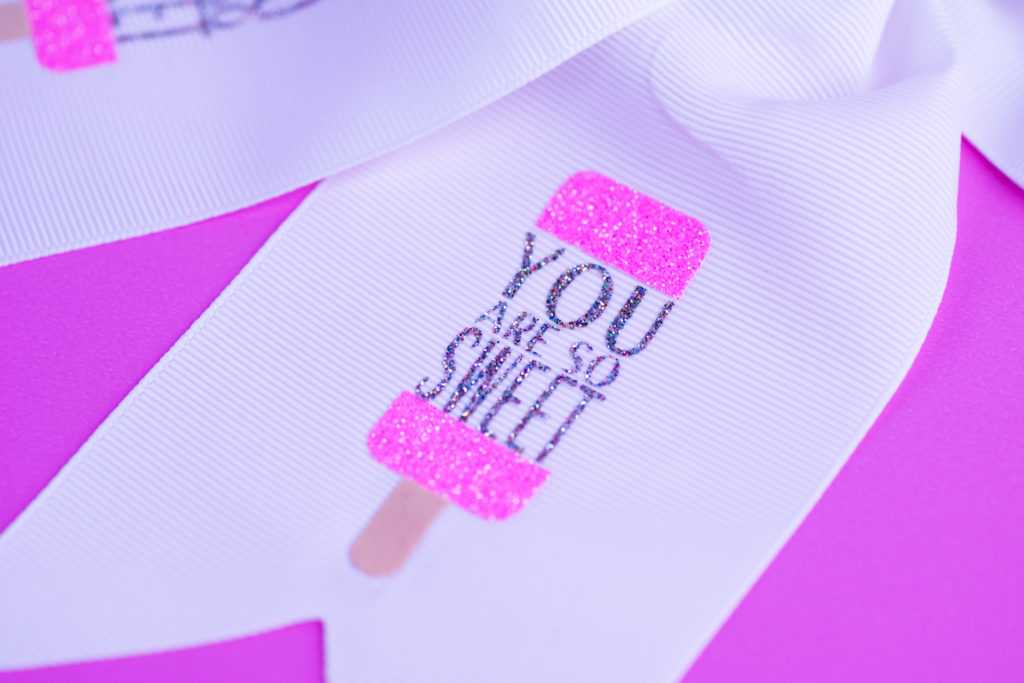
- If you are using multiple colors, I would suggest applying the Popsicle section first and then the wording. Apply the stick portion last. Make sure it is right up against the Popsicle section and not overlapping it. This way, you’ll ensure all of the heat transfer will stick to the fabric. Place the weeded Popsicle design, shiny side up on the t-shirt. Cover the design with a clean thin towel or parchment paper and apply firm pressure over it with your iron.
- Once the design has fully adhered, you can remove the clear carrier sheet and discard it. Repeat the process if you are using more than one color of heat transfer.
Step Four: Making a Small Design for the Bow
- Measure the tails of the bow and re-size your design from your t-shirt and repeat steps 2 and 3 above.
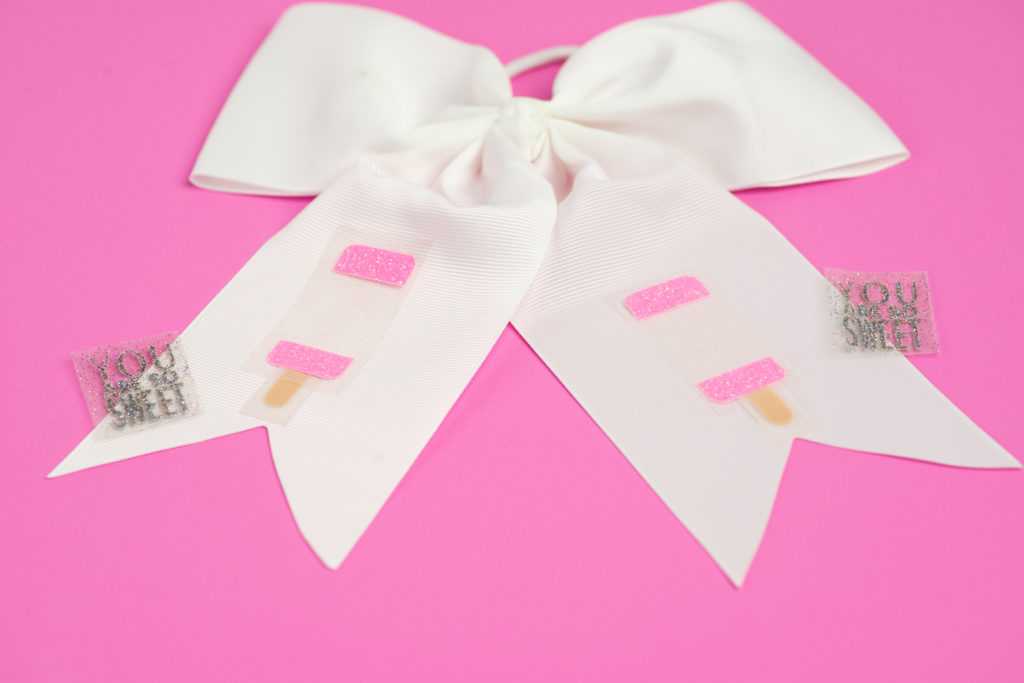
- Duplicate the design twice if you are applying the design to both tails.
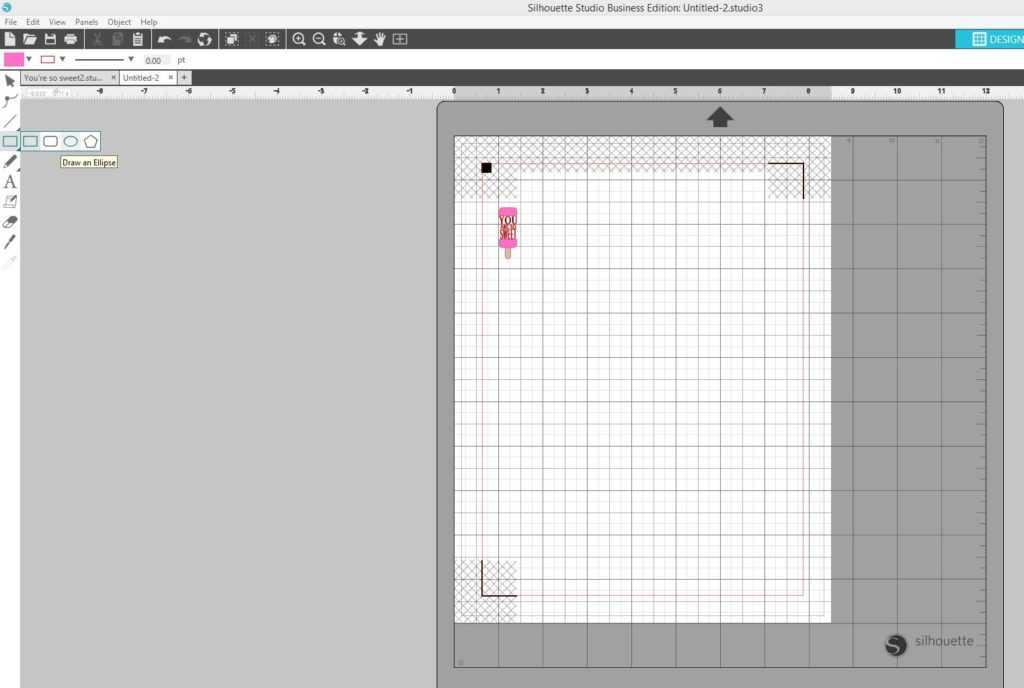
Step Five: Creating the Bottle Cap Image
- Open up Silhouette Studio®.
- Select the Page Setup panel and change your paper size to letter size, 8.5 inches x 11 inches.
- Go to the Registration Marks section and under the style, select the option that matches your machine.
- Open Design ID# 267812.
- Ungroup the design.
- Change the color of the design to match the color of your heat transfer vinyl or colors of your choosing.
- Regroup the image and resize the image.
- Create a 1-inch circle by selecting the ellipse under the drawing tools.
- Resize your design to fit into the 1” circle
- Drag your mouse and select your image and the circle. Go to the Object menu, and using the Align feature, align the design to the center and middle of the circle.

- Group the circle and design together and replicate the item if you need to make more than one bow.
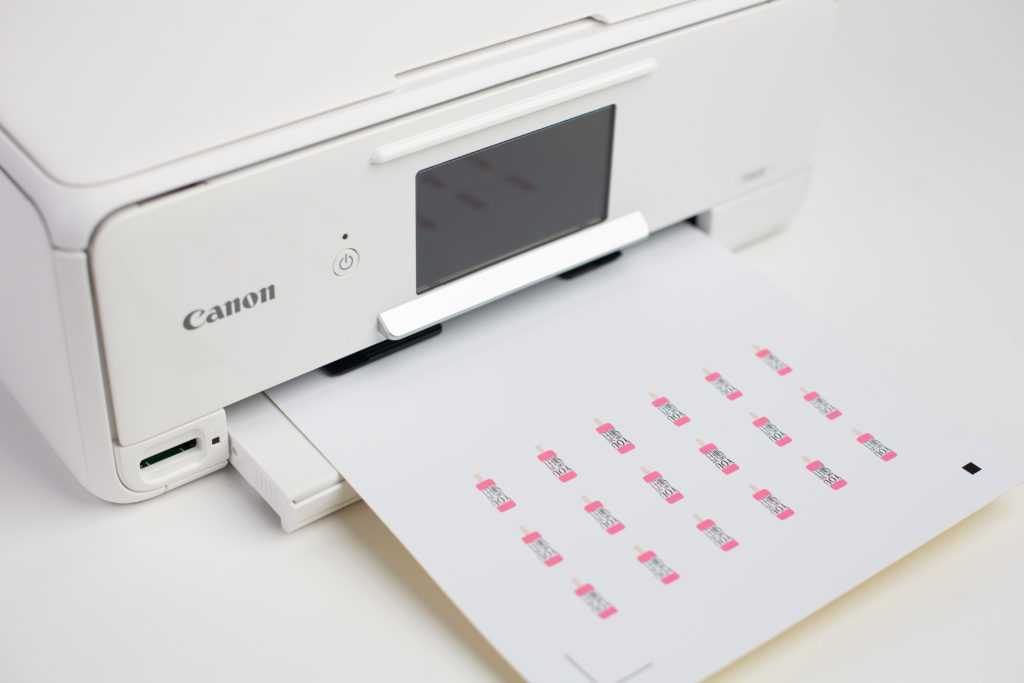
- Load the Printable Adhesive Cardstock into your home printer to print the image.
- Load the Printable Adhesive Cardstock into your Silhouette using a cutting mat. Select the appropriate material from the material list in the Send tab and adjust your blade accordingly (unless you use a machine with an AutoBlade).
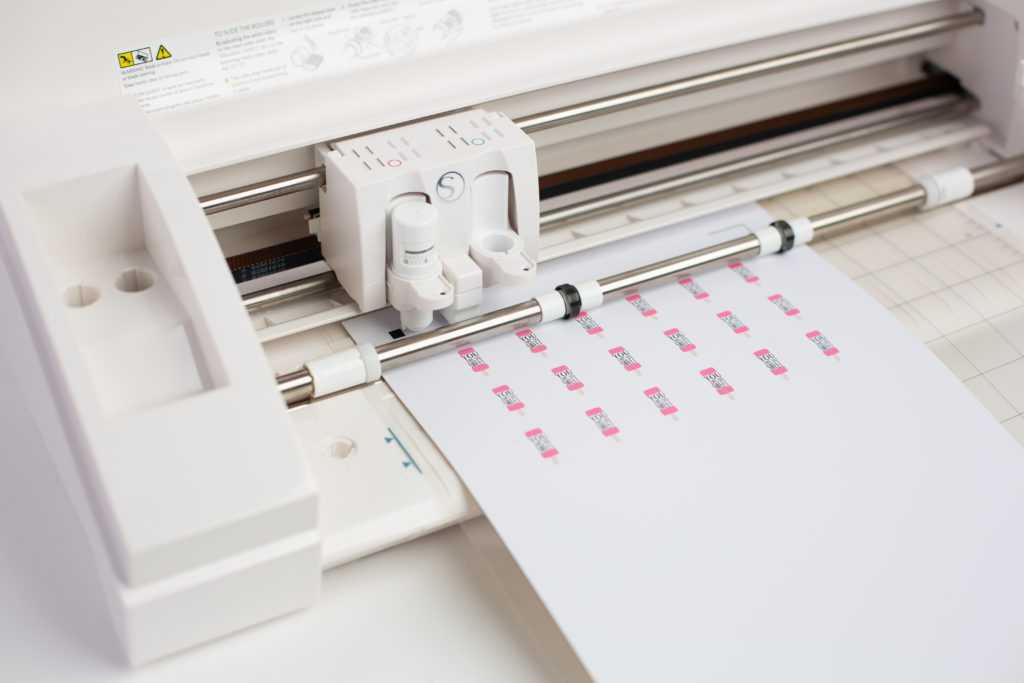
- Click “Send,” and your Silhouette will begin scanning the page for the printed registration marks. After the registration marks are found, the Silhouette will proceed to cut as usual.
- Unload the printable Adhesive Cardstock.
- Remove the 1-inch circle and apply it to the bottle cap.
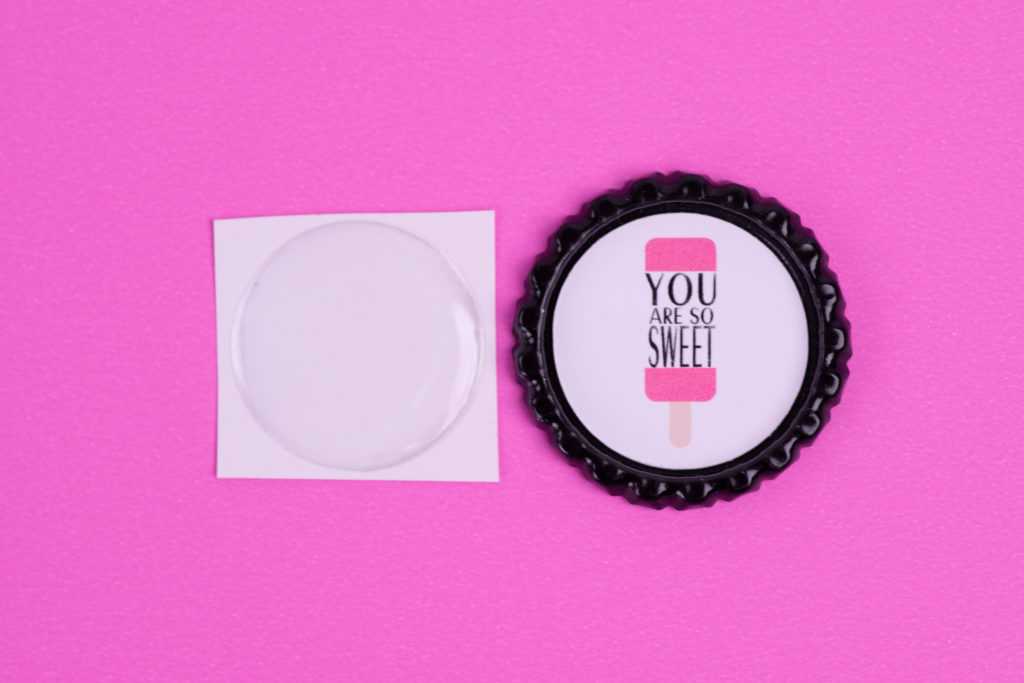
- Carefully apply the 1-inch circle epoxy sticker on top of the 1-inch circle you just applied to the bottle cap.
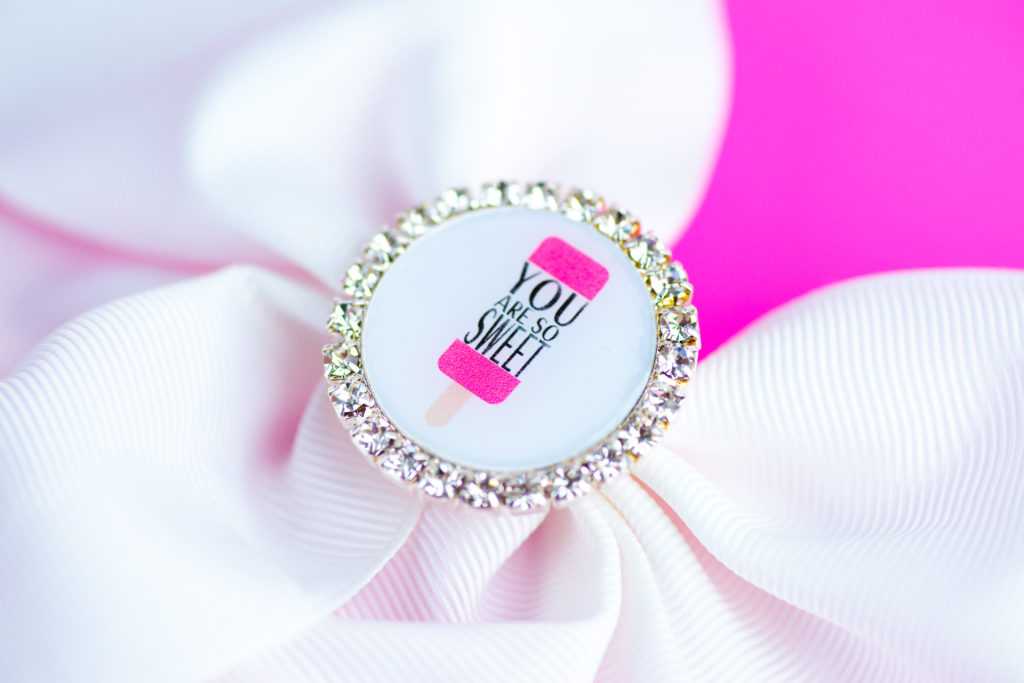
- Secure the finished bottle cap to the center of the hair bow with hot glue.
Now you have a beautiful custom shirt and a matching hair bow that any little girl would love to have to start the summer off. 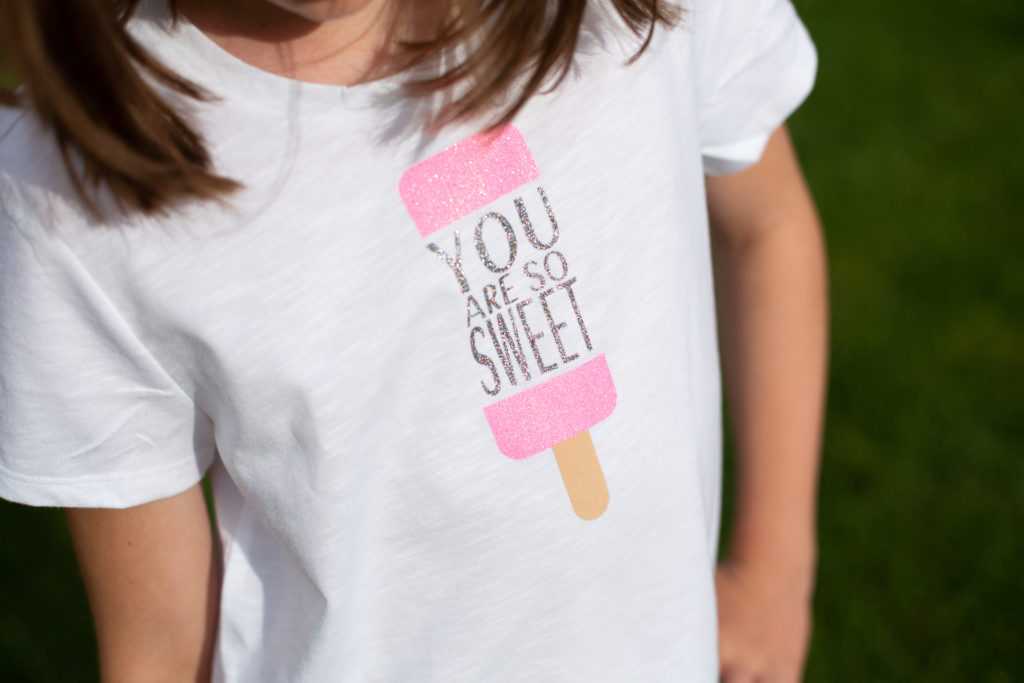
What color of heat transfer will you use with this design?