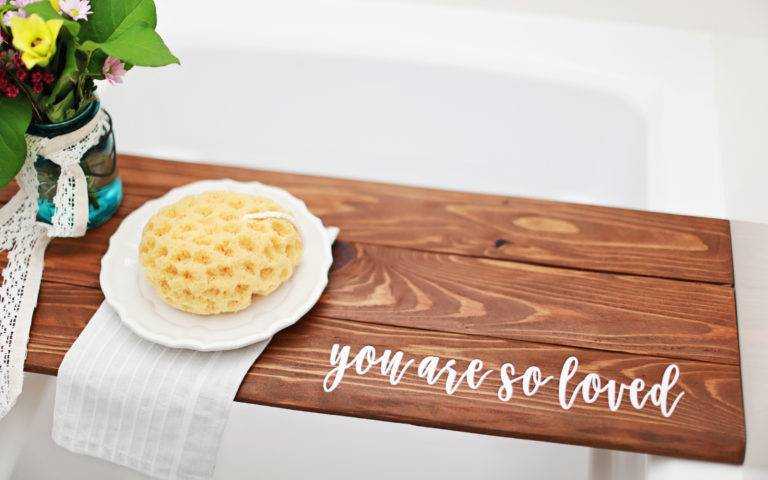
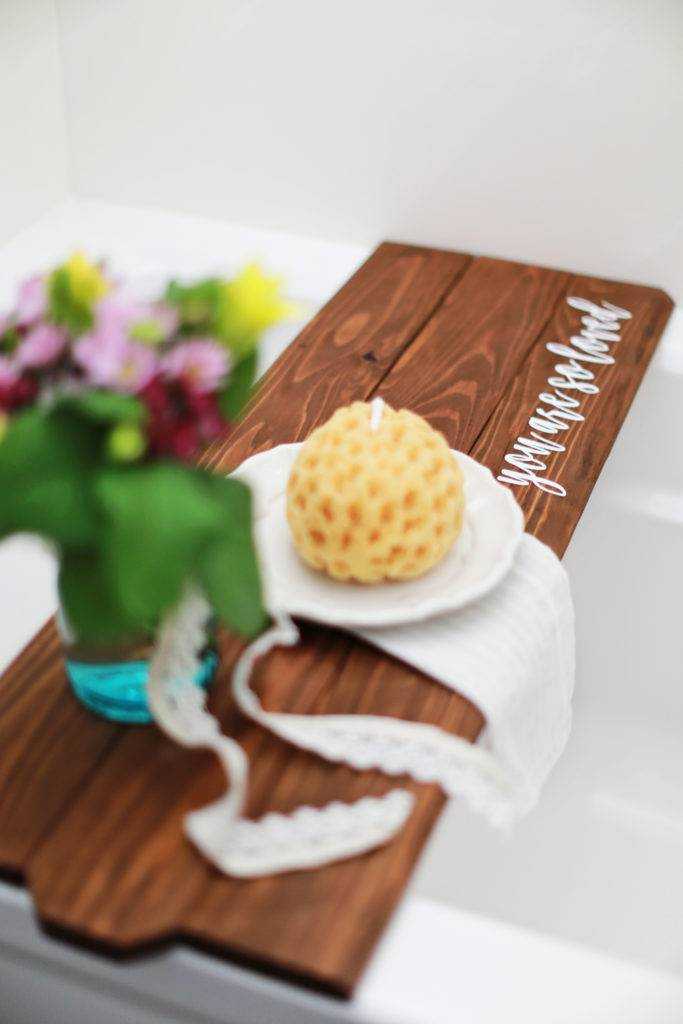
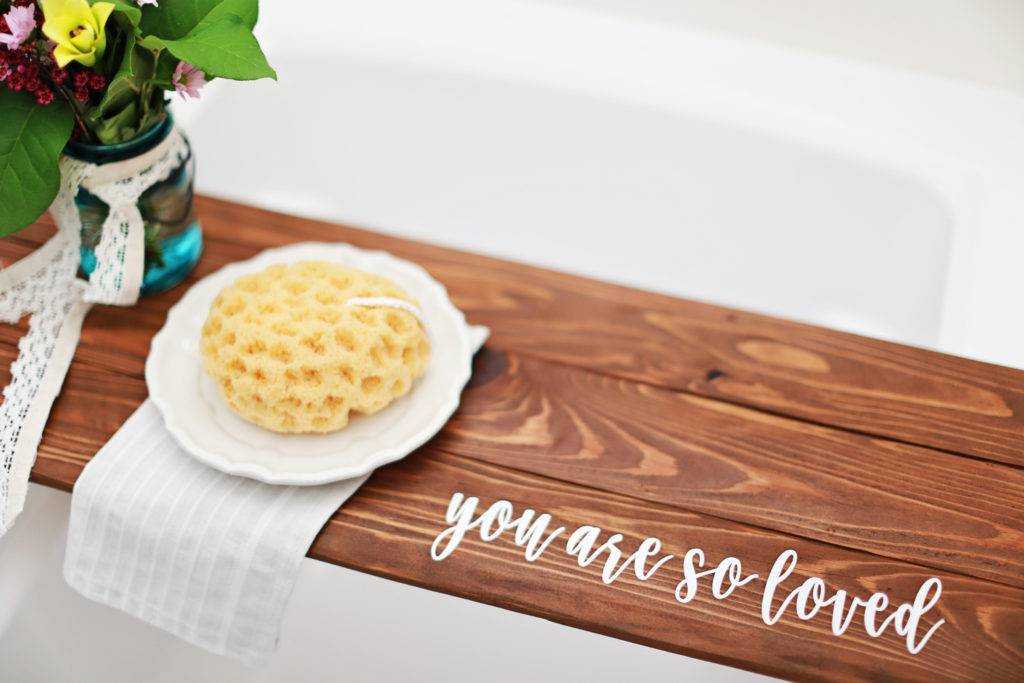
If you’re familiar with my past Silhouette blog post, then you know I sometimes have a simple building project for you. This super cute bathtub tray is the perfect gift for Valentine’s Day, and it’s made with love.
Supplies Needed:
- Silhouette Cameo® or Silhouette Portrait® or Silhouette Curio™
- Silhouette Studio®
- Silhouette Matte Vinyl (White)
- Vinyl Transfer Tape
- Miter Saw
- Nail Gun
- Dog Eared Wooden Fence Board
- Orbital Sander
- 80 Grit Sandpaper
- 220 Grit Sandpaper
- Tape Measure
- Wood Stain
- Foam Brush
- Paper Towels
- Design ID #240205
Step One: Measure Your Bathtub
Grab your handy tape measure and measure the length across your tub from edge to edge. Mine came out to 31 inches.
Step Two: Cut and Sand Wooden Fence Board
- Use your miter saw to cut 3 pieces of wood at 31 inches in length and 2 pieces of wood at 9 inches in length. (One of my boards is a little longer because I wanted to keep the “dog ear” part of the wood)
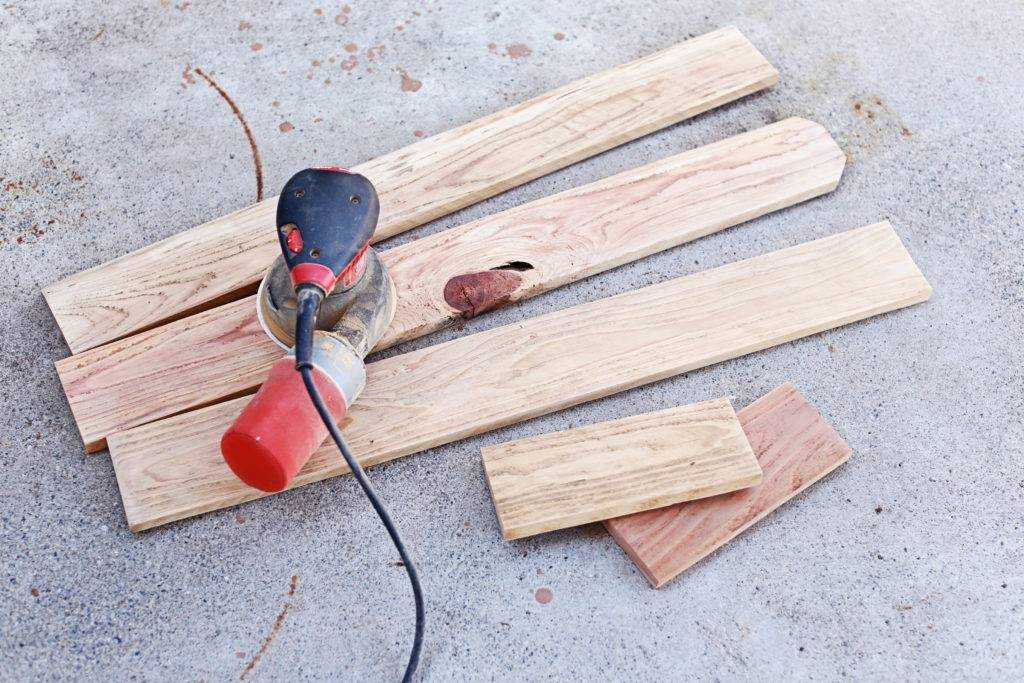
2. First sand the boards with 80 grit sandpaper. This will get rid of all the rough parts real quick.
3. Then change out the sandpaper on your sander to the 220 grit sandpaper and sand your wooden boards again. This will help smooth out the wood.
Step Two: Nail the Boards Together
If you do not have a nail gun, don’t worry—wood glue will do just fine. Just make sure you clamp the pieces down and let the glue dry for 24 hours.

Nail down the 9-inch wood pieces to the back of the boards. Make sure they are spaced out but not too much or they will hit the edge of the tub.
Step Three: Stain the Tray
You can use any paint or stain you want. Use whichever will go with your bathroom decor. I personally love Early American wood stain. That’s my go-to stain on any wooden projects.
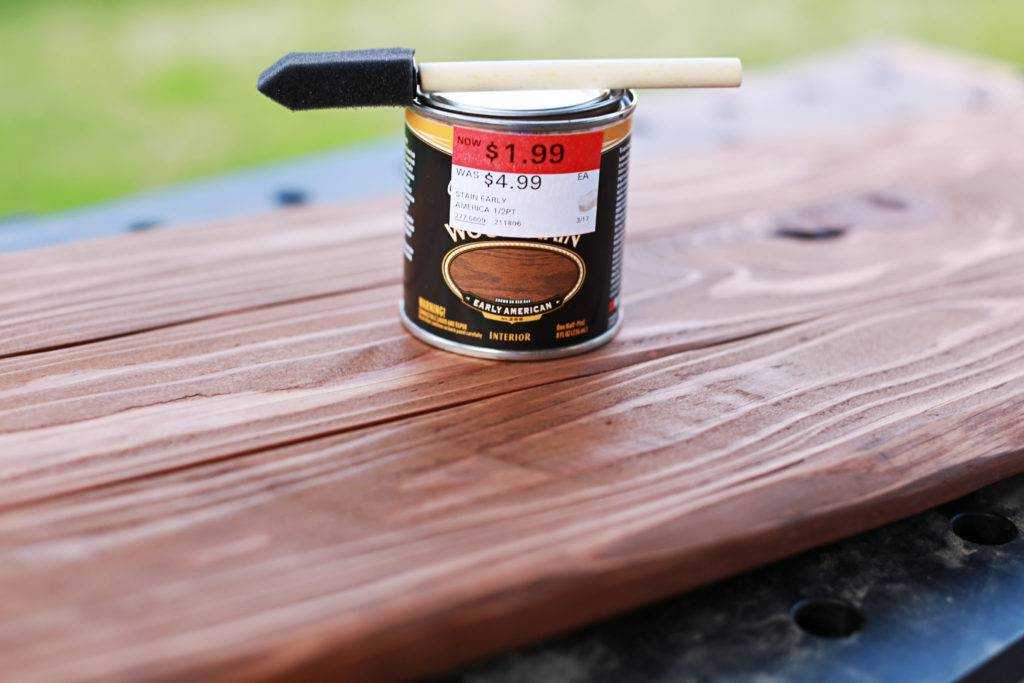
So grab your foam brush and stain away. Make sure you read the directions on the can to determine the drying time.
Step Four: Cut the Vinyl
While you are waiting for your stain to dry, this would be the perfect time to cut out your vinyl. If you’ve never used your Silhouette machine to cut vinyl before here is a vinyl cut tutorial to show you how.
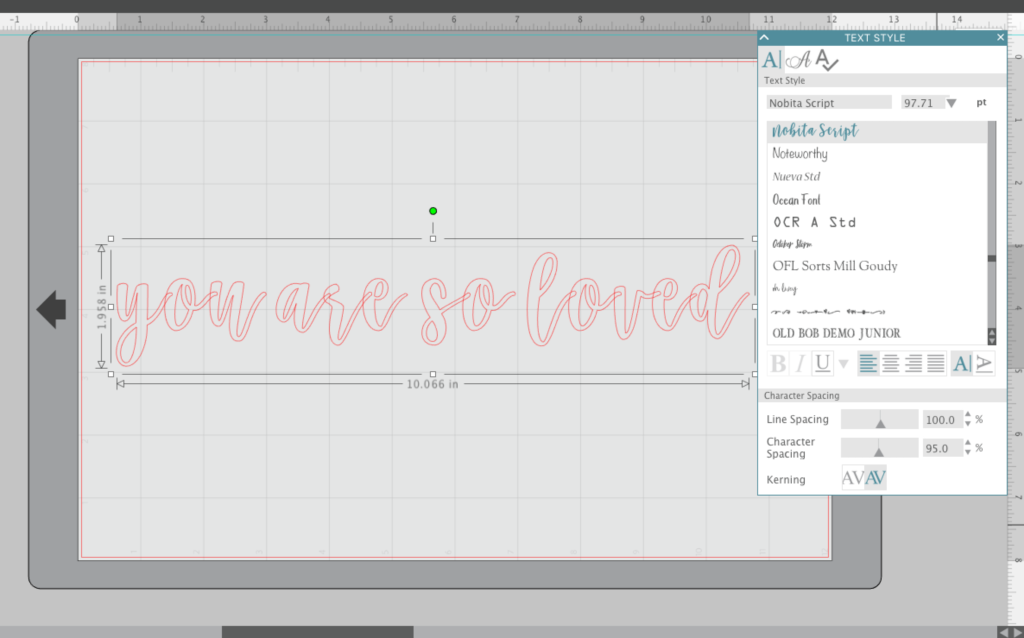
This Nobita Script Font was perfect for my little board. You can find it in the Silhouette Store (Design ID #240205). If that’s not your thing, Silhouette has thousands of fonts for you to choose from.
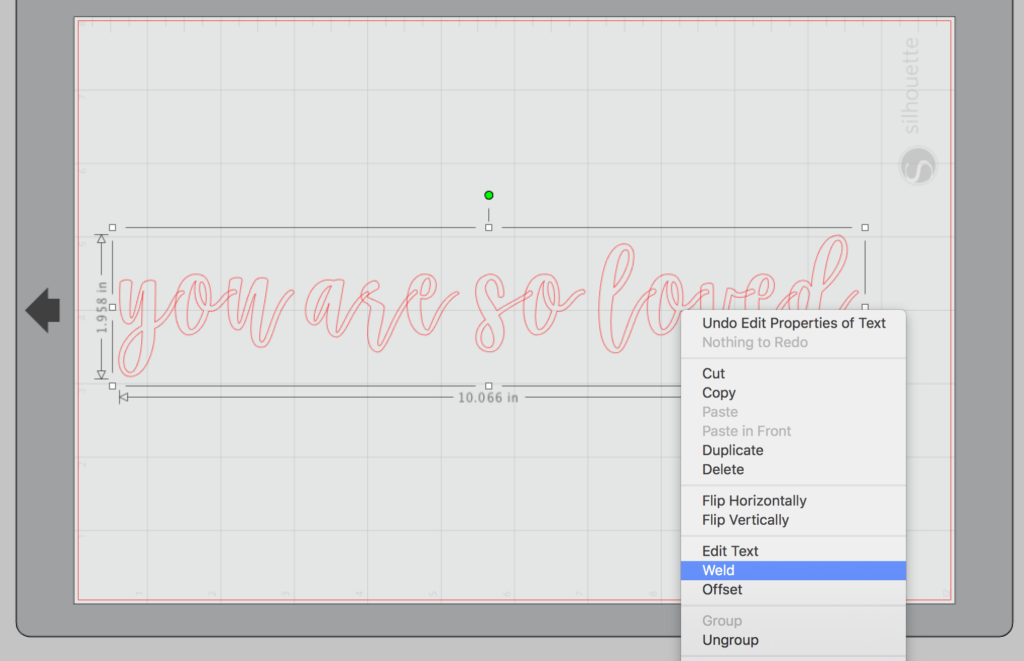
If you’re using a script font, make sure you weld the letters together before you have your Silhouette machine cut it out.
Step Five: Attach Vinyl to the Tray
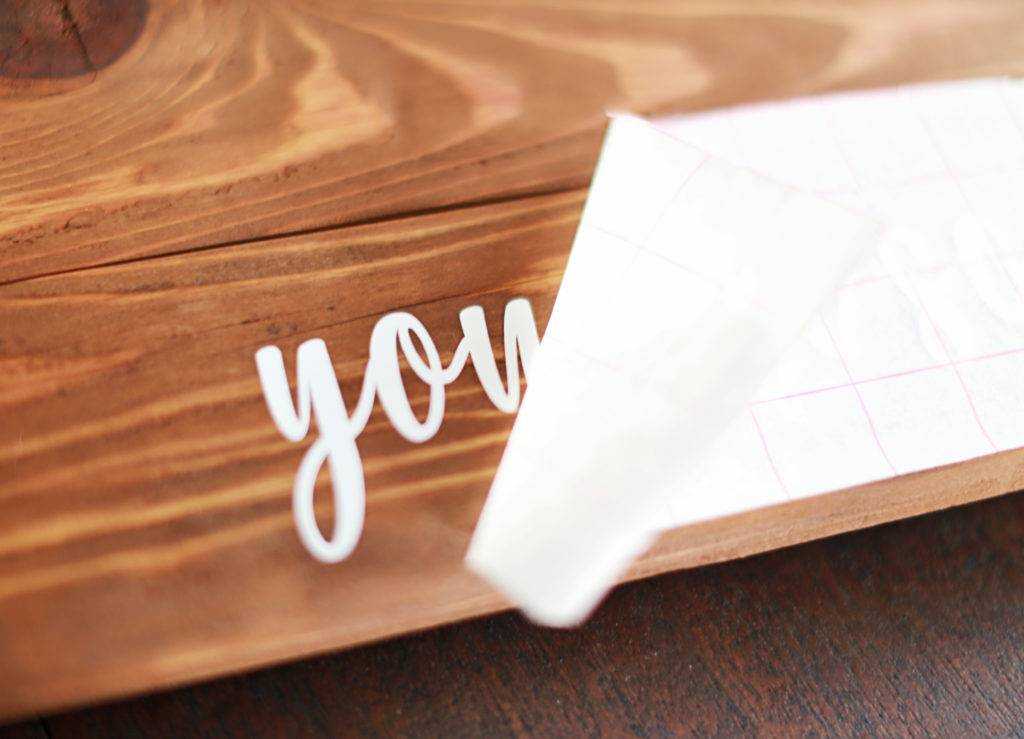
I placed the vinyl on the lower right-hand side of the tray, but feel free to place it whereever your heart desires.
I really do hope you guys enjoyed this tutorial as much as I enjoyed making it.
This blog post was contributed by Kathi Arbiso. Follow her for more inspiring Silhouette projects.