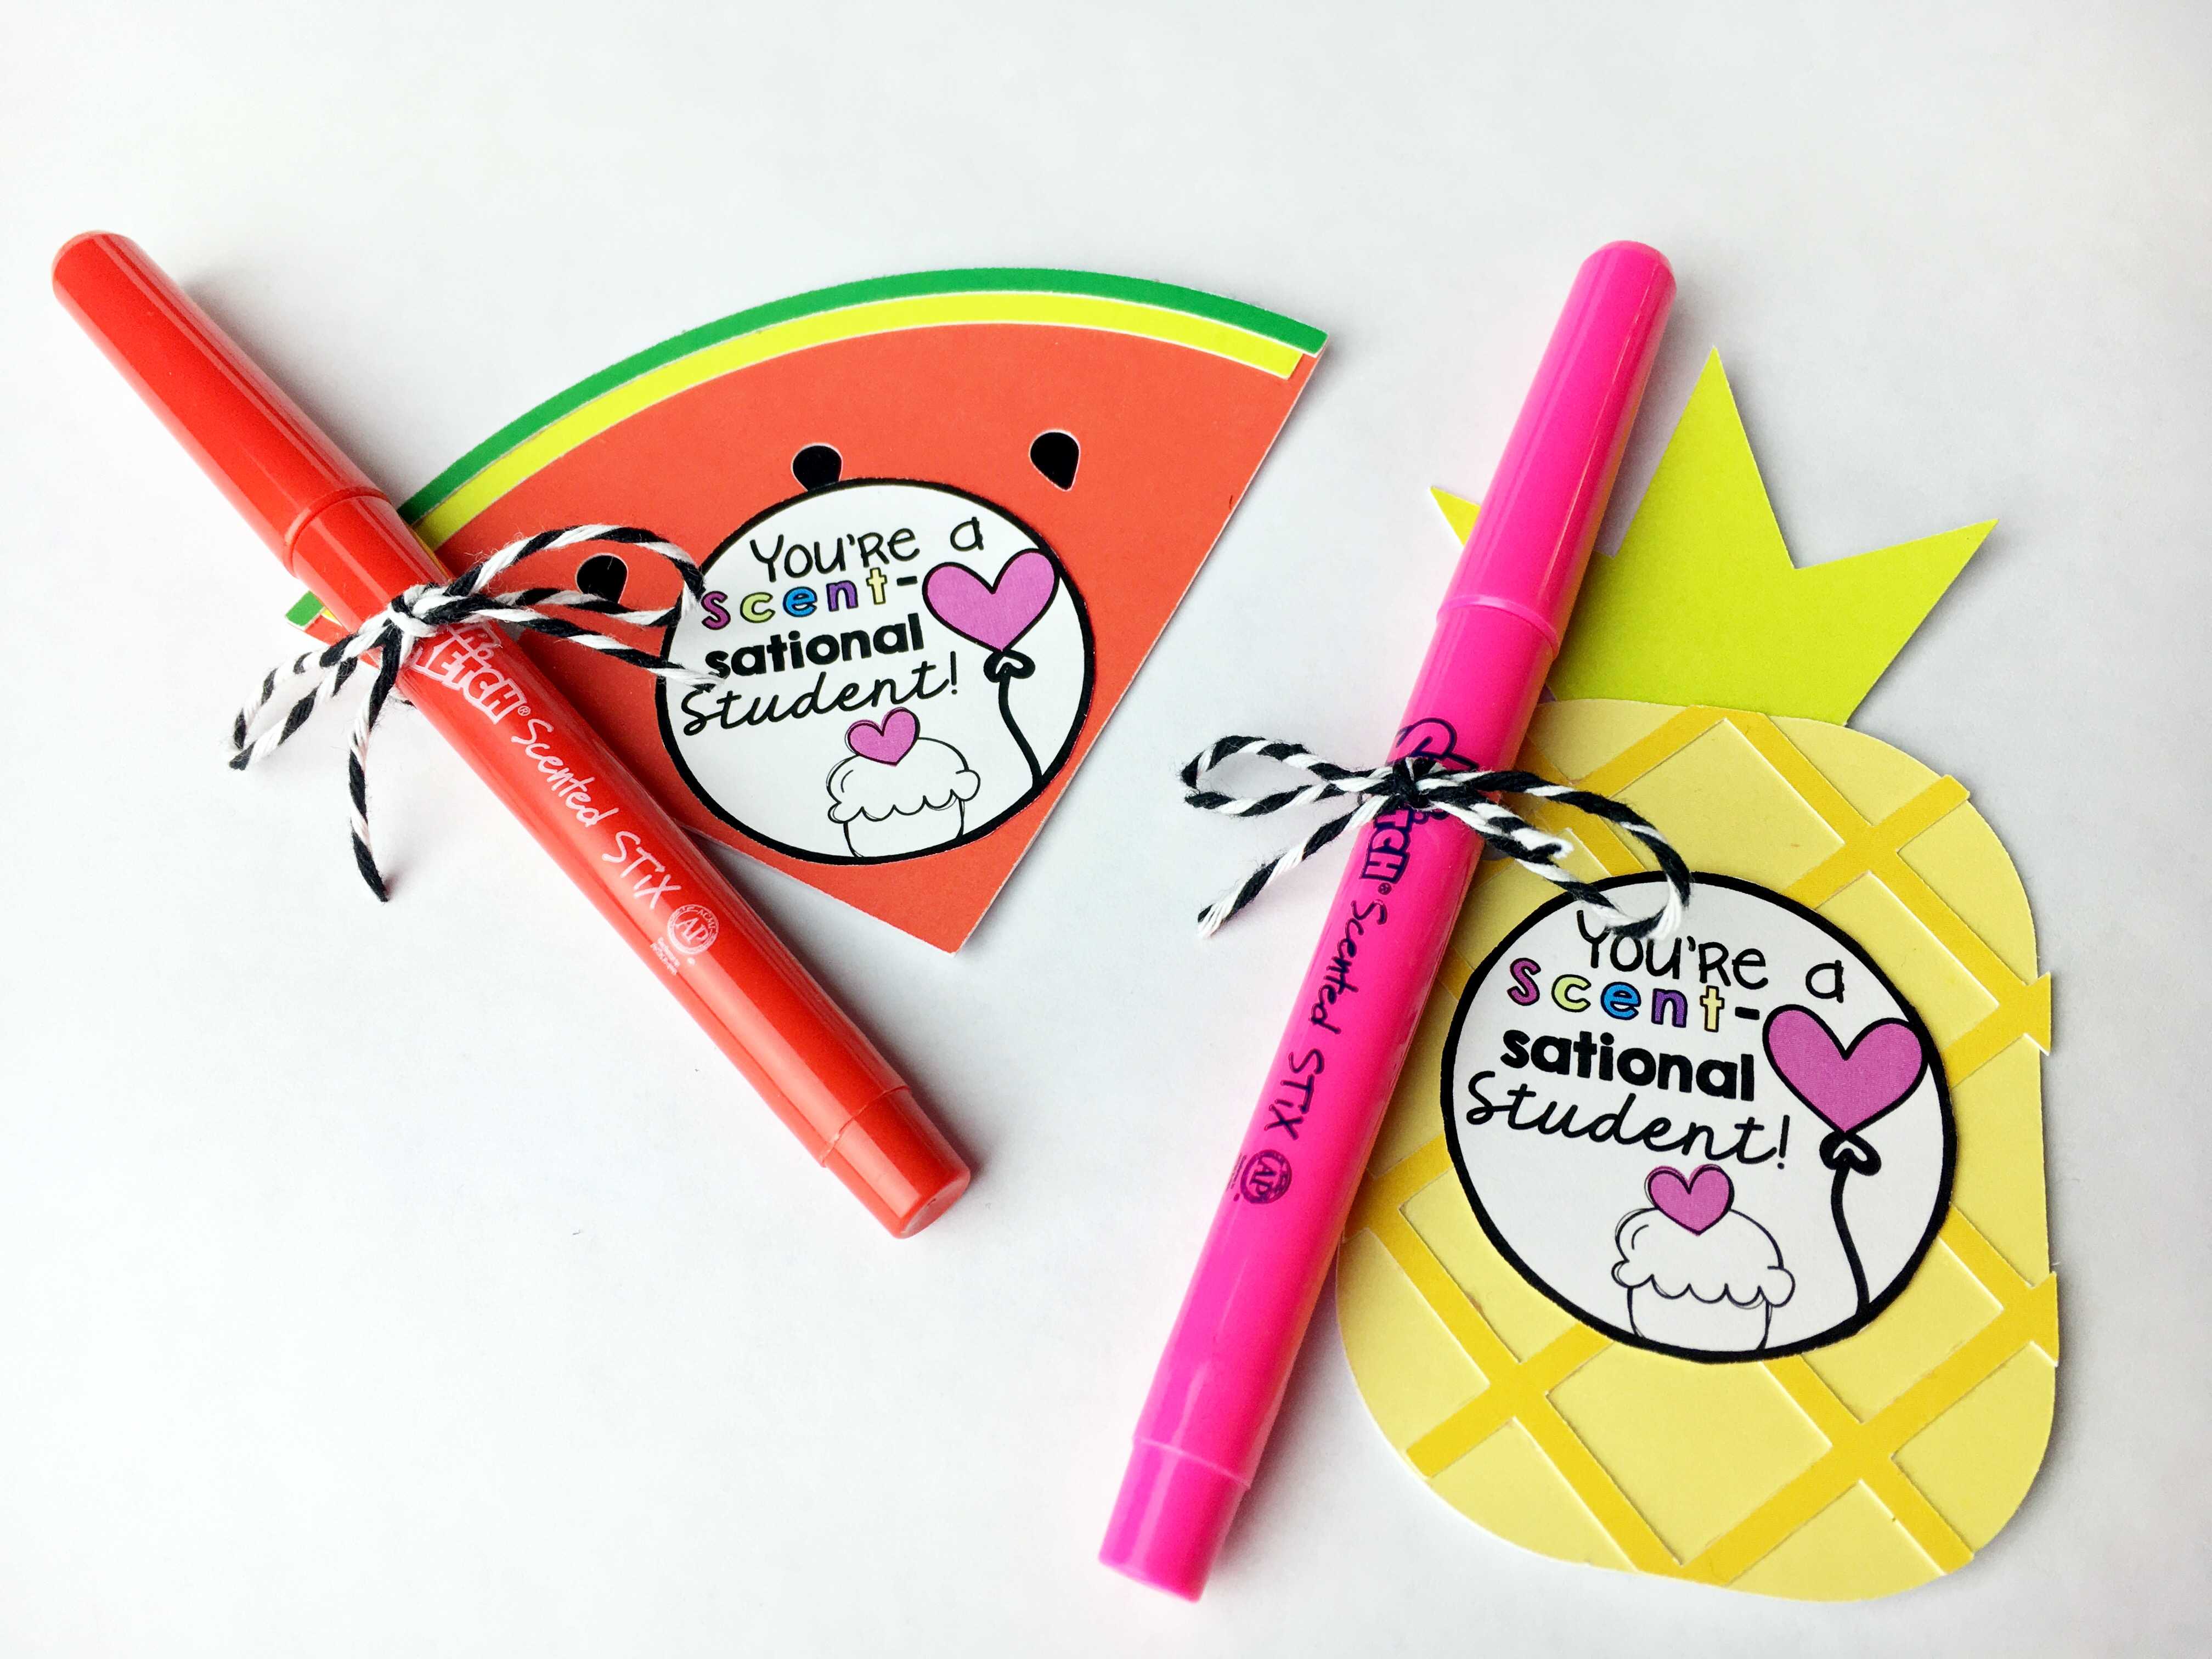
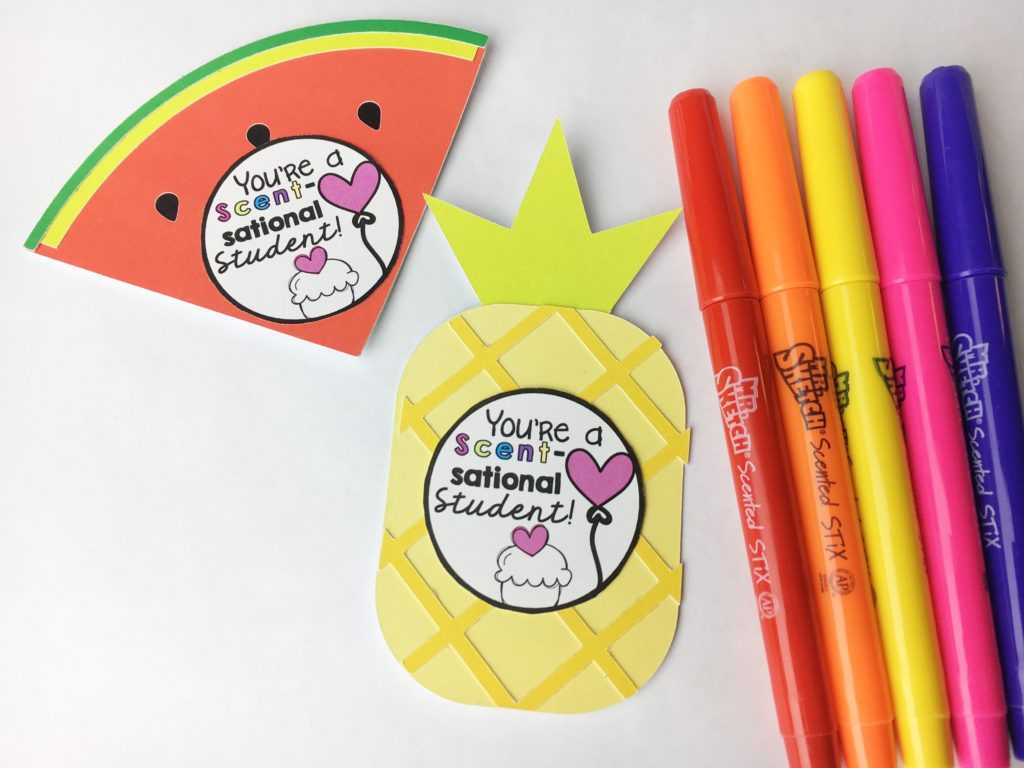
My name is Chad Boender, and I am a kindergarten teacher and the author of a blog called Male Kindergarten Teacher. Creating handmade Valentine’s Day gifts for my students is one of my favorite things to do each year. This DIY scent-sational Valentine’s Day gift tag is the perfect thing to pair with any smelly marker, pen, or pencil.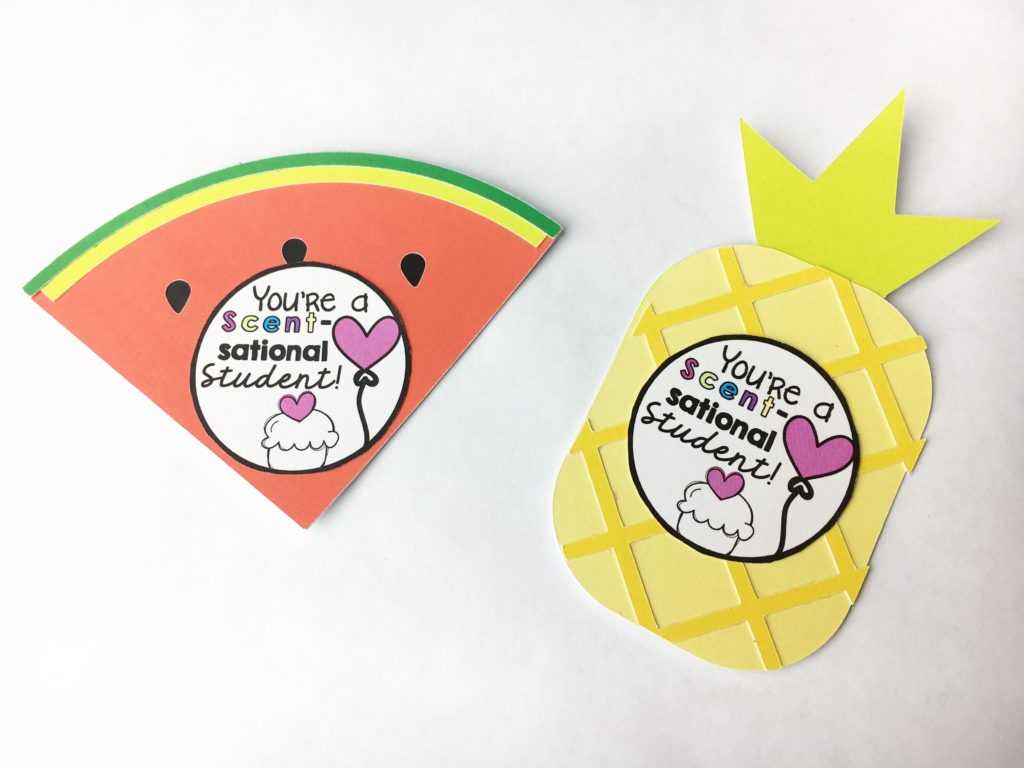
Today, I am excited to share how I created this fun and easy Valentine’s Day student card in Silhouette Studio®. Let’s grab our supplies and get started!
Supplies Needed:
- Silhouette CAMEO® or Silhouette Portrait® or Silhouette Curio™
- Silhouette Studio®
- Silhouette Cutting Mat
- Silhouette Cutting Blade
- Cardstock – White
- Printer
- Adhesive
- 1-Hole Punch
- Smelly Markers, Pencils, or Pens
- FREE Printable Valentine’s Day Tag
- Design ID#207212
- Design ID#207206
Step One: Set Up the Design to Be Cut
- Select the Page Setup icon (this icon can be found on the toolbar on the right-hand side of your page) and adjust your page to 8.5 inches x 11 inches.
- In the Page Setup window, turn on the registration marks by setting the style to “Type 1.” Adding registration marks is important because your machine reads these in order to cut your printed shapes out perfectly.
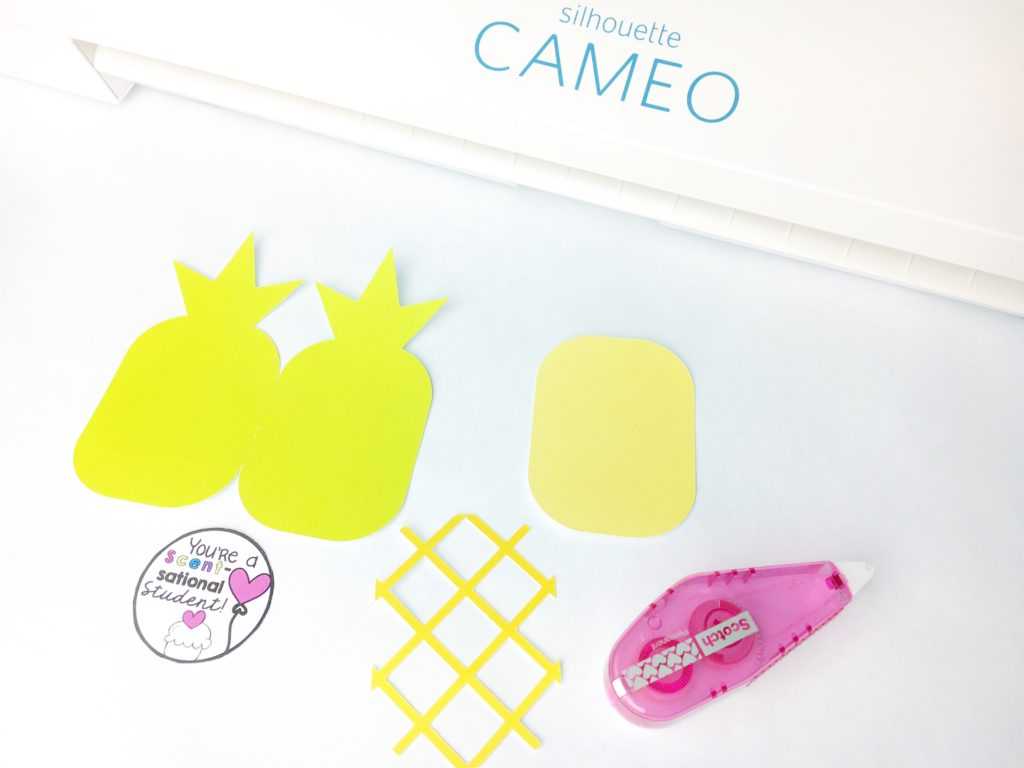
- Open Design ID#207206 (pineapple image) in Silhouette Studio® by locating it your library.
- Arrange the design to fit onto the page.
- Print out your design on the white cardstock by selecting the printer icon.
- Once it has been printed, place your printed design on your cutting mat (Note: Remember to keep the large black box in the upper right-hand corner of your cutting mat.) Load the cutting mat into your machine.
Step Two: Cut the Design
- In Silhouette Studio®, select the Send tab in the top right-hand corner. Select “Cardstock, Plain” as the material and select Send. (Remember that if you don’t have an Autoblade, you will need to adjust your blade manually.)
- Your machine will read the registration marks and then cut out your design. (Tip: If your machine is having trouble reading your registration marks, try manually moving the blade directly over the square registration mark. You can do this by moving the blue arrows in the Send tab in Silhouette Studio®.)
- After your machine is done cutting, unload the cardstock from your machine.
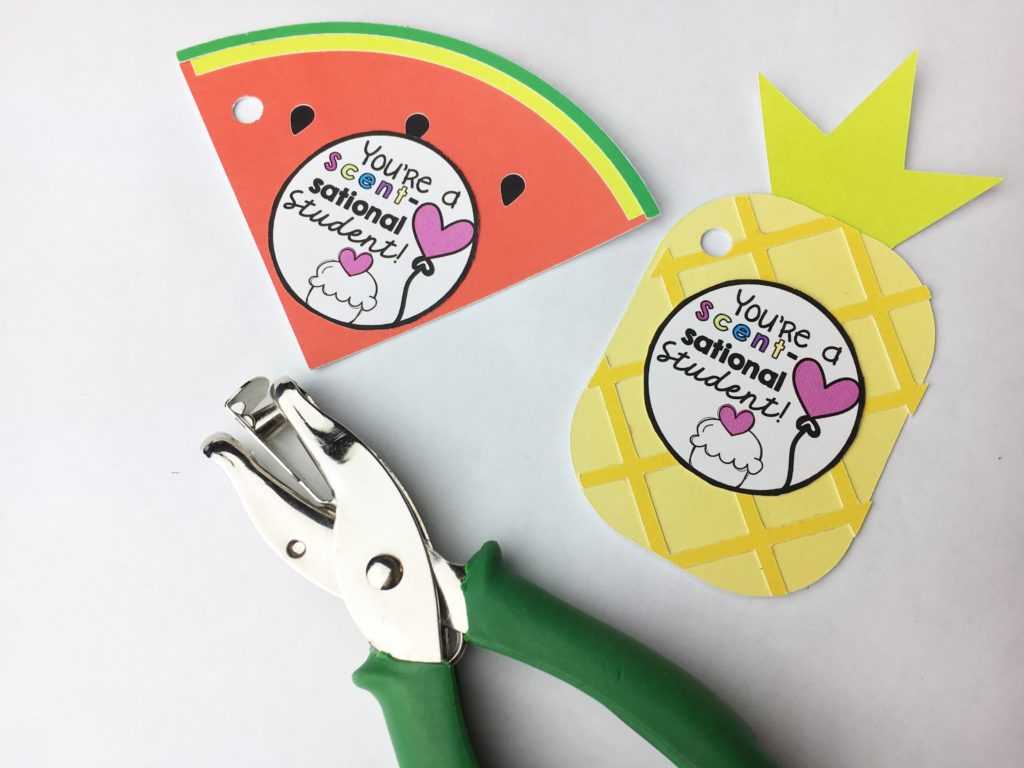
Step Three: Assemble your DIY Valentine’s Day Card
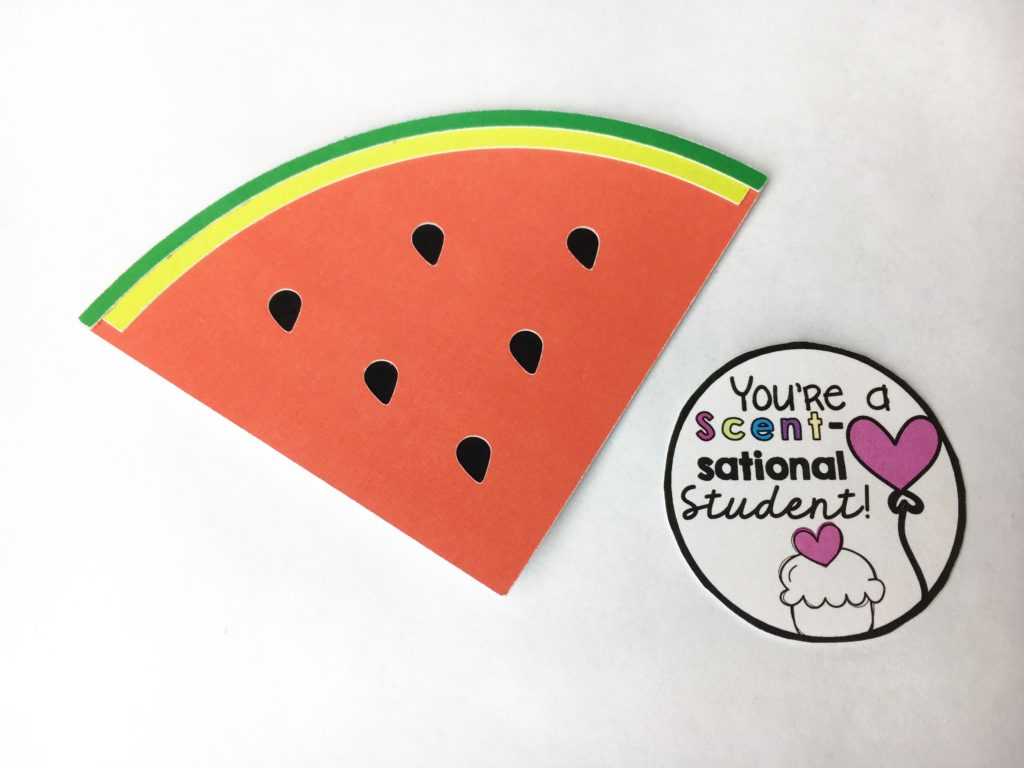
- Lay out each piece of your Valentine’s Day tag. Adhere each piece to one another by using any form of adhesive.
- Print out the FREE printable Valentine’s Day tag or create your own, cut the tag out, and adhere the tag to your pineapple craft.

- Repeat the process above using Design #207212 to give your students a variety of Valentine’s Day cards.
- Using a 1-hole punch, add a hole to each of your students’ cards.
- Purchase scented markers, pens, or pencils from your local craft store to add to your DIY Valentine’s Day cards. Attach each marker using baker’s twine.
What kind of classroom crafts, bulletin boards, or activities would you like to see?
Kelly Mahan
February 12, 2018
Cards look amazing! Very summer like, actually, but I love them!
Kelly Wayment
February 13, 2018
Chad, these are awesome! I absolutely love these clever valentines! 🙂