Did you know that you can create your own custom wrapping paper using the Silhouette Mint™? Today, I’ll show you how!
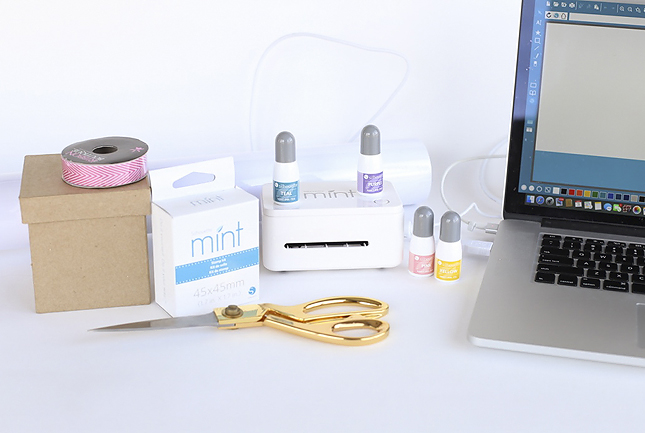
You Will Need:
- Silhouette Mint™
- Stamp kit – 45 mm x 45 mm
- Various shades of ink
- White craft paper roll
- Scissors
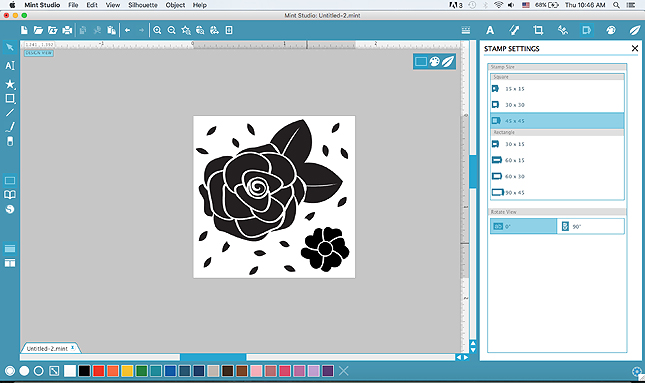
STEP ONE: CREATE STAMP DESIGN
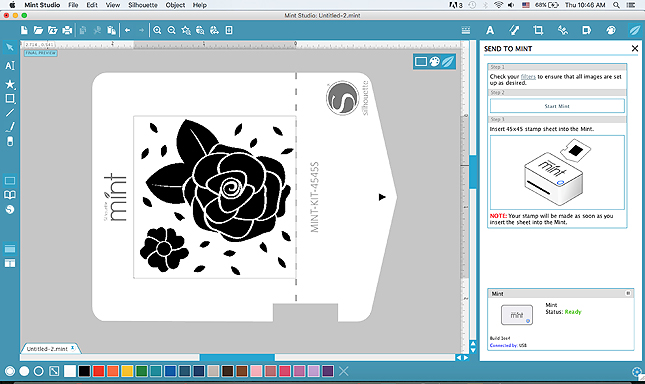
To start, prepare your stamp design in Mint Studio™. I chose two flowers that came with the Silhouette software. For some added flare, I moved the small leaves around to help fill the design.
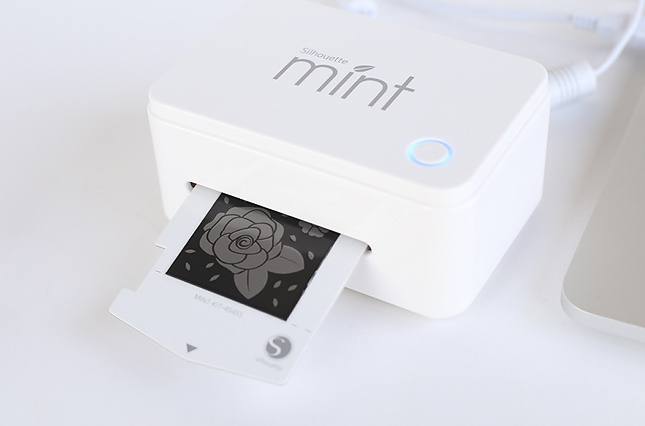
STEP TWO: SEND DESIGN TO THE MINT
When you’ve got the design ready, send it to your Mint. Then insert the rubber stamp sheet from your kit into your Mint, and press “Start” to begin cutting your stamp.
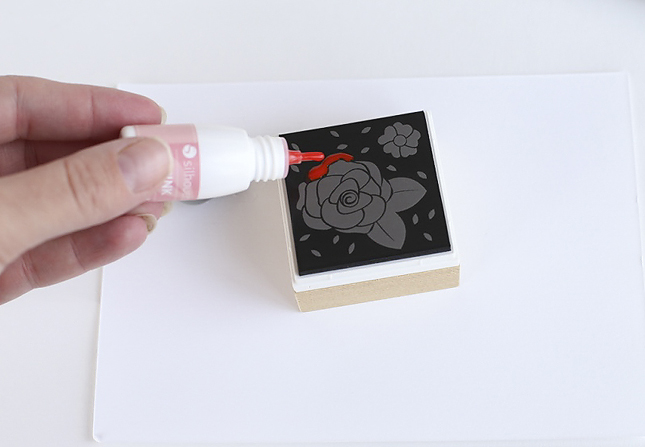
STEP THREE: ASSEMBLE STAMP AND APPLY INK
When the stamp has been cut, remove it from its package and apply it to the wood base from your stamp kit. Now you’ll apply colors to your stamp with your ink. For a multicolor stamp like this one, start with one ink color at a time and work through each section where you want that color to appear.
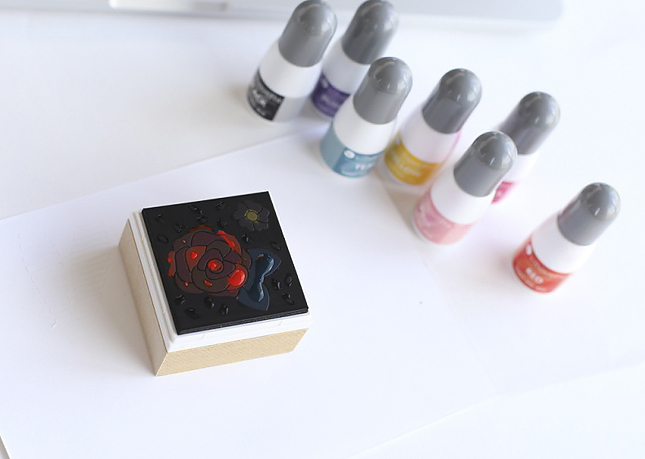
I used various shades of pink, red, and magenta for fun dimension on the large rose. When you’ve applied all the ink, let it soak in for a little bit.
STEP FOUR: TEST YOUR NEW STAMP
Try out the stamp on a piece of scrap paper to remove excess ink. Stamp until the design becomes pure.
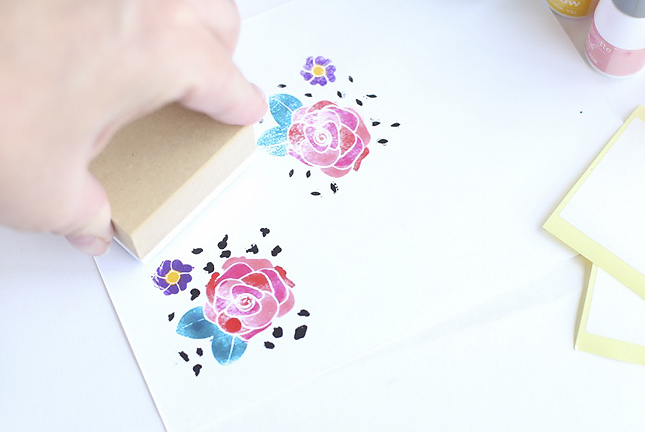
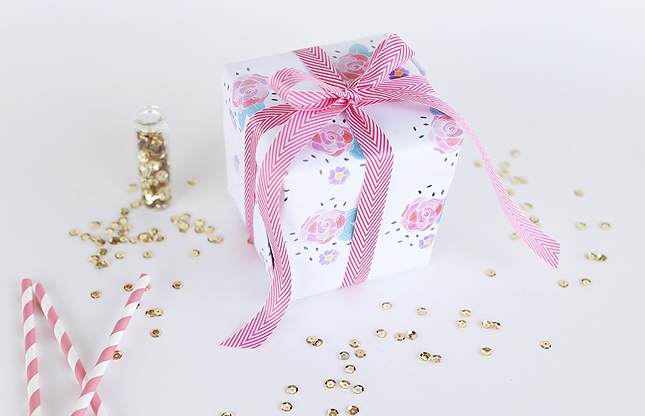
STEP FIVE: APPLY STAMP TO CRAFT PAPER
Cut with scissors a section of craft paper that is big enough to wrap around your gift. Then stamp your pattern on the craft paper.
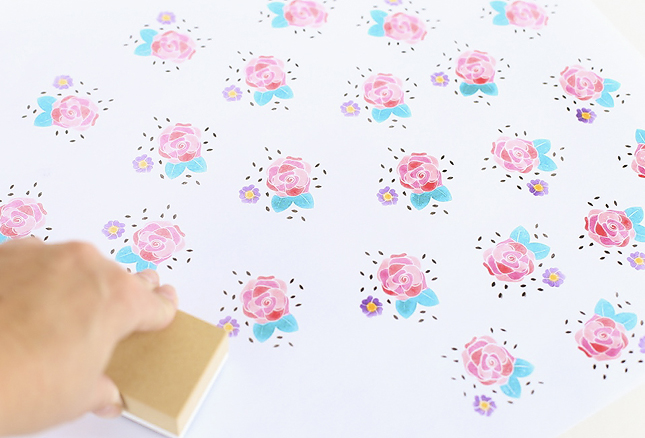
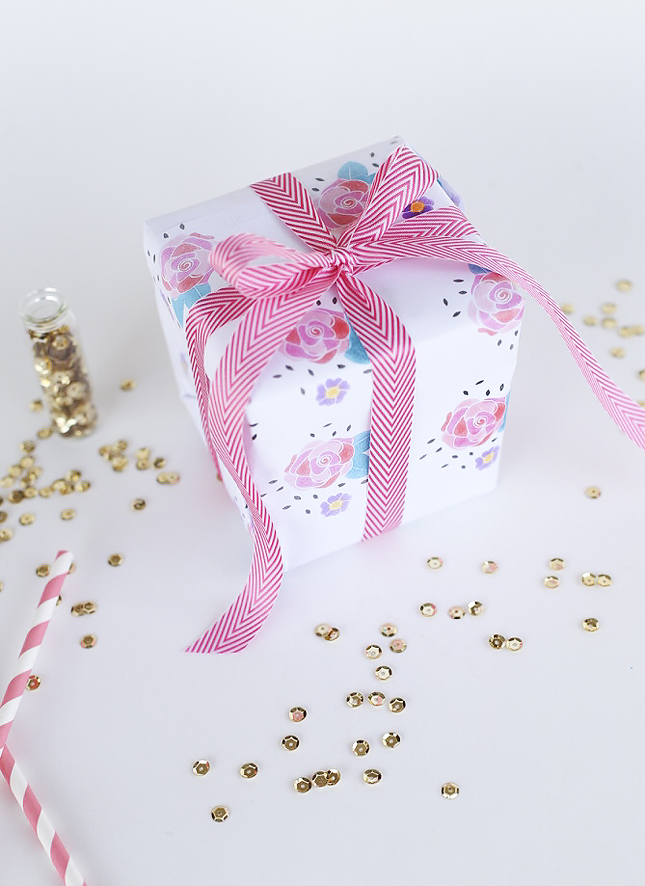
Simply let the ink dry, and you are ready to wrap! How adorable and fun is this?

What designs will you make for your own custom wrapping paper?
Alissa Lines
March 28, 2016
Marie, this wrapping paper is absolutely gorgeous! Such a great idea for personalizing a gift. Thanks for sharing!
Cari
March 28, 2016
Marie this is so pretty!!
Kelly Wayment
March 28, 2016
Beautiful!
janet
March 30, 2016
Oh my, how lovely! I keep thinking about the MINT…..