Happy New Year, y’all! First of all, how many of you have a New Year’s resolution to finally open up your Silhouette machine? Well, don’t be afraid! Open up that sweet baby, and let’s craft.
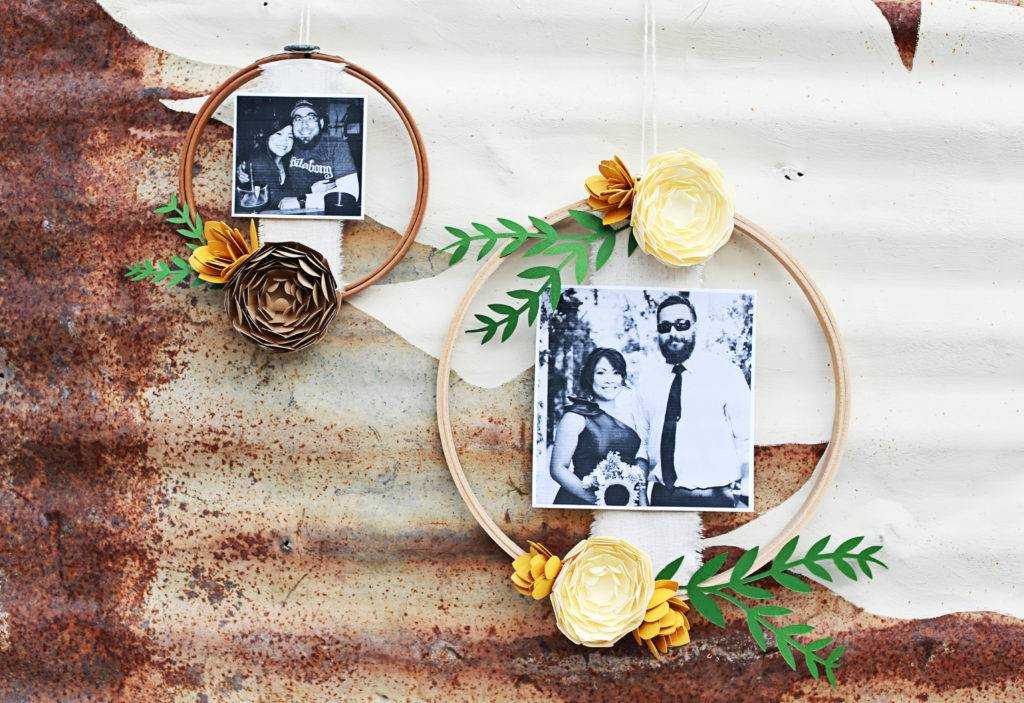
Christmas and New Year happen to be engagement times; that’s just well known. So I wanted to create this super simple and super cute photo display that you can use for an upcoming engagement party or just hang in your home.
Supplies Needed:
- Silhouette Cameo® or Silhouette Portrait® or Silhouette Curio™
- Silhouette Cutting Mat
- Silhouette Cutting Blade
- Silhouette Studio®
- Silhouette Spatula Tool
- Embroidery Hoops
- Cardstock (Mustard, Ivory, Light Brown, Green)
- Fabric Strips
- Twine
- Glue Gun
- Scissors
- Photographs
- Design ID #54802
- Design ID #122285
- Design ID #218502
Step One: Cut Out the Design
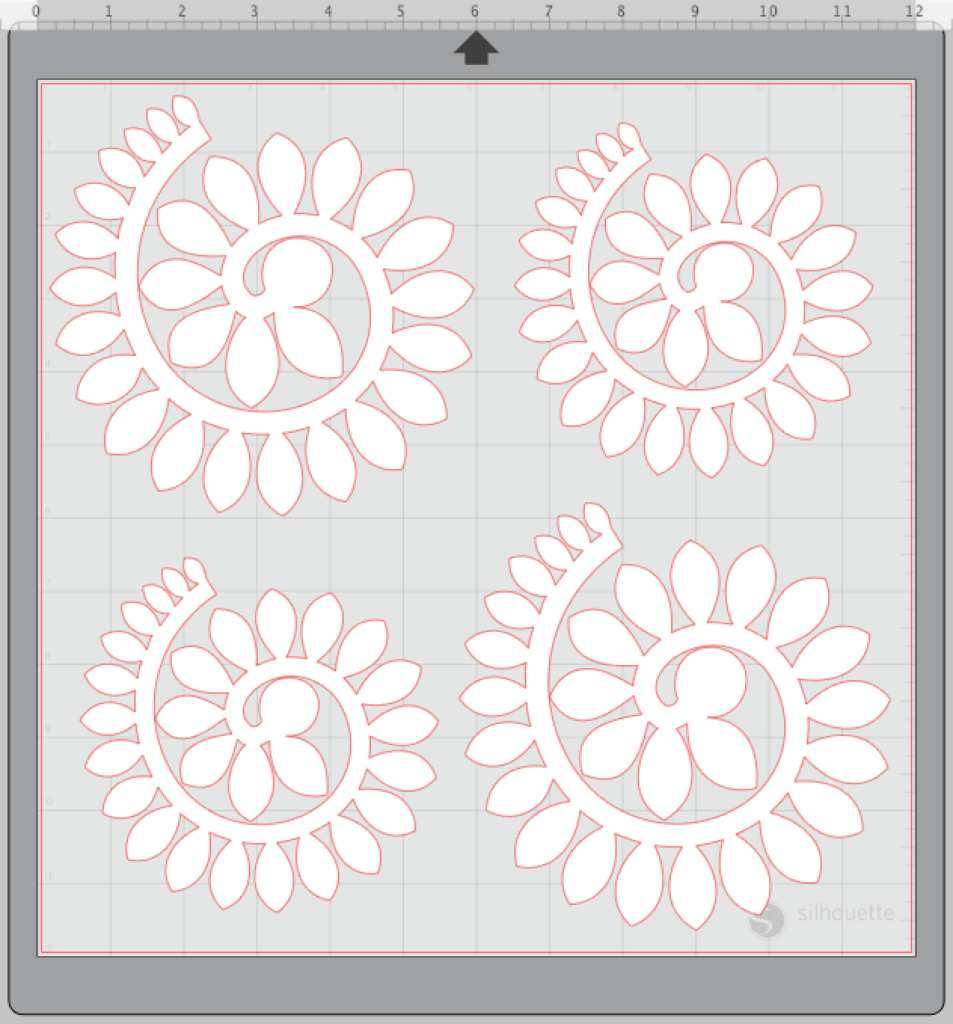
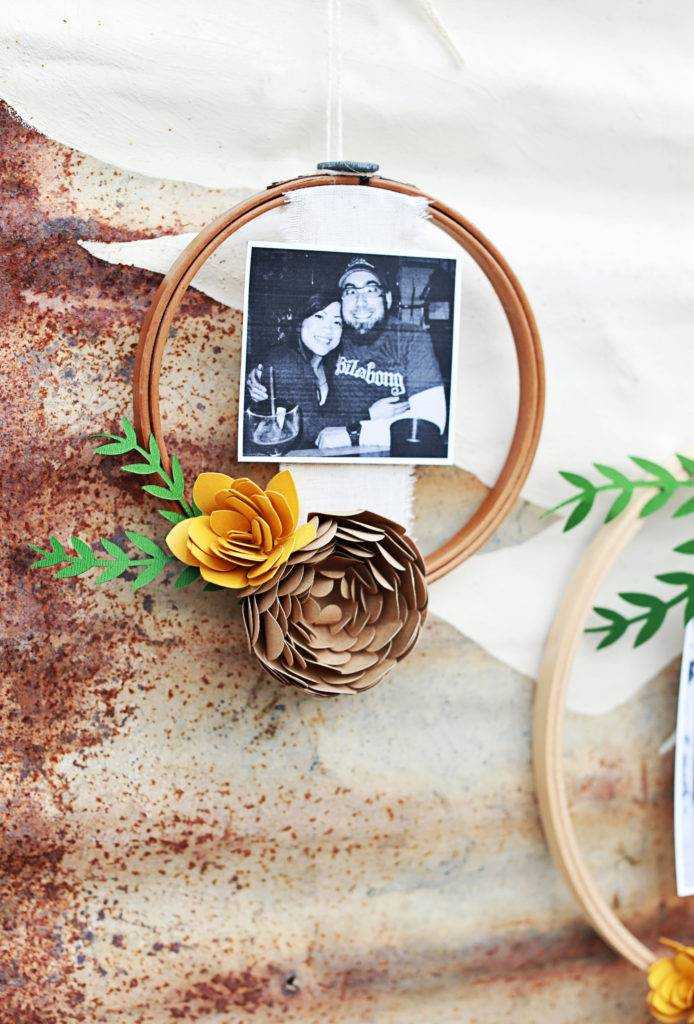
I chose a peony (Design ID #218502) because I think they’re just absolutely beautiful. You don’t need to adjust the flower size unless you want them a little bigger. I just went with what the designer originally had. Also, this is where your Silhouette spatula tool comes in handy because it helps you take the petals off the mat after they are cut.
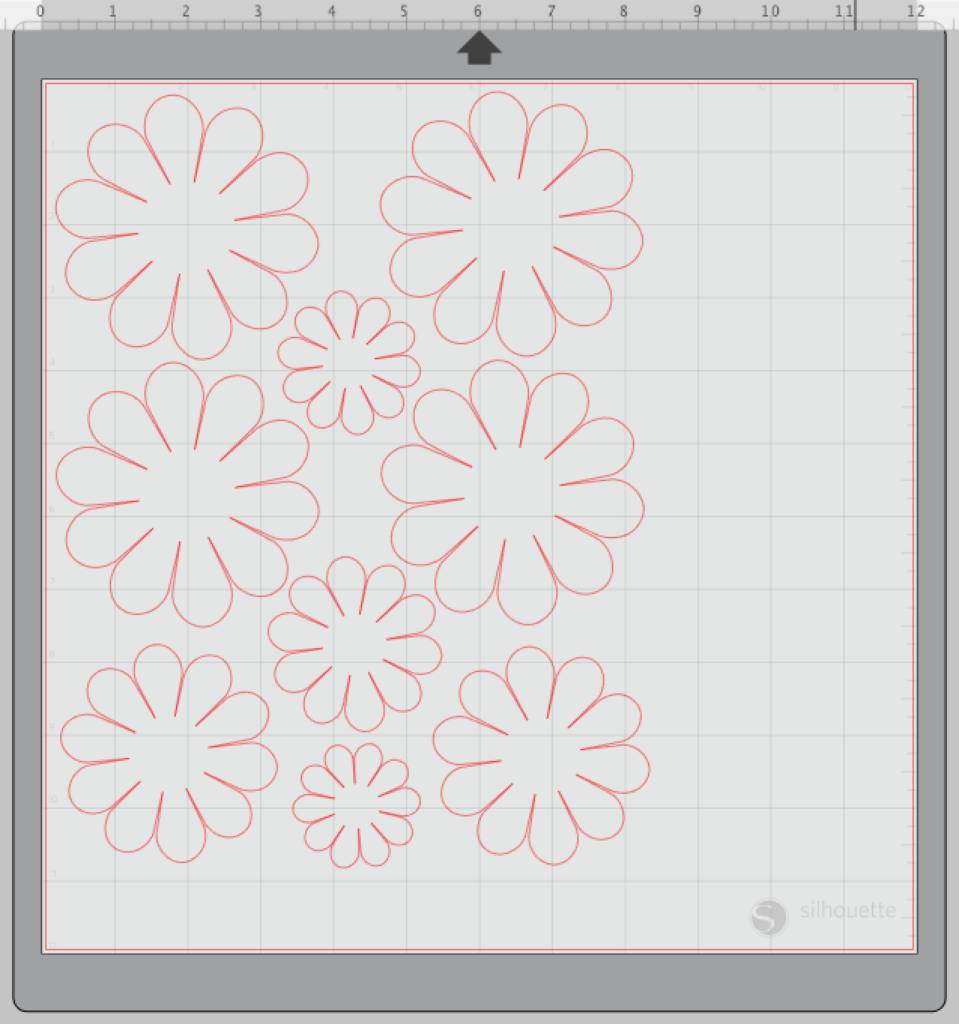
These rolled flowers (Design ID #122285) from Lori Whitlock are so cute and easy to make. I’m so happy I picked them for this project. As you can see, I made 2 different sizes.
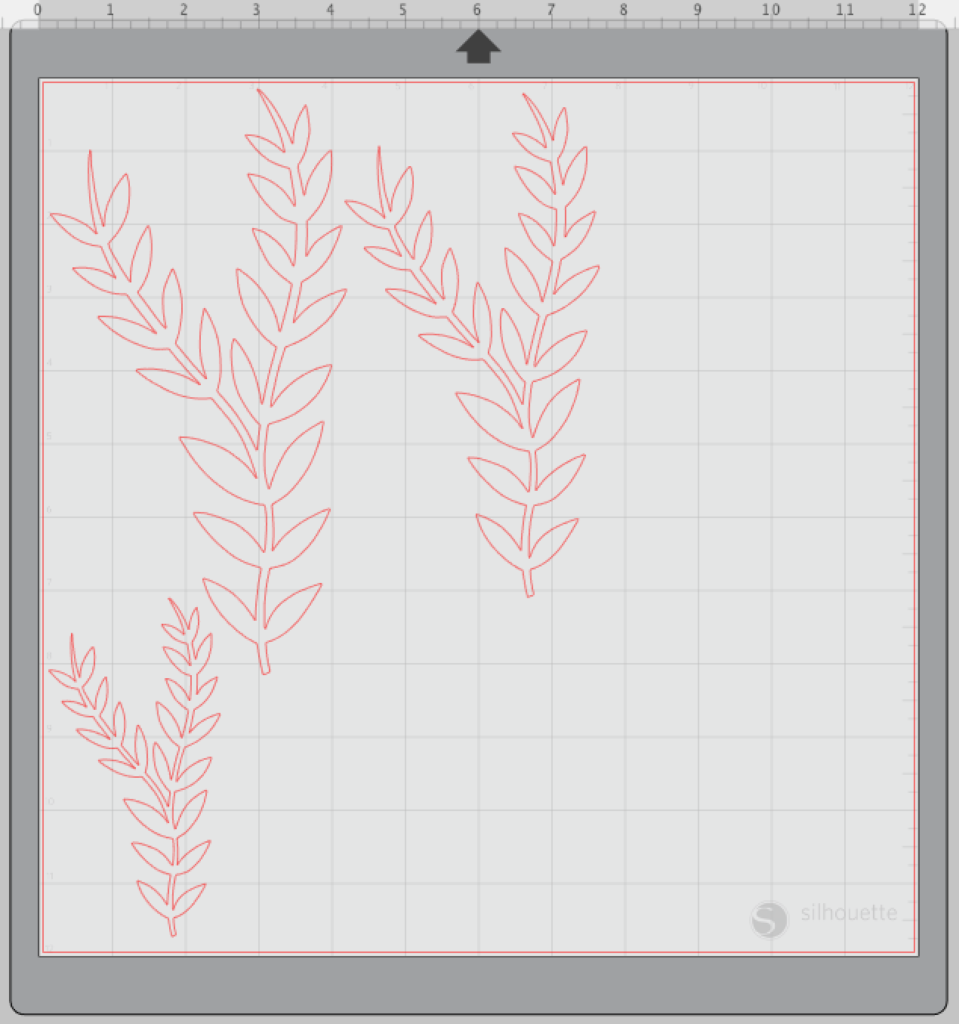
Finally, cut out the vine (Design ID #54802). I made 3 different sizes.
Step Two: Put Flowers Together
I wish I had a ball roller to make the peony petals more authentic, but I just used the end of my spatula tool to curve the petals. I’m still happy with the results though.
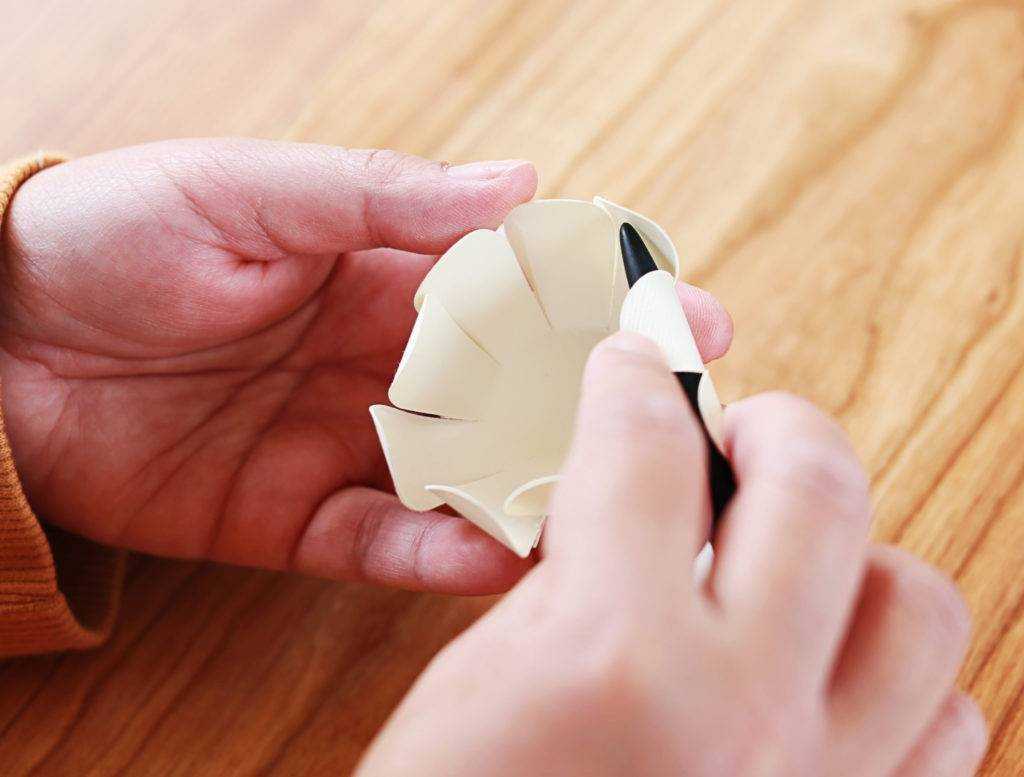
Once you have each petals curled, place it in the palm of your hand to shape it.

After you have shaped all of the layers, glue them together.
The rolled flowers are the easiest to put together because you just need to roll them up and glue the bottom.
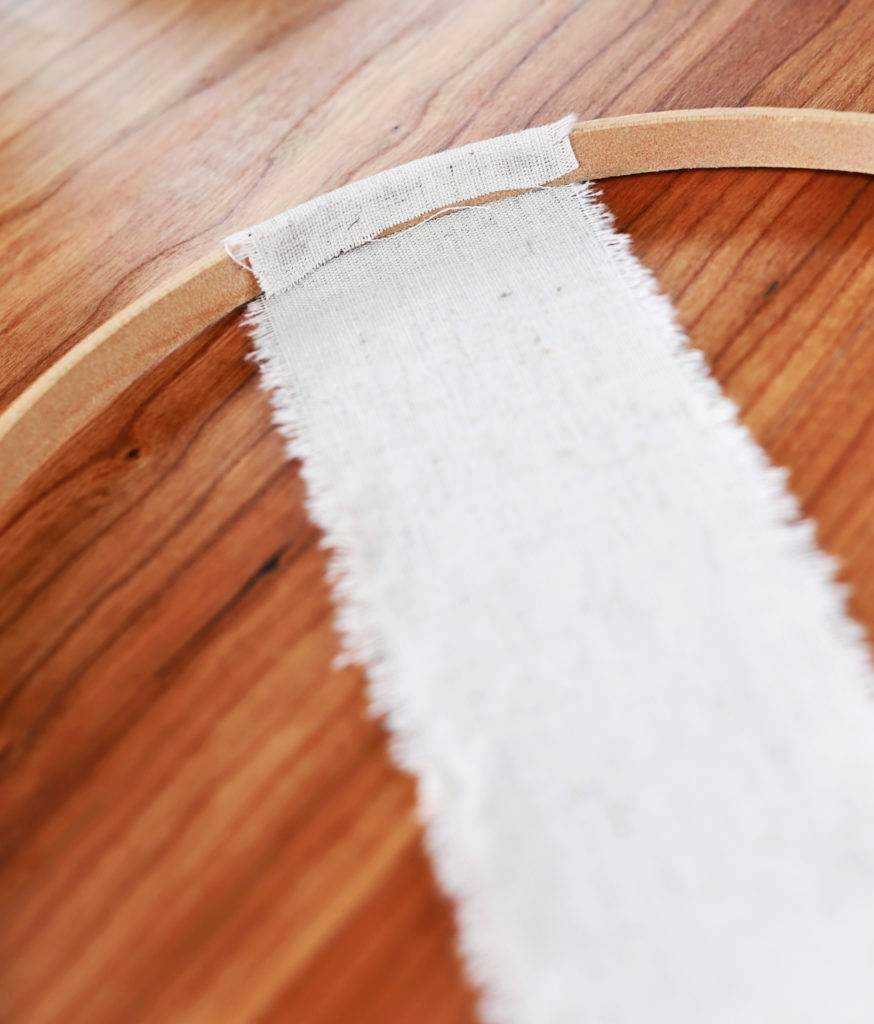
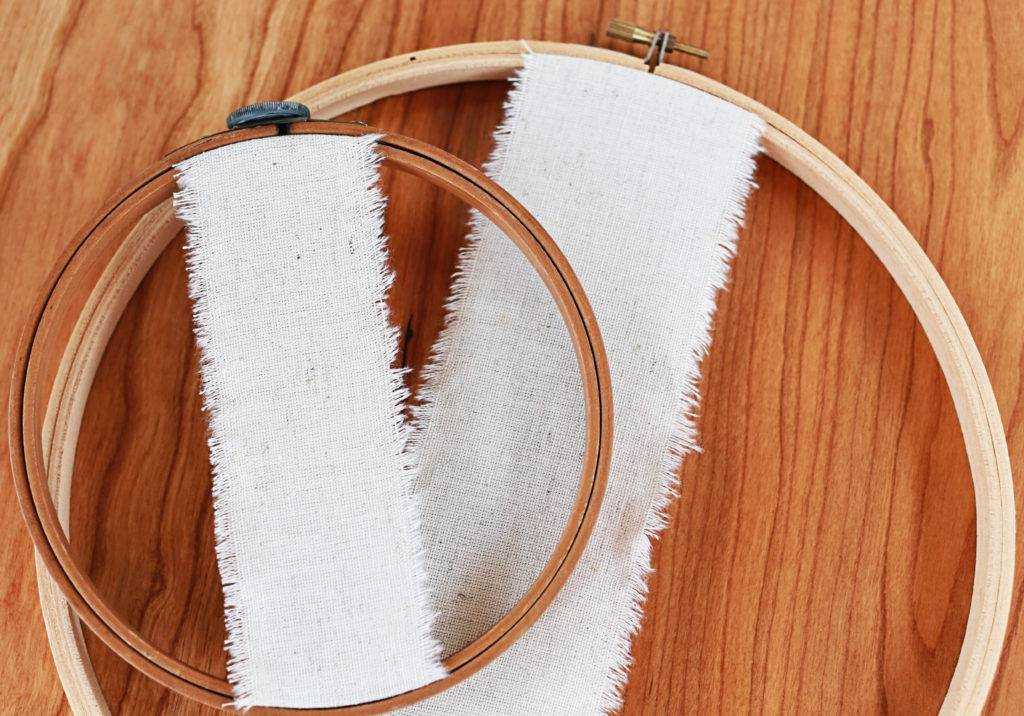
Step Three: Prep Embroidery Hoop
First, rip off two fabric strips. I love a frayed edge, but if that’s not your cup of tea, you can use scissors or any cutting tool.
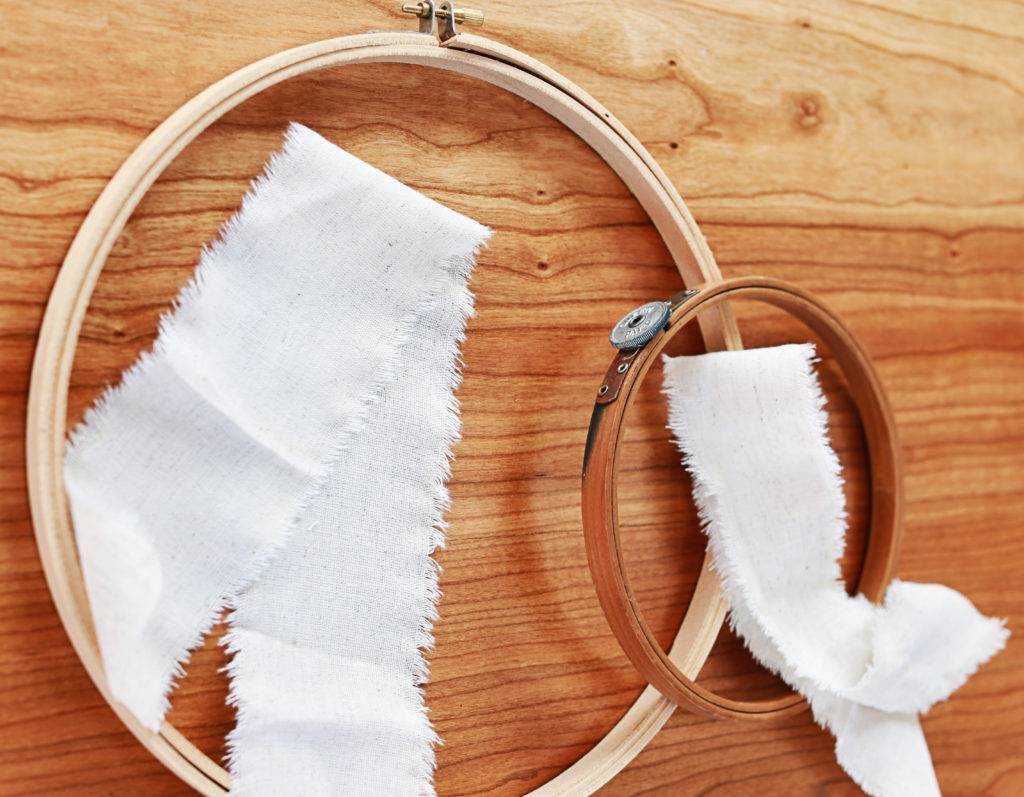
Take out the inside hoop and attach the fabric strip by gluing them in place. Try to make it in the middle as close as possible. I just eyeballed mine.
Then put your embroidery hoop back together again.
Step Four: Attach the Flowers
This is really where the fun begins because you finally see your project come to life. Before I glued my florals and vine in place I laid it on the embroidery hoop to make sure it looked good. Once you’re satisfied, you can glue away.

Then, of course, don’t forget to place your photographs on the fabric strips.
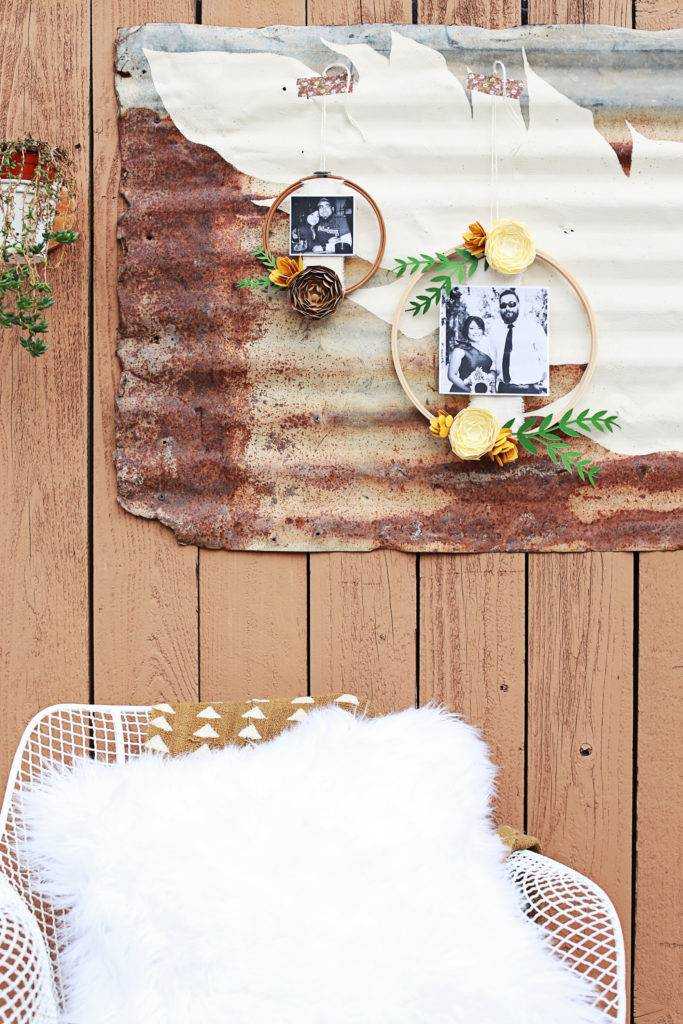
Well, that’s all folks! I really hope you enjoyed this tutorial, and I hope this new year brings you new experiences in your crafting.
This blog post was contributed by Kathi Arbiso. Follow her for more inspiring Silhouette projects.
Helen
January 5, 2018
Such a beautiful way of displaying your pictures. So lovely!
Michelle
January 7, 2018
So cute! Love the wreaths! ❤️