
Will you be sending some snail mail or sending out Thanksgiving leftovers to friends and family? Then these little DIY Fall Leaf Stickers will be a perfect little DIY to try. They will look so cute as seals or even stickers in your planners to mark the season! Read on for the how-to.
Supplies Needed:
- Silhouette CAMEO® or Silhouette Portrait® or Silhouette Curio™
- Silhouette Cutting Mat
- Silhouette Cutting Blade
- Silhouette Studio®
- Silhouette Printable White Sticker Paper
- Printer
- Design ID #158041
Step One: Preparing Design
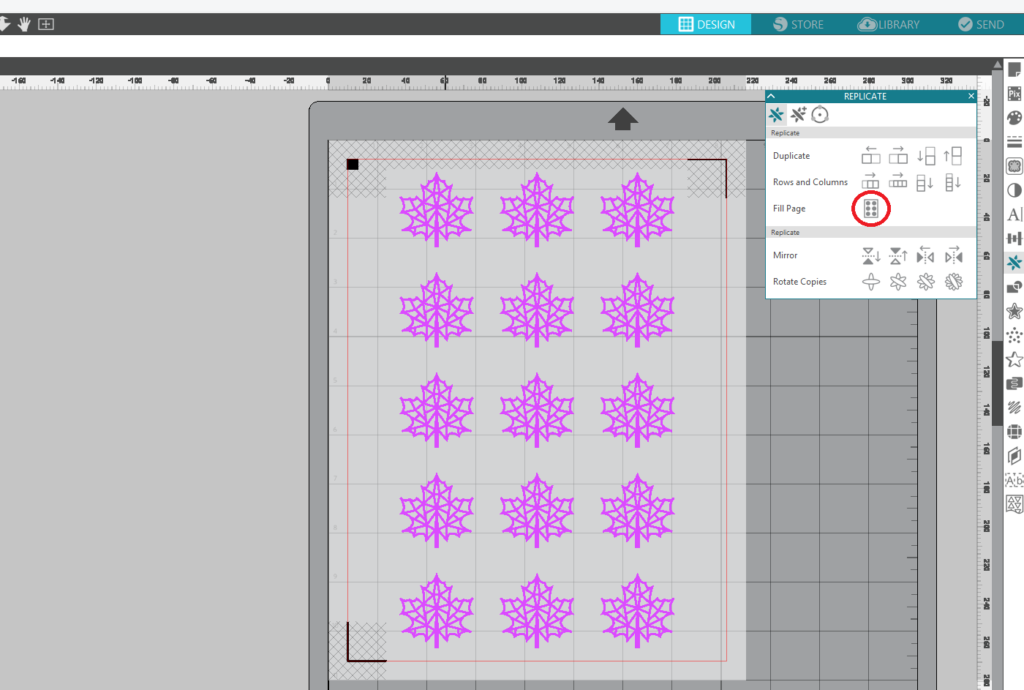
- In Silhouette Studio®, open your Geometric Autumn Leaf design (Design ID #158041).
- Click the Line Style panel on the right-hand toolbar so that you can thicken the lines and fill them with the color of your choice.
- Click on the Registration Mark icon in the Page Setup panel located along the upper right-hand toolbar and select the style of registration marks.
- Resize and replicate the design on your page. If you want to fill the page with your design, go to the Replicate panel (right-hand side of the screen) and click Fill Page.
Step Two: Print & Cut The Design
- Once your design is ready to go, print your job to your regular printer by clicking on the Print icon in Silhouette Studio®.
- Load your printed material into your Silhouette machine using a cutting mat. Select the “Sticker Paper, White” from the media list of the Send panel and adjust your blade accordingly if you don’t have an AutoBlade.
- Lower the Speed to 1 because there are intricate geometric details in this design.
- Click Send, and your Silhouette will begin scanning the page for the printed registration marks. After the registration marks are found, the Silhouette will proceed to cut as usual.
- Carefully peel and adhere the stickers to your packages.
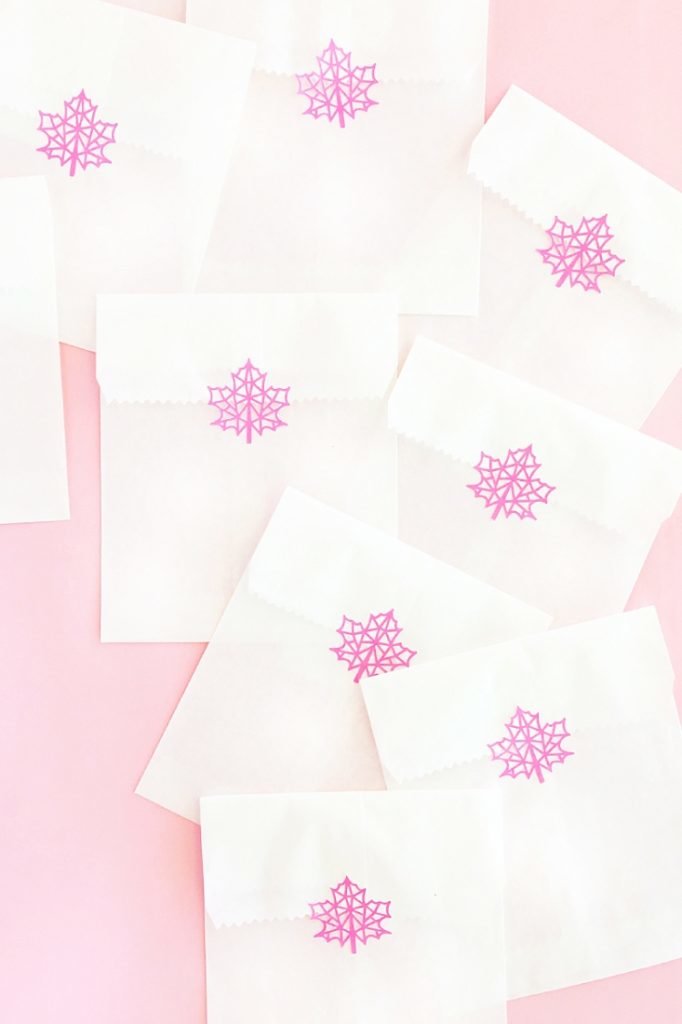
And now you’re set for the season with these cute and modern seals. What will you use them on?