So many options. So little time…
Seriously though, let me count the ways to make multiple copies in Silhouette Studio®. Today I am going to give you the run down on five ways to use the copy feature in Silhouette Studio®, and as an added bonus, I’ll even show you how to align those copies. Hint: #5 is the most awesome option for making multiple copies, in my humble opinion.
Five Ways To Use the Copy Feature In Silhouette Studio®
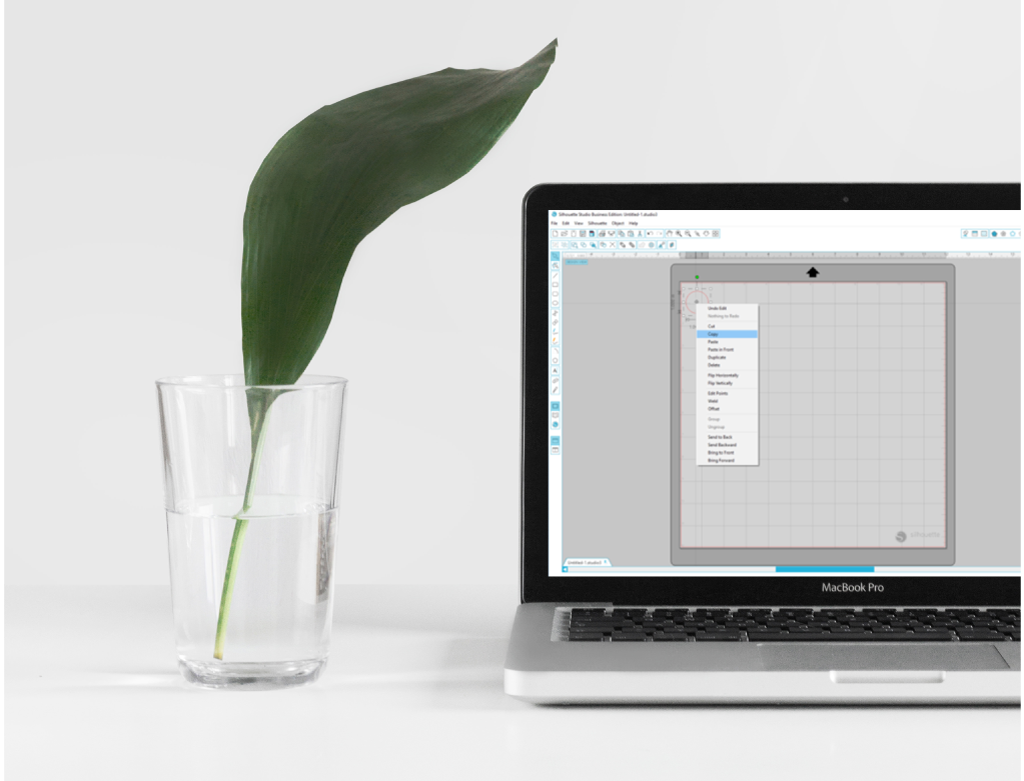
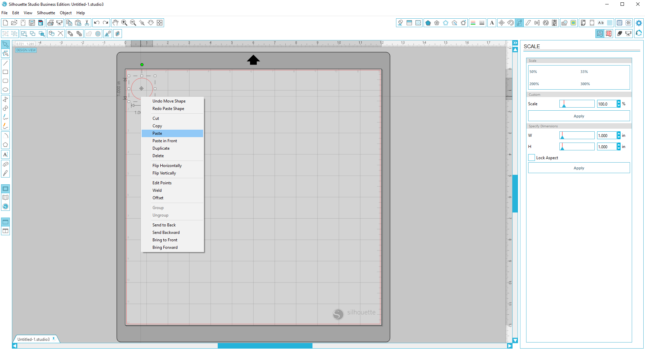
1. Copy/Paste Using Your Mouse
- Right click on your shape/design and choose Copy.
- Then right click anywhere on your design page and choose Paste.
- Continue to right click and choose paste for as many duplicates as you would like.

2. Copy/Paste Using Your Keyboard
A true stand-by and one of my favorites.
- Left click on your shape/design and press Ctrl + “C” for the Copy function.
- Press Ctrl + “V” to paste.
- Continue with Ctrl + “V” to reach your desired number of duplicates.
3. Duplicate
Duplicate has two options: Button or Right-Click
I prefer the button because it only requires one step vs. two steps with the right-click option. And really, who wants to do two steps when you can just do one? Unless we’re talking about the two-step, then I can see why you would prefer to do more dancin’ vs. less.
Super simple button option:
- Click on the shape/design.
- Click on the Duplicate button.
Voila. Duplicates. This is such a convenient option. However, I should * this because it requires the Silhouette Studio® Business Edition which to be quite frank, is awesome and totally worth it for all of the Silhouette short-cuts it opens up.
![]()
4. Replicate
To use the Replicate option start by opening the Replicate Window.

There are two sections:
- Basic Options
- Advanced Options
Basic Options
Using Basic Options, you can make multiple copies depending on your needs for your project. Always start by clicking on your shape then choose the option that works best:
- You can duplicate your shape left, right, above or below your original shape.
- You can make a row of three or four.
- You can even fill the full page.
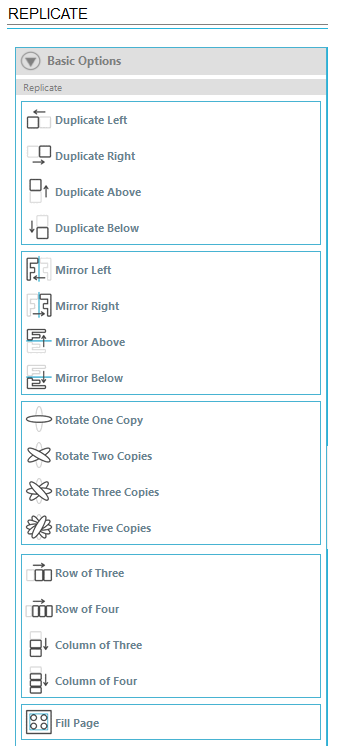
Advanced Options
There are also the Advanced Options, which give you more control by allowing you to specify exactly how many copies you want to make and where you want them to be duplicated; to the left, right, above or below.

5. Alt + Drag
When I figured this one out it was a major: Mind. Blown. moment! Remember I mentioned earlier in the post that I was saving the best for last. This is it. Ready?
- Hold down the Alt key on your keyboard.
- Use your mouse to left-click and drag off a new copy.
- Continue until you reach your desired number of duplicates.
That’s it. Incredible. Definitely the quickest option. You can drag off one copy or as many as you want and you save time by dragging your new copies where you want them the first time.
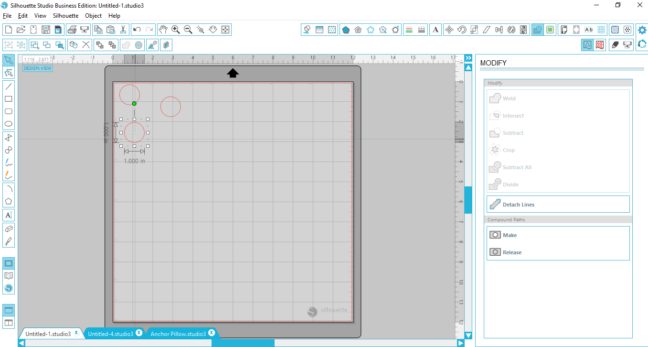
How To Align
Now that you know five ways to use the copy feature in Silhouette Studio®, I will wrap up by showing you how to Align your copies. Aligning is done in the Align Window.
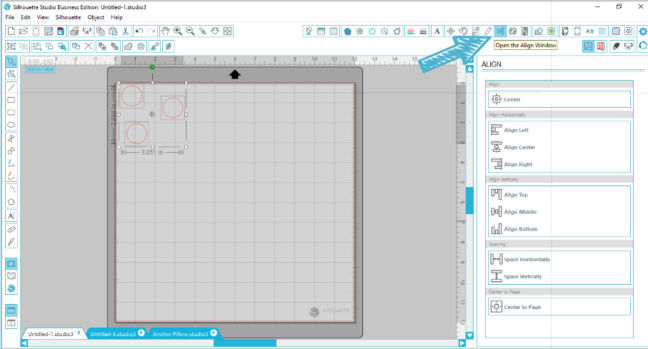
All of your options are broken out in the Align Bar on the Right.
Just like there are a number of ways to use the copy feature in Silhouette Studio® there are also multiple ways to align depending on your project. So below are just a few tips to ensure aligning your next project starts off on the right foot.
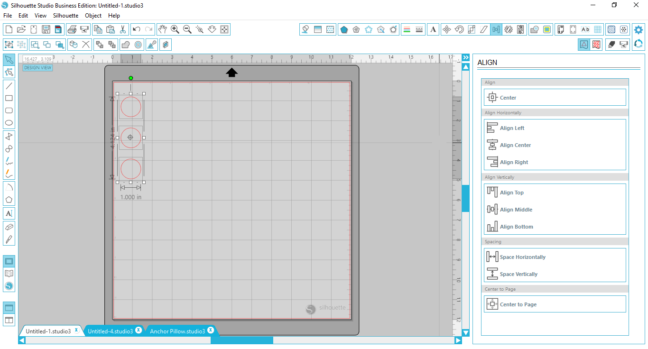
- First, a key point to remember: Ensure your duplicated shapes are not touching.
- Second, use your mouse to select all of your shapes.
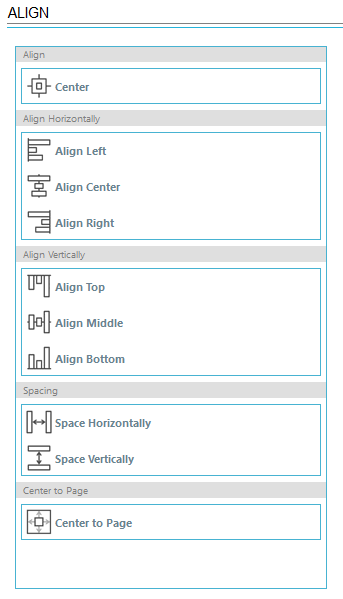
- Then use the Align Tools, in the Align Menu, based on your project needs:
- Align Horizontally
- Align Vertically
- Spacing
- Center to Page
So What Can You Actually Make With Duplicating & Aligning?
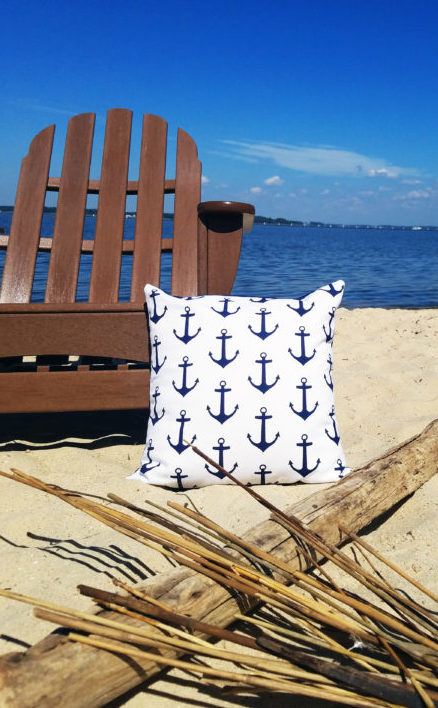
For clarity sake, I used circles in the screenshots above, to show five ways to use the copy feature in Silhouette Studio®. However instead of circles, the project below has Anchors for some nautical fun!

This anchor pillow gives you an idea of what you can accomplish by taking a simple shape and duplicating and aligning it. Using a basic white pillow, Stencil Vinyl & Fabric Ink you can create a fun nautical pillow in under an hour (including dry time)!
- Find an Anchor shape in Silhouette Studio®.
- In this case, use the Replicate Window to Fill the Page with your Anchor shape.
- Use Stencil Vinyl to cut the page of Anchors.
- Apply Transfer Paper to your design.
- Place the design on your project and apply Fabric Ink.
- Peel off the stencil and allow to dry.
Carolyn Reed
September 23, 2016
For #2, Macs use the command key, not the control key to copy and paste.
Tawna
September 23, 2016
There is also the little duplicate icon on the bottom bar next the the delete button. I find that quite useful – especially if I just need a duplicate, to pull off the work mat, for saving in case I mess up the one on the mat and want to start over.
Nicole Lensen
September 26, 2016
Thanks for that tip Tawna! What a handy idea to duplicate an extra just in case!
Marilyn
September 24, 2016
Thank you! I actually opened up Silhouette Studio and tried each of these and it is awesome! Love #5 that is amazing! Thank you for taking the time to put this together and share with us!
Nicole Lensen
September 26, 2016
Thanks Marilyn! Glad you found it helpful!
Kay
September 27, 2016
Cute pillow!
For Mac users, #5 would be Option+Drag.
2 more great copying tricks:
*Alt-click (Win) or Option-click (Mac) to make a duplicate directly on top of the original
*Control + any Arrow key (Win) or Command + any Arrow (Mac) key to duplicate and align in one step
BETHANY MORTON
October 26, 2016
one other way to copy ctrl+arrow , use the arrow according to where you want the copy.
Cheryl Stoltzfus
October 31, 2016
This question isn’t really connected to copying… but how do I send the design from my computer to my silhouette machine?
Sierra Dungan
October 31, 2016
Hi Cheryl! To send your design to be cut on your Silhouette machine, open the Cut Settings window by either using:
The icon that looks like an angled silhouette blade in the top menu OR
Using the Silhouette pull down menu in the header and choosing “cut settings…”
From there, you can choose your material and cut settings and click “Send to Silhouette” at the bottom.