
If you were anything like me as a kid, at one point (or many) your bedroom ceiling was adorned with glow in the dark stars to lie down under after you were done with your Spice Girls dance parties. Toned down a bit, I have to admit that this glow-in-the-dark star garland gave me some dejavu feels. Childhood, meet Adulthood.
To create this garland:
- Start by opening Design ID #34141 (Spacewalk) from the Silhouette Design Store.
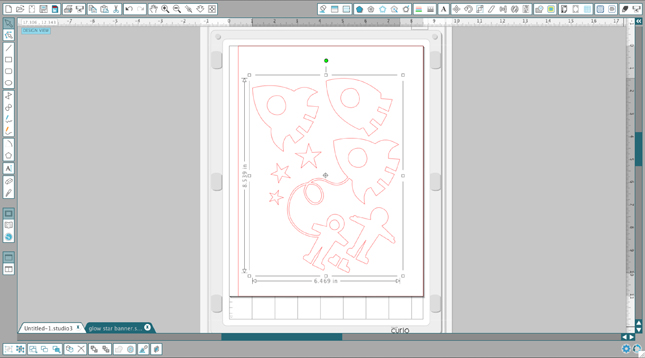
- With the design selected, in the bottom left-hand corner of your screen, select the ungroup icon to separate the set into individual shapes.
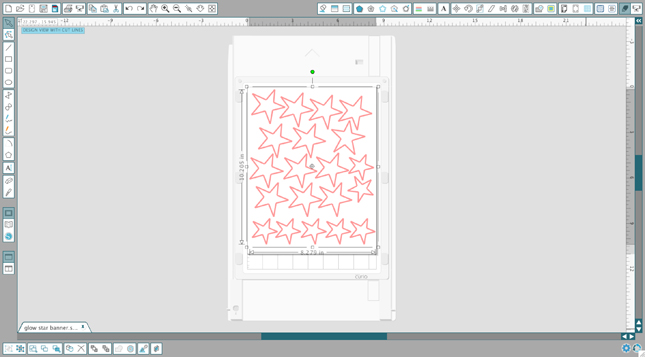
- From here, I selected and deleted each shape until all I had left were two of the star shapes. I then resized then to have both large and medium stars set up to cut out of one sheet.
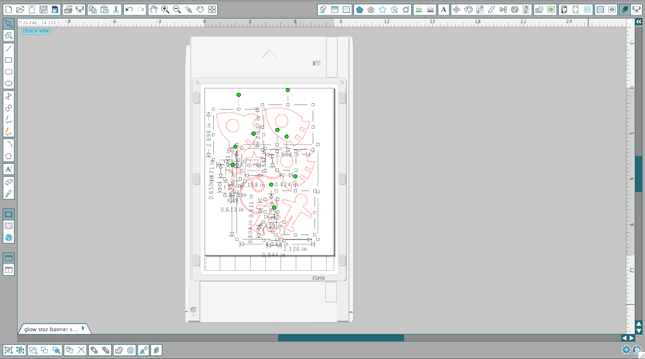
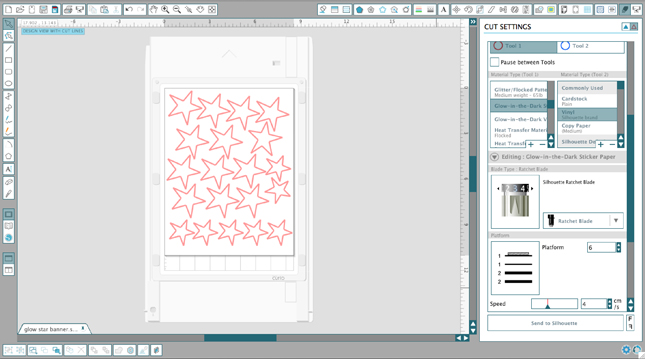
- Knowing that I wanted to cut my stars out of cardstock first, I chose the appropriate settings in the cut settings window. You will see that once you select a certain material, the window will give you the blade setting number and platform number needed on your base before you can send your project through your Silhouette Curio.

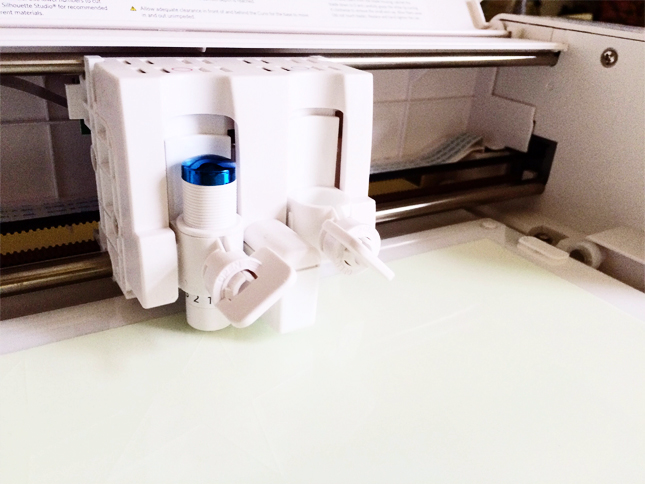
- With your blade loaded into the Tool 1 spot on your Curio, and send your first material through.
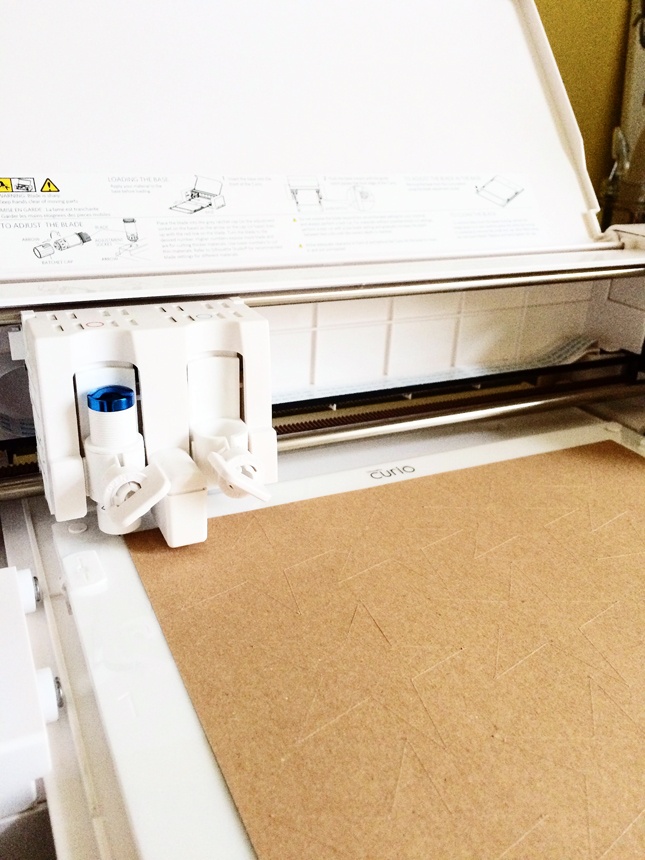
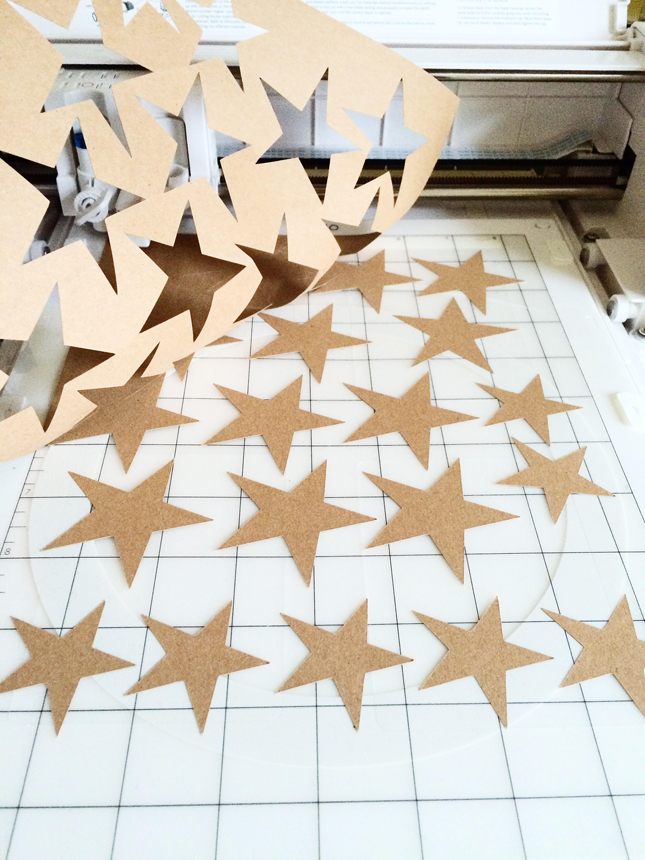
- Peel back the extra cardstock and you will see your individual star cutouts. To keep them from bending, use your spatula tool to help remove them from your cutting mat. Once I had all my cardstock stars cut out, I ran them through my sewing machine to create a sewn garland.
.
- Now, for the good stuff! We will repeat the same steps as above, but with a new material: Silhouette Printable Glow-in-the-dark Sticker Paper. Up until now I hadn’t had a chance to play with it, but I’m glad I finally did. It’s so fun. Return to your Silhouette Studio window and adjust your cut settings to the Glow-in-the-dark Sticker Paper option. Luckily, the settings are the same for the cardstock, so you don’t have to physically change anything.
I used the premium blade for cutting both materials.
- Once you have a couple sheets of stars cut out of Glow-in-the-dark Sticker Paper, randomly stick them atop various stars you have sewn into garland. This will give the garland a little bit of magic at nighttime.

Hang it up, kill the lights, and give a little glow to any area in your home. I have to admit, the child in me still gets excited over the magic of glow-in-the-dark.

Happy crafting!
Kelly Wayment
February 10, 2016
Clever, Brittany! My kids would all love a garland like this.