
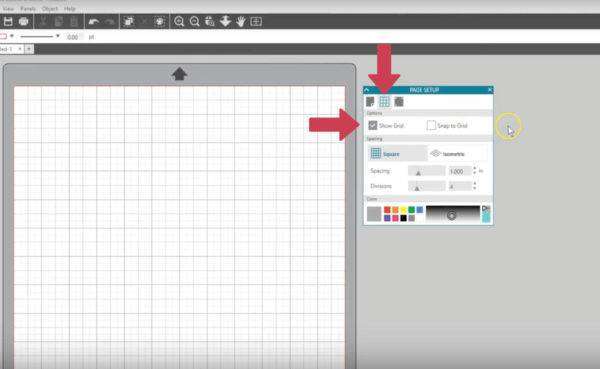
The Basic Grid options in Silhouette Studio® can be found in the second tab of the Page Setup panel. This tab looks like a grid. In this panel, you can turn on a grid that overlays the page on your virtual mat. If you’d like to see the grid, check the box “Show Grid.”
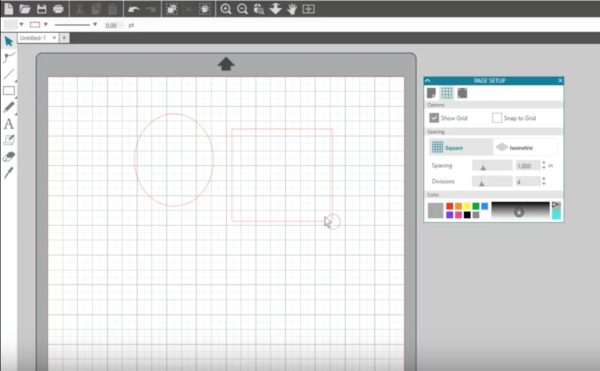
Draw a few objects and move them around. This is an accurate representation of where they will be cut on your mat.
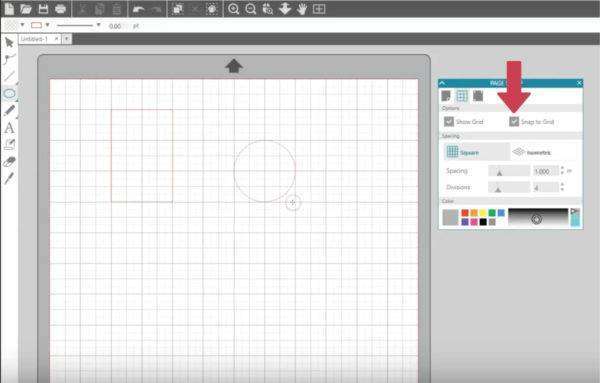
If you turn on the Snap to Grid option, you can draw your objects with precision at their starting and end points. When you drag them, they’ll move by the exact increments you have set up with your Spacing and Divisions below.
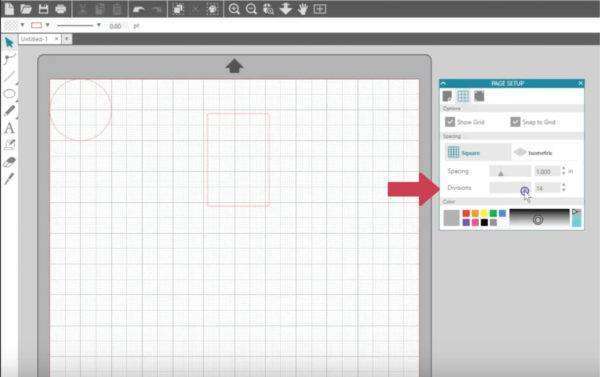
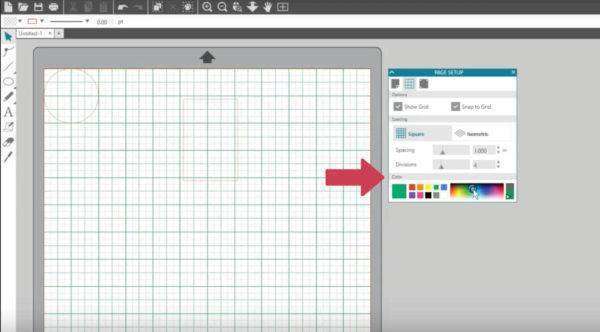
We generally keep the Spacing at 1 inch to match the grid on the cutting mat, but this can be adjusted to suit your needs. The number of divisions will divide the spacing you specified, so if my spacing is set at 1 inch and I select 4 as the number of divisions, that will give me incremental marks at ¼ inch. If we need more precision we can go to 8 or even 16 for 1/8 inches or 1/16 inches, respectively.
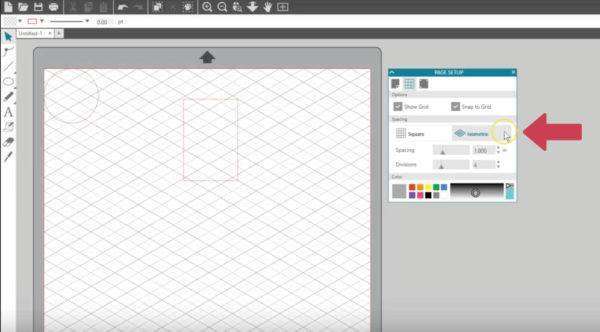
If you want, you can change this to an Isometric grid, but most users opt to use the Square option.
Finally, you can change the color, intensity, and grey scale of the grid lines to suit your personal preference.
If you’re in another panel and want to quickly turn your grid on or off, you can do this while no objects are selected and access it with a right click, or you can hit the hotkey G.

That’s it for the basic Grid features. If you upgrade to Designer Edition or higher, you also get Rulers and Guides in the Grid Panel, which are covered in a different tutorial.