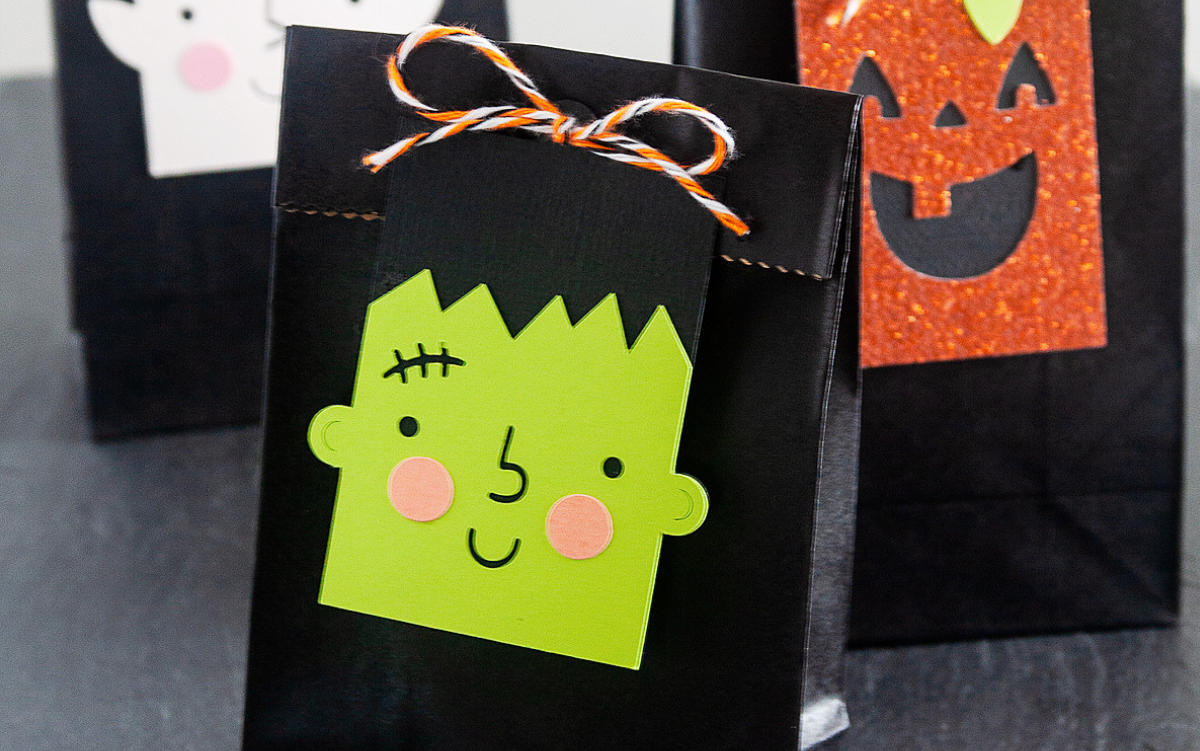
These Halloween tags are an easy way to add a touch of spooky cuteness to all sorts of treat bags and boxes! Follow along with this tutorial to see just how easy it is!
Supplies Needed :
- Silhouette CAMEO®, Silhouette Portrait®, or Silhouette Curio™
- Silhouette Cutting Mat
- Silhouette Cutting Blade
- Silhouette Studio®
- Cardstock—various colors
- Craft Glue
- Treat Bags (I used party sacks that I picked up at the craft store, but there are so many cut files for boxes and bags in the Silhouette Design Store that will work just as well)
- Hole Punch
- Twine or Ribbon
- Design ID #225918
- Design ID #225921
- Design ID #225924
- Design ID #225927
- Design ID #225930
Step One: Prepare the Designs
1. Open the cut files, ungroup the files (Control + U or Command + U on your keyboard or right-click the design and select Ungroup), and cut just the tag versions of the designs (gift card holder versions are also included, but you can delete those).
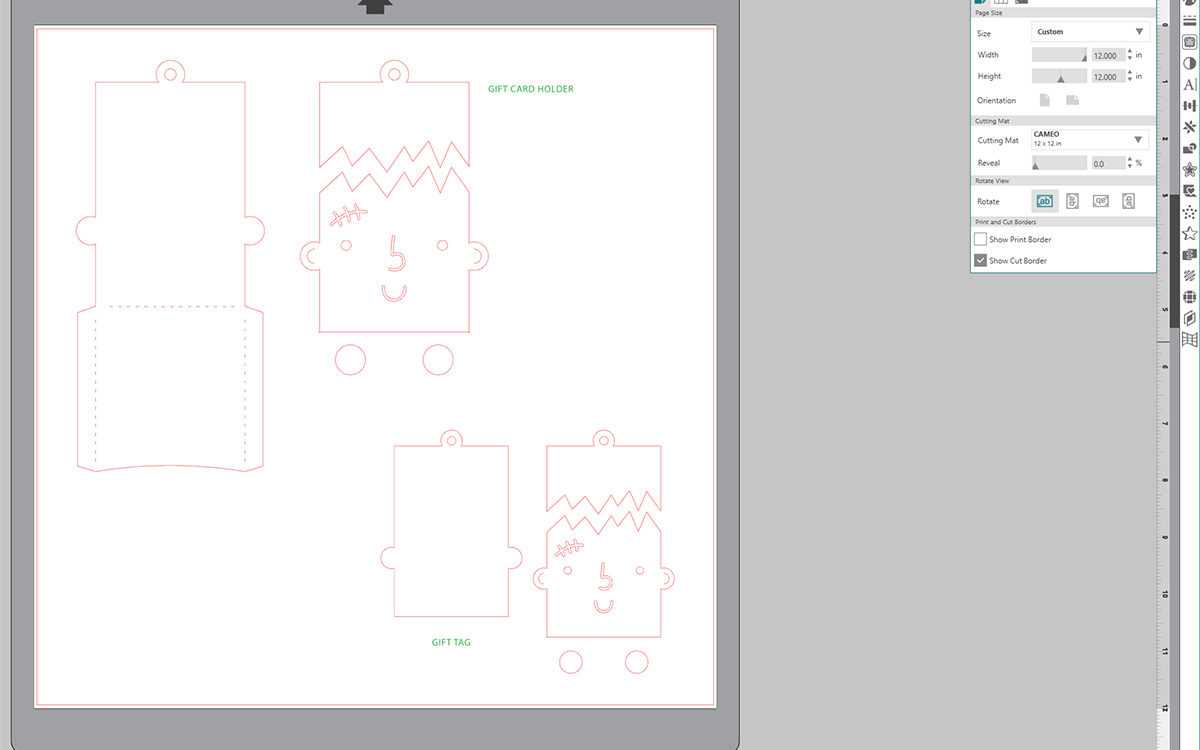
2. I like to paste pieces from the different designs that will be cut in the same color of cardstock into their own documents when cutting groups of designs like this. It’s a real time (and paper) saver!

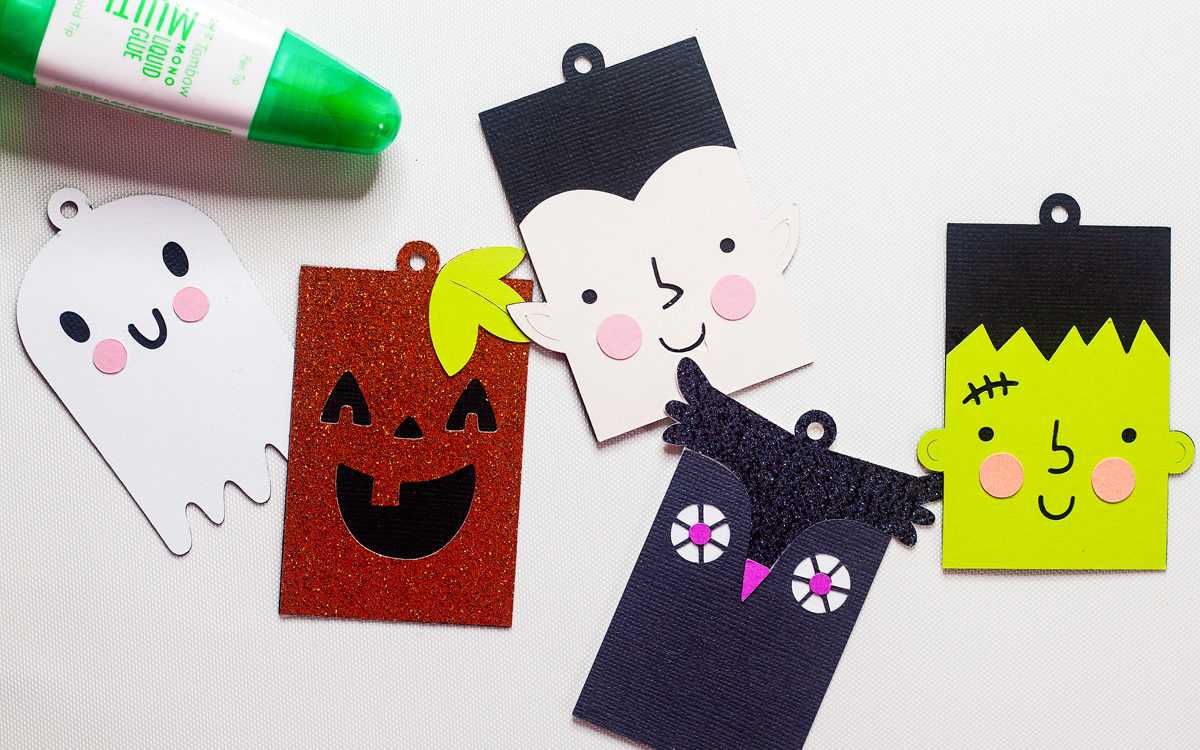
Step Two: Cut and Assemble the Tags
1. After all of the pieces are cut, use craft glue to assemble the tags.

Step Three: Assemble the Treat Bags
1. Fill the bags with candy and treats.
2. Then, fold over the tops of the treat bags and use a small hole punch to make two holes at the center top of each bag.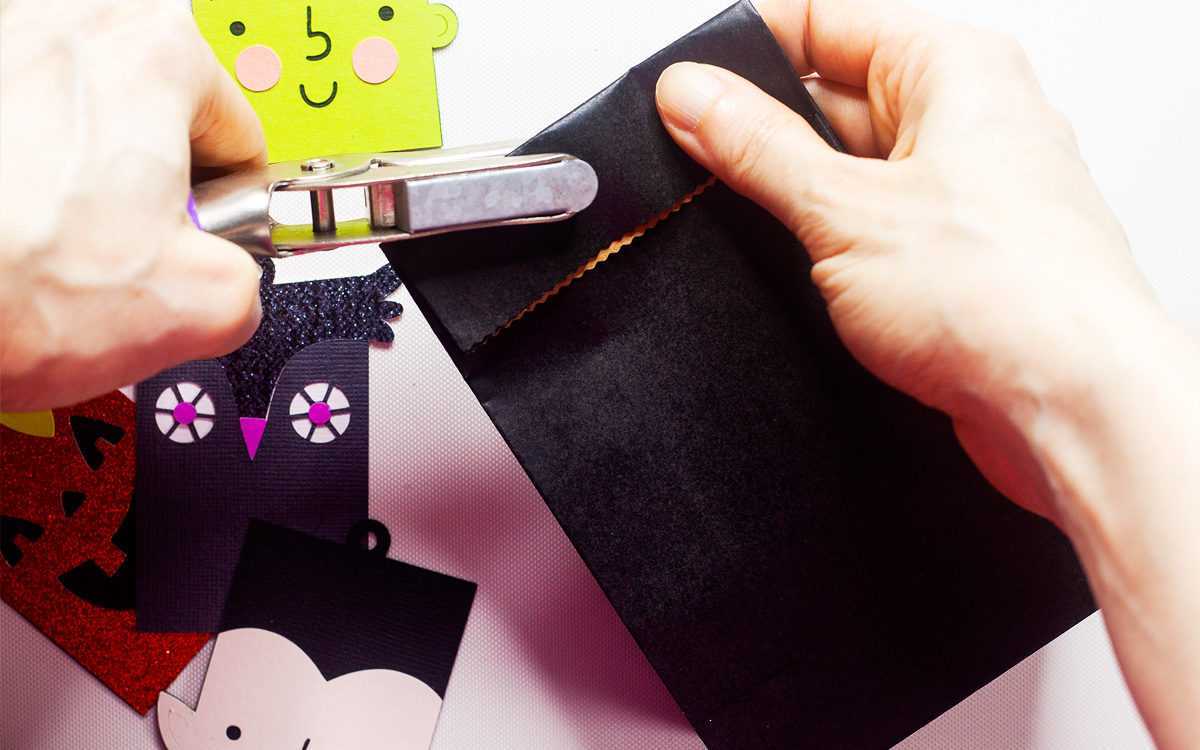 3. Cut a piece of twine and thread one end through each of the holes. Then, thread both ends through the holes at the top of each Halloween tag and tie the twine into a bow to finish.
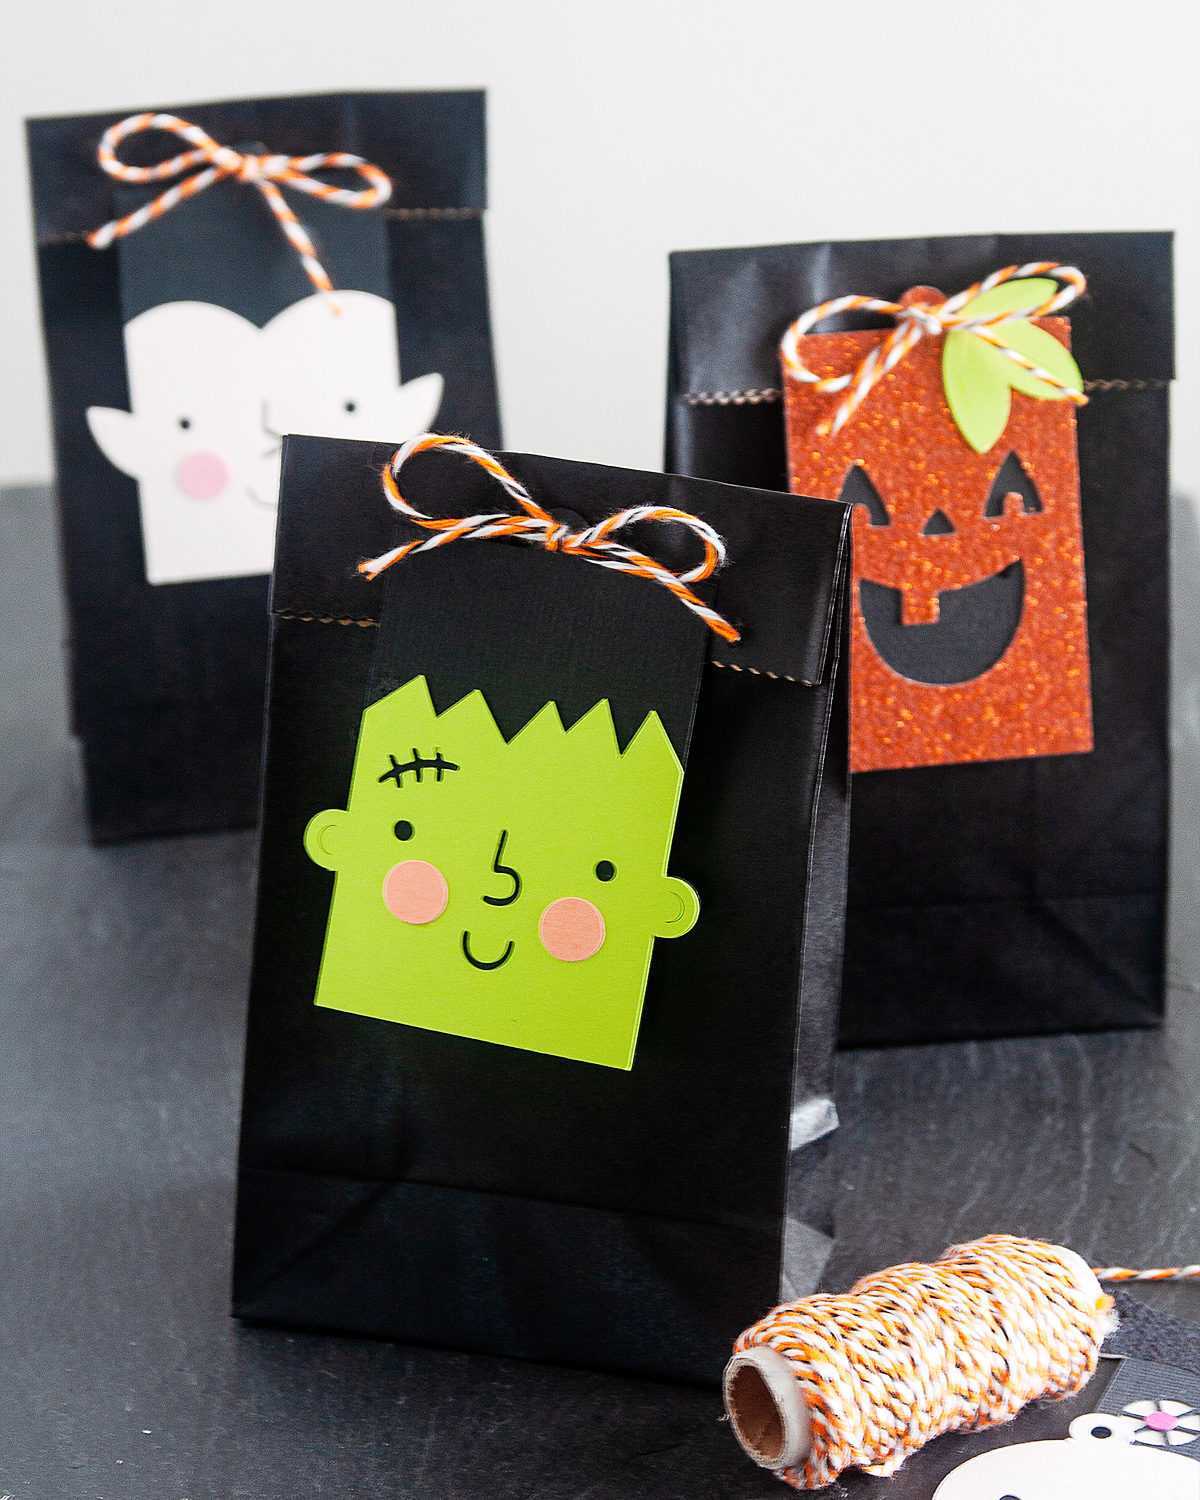
Now your Halloween treat bags are ready! They turned out so cute, and they are perfect for any Halloween parties you might be throwing. Let us know in the comments below what you are going to use your treat bags for!