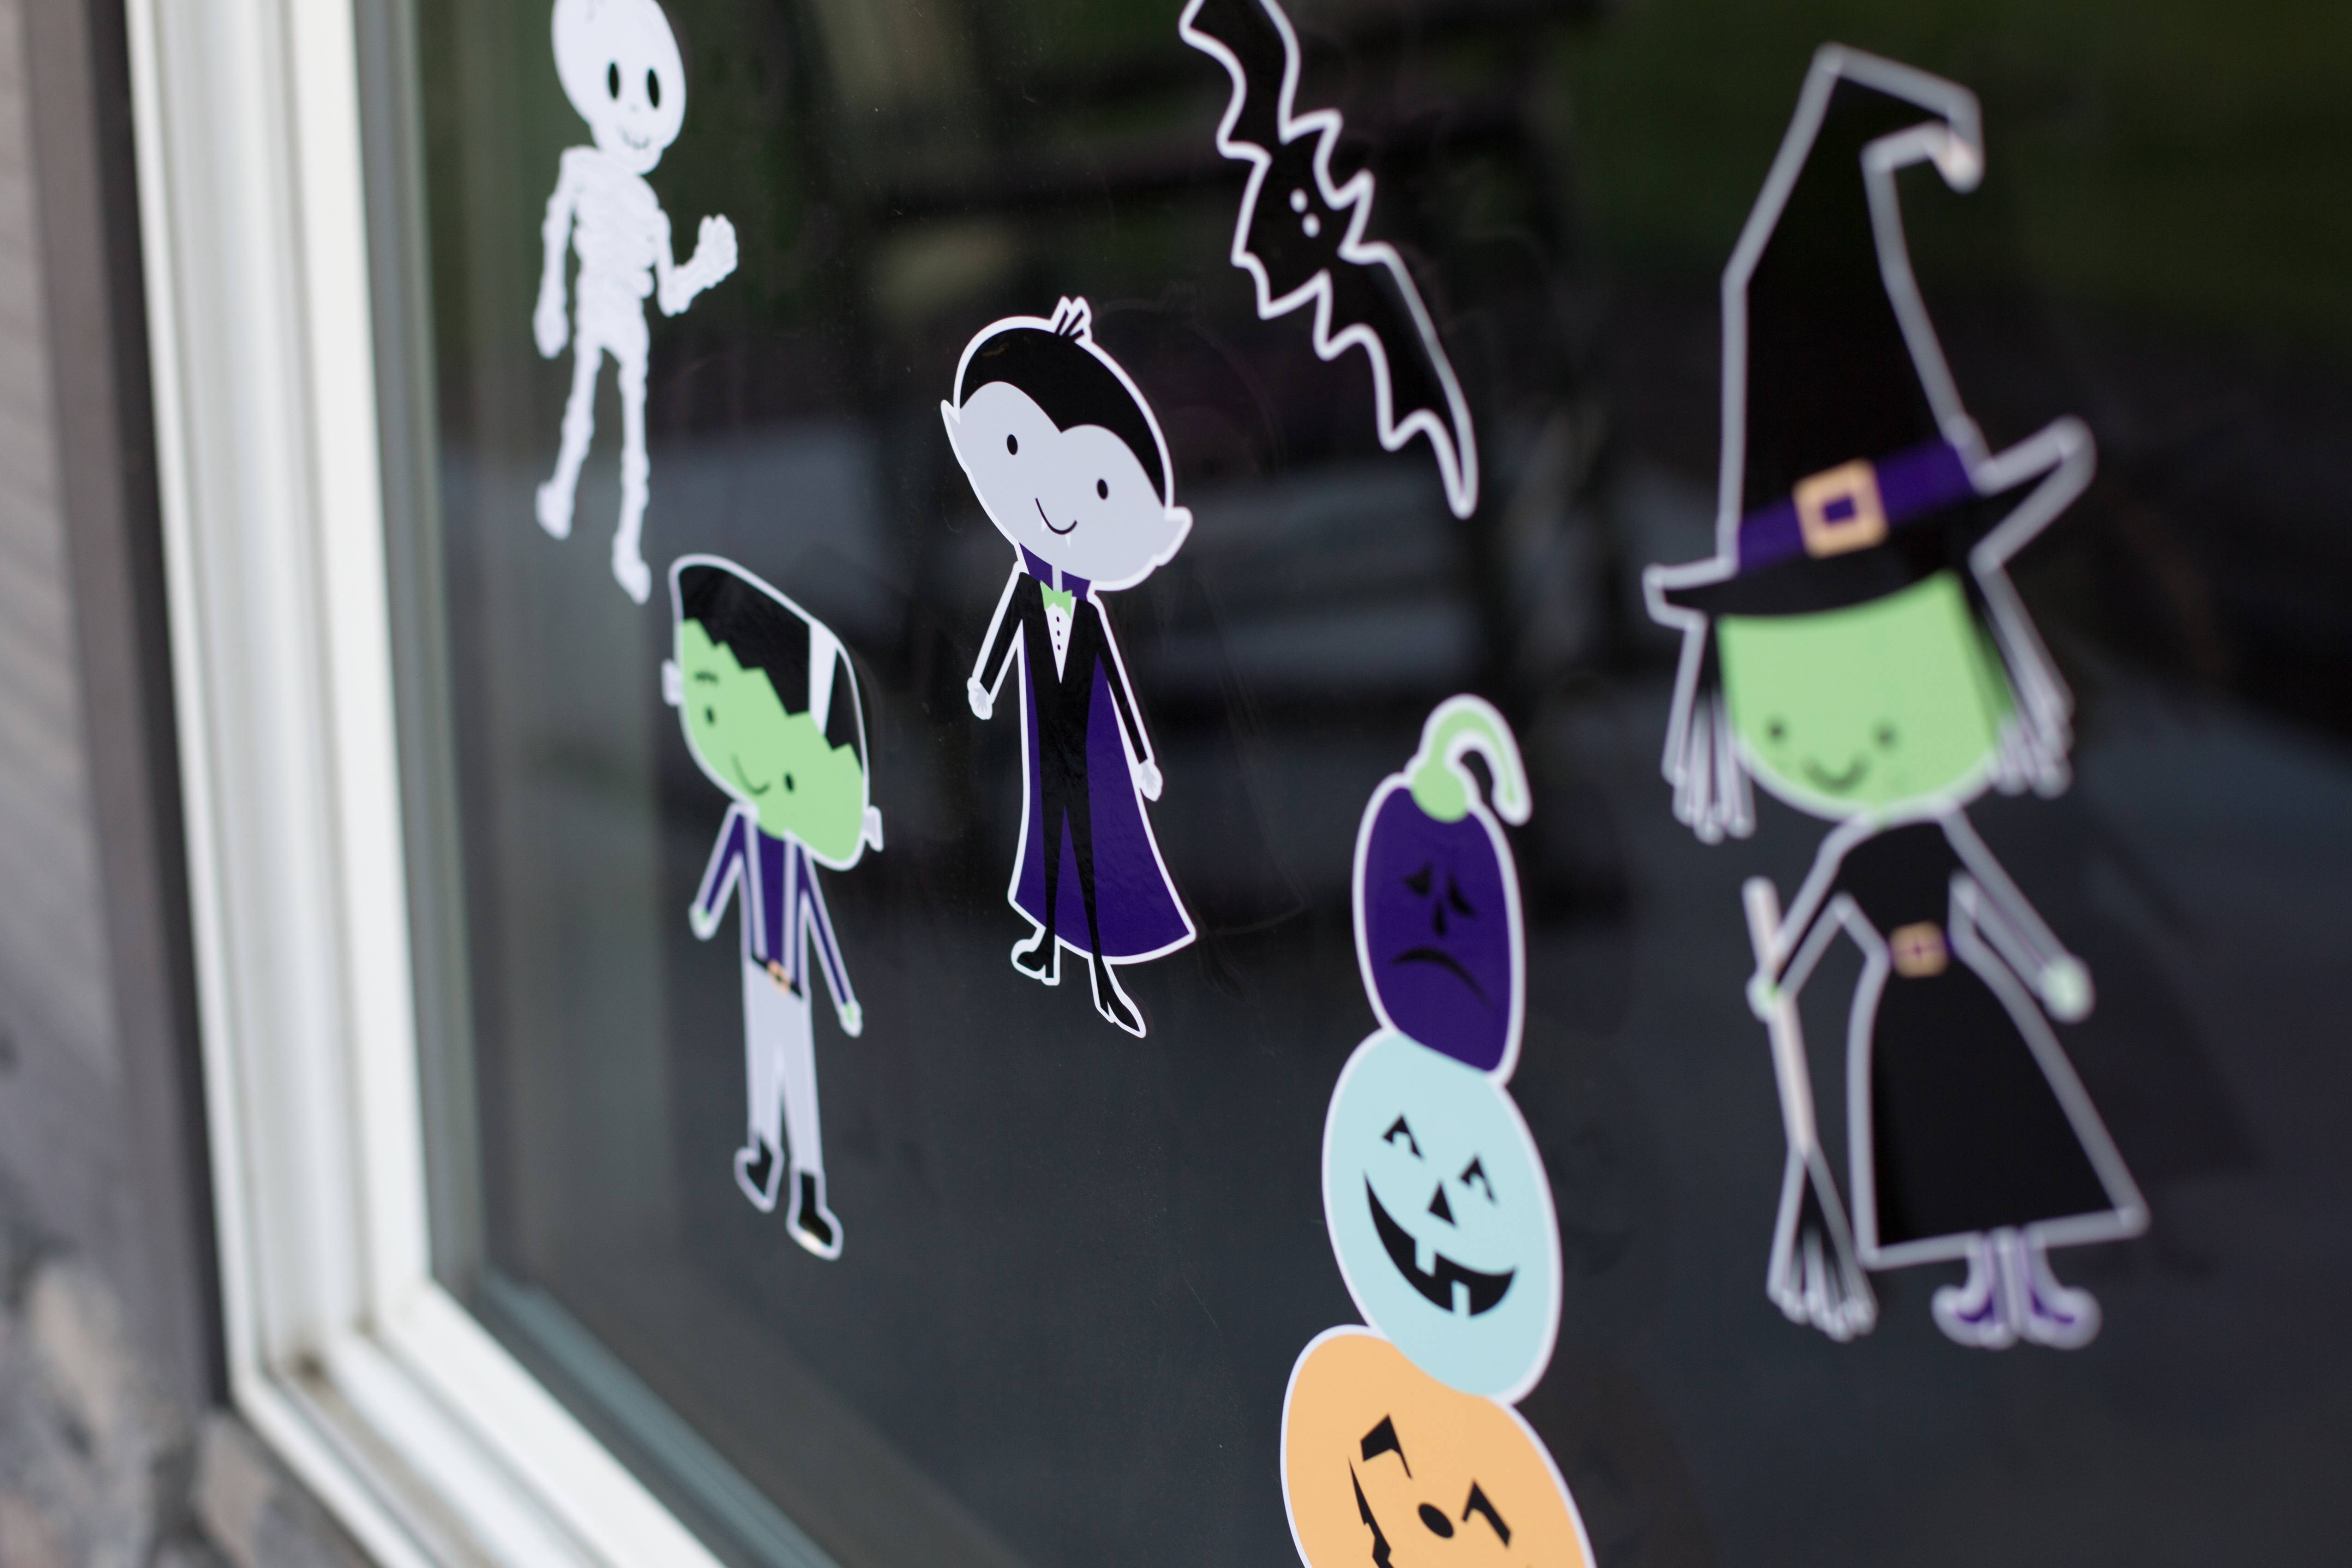
We love to decorate for the holidays! With Halloween coming up, we just couldn’t resist making some fun decorations for trick-or-treaters to see. We snagged a pack of our window cling material in white and Print & Cut some spooky characters. The best thing about our white window cling material is that skeletons and ghosts are characters that will show up just as vibrant as the other characters!
Supplies Needed:
- Silhouette CAMEO® or Silhouette Portrait® or Silhouette Curio™
- Silhouette Cutting Mat
- Silhouette Cutting Blade
- Silhouette Studio®
- Window Cling – White
- Printer
- Design ID #214714
- Design ID #214687
- Design ID #214693
- Design ID #214732
- Design ID #214708
- Design ID #216480
- Design ID #214726
Step One: Turn A Cut File Into A Print & Cut File
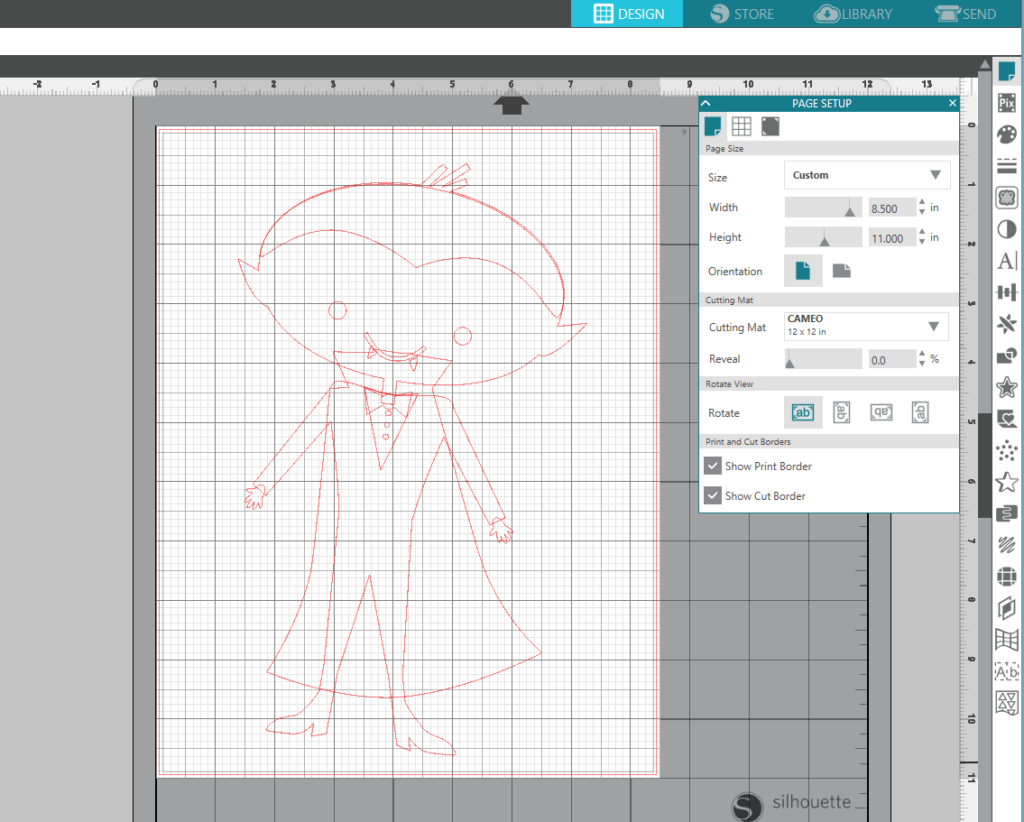
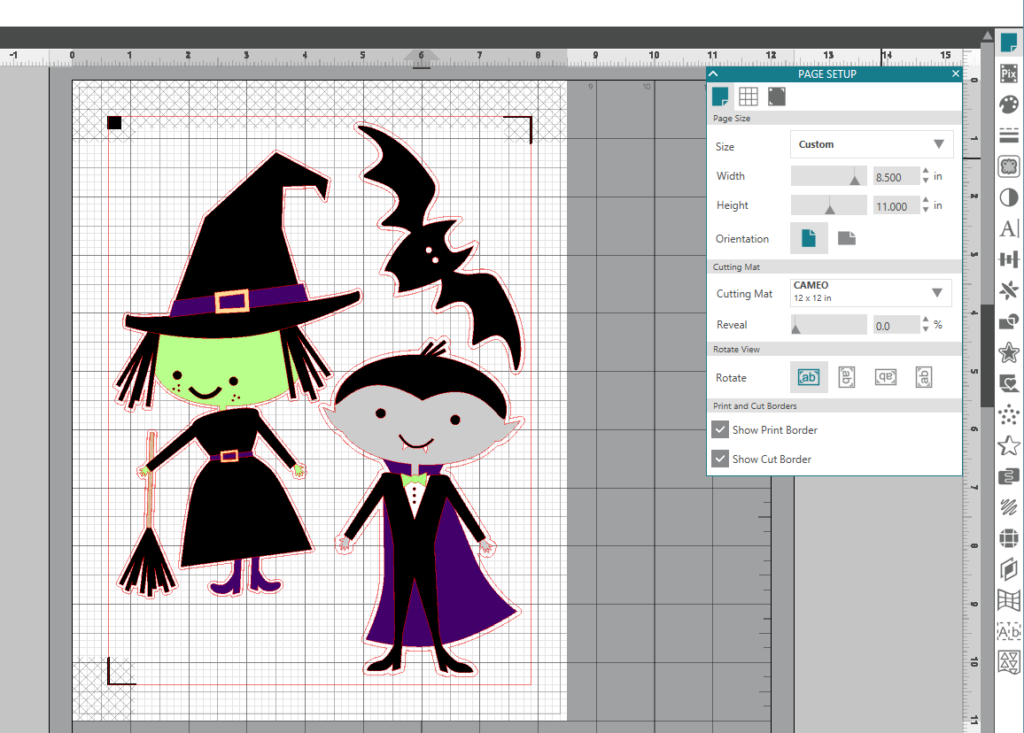
- Select the Page Setup panel (this icon can be found on the toolbar on the right-hand side of your page) and adjust your width and height to 8.5 inches by 11 inches. This is the size of the white window cling sheets.
- Because these are cut files and not Print & Cut files, you will have to assemble the pieces before cutting them out. Open up one design at a time; this makes it a lot easier to keep all of the parts together. We started with Design ID #214732.
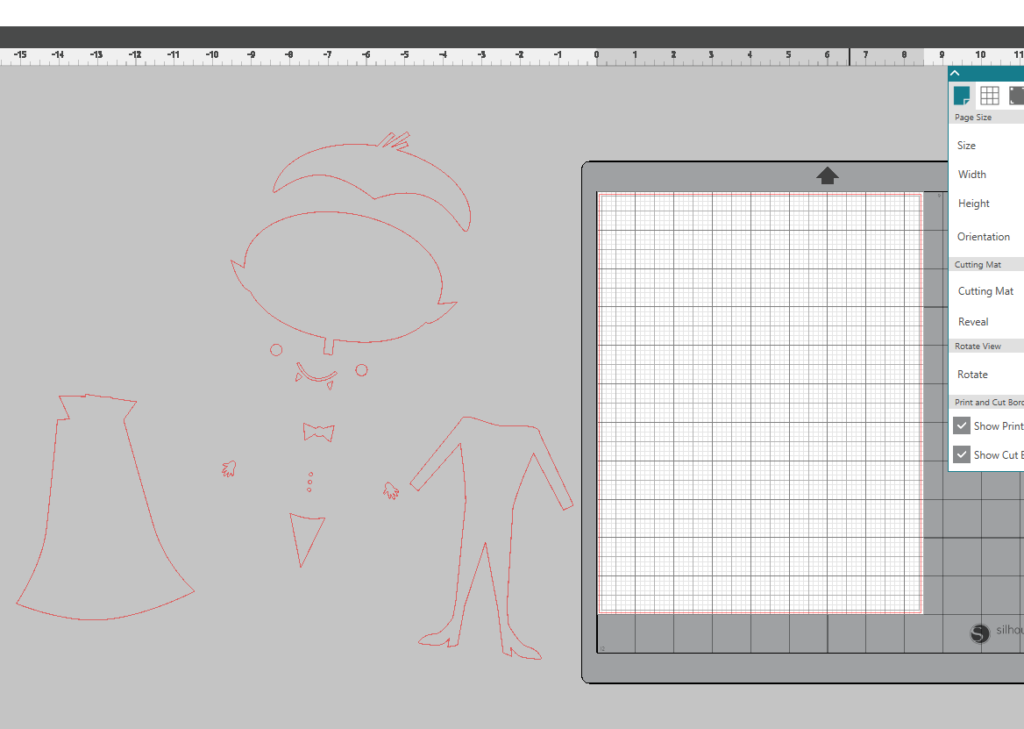
- To start, select the shape, right-click, and hit Ungroup. This will allow you to move each individual shape separately. Once the pieces are ungrouped, start assembling your character.
- You will want to repeat this step with all of the other designs.
Step Two: Fill The Design With Color
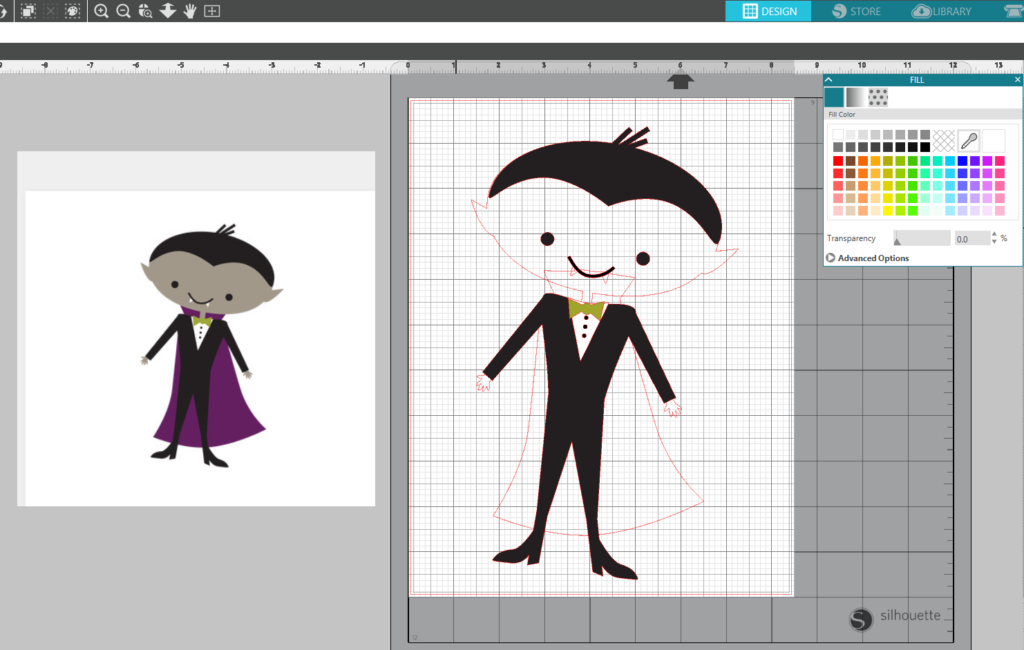
- We wanted to keep the same color scheme that the designs had in the Silhouette Design Store. We took a screenshot of that design (If using a PC, use the snipping tool. If using a Mac, use Shift + Command + 4. This allows you to take the screenshot.) and brought that image into Silhouette Studio® by dragging it in from the desktop.
- Using the Dropper tool in the Fill Panel window, located on the right-hand side toolbar, and fill in the shapes with color. First, select the shape (bow tie), then select the Dropper tool, and then click the green bow tie on the screenshot. Your shape will fill with color immediately.
- After you have added color to your design and every piece is in place, select the entire design, right-click, and hit Group.
- Repeat this process with all of the other designs.
Step Three: How To Cut Out A White Design
- For the skeleton design (Design ID #214687), the process is a little different. You will first want to select your design in your library and bring it into Silhouette Studio®.
- Ungroup the design and begin piecing it together.
- Fill in the facial features with black.
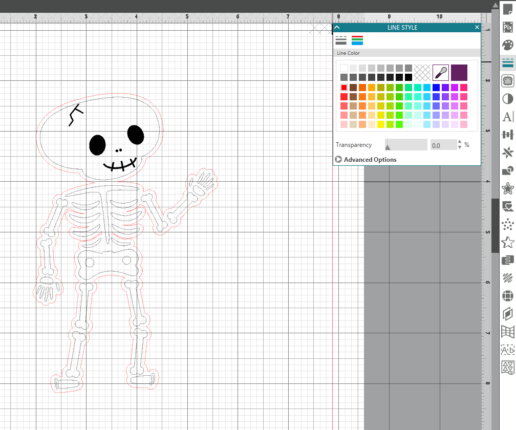
- We want the body of the skeleton to appear white. This is where the beauty of the White Window Cling comes in. Printers cannot print white, so anything with white color is left blank. In this case, we will turn the red cut marks to a dark grey so that each bone is visible for Print & Cut.
- To change the cut line color to a dark gray, select the entire design, and then select the Line Style Panel on the toolbar on the right-hand side. With your design selected, choose the outline color that you’d like (We chose a dark gray color). Anytime you change the color of a cut line to anything other than the original red, it will show up when it is printed.
Step Four: Add A Border To The Design
- Select your design and open the Offset Panel located on the right-hand side of Silhouette Studio®.
- Hit Offset and adjust the distance to your liking. Once you’ve got it how you’d like, then hit Apply. This will create an offset cut line around the entire design.
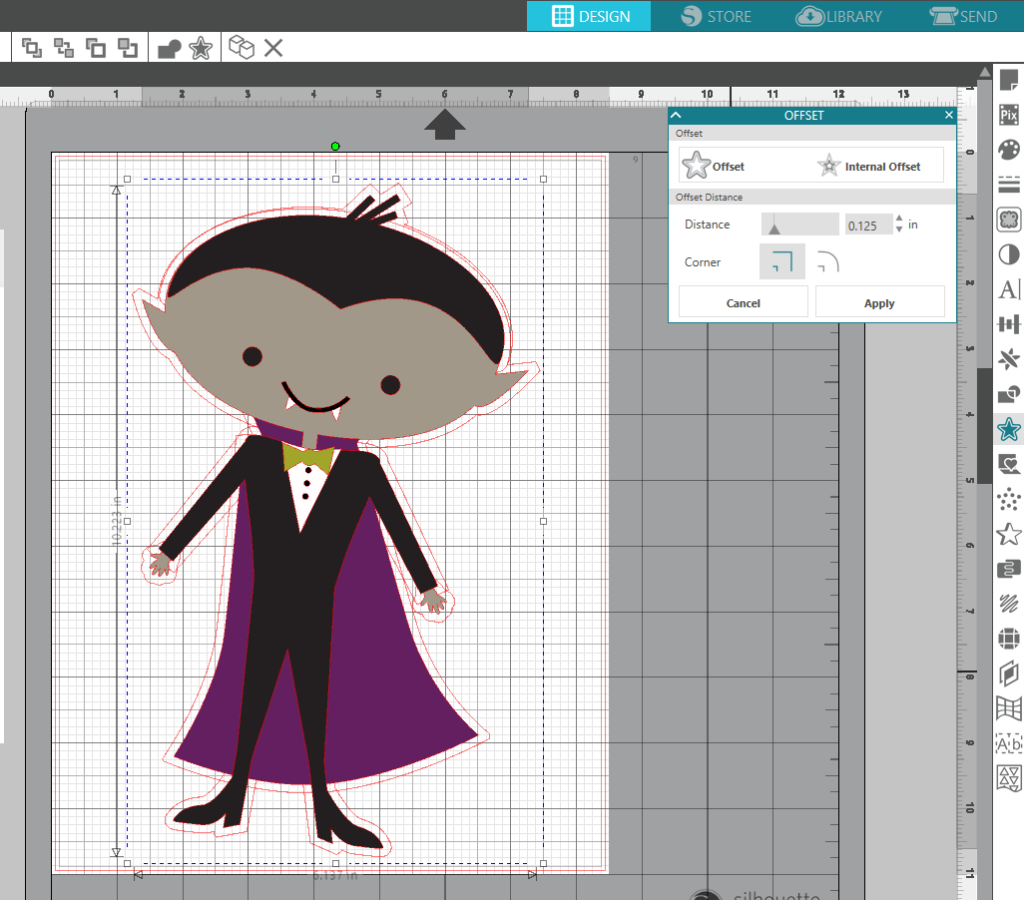
- Open the Send tab in the top right corner. Select your colored design (not the Offset line we just created) and select No Cut. This will ensure that just the outer line is cut.
- Repeat this process with all of your other designs.
Step Four: Print & Cut The Designs
- In the Page Setup window, turn on the registration marks by setting the style to Type 1. Adding registration marks is important because your machine reads these in order to cut your printed shapes out perfectly.
- Drag your chosen designs onto your page. Adjust your designs to the size that you want. You can do this by selecting it and dragging the outer corner to make it larger or smaller. Arrange your designs so that they fit inside the registration marks. If a design is left outside of those marks, then it will not be cut properly.
- Load your window cling material into your inkjet printer. Make sure the printer will print on the shiny side of the paper.
- Print out your design by selecting the printer icon in the top-left hand corner of Silhouette Studio®.
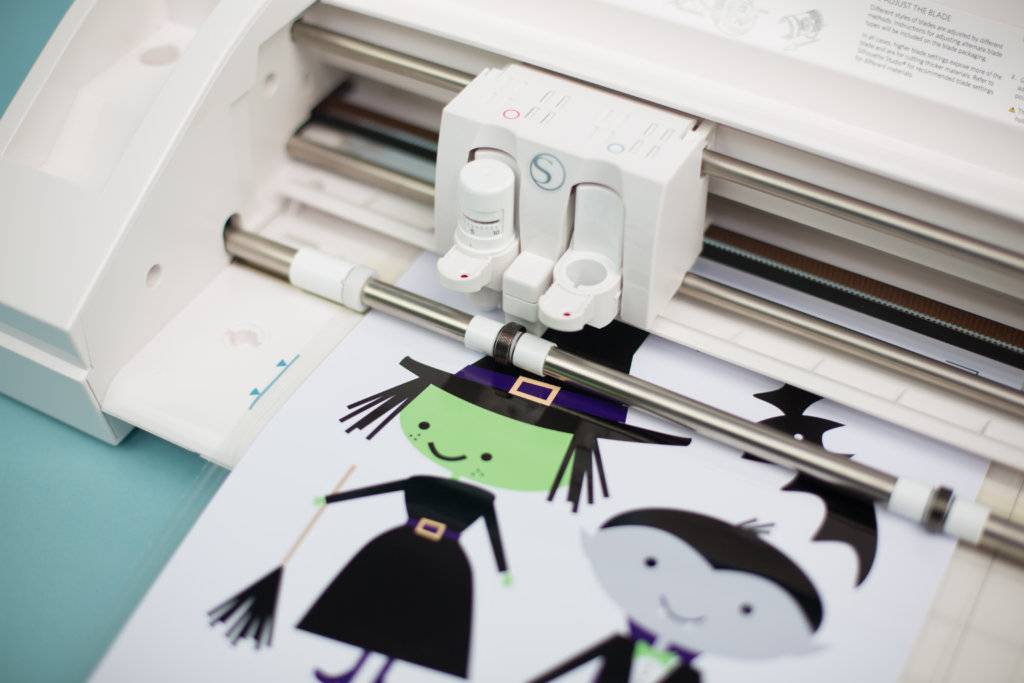
- Place your printed sheet on your cutting mat and load it into your machine with the black square in the upper left-hand corner.
- In Silhouette Studio®, select the Send tab in the top right-hand corner. Select the “Window Cling, Printable” cut setting and select Send. (Remember that if you don’t have an AutoBlade, you will need to adjust your blade settings.)
- Your machine will read the registration marks and then cut out your design. (Tip: If your machine is having trouble reading your registration marks, try manually moving the blade directly over the square registration mark. You can do this by moving the blue arrows in the Send tab in Silhouette Studio®).
- Remove your sheet from the cutting mat, and peel away your characters. Now they are ready to be placed all over your windows!
What will you create using Silhouette’s window cling material?
Susan
October 20, 2017
This material kind of confuses me. The various tutorials seem to suggest it is clingy on the back side, which means you have to put these on the outside of your house. Is that right? I’m wanting to put them on the inside of the window so they don’t get rained on.
Kelly Wayment
October 30, 2017
That’s correct, Susan. It’s only clingy on the back side, so they would need to go on the outside of the window to be viewed from the outside. You could try spraying it with a sealant if you are concerned about it getting wet. This material is not intended to be weatherproof.
Brenda
October 22, 2017
Step 5 in the Printing White instructions. Can you explain how “Anytime you change the color of a cut line to anything other than the original red, it will show up when it is printed” works? It’s always been my experience that the line needs to be thickened in order to print.
Kelly Wayment
October 30, 2017
You’re correct, Brenda. The line thickness has to be greater than 0.0 to print no matter what color it is.
Susan mccaughan
November 4, 2017
What is the best way to print a decal for a car would it be on vinyl?
Kelly Wayment
November 7, 2017
Yes, you would want to cut it out of permanent (glossy) vinyl for the best hold as a car decal. I don’t think there’s a printable product out there that would withstand weather, but simply cutting it out of permanent vinyl is your best bet.