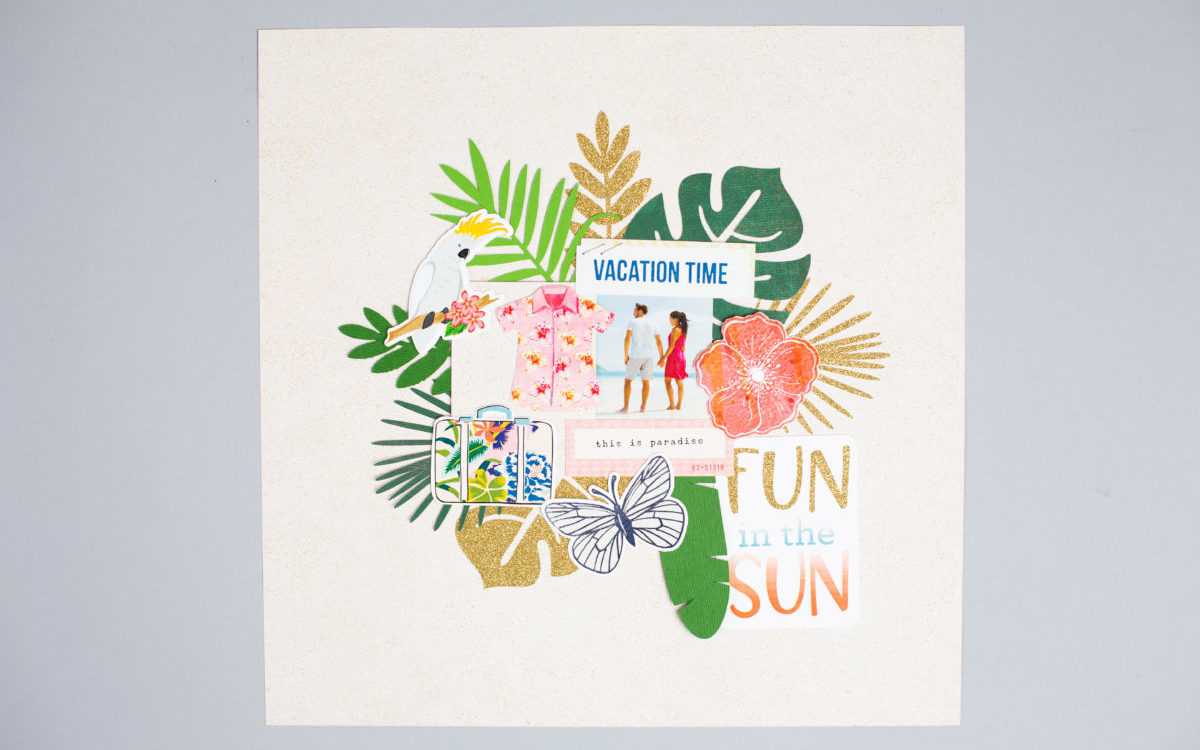
Aloha, friends! We’re going to show you how to put together this fun and festive Hawaiian-themed scrapbooking page featuring this adorable Hawaiian shirt design. Follow along to see what you need to do.
Supplies Needed:
- Silhouette CAMEO®, Silhouette Portrait®, or Silhouette Curio™ (with a large base)
- Silhouette Cutting Mat
- Silhouette Cutting Blade
- Silhouette Studio®
- Silhouette Printable Adhesive Cardstock
- Cardstock – green, light green, white, glitter gold
- Patterned cardstock
- Printer
- Design ID #182641
- Design ID #182587
- Design ID #269675
- Design ID #267805
- Design ID #57483
- Design ID #57486
- Design ID #60753
- Design ID #10191
- Design ID #83624
- Design ID #201461
- Design ID #269747
- Design ID #184060
- Design ID #182590
Step One: Creating the Layout
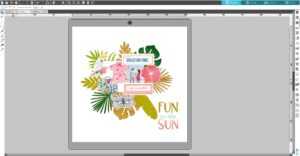
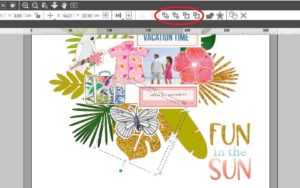
1. Download all of the listed designs above from the Silhouette Design Store. In the Page Setup panel, change your page size to be 12 in. x 12 in. Open designs in Silhouette Studio® by locating them in your Library. Resize the designs and place them as desired on the working space. For the Fun in the Sun design (Design ID #269675), fill the words in with patterns (Design ID #57483 and Design ID #57486). Watch this video to learn how to fill designs with pattern. Tip: When you open a design from the Library, make sure that the cut line and the design are grouped (select design and a cut line, right-click, and select Group). This will help keep the cut lines in the right places when you are moving designs all over the page.
2. Some designs have a white backgound that is bigger than the cut line. If you want to crop the design along the a cut line, go to the Modify panel and click on the Intersect or Crop icon.
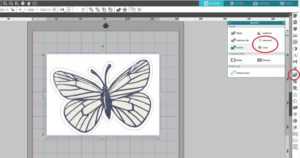
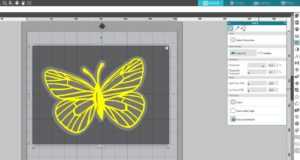
3. After you crop your design, you won’t have a cut line any more. To add a cut line, go to the Trace panel. Select Trace Area, change the Threshold to 82%, and click Trace Outer Edge.
4. The order of which image is in front and which is in back can be arranged any way you want. You can use the arrange object icons, which are located on the top of the screen, or right-click your design to pull up the arrange options (bring to front, send to back, bring forward, and send backward).
Step Two: Cutting Out the Designs
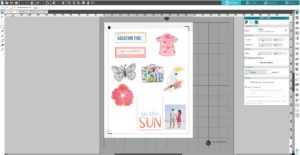
1. In the Page Setup panel, change the page size to the Letter size. Turn on the registration marks (found in the Page Setup panel) and place all designs you want to Print & Cut within the registration marks border.
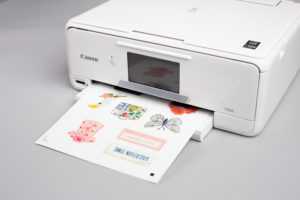
2. Print out your designs on the white adhesive cardstock by selecting the printer icon.
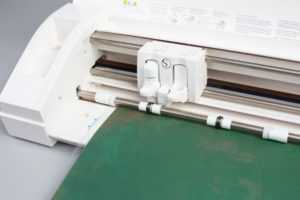
3. Place the printed sheet on your mat and feed it into your Silhouette machine. Go to the Send panel. Choose “Cardstock, Printable Adhesive-Backed” as your material type. Adjust your blade if necessary and send your cut job to your Silhouette machine. After cutting the designs, remove the designs from the cutting mat.
4. Place the leaves you want to cut from green or patterned cardstock on the work space. Place the cardstock on the cutting mat. Load mat into the cutting machine. As a material type choose the type of cardstock you are going to cut. Adjust the blade if necessary and click Send. After cutting the designs, remove the designs from the cutting mat.
5. Cut designs you want to be glitter gold from glitter cardstock or glitter vinyl. Cut a rectangle (on which we will place the Hawaiian shirt, the suitcase, and the parrot) using the same cardstock you will use as a page base or any other cardstock you want.
Step Three: Arranging the Scrapbooking Page
1. When we have all our scrapbooking page pieces cut out, we can start to adhere them to the scrapbooking page base, which can be a sheet of the patterned cardstock.
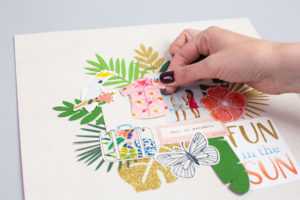
Now our scrapbooking page is ready! It’s so summery and perfect if you’re looking to record your summer adventures or your trip to somewhere tropical.
Let us know how you arranged your Hawaiian scrapbooking page in the comments below!