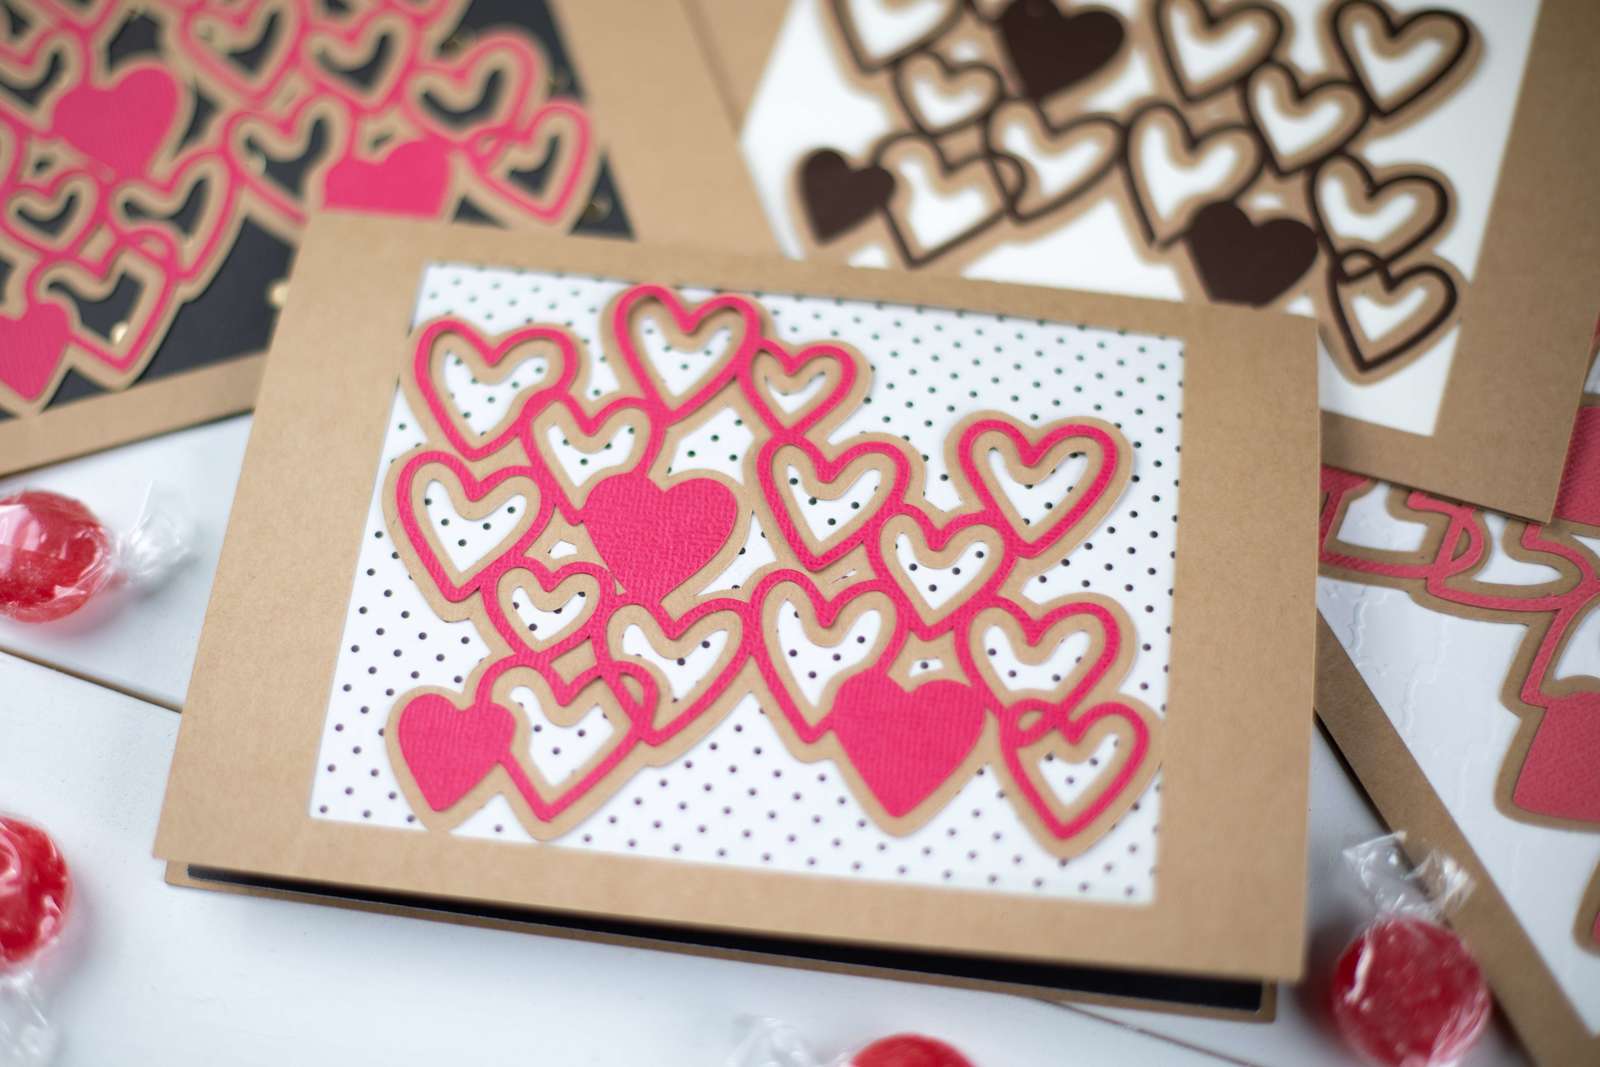
We are all heart eyes over here getting ready for Valentine’s Day. If you are looking for a handmade card to deliver your heartfelt message, you’ve come to the right place. We are going to show you how to create a card in Silhouette Studio®.
Supplies Needed:
- Silhouette CAMEO® or Silhouette Portrait®
- Silhouette Studio®
- Silhouette Cutting Mat
- Silhouette Cutting Blade
- Adhesive Cardstock – Red
- Cardstock – Brown, Cream, Polka dot
- Adhesive
- Design ID #283761
Step One: Create the Card
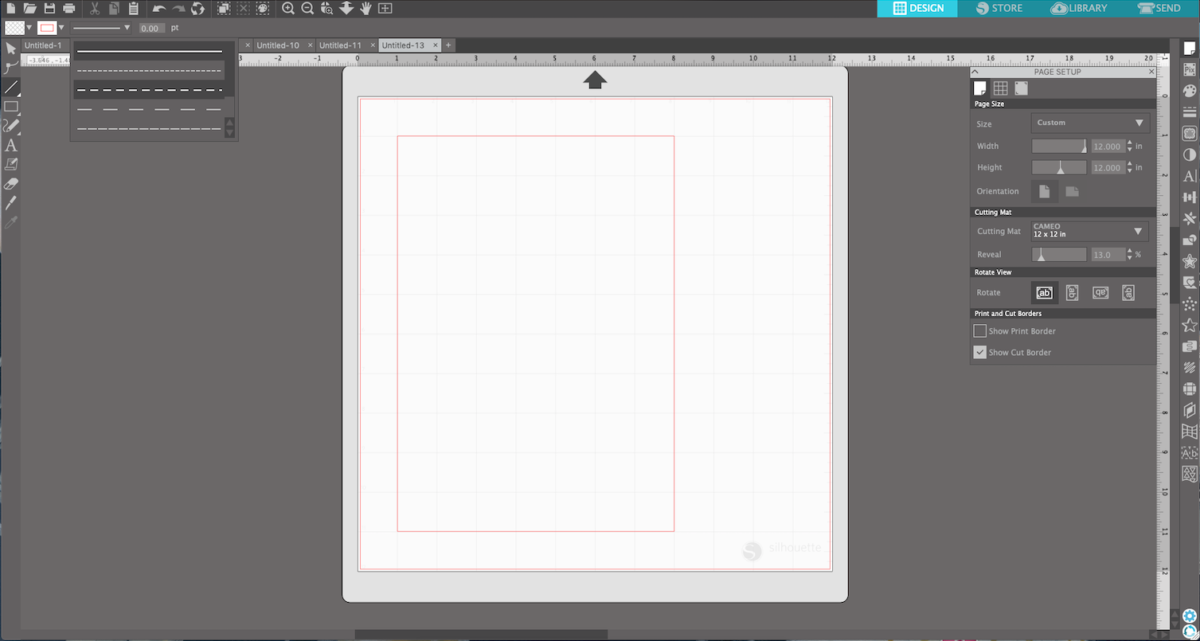
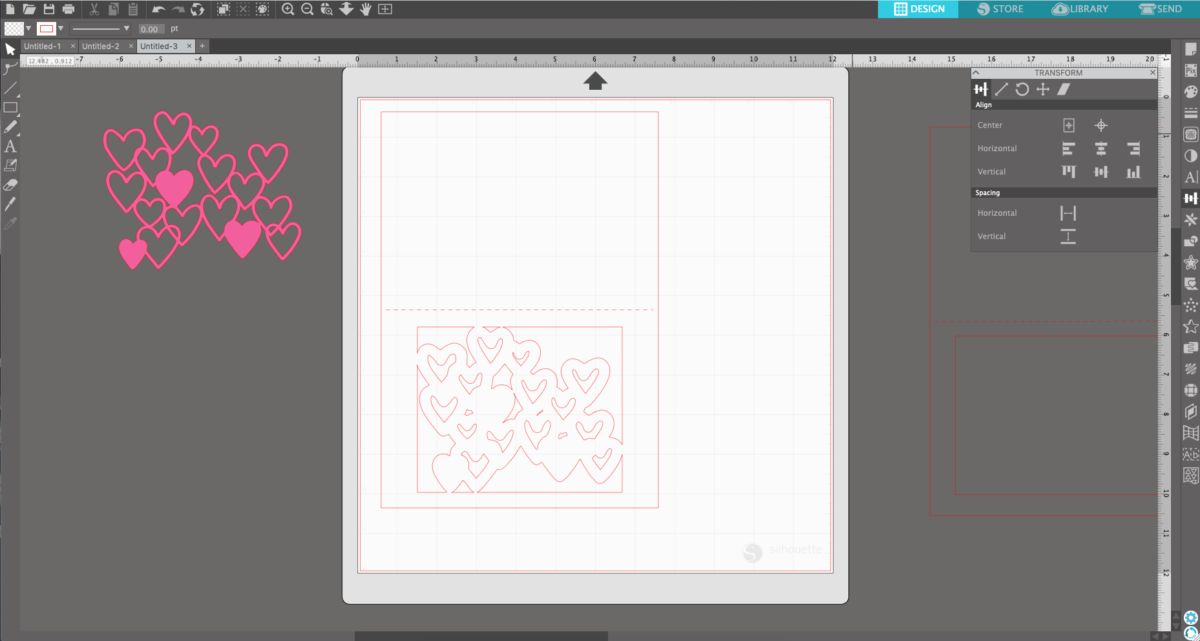
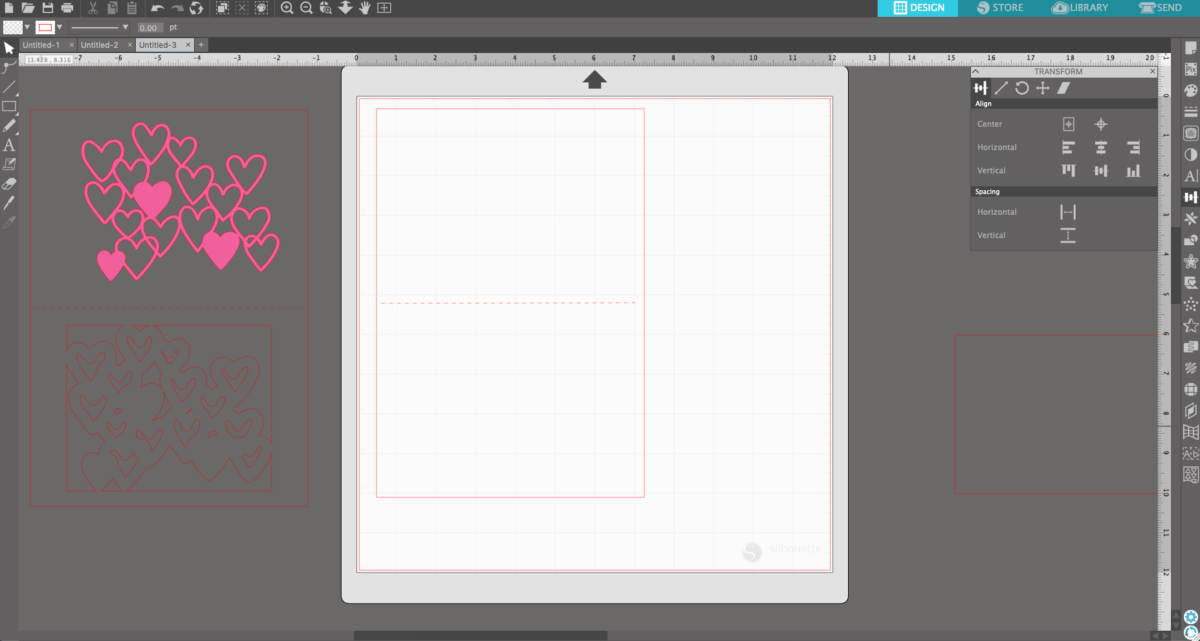
1. Open Silhouette Studio® and from the left-hand toolbar select the Draw Rectangle tool. Click and drag until you have the size of rectangle you want. We drew ours 10 inches high by 7 inches wide.

2. Now choose the line style option from the drop-down menu. Choose the dashed line option and then draw a line in the middle of the card.

3. Open the transform menu from the right-hand toolbar. Select both the rectangle and your dashed line. Open the Transform panel. Click the center horizontal alignment tool and the center vertical tool to center the dashed fold line on the card.
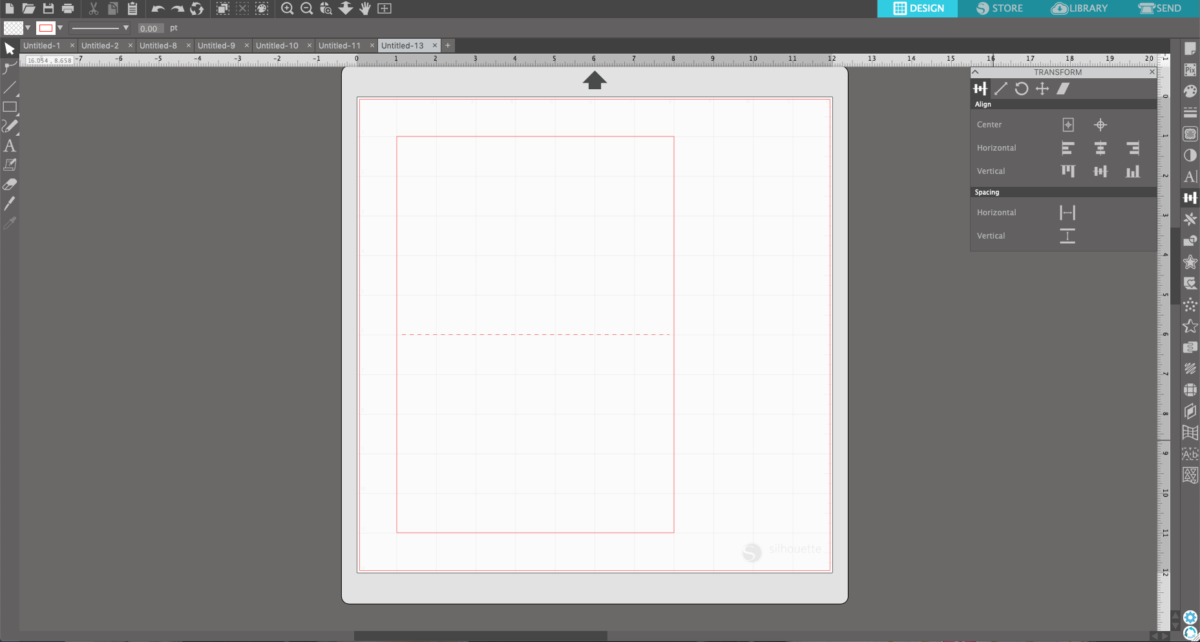


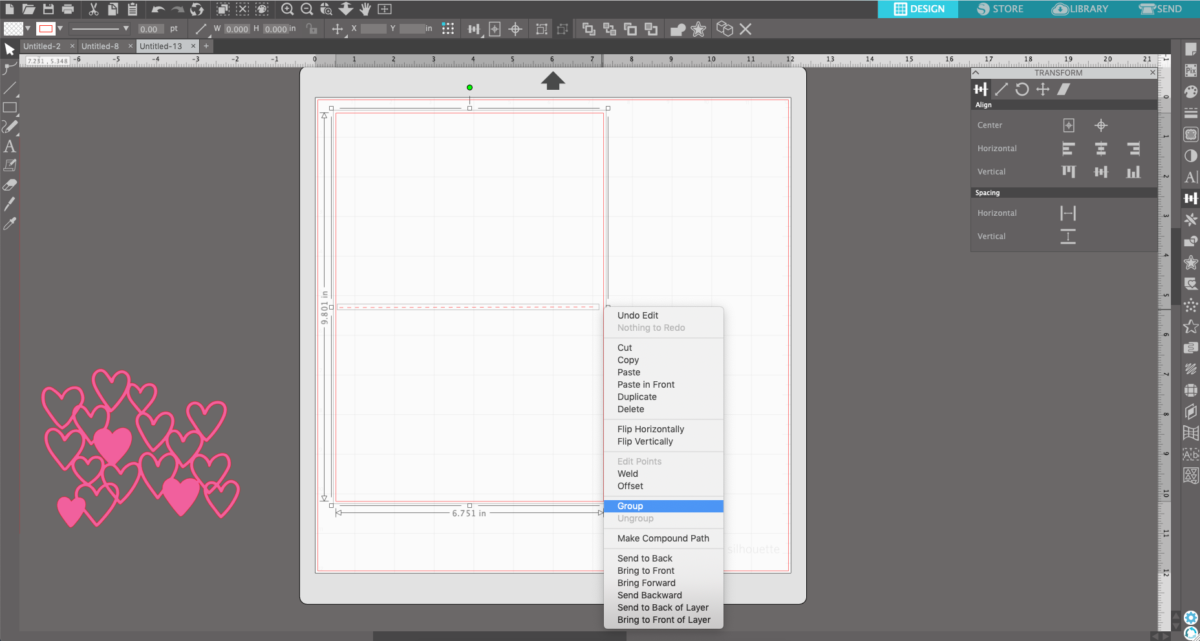
4. Once everything is aligned, you can group the fold line and the card by right-clicking and choosing Group from the drop-down menu.

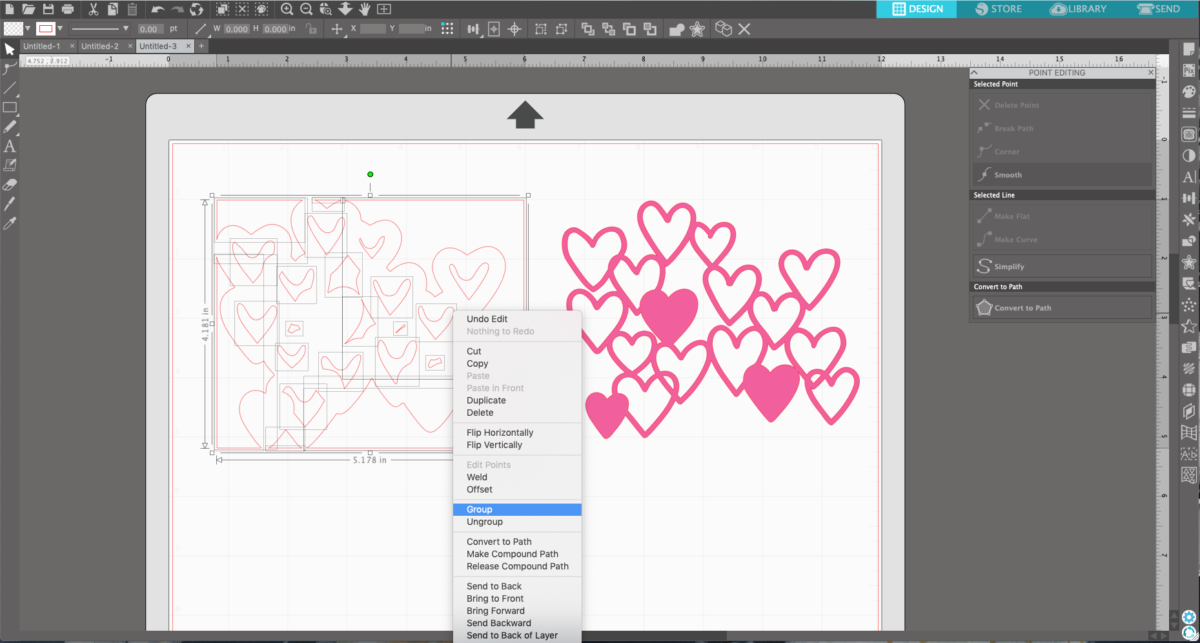
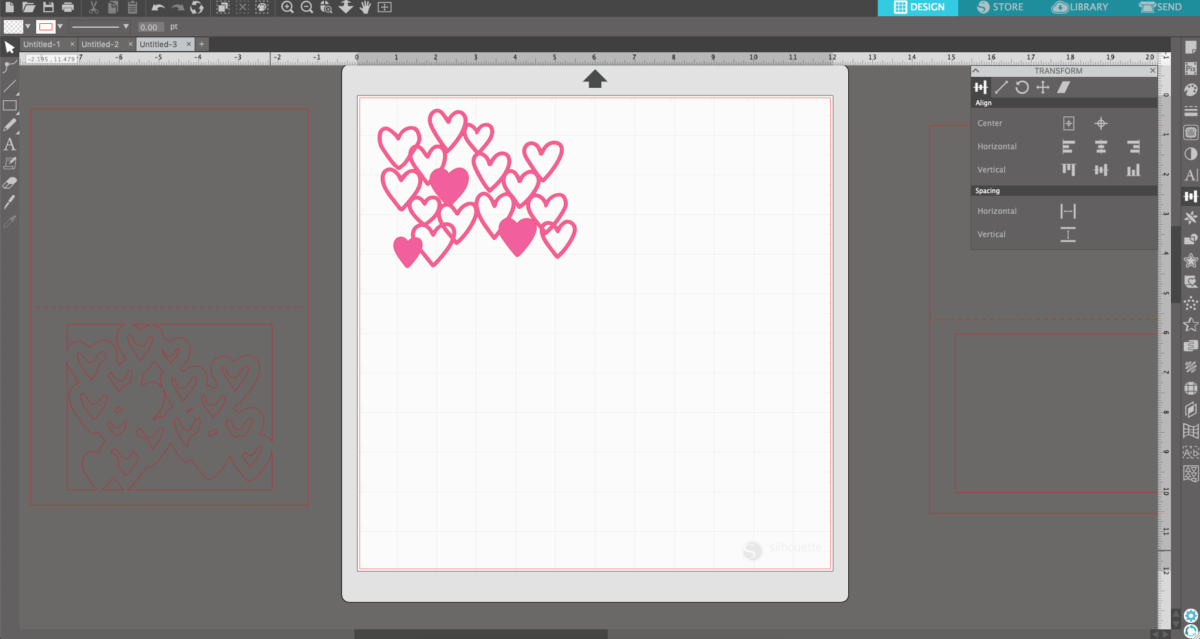
5. Move the card away from the design space and open the Hearts Background design (Design ID #283761). Click on the design and open the Offset menu from the right-hand toolbar.
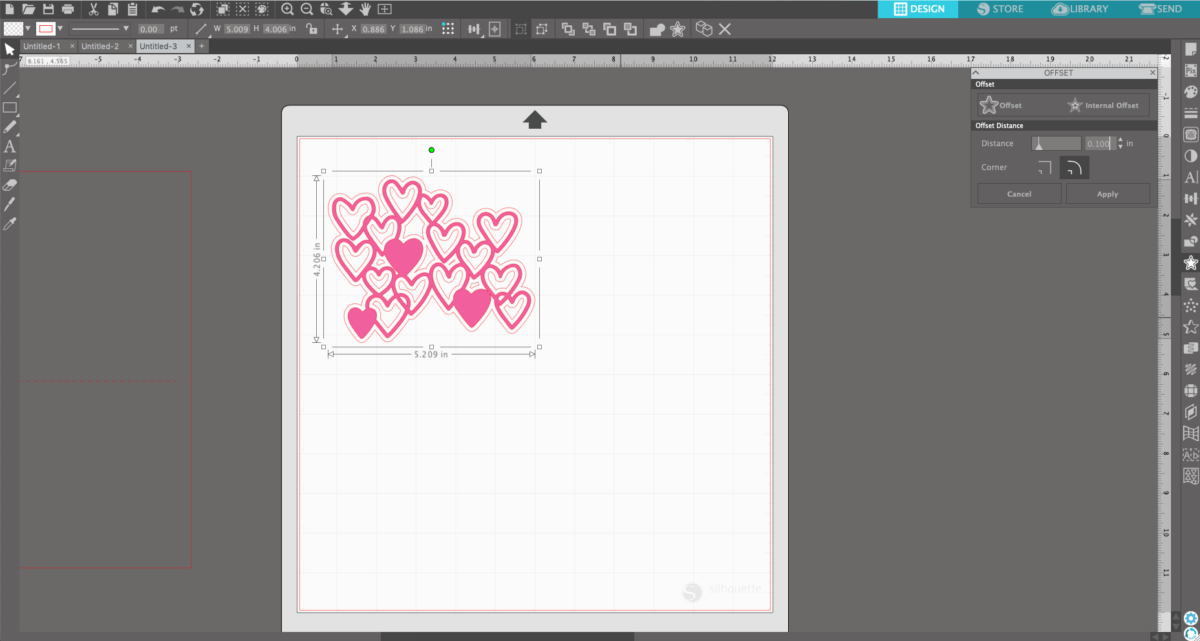
6. Select the Offset option and set the distance to 0.100 inches.
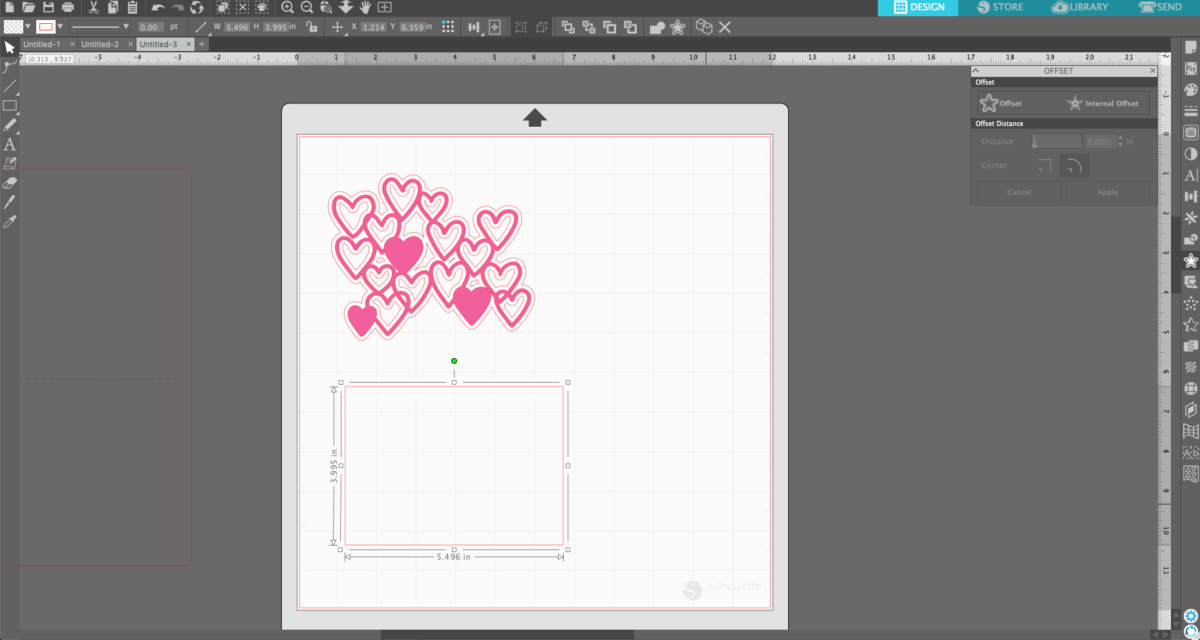
7. Draw another rectangle, this time measuring 5.1 inches wide by 4.175 inches high so that it slightly overlaps the outline of the hearts.
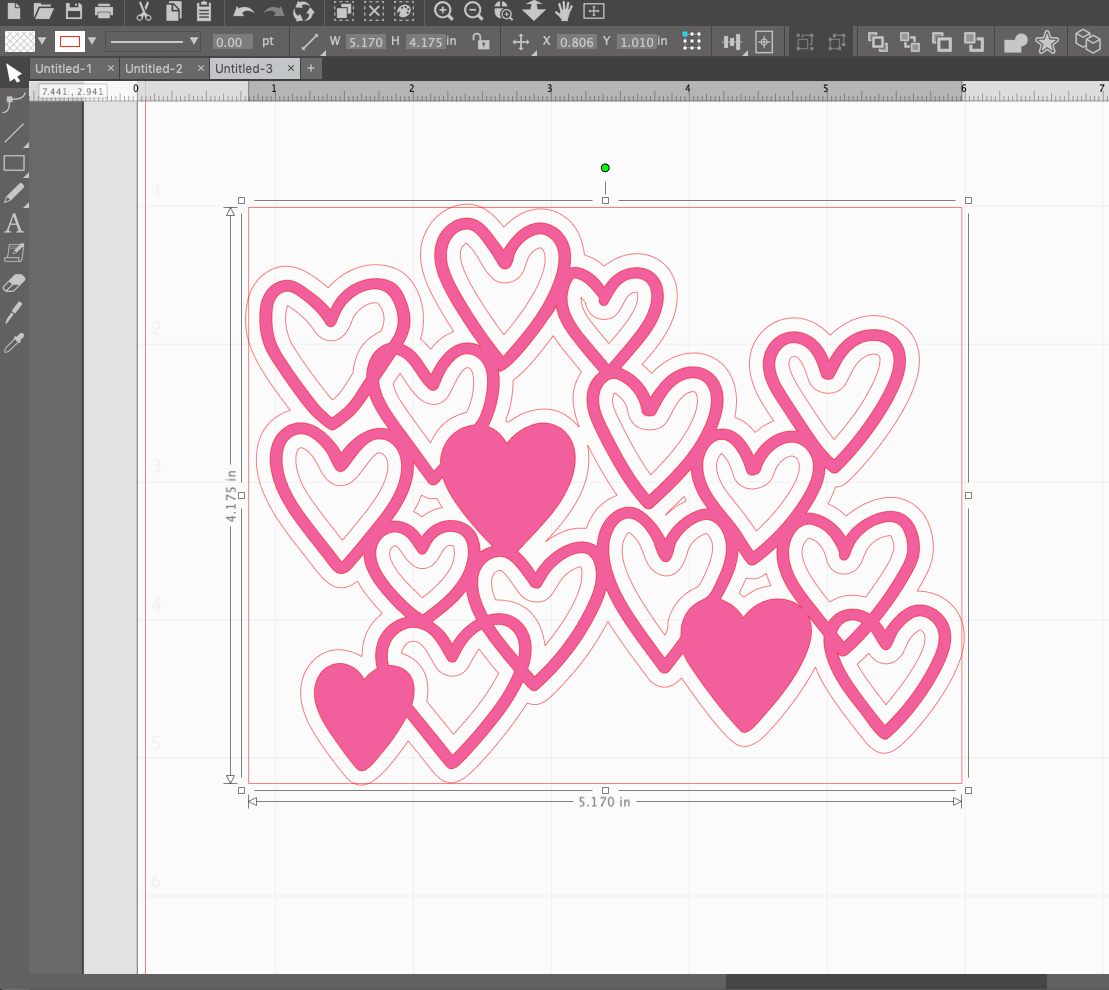
8. Open the Knife tool located on the left-hand toolbar. And every time the rectangle line intersects with the heart outline we are going to slice.

9. Continue around the design until you have sliced every intersection.
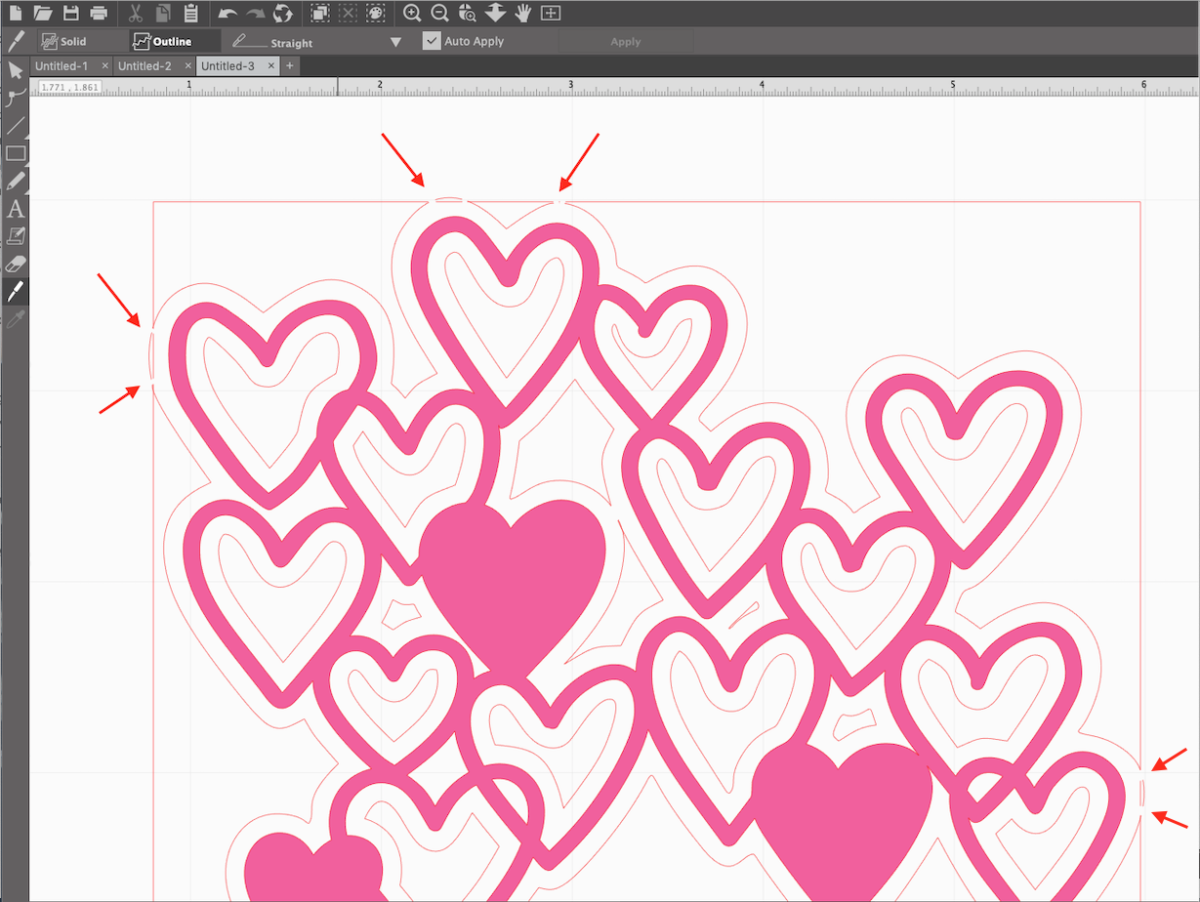
10. Now go through and select and delete the lines that are no longer attached.

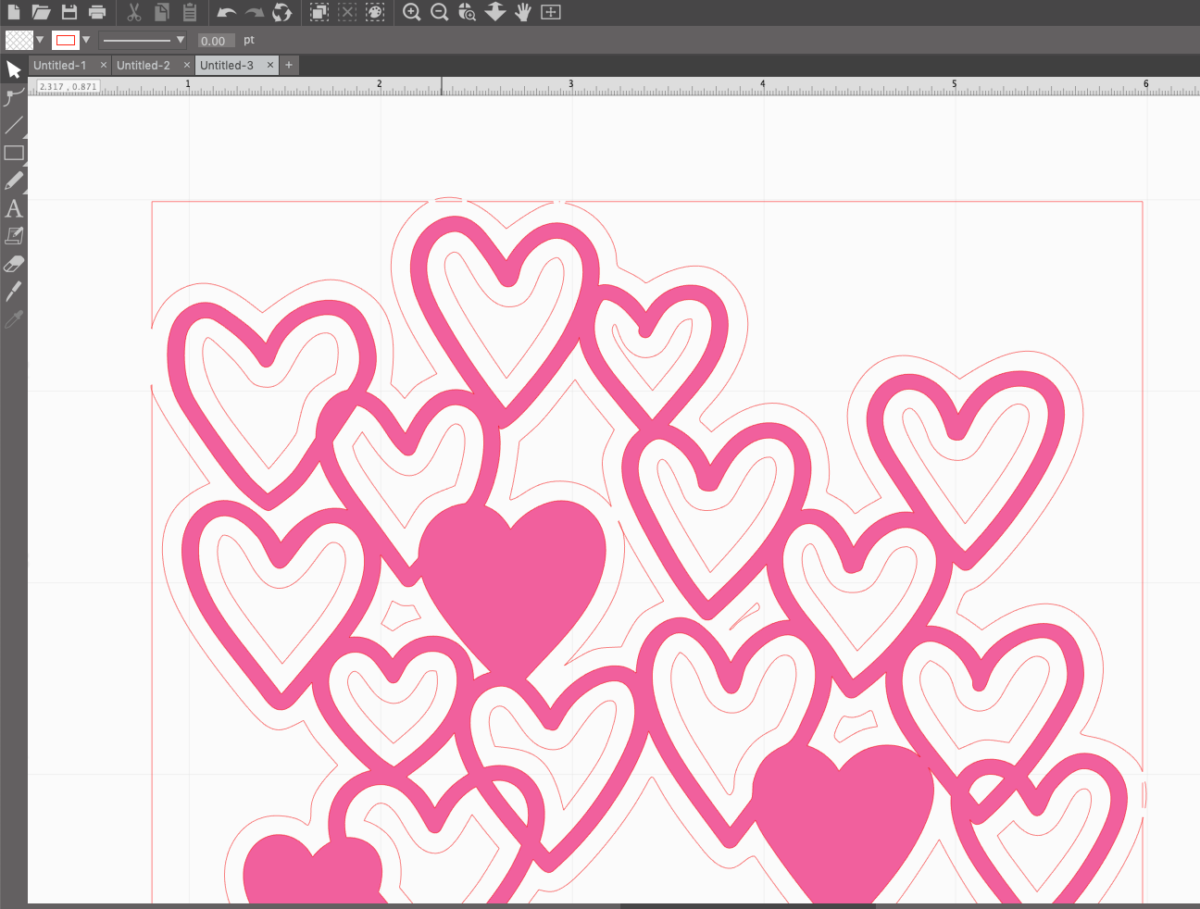
11. Continue around the design until the intersecting lines are all deleted and your design looks like this.
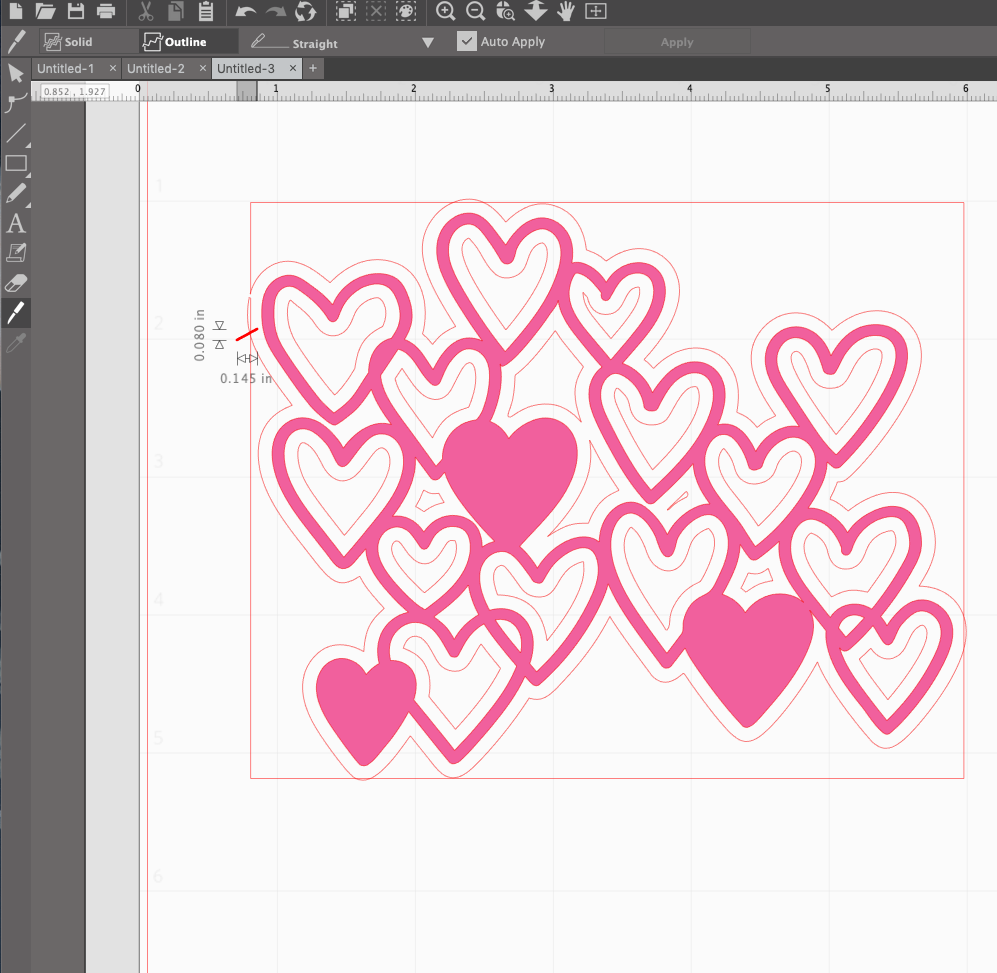
12. Select the original background design and remove it from the outline.
13. Select the entire outline and rectangle and right-click and choose Group from the drop-down menu.
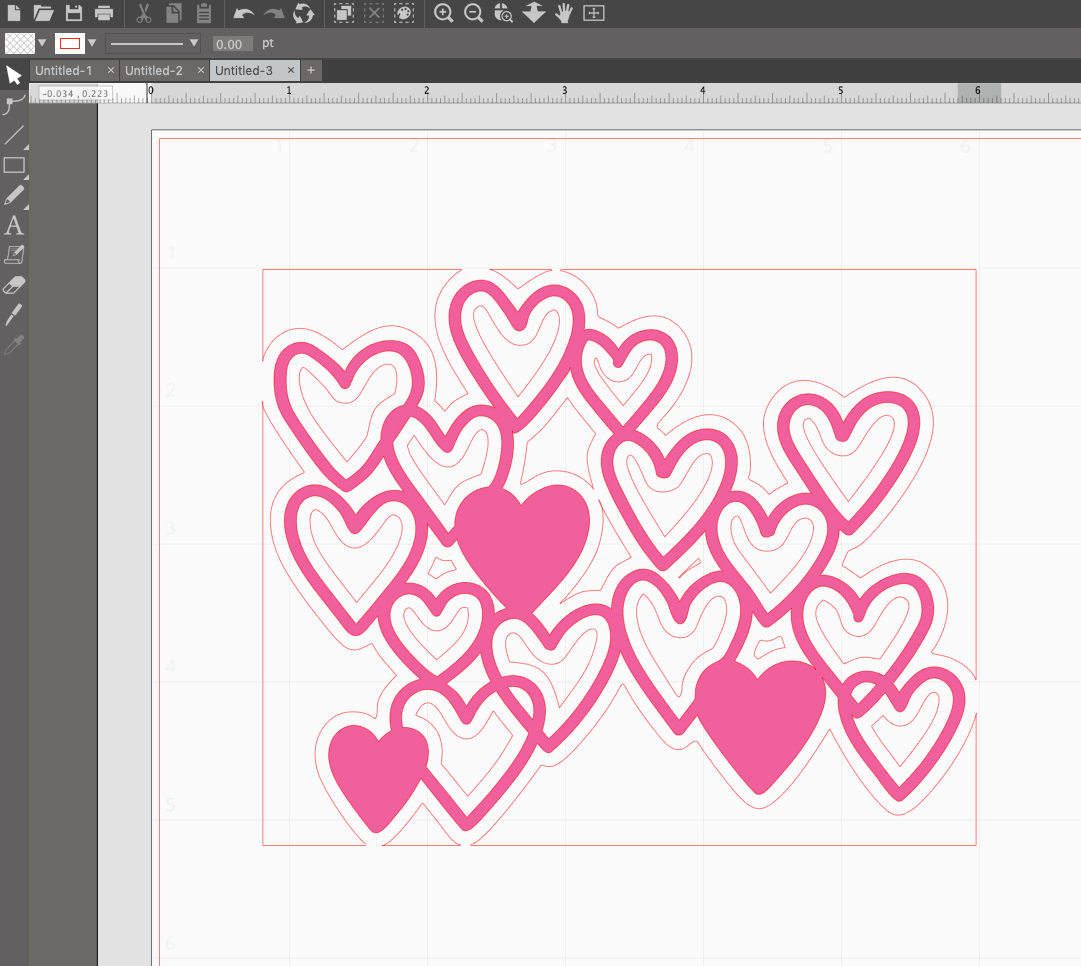
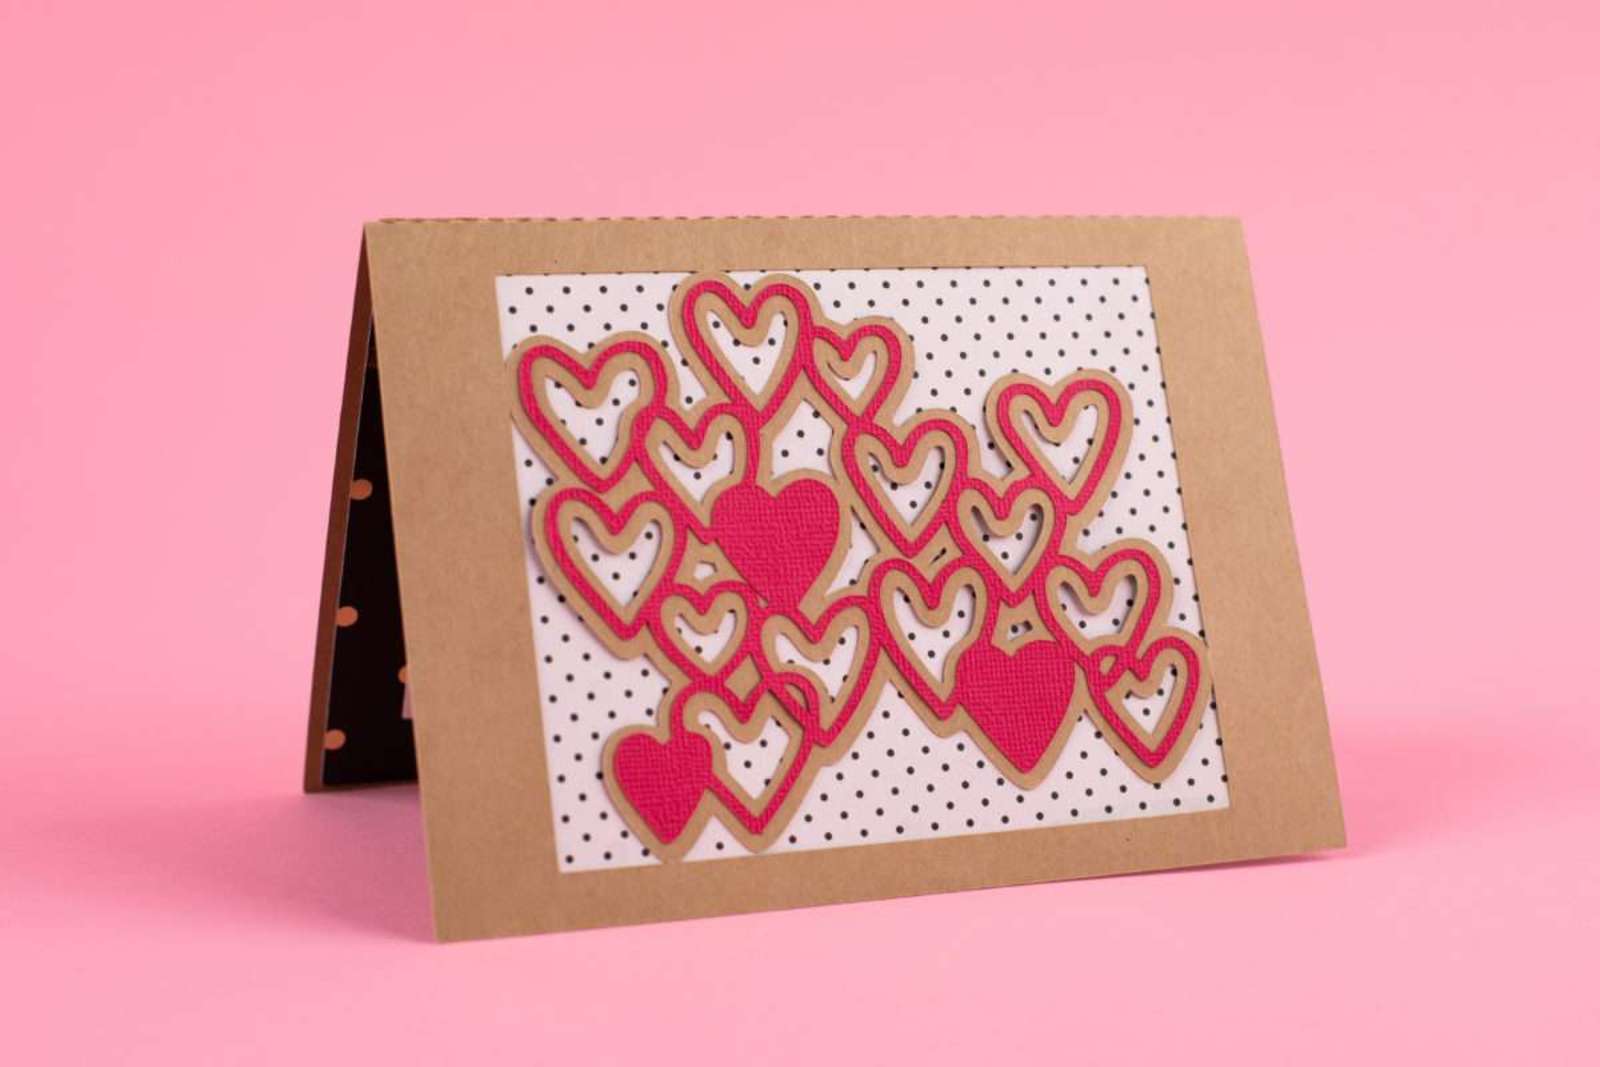
14. Bring your card back into the design space and center the heart outline in the bottom half of the card.
Step Two: Create the Card Liner
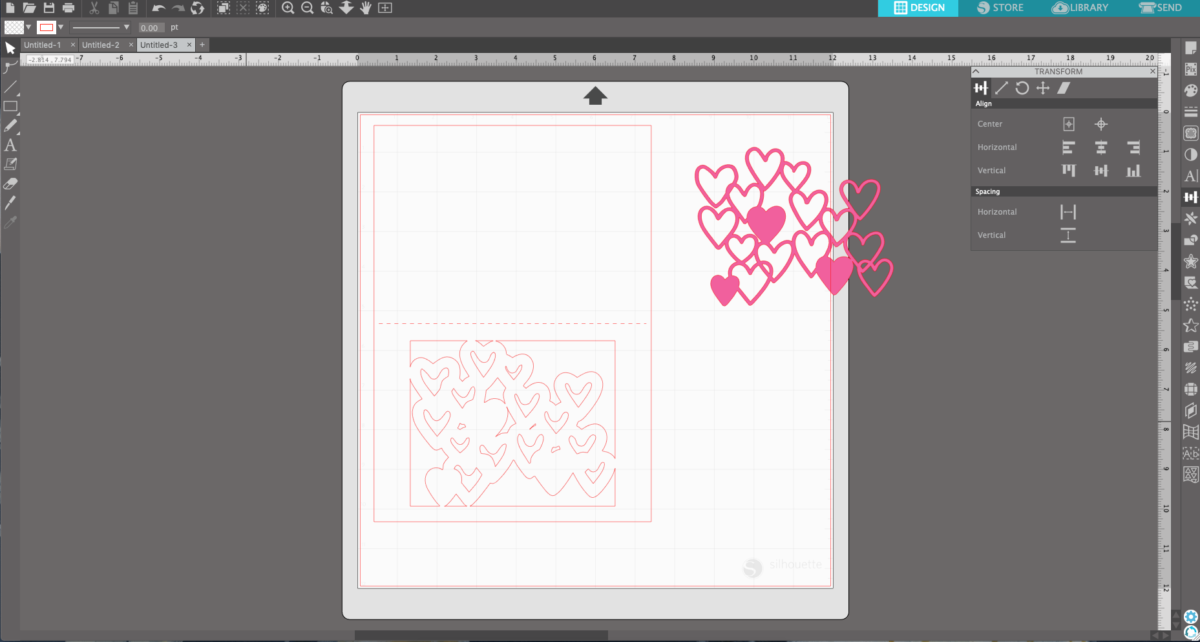
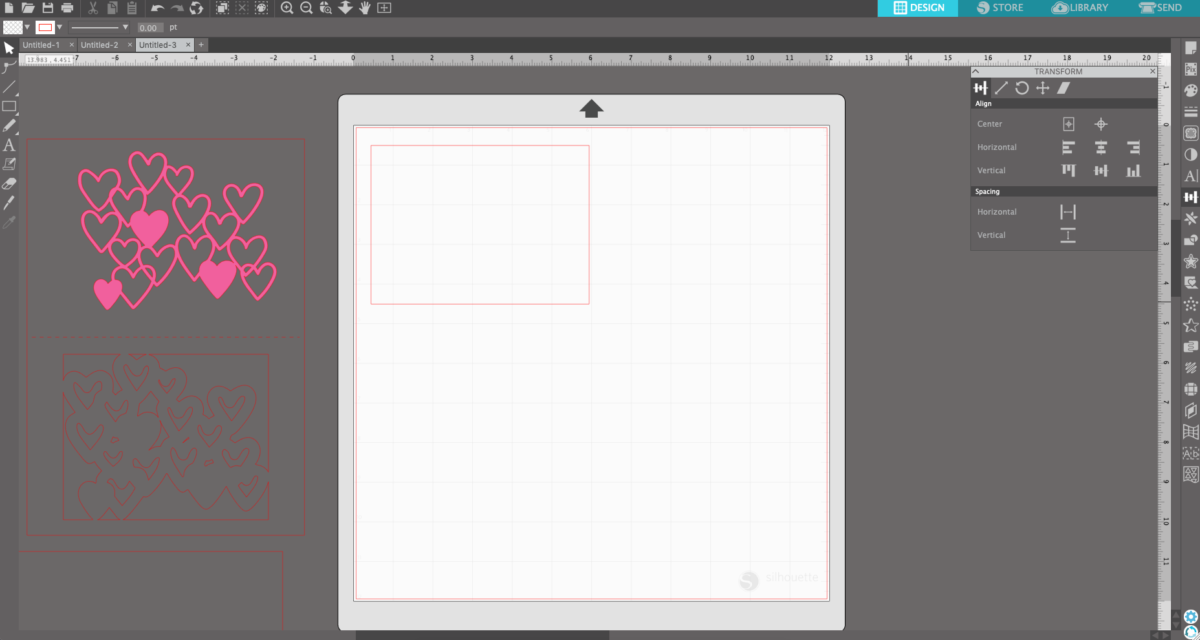
1. Remove all of these designs from your design window. We are going to repeat the first steps above to create the card liner.
2. Choose the Draw tool from the left-hand toolbar. Make sure your line style is set back to solid. Draw a rectangle that is 9.8 inches high by 6.75 inches wide. Then change your line style to dashed and draw a crease line in the middle of the liner, just like we did before. Select the rectangle and dashed line once they are centered and grouped.
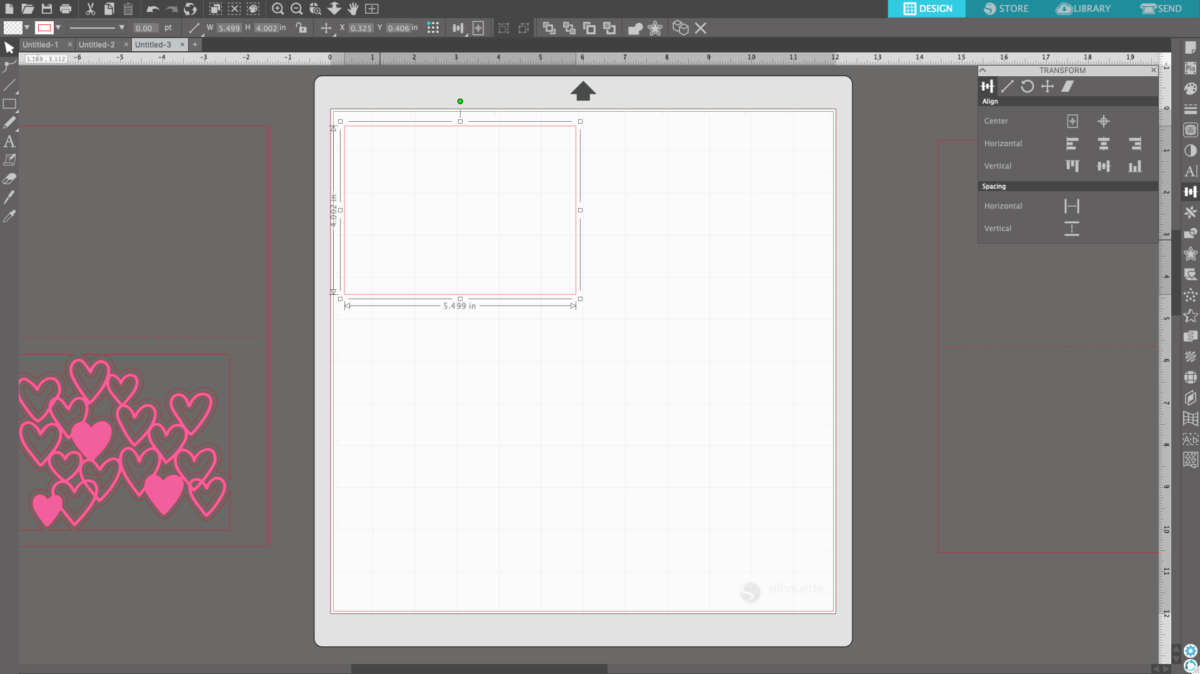
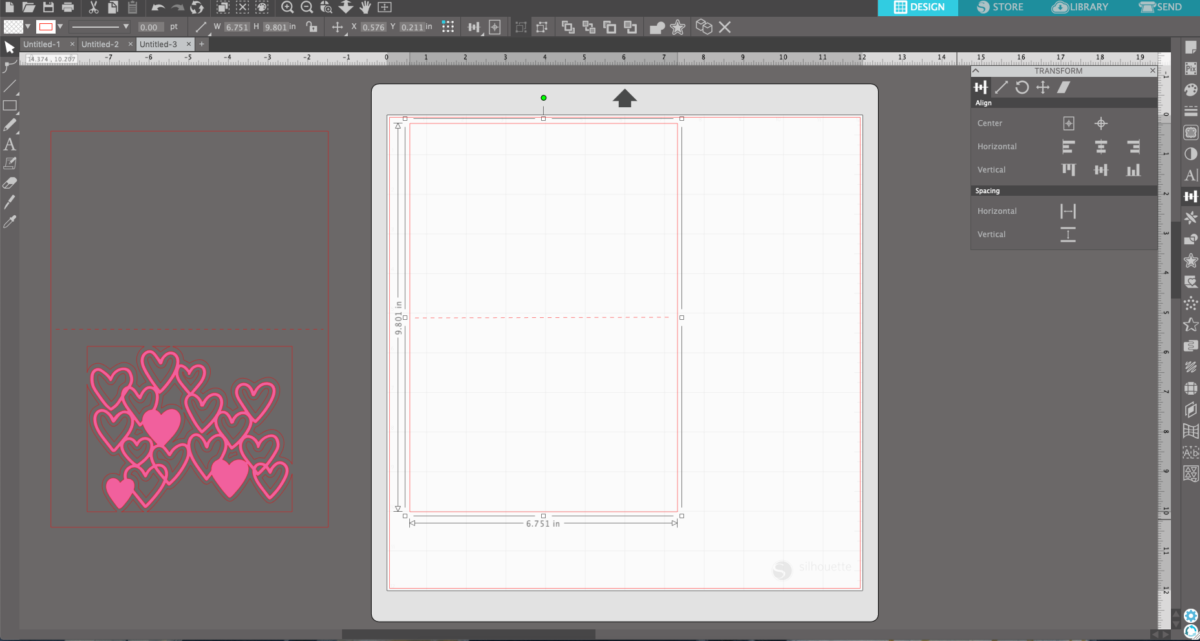
3. Remove the liner from the design space and draw one more rectangle. This will be the portion of the card you write your note on. Draw this rectangle 4 inches high by 5.5 inches wide.
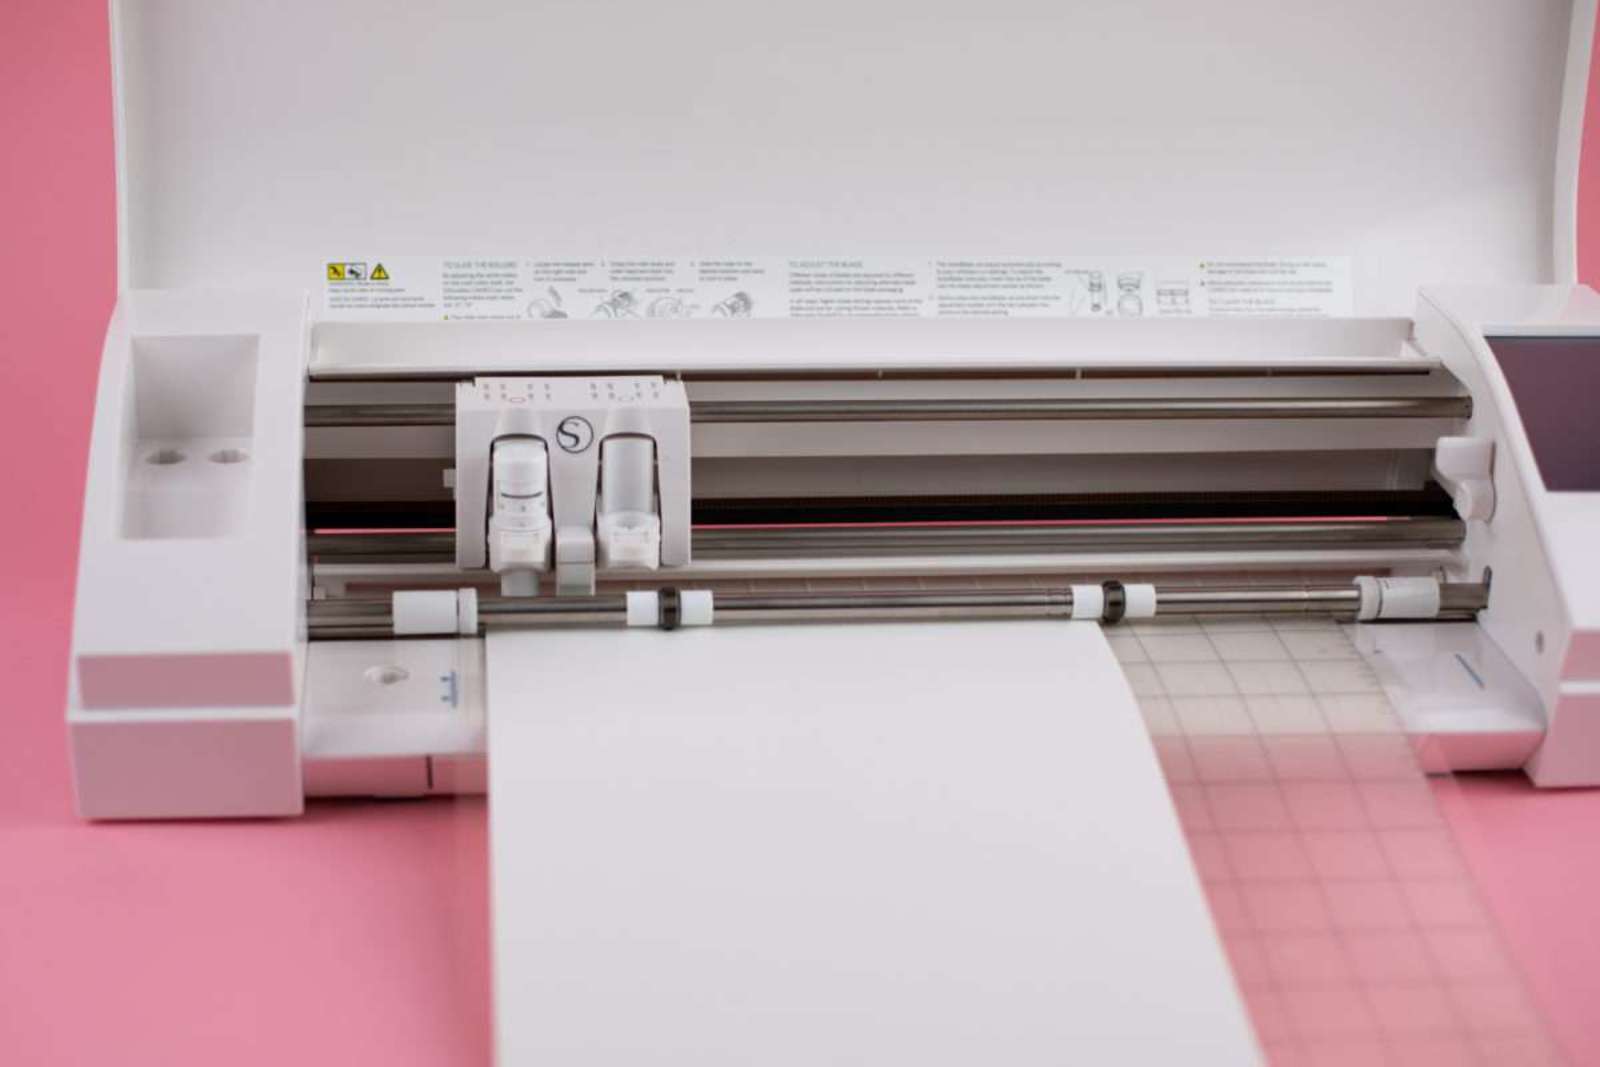
Step Three: Send to Your Silhouette
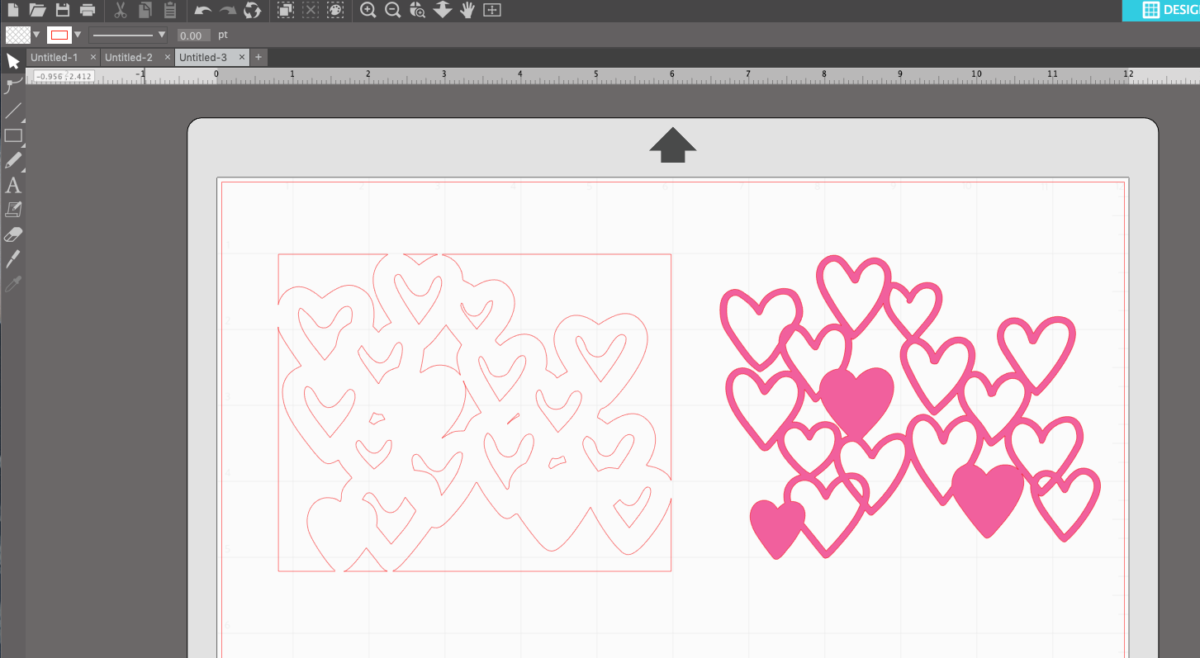
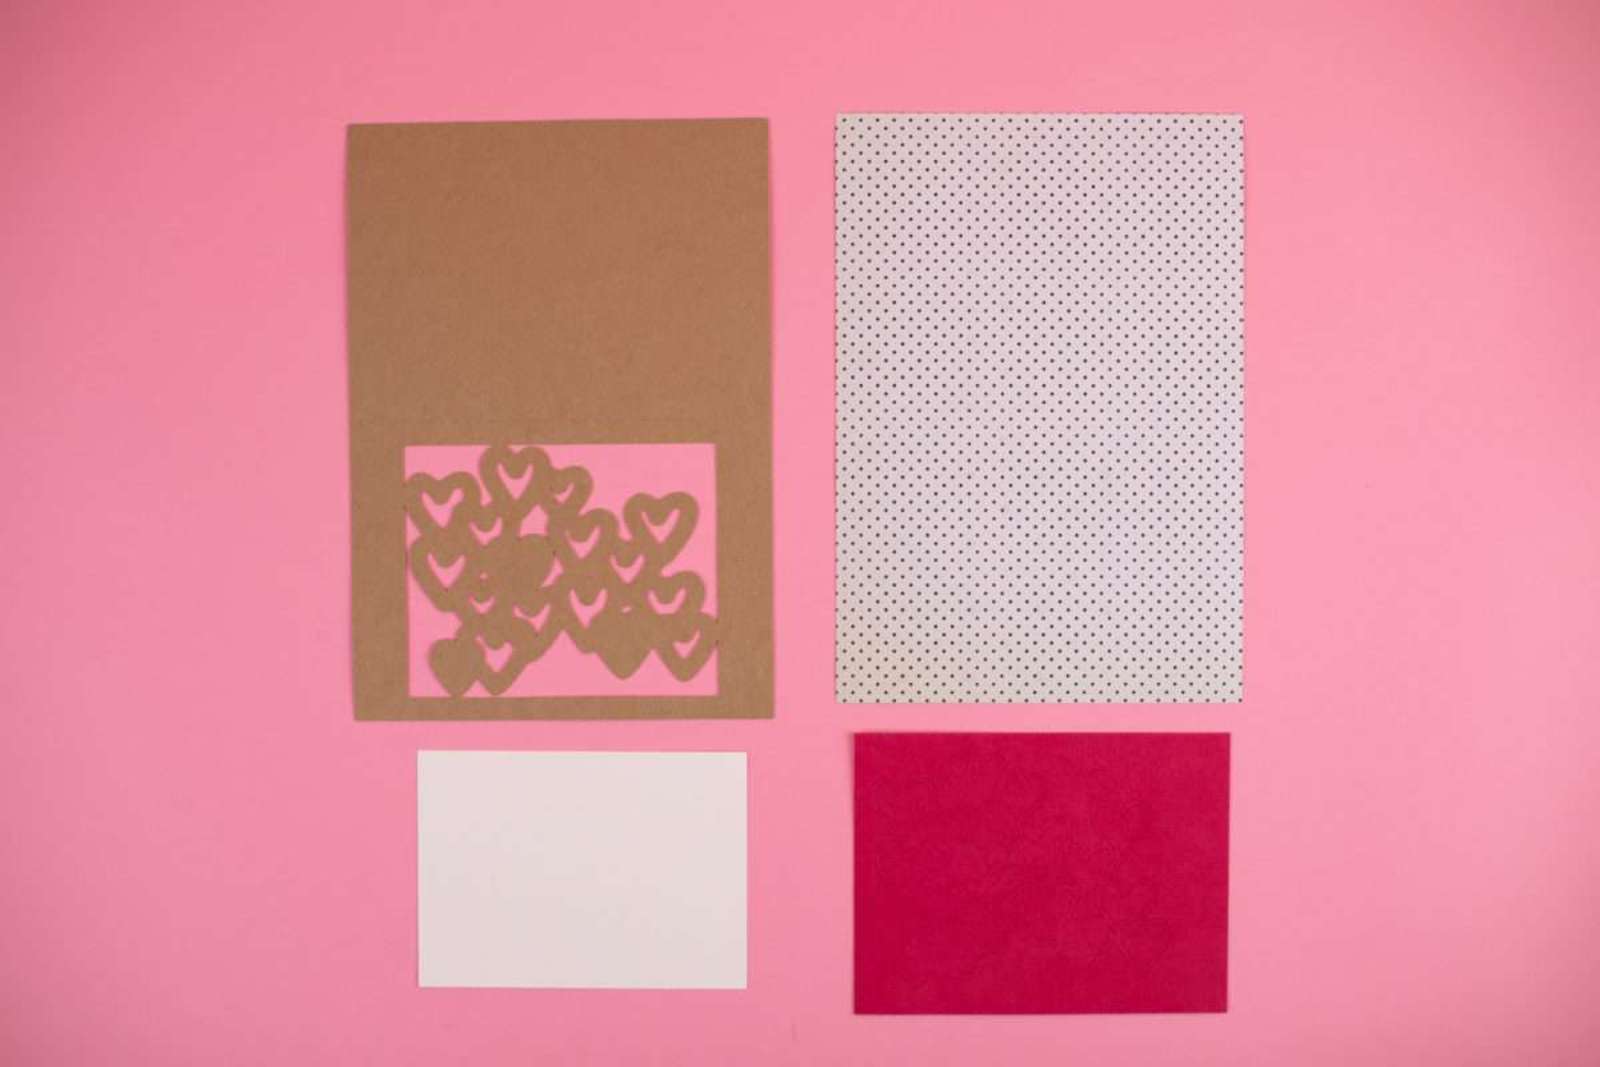
1. Now cut all the pieces according to material type. We cut our card out of brown cardstock using the “Cardstock, Textured – Heavy (80lb)” setting.
2. Cut the Heart Background design out of adhesive-backed cardstock using the corresponding cut settings.
3. Cut the liner out of polka-dot cardstock using the corresponding cut settings.

4. And finally cut the memo part from plain cream cardstock.
Step Four: Assemble the Card
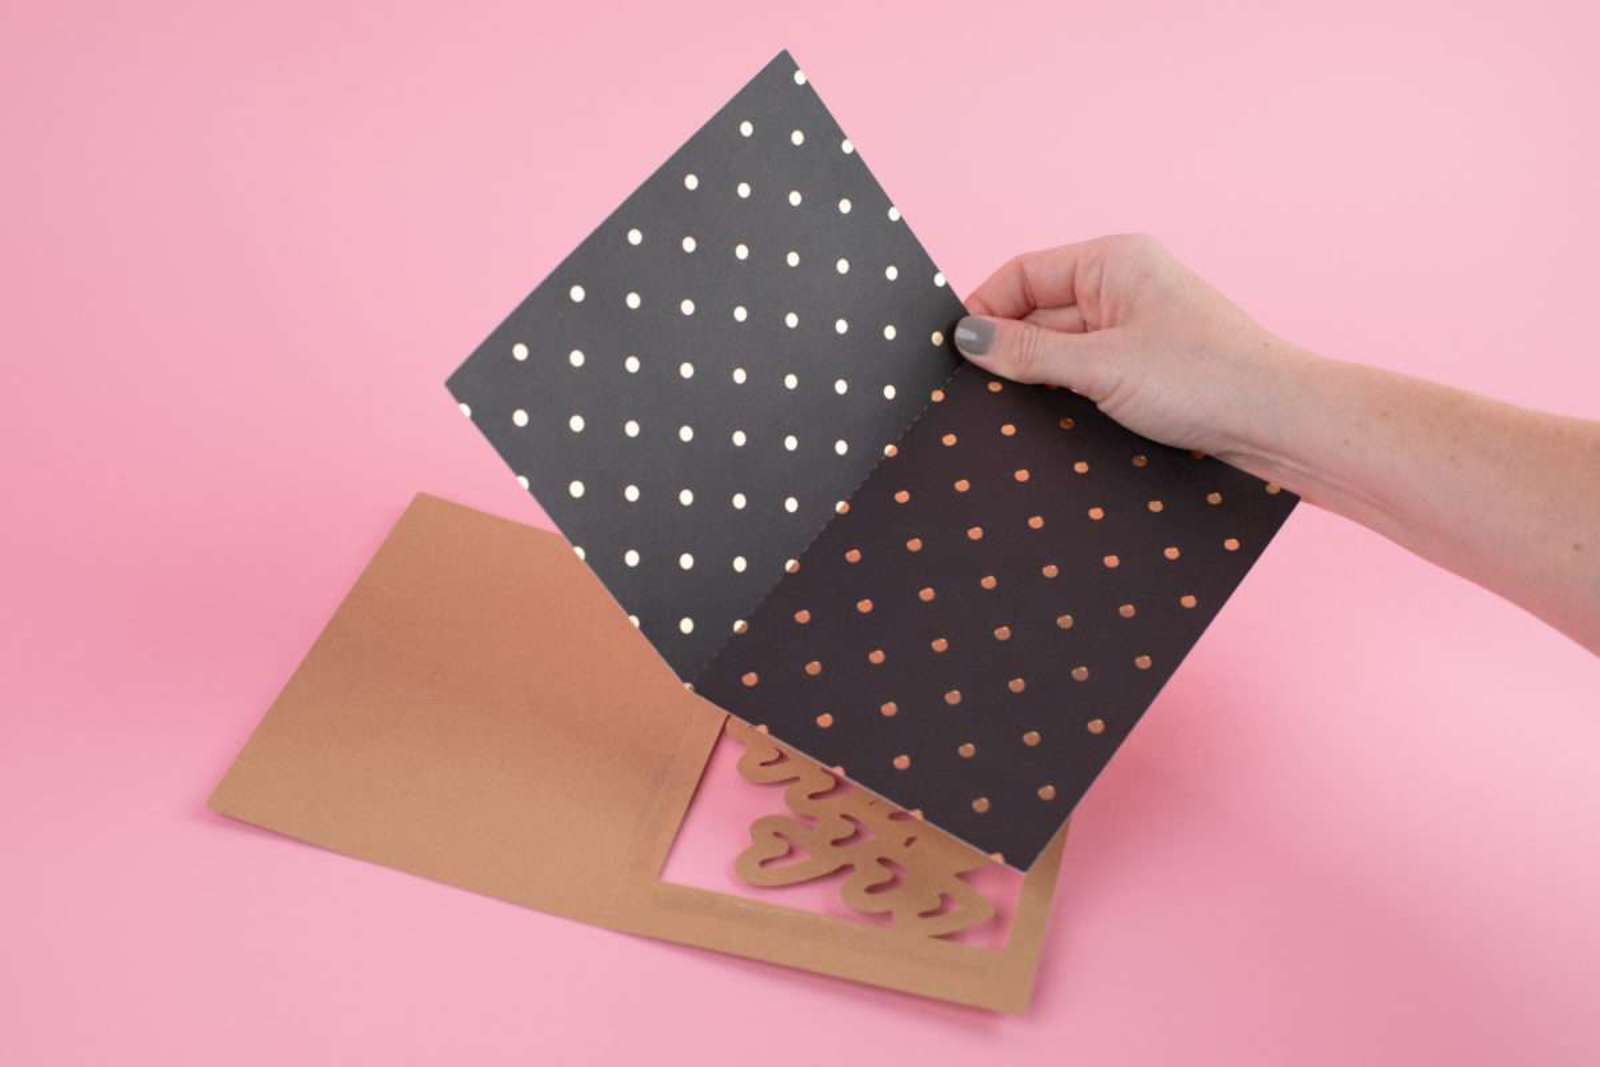
1. When all of your pieces are cut, fold the exterior and liner of the card on the middle crease lines.

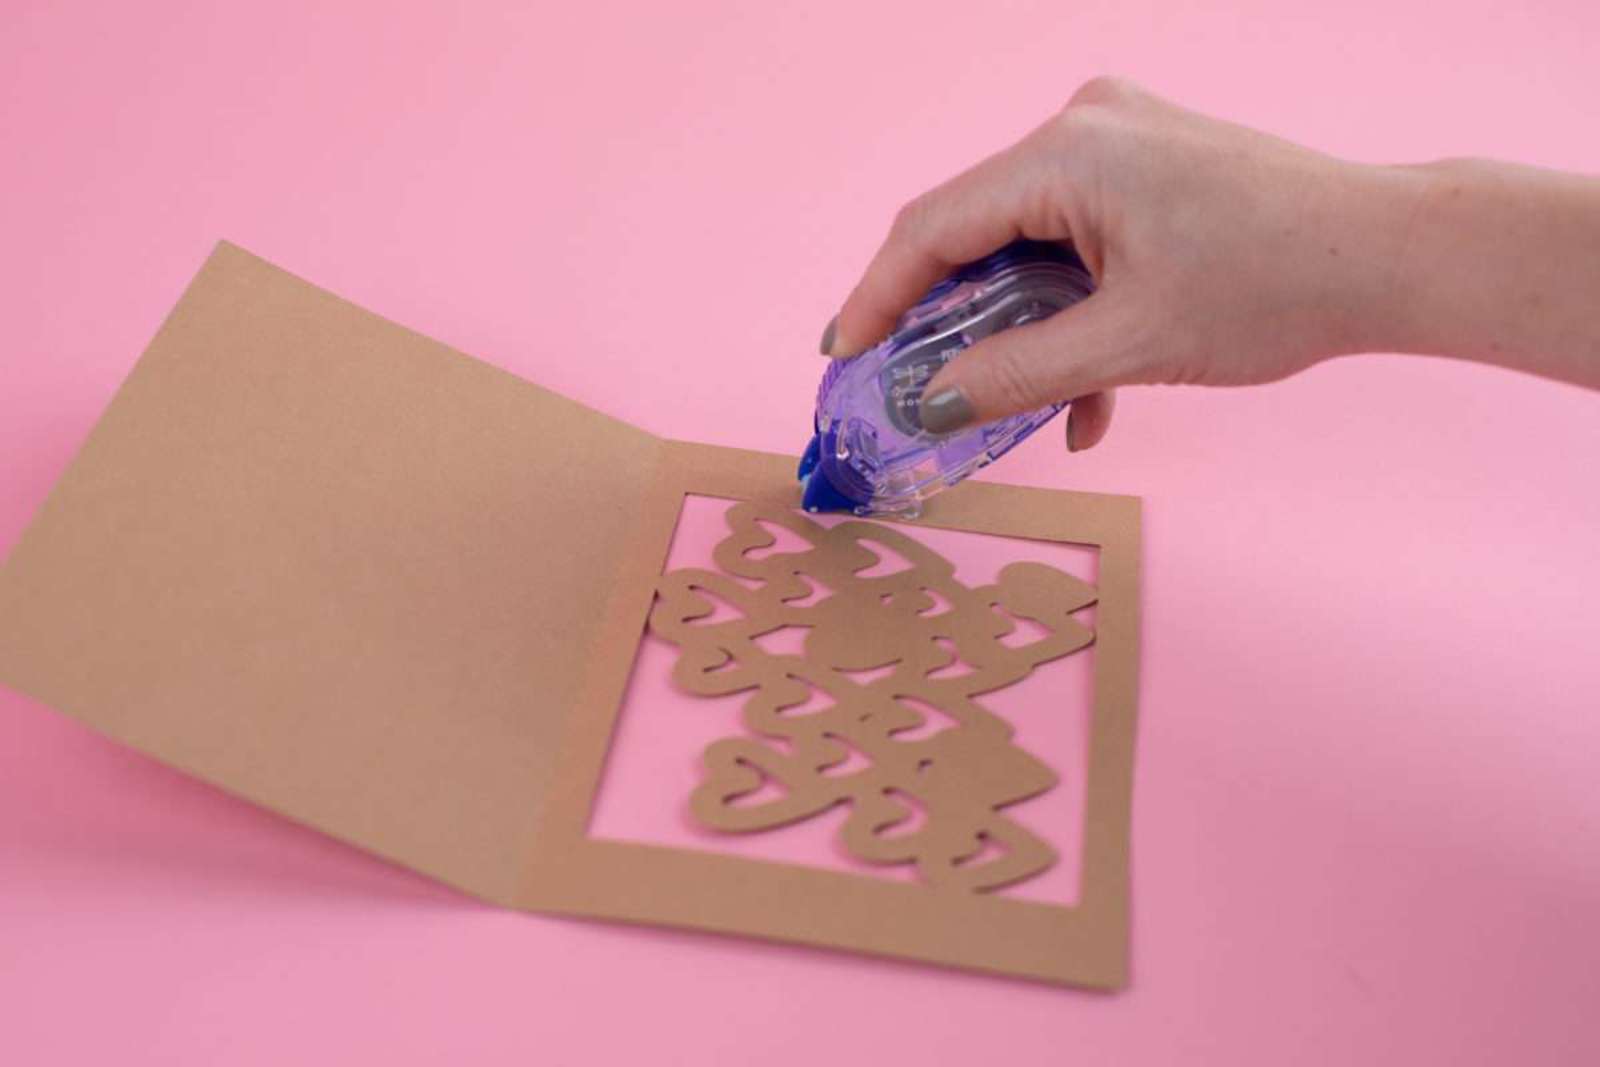
2. Then apply adhesive to the inside of the card and adhere the liner.
3. Take the memo section of the card. Apply adhesive to the back

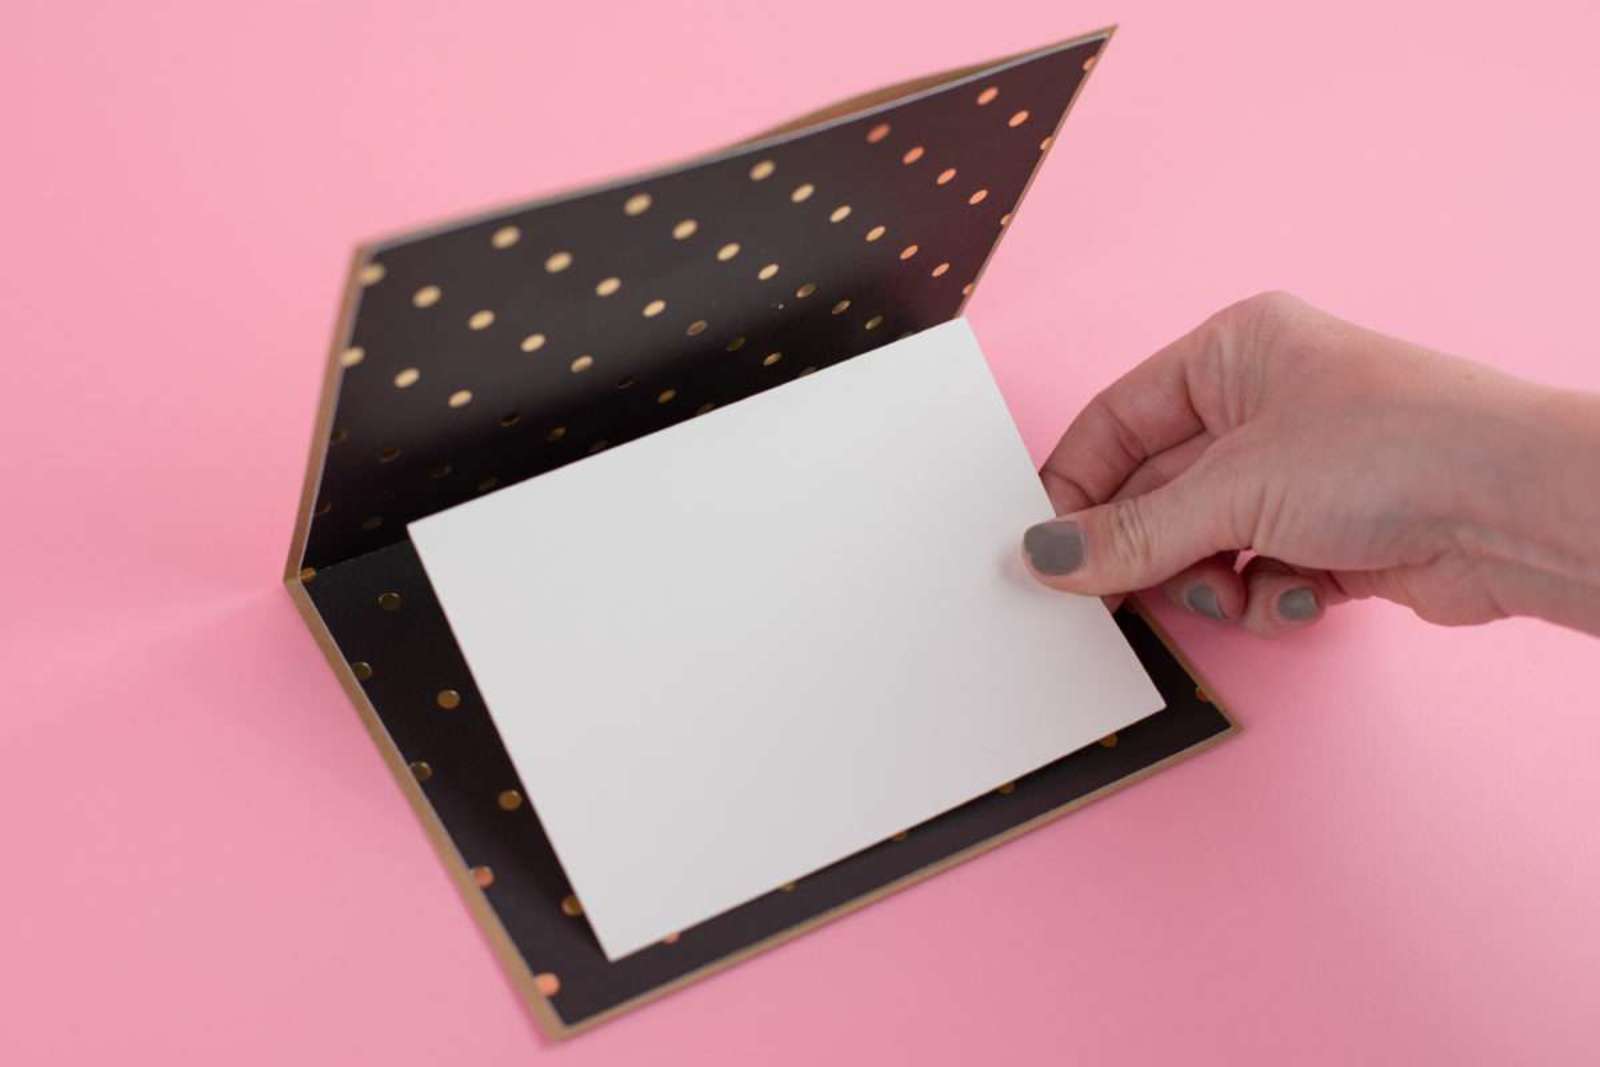
and place it on the bottom half of the interior of the card.

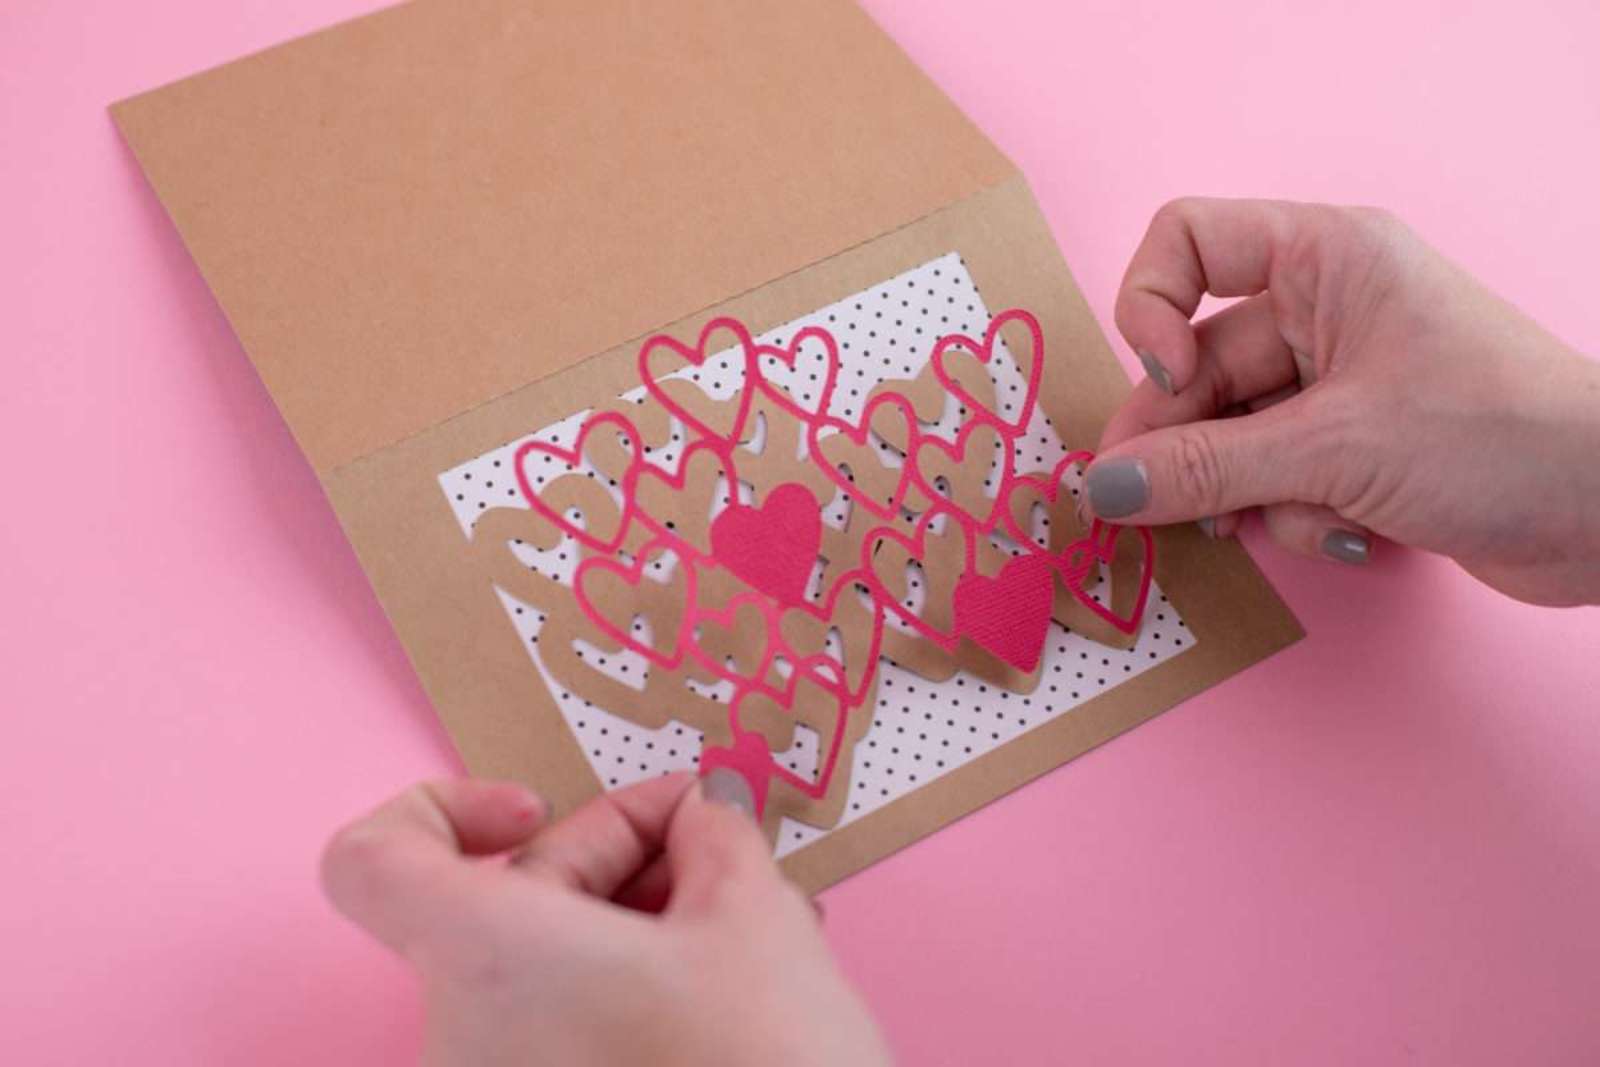
4. Weed the adhesive cardstock,

making sure to weed all of the interior details of the design.

5. Peel the cardstock from the adhesive backing, just like a sticker.

6. Place the adhesive-backed cardstock on the front of the card, centering it on the outlines of the hearts.
7. Press down firmly to ensure a good bond.
8. Now take out your pen and write a love note to the one you adore! These cards are so fun because not only can you make it all yourself, but you can also customize it simply by changing the color of paper or cardstock that you would like.