Two things you might have in common with me. One, I love where I live (I live in Eastern Washington). Two, I drink way too much soda (or is it pop? Soda-pop? Cola?). If these sound like you then high-five!
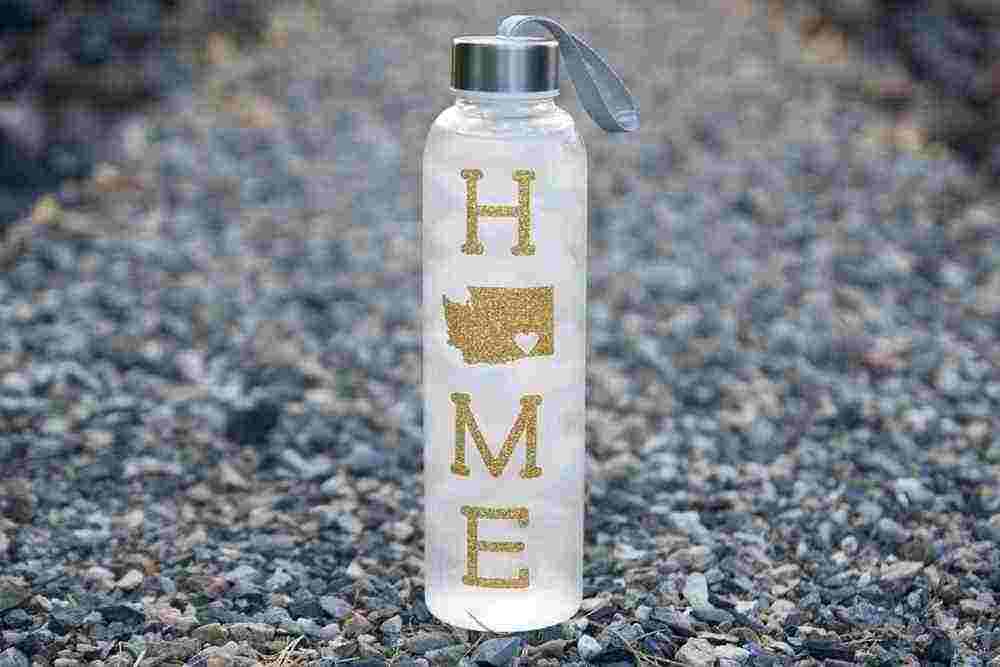
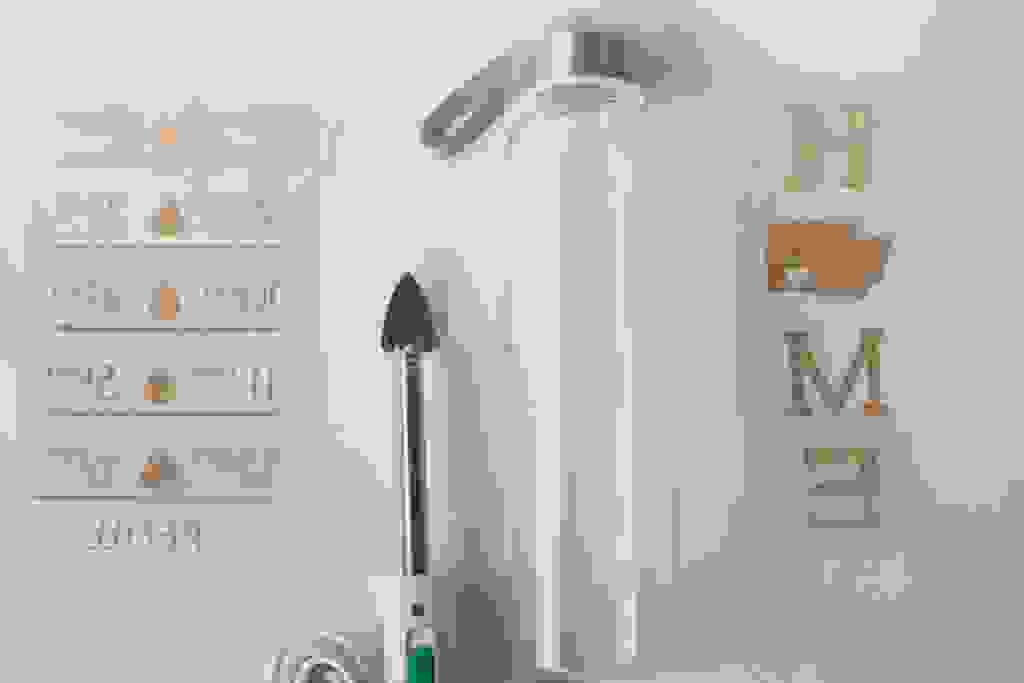
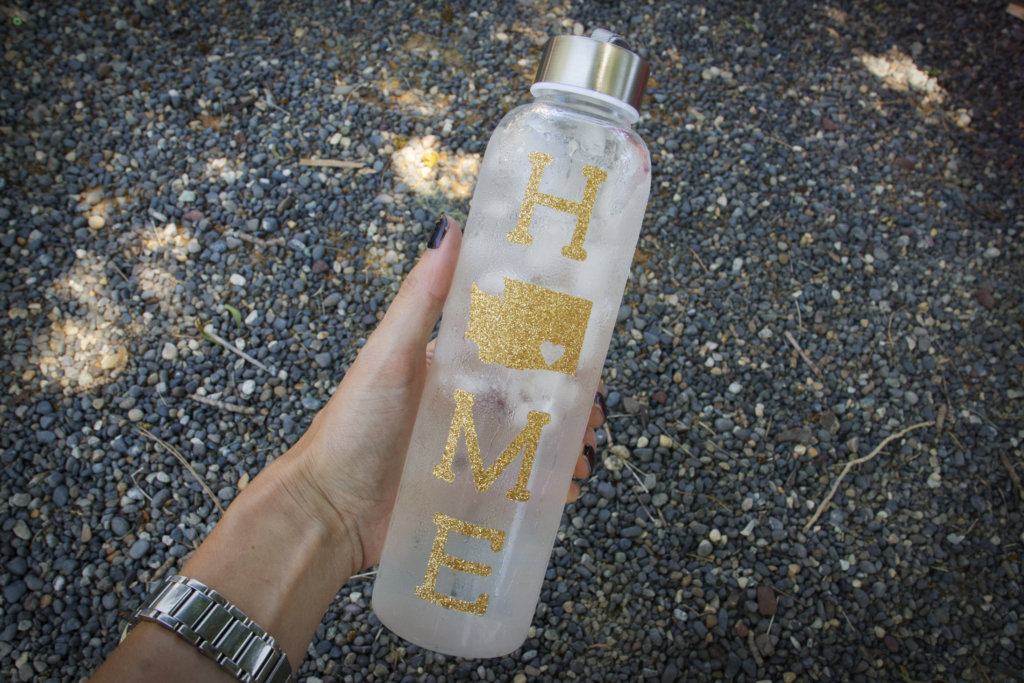
Being motivated to drink water is personally my biggest struggle, so I tried to infuse some motivation with a little bit of something I love. I love Washington so I wanted to incorporate that into my design. I thought that the cuter the water bottle the more I’d carry it around and want to show it off. As I was browsing the Silhouette Design Store and found the cutest and easiest water intake tracker design too. I pulled both designs together and added some glitter and I’ve never been more excited to guzzle some H2O in my life!
Supplies Needed:
- Silhouette CAMEO®
- Silhouette Glitter Heat Transfer (Gold)
- Glass Water Bottle
- Craft Iron
- Towel
- Design ID #90179
- Design ID #204190
Step One: Choose Your Designs
Choose your designs from the Silhouette Design Store.
The Silhouette Design Store has the perfect files for this project from designer Dresden Carrie. Type “State Love” into the Search box and it will pull up cut-files of each state with a heart cut out already on the inside.
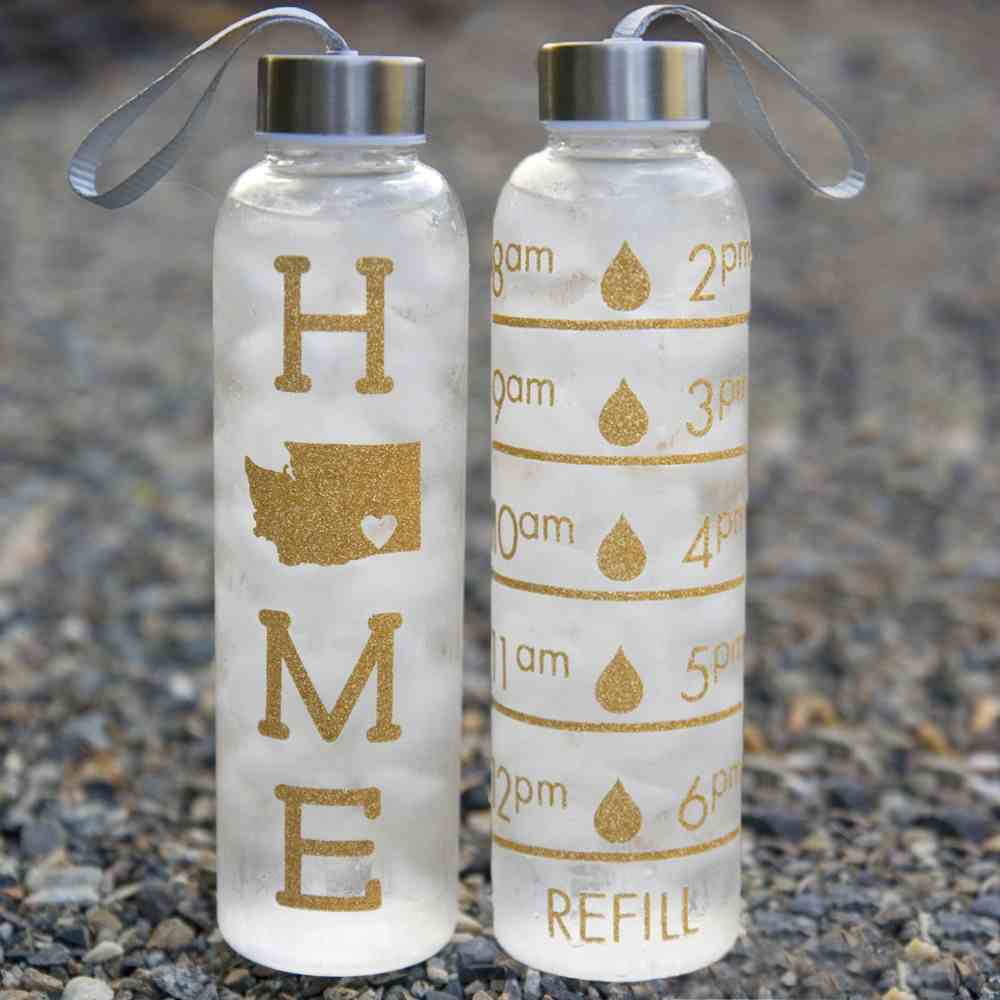
The second design you will need is a water intake tracker. The tracker helps you keep track of the amount of water you’ve consumed that day and encourages you to drink more (always a good idea). The Silhouette Design Store has six-tracker decals to choose from. Awesome!
![]()
Step Two: Design Your State Logo
1. Measure the height of the straight sides your bottle (mine was 7 in.).
2. Resize your tracker to match your bottle height (mine was 7 in.).
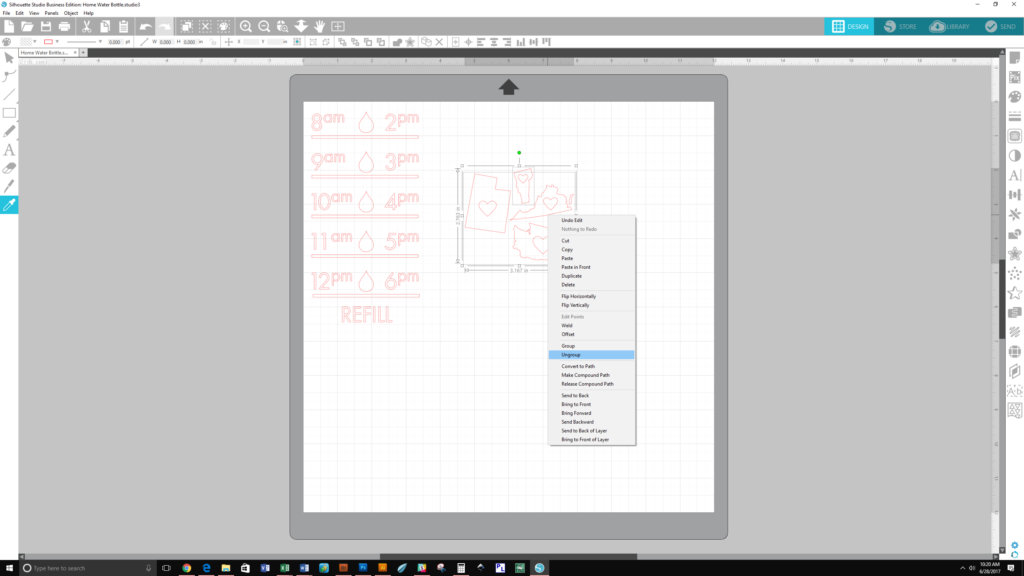
3. Select your group of States. Right click and select ungroup. Delete the states you are not going to use.
4. Rotate your state in whatever way you want it to appear. (I wanted mine straight across like you would find on a map, but go ahead and get artsy and position it at an angle if you fancy that, instead).
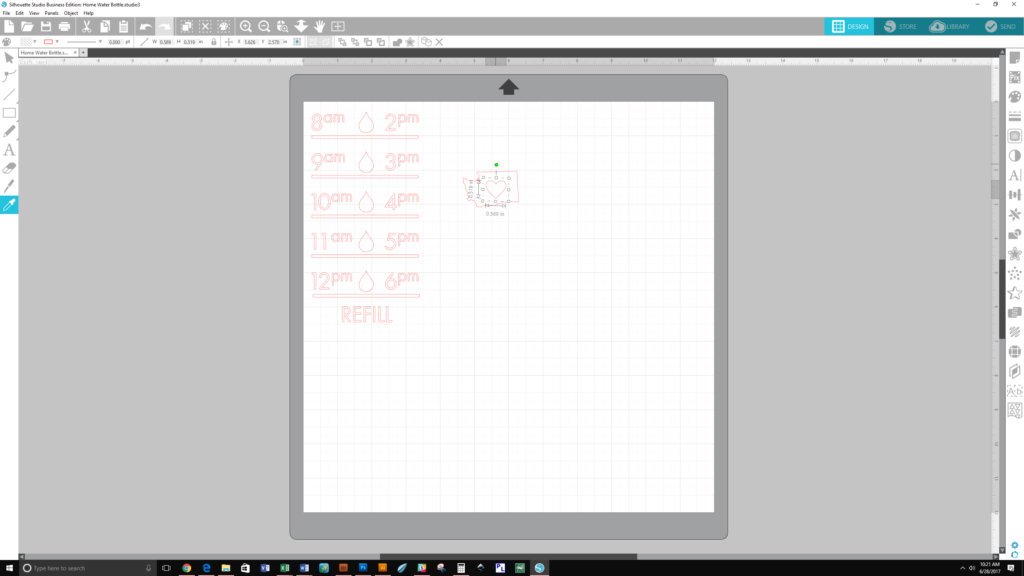
5. Select your state, again. Right click and select ungroup. Select the heart and position it where your hometown is. If you want you can resize and rotate it by clicking and using the handles. Then select the state and heart and group them again.
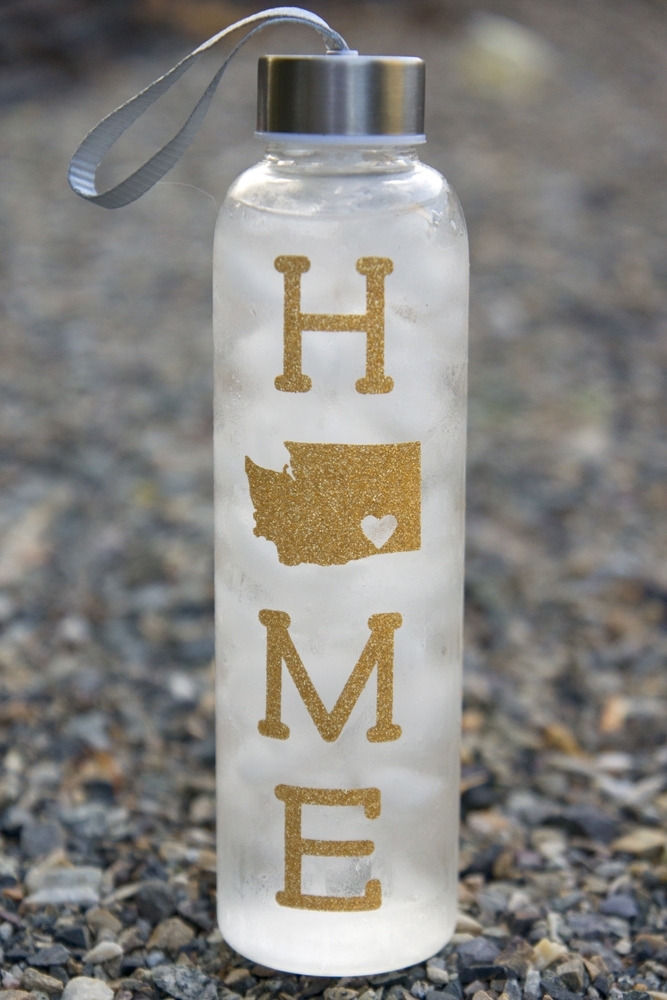
Step Three: Design Your Home Logo
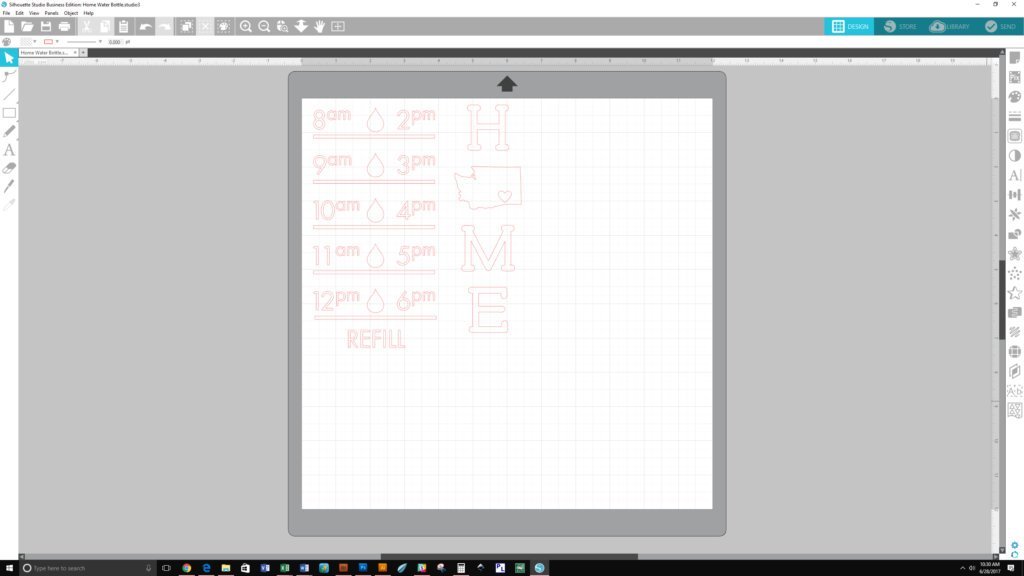
1. Type out H *space* ME. The *space* is where your state will go (To get your H *space* ME in a horizontal line just hit the “enter” button after each letter).

2. Take a second to browse your fonts until you find one in a style you like (I used PN Cliffhanger Bold).
3. Resize your H *space* ME to match the size of your tracker (mine measures 6.6 in.).
4. Place your State into the *space*, and size it until you like the way it looks.
5. Drag and select all (the H *space* ME and your state), open the Transform panel, and center horizontally.
Step Four: Cut the Heat Transfer Vinyl
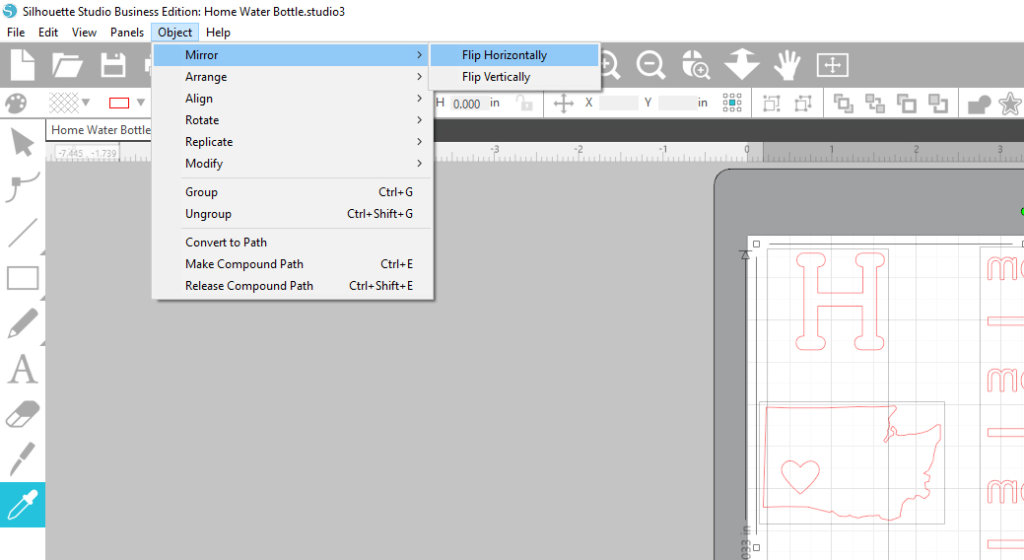
1. VERY IMPORTANT– Mirror your design before you cut it.
- Drag and select all of your design
- Go to your top toolbar and click Object
- Hover over Mirror
- Select Flip Horizontally
2. Choose your favorite HTV and load it into your Silhouette CAMEO (or CURIO) using the “Load Media” option on your machine.
Tip: Load your HTV shiny side down.
3. Open the Send panel and select your type of Heat Transfer and adjust your blade settings accordingly (I used Heat Transfer, Glitter).
4. Hit Send to Silhouette.
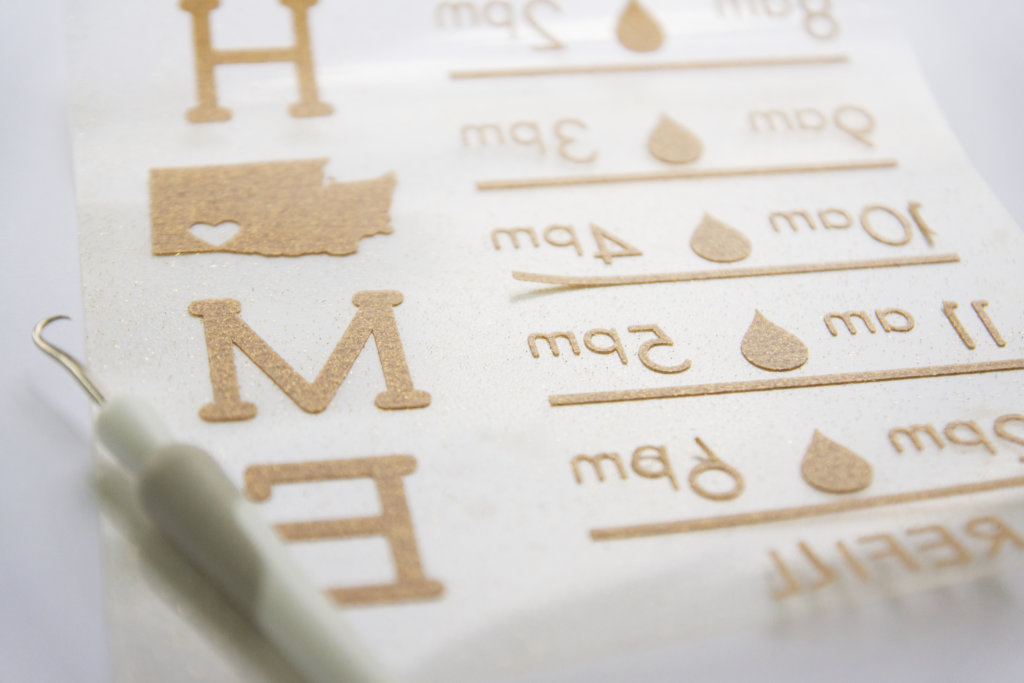
5. Unload and weed your Heat Transfer (remove all the vinyl that is not part of the design).
I choose to cut the front (HOME) and back (water tracker) of my design apart with scissors to make application easier. The beauty of HTV is that the Transfer Tape is already adhered to hold your design in place.
Step Five: Adhere Your Heat Transfer
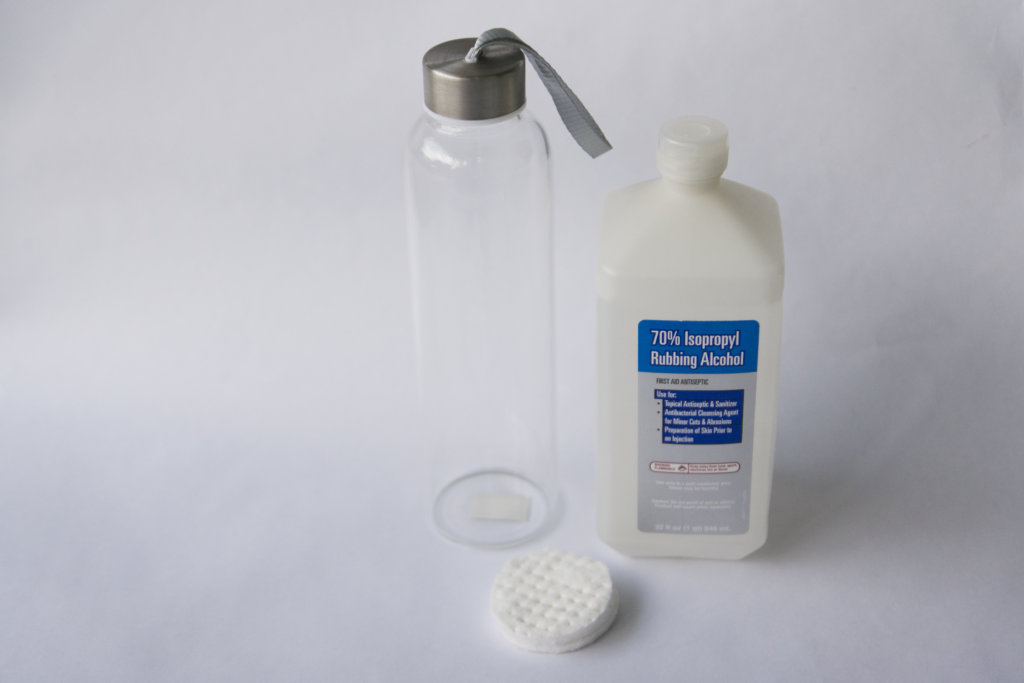
1. Before application, thoroughly clean your bottle. First, wash it with good old soap and water. Secondly, wipe it down with Rubbing Alcohol.

2. Plug in your iron. Set it to the Cotton setting (Or, if you are like me and have a handy craft iron set it to “High”).
3. Position your design onto your bottle (After weeding the HTV is slightly sticky, this is great to help keep your design in place while ironing).
Tip: To keep the HTV plastic from melting to your iron use a thin piece of fabric as a barrier. Also, make sure you have turned off your steam setting.
4. Using even pressure and constant movement, iron on your HTV (The Transfer Tape should lift freely from the HTV if it has adhered to the bottle).
Tip: Since glass is such a great conductor of heat, be sure to have a towel or two close at hand in case the bottle gets too hot to handle.
5. Allow to the waterbottle to cool.
6. Drink in your success!

Are you motivated to drink more water with me?
StacyG
August 21, 2017
I am relatively new to working with vinyl. I am curious as to why you chose HTV instead of adhesive vinyl like 651 in this application? How do you determine which one you’ll use? Thanks
Kelly Wayment
August 24, 2017
Stacy, you could absolutely use 651 or glossy permanent vinyl for this application. Because Shalee used a glass water bottle that won’t melt with heat, she had the option to use heat transfer material, as well. When that’s the case, you can choose your favorite color of adhesive vinyl OR heat transfer. Good question!
janet
August 21, 2017
Wow, excellent idea and tutorial 🙂 Thank you!!
Penny
August 29, 2017
Where did you purchase the bottles?
Shalee Sykes
September 6, 2017
I purchased the Bottle at my local TJMaxx. They had a few glass ones, I just looked for one with the least amount of decals already on it. I though that you could even use a mason jar if you can find a smooth one! Any glass bottle will work.