
How Can I Print My Design instead Of Cutting?
In Silhouette Studio®, text’s default setting is cut. However, some projects require text to be printed instead.
When using text and cut files, while there appears to be an object on screen to print, there is actually no print information present in the file. Silhouette Studio® does not print outlines or cut images unless the lines are specifically enabled to print.
Silhouette Studio® will only print the following:
- Imported images that are intended for printing
- Cut line images that are filled with a color fill or pattern fill
- Cut lines that have had the line style enabled to print the actual line
Text can be set to print or cut if desired.
In order to print text created from the text feature complete the following:
- Create your text using the text feature in the Silhouette Studio®.
- Select the created text, go to the Fill Color (or other Fill Type feature) and select the color or fill type you would like to use.
- If you wish to additionally suppress the cut lines so that the text is only being printed and not cut out as well, proceed with the following steps:
Print Text Without Cut Lines
- Go to the Cut Settings ()
- With the text selected, click on the “No Cut” option. This will make it so that the text is ignored during the cutting process.
Creating Printable Fall Art With Print Feature
1. Start with a clean slate
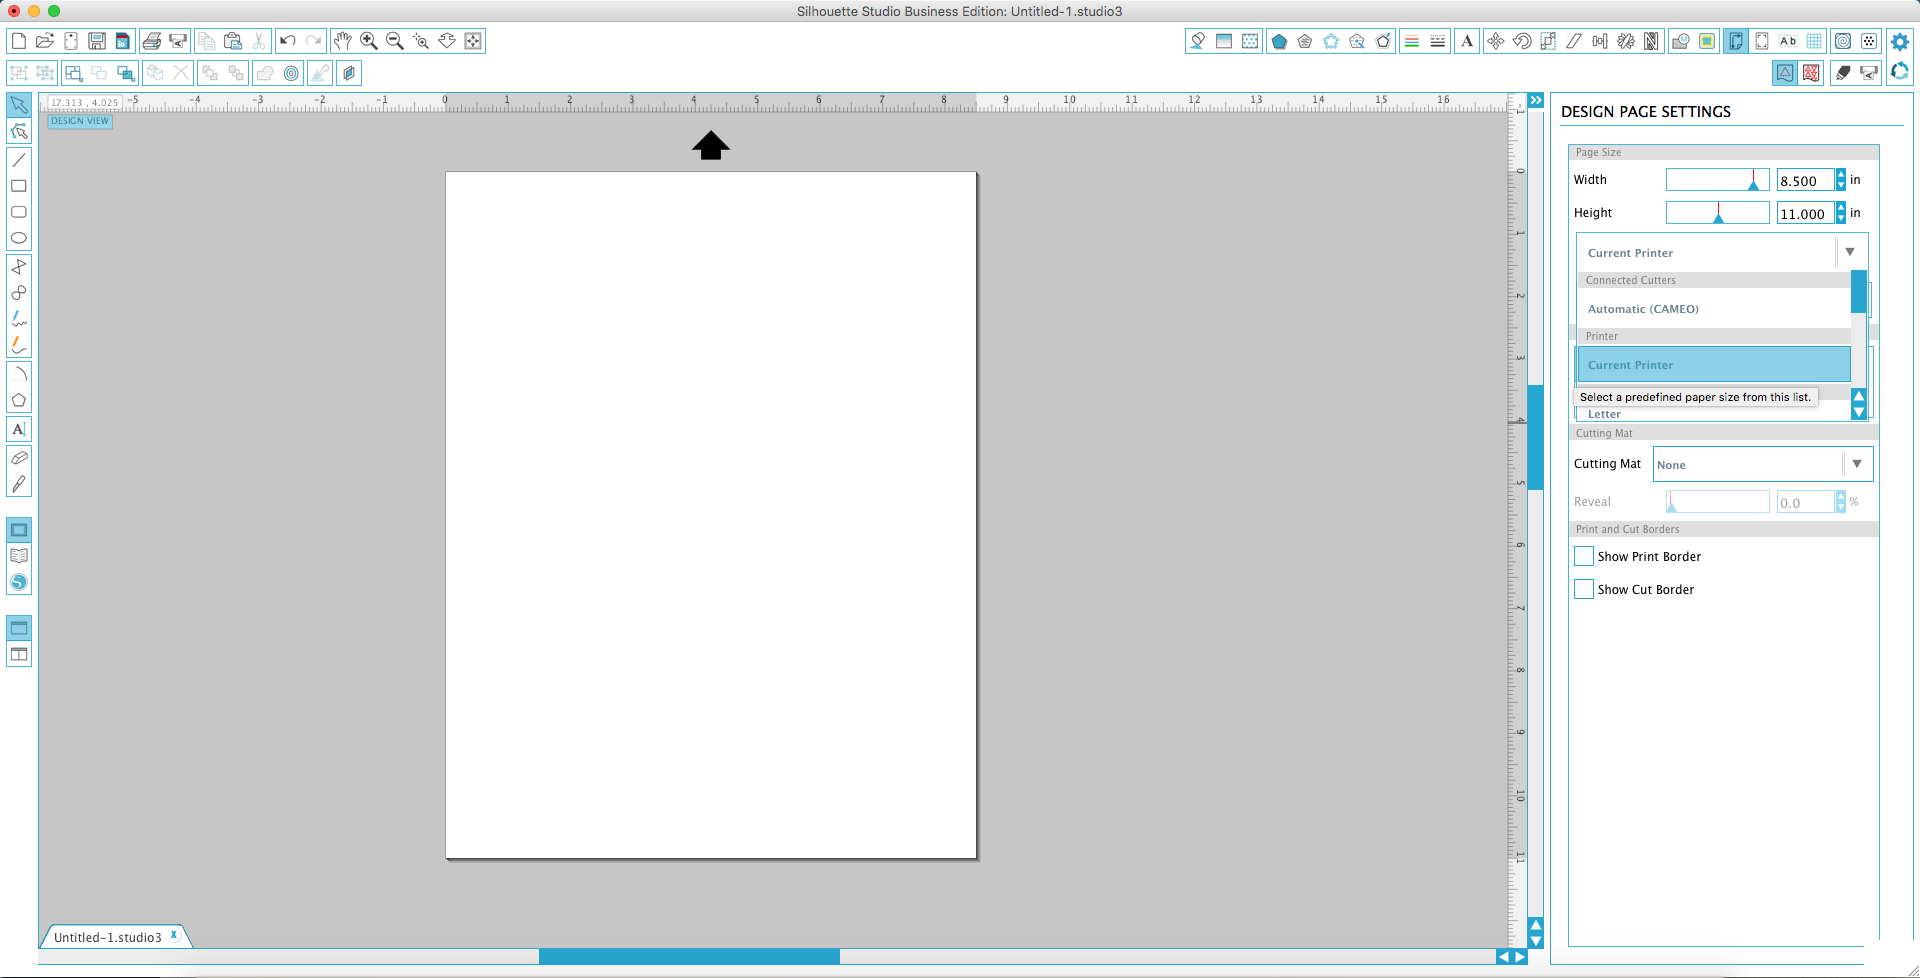
Open the Design Page Settings window.
Select “Current Printer” so that your page matches the current printer paper size.
2. Select your design
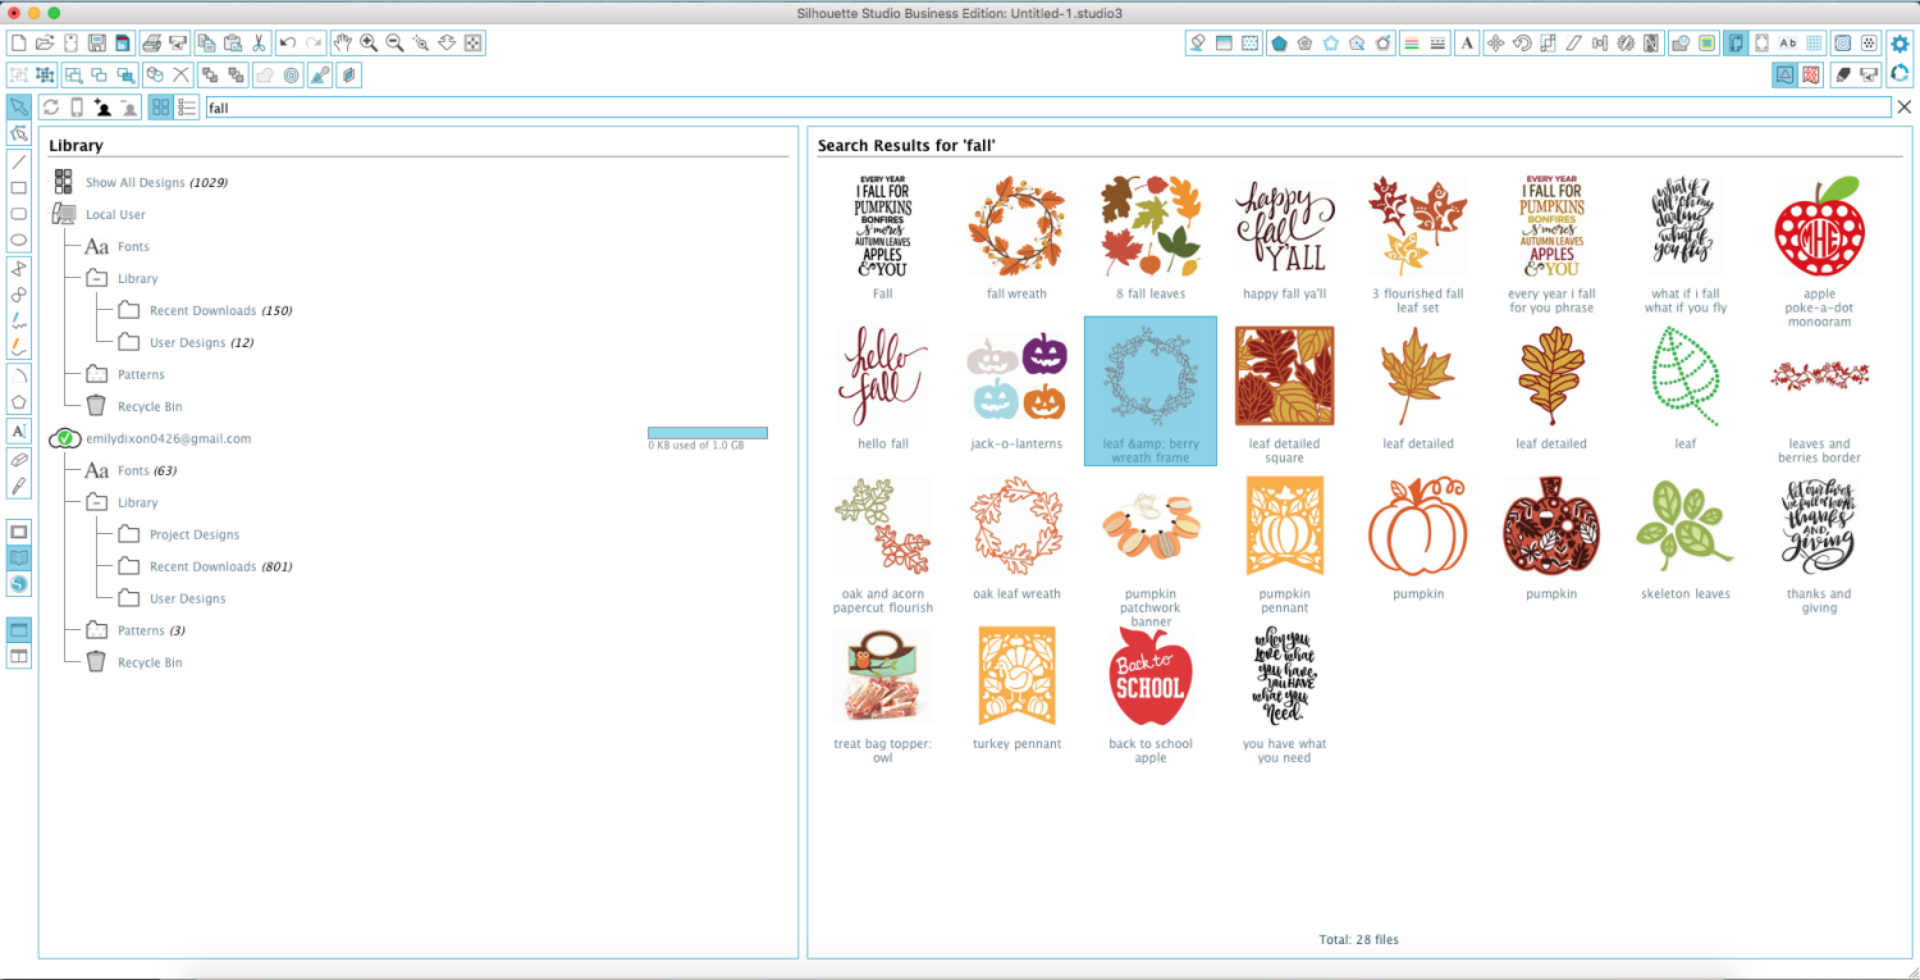
I chose to use Design ID #69822, Leaf & Berry Wreath Frame by Sarah Ehlinger.
3. Create text
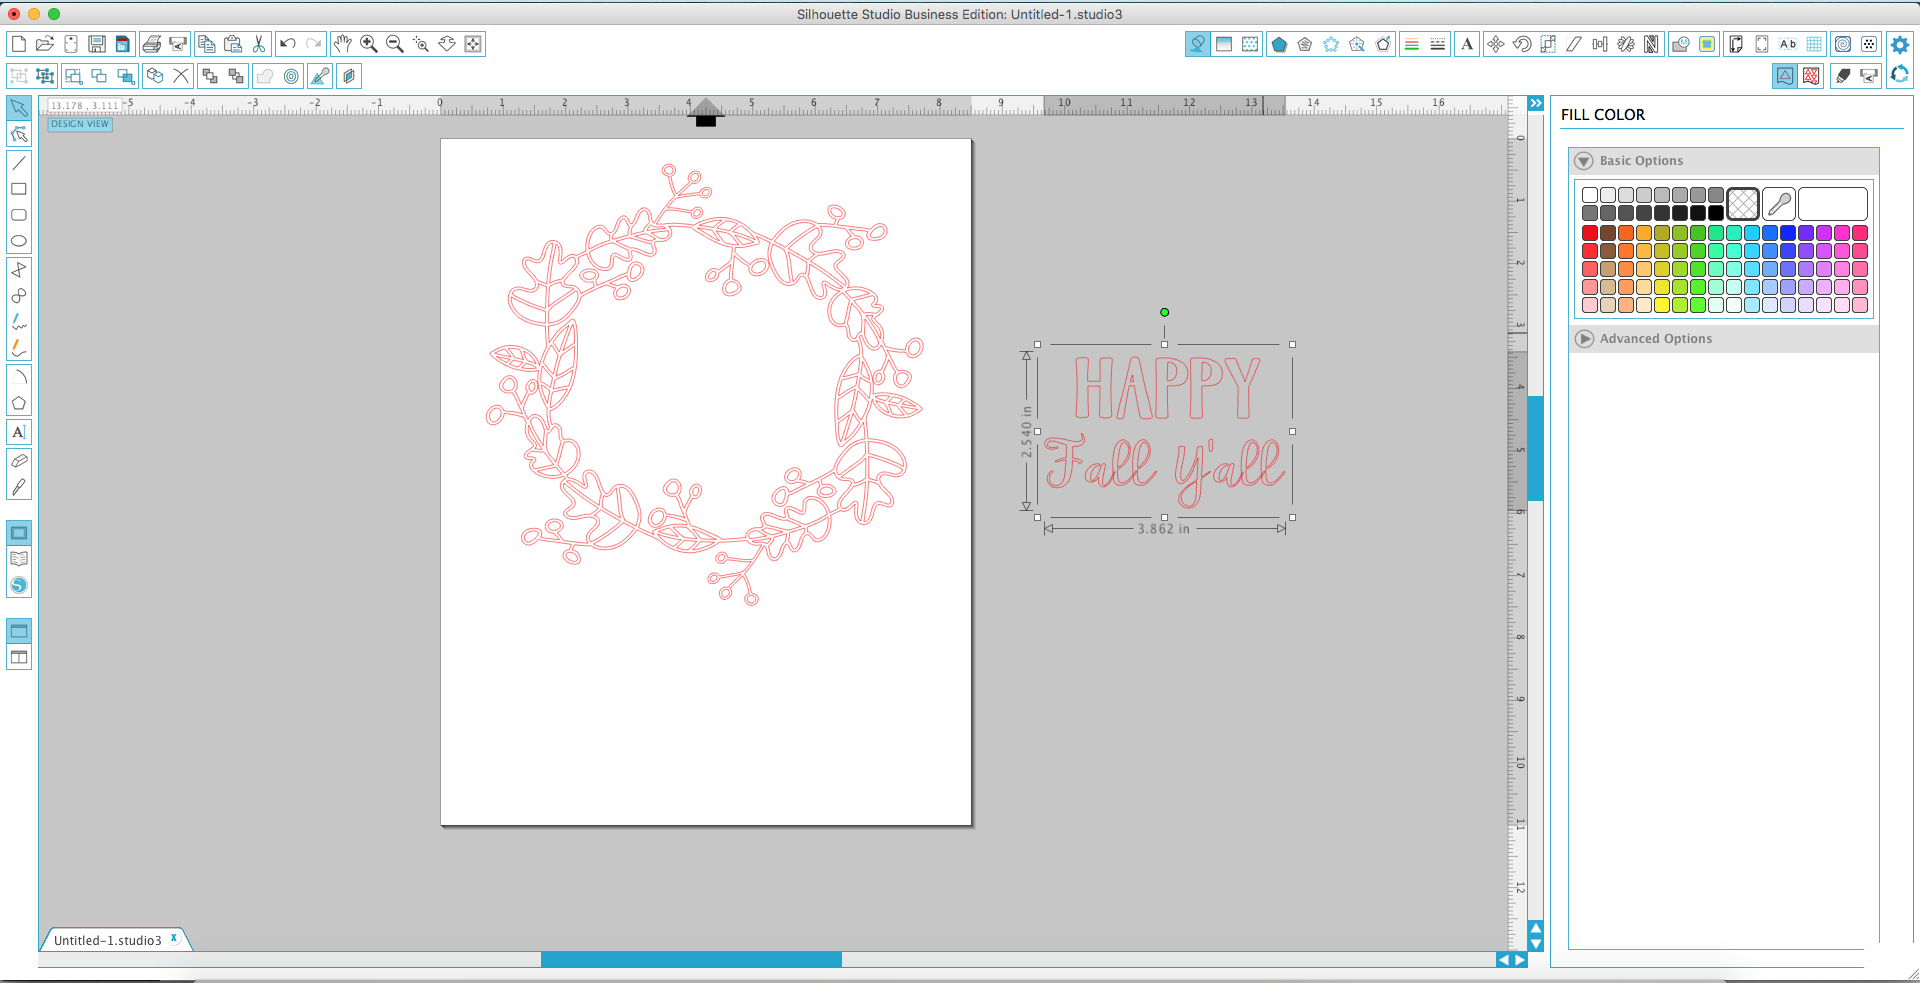
For “Happy” I used the font LW Title and for “Fall Y’all” I used the font PN Peanut Butter and Honey.
Make sure to drag to resize the font to fit your design.
4. Fill with color
Open the Fill Color window and with your shape/font selected, choose your fill color.
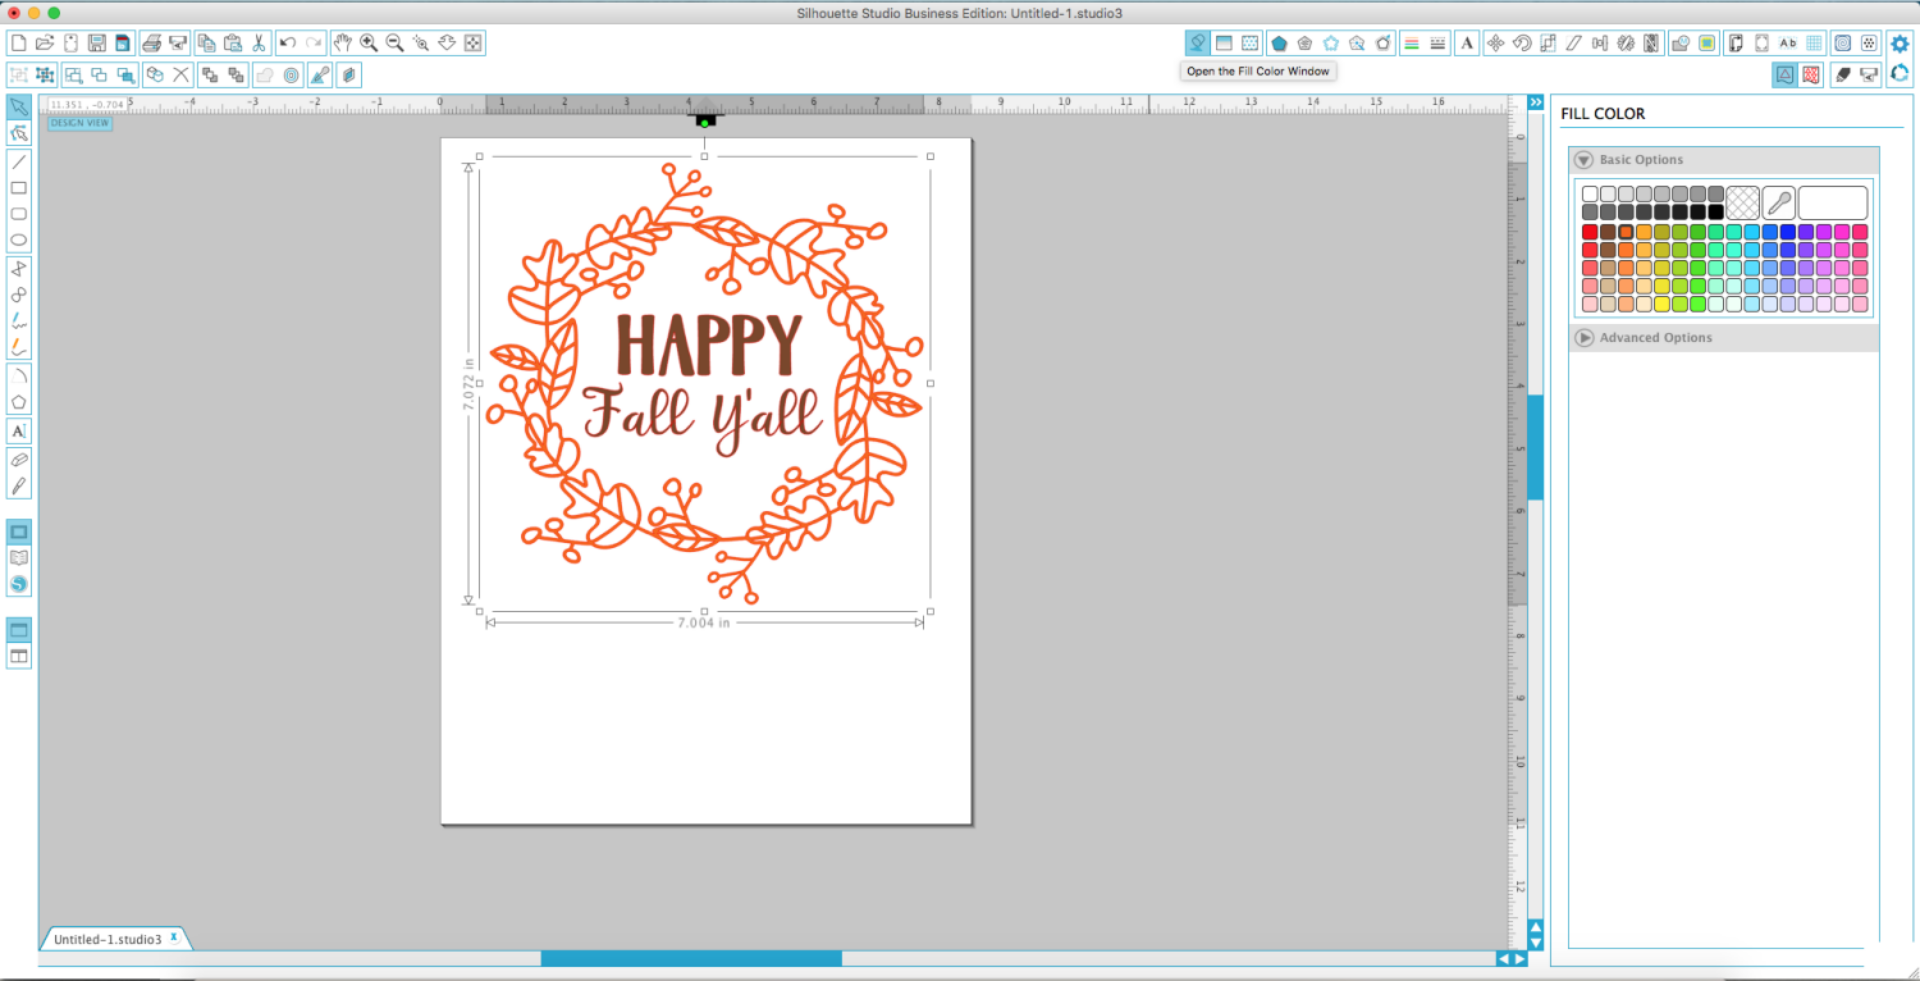
5. Change settings to “No Cut” and print
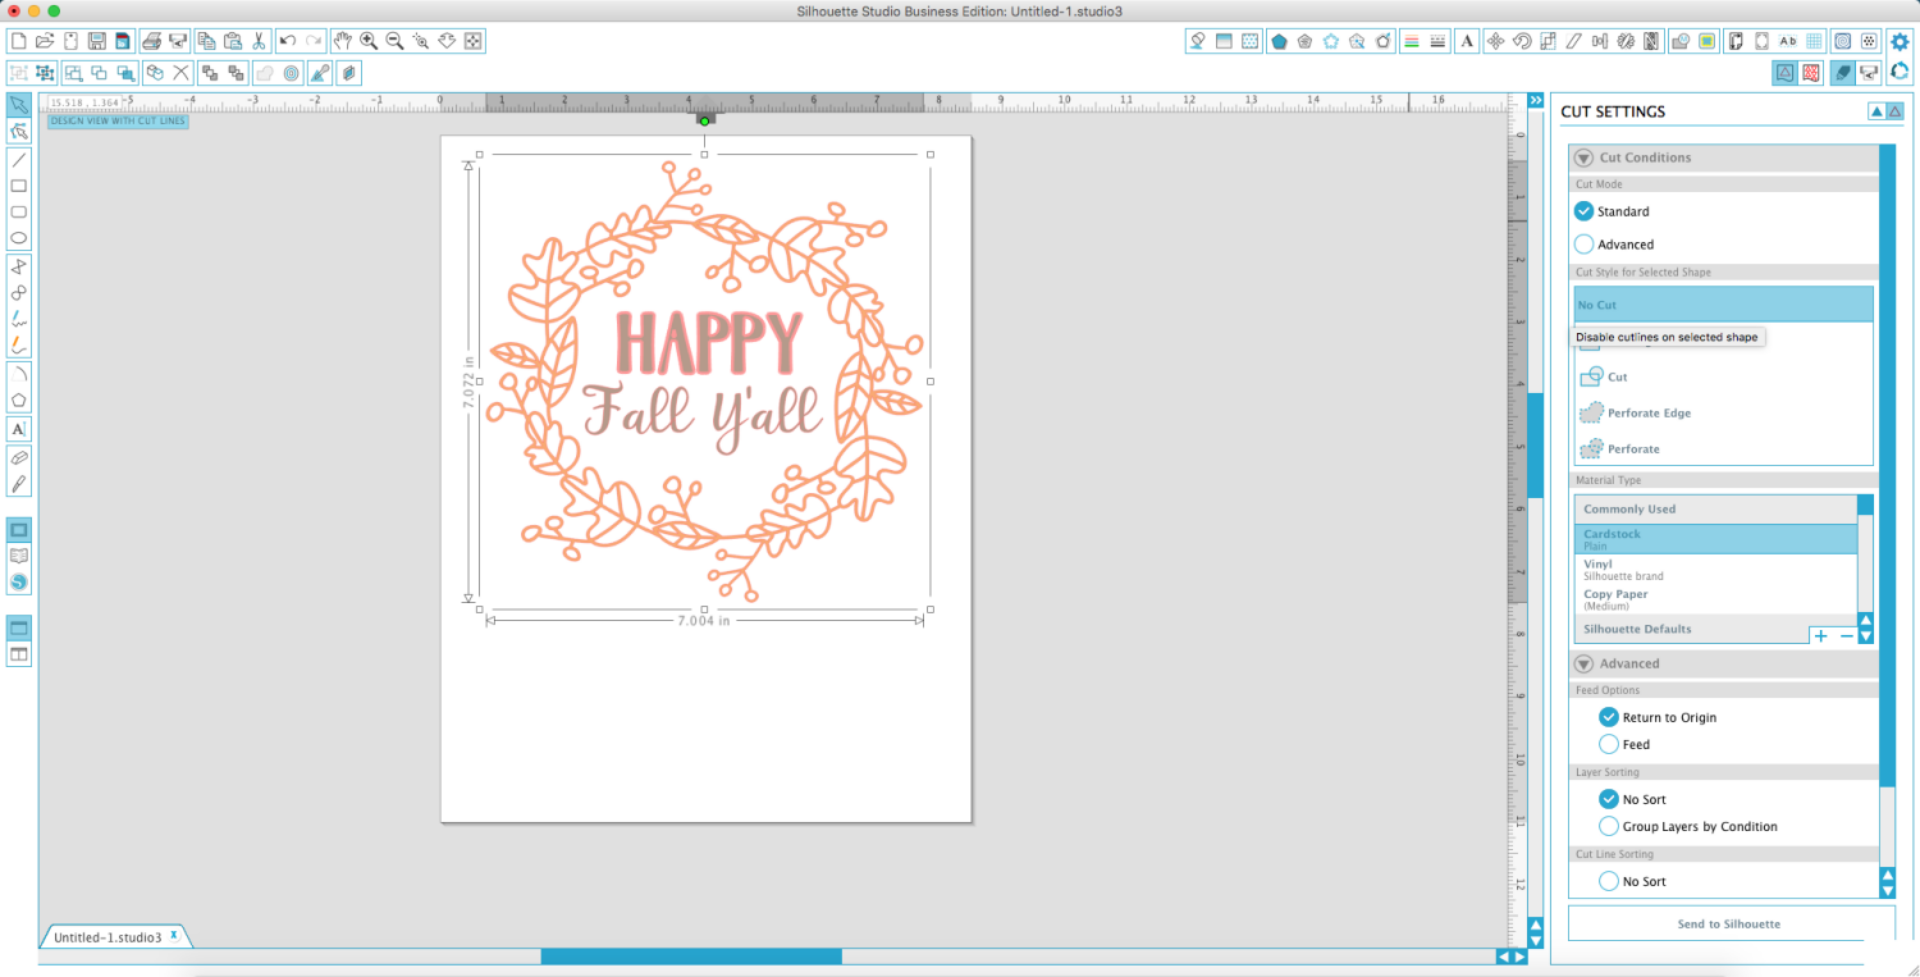
Open the Cut Settings window.
Select “No Cut.”
Print your image, trim according to the size of your frame
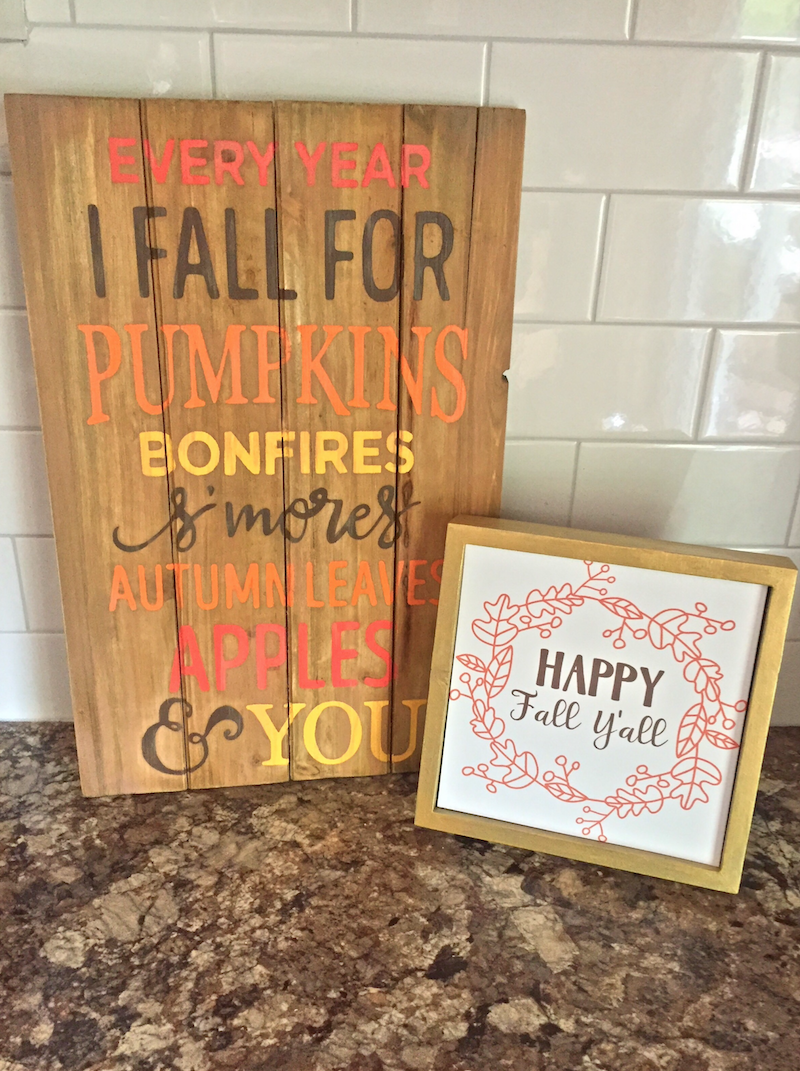
Don’t forget to proudly display!
Britta Williams
September 19, 2016
I am confused I assume the silhouette has the ability to connect to a printer? The silhouette does not have ink.
Emily Dixon
October 3, 2016
Hi Britta! Yes, your Silhouette has the ability to connect to your local printer.
Here’s a link with a video on Print & Cut that may help you: https://www.silhouetteamerica.com/faq/solution/print-and-cut-capability
Deborah Woolley
September 20, 2016
Did you make the ‘Every year I fall for pumpkins etc.,’ sign using Silhouette too?
Emily Dixon
October 3, 2016
Yes I did! 🙂 It is a cut file from the Design Store…ID#93417.
Tiffany
October 5, 2016
Where can I find instructions on how to use the cameo 3? I have never used on of these machines before and have no idea how to use it! HELP!