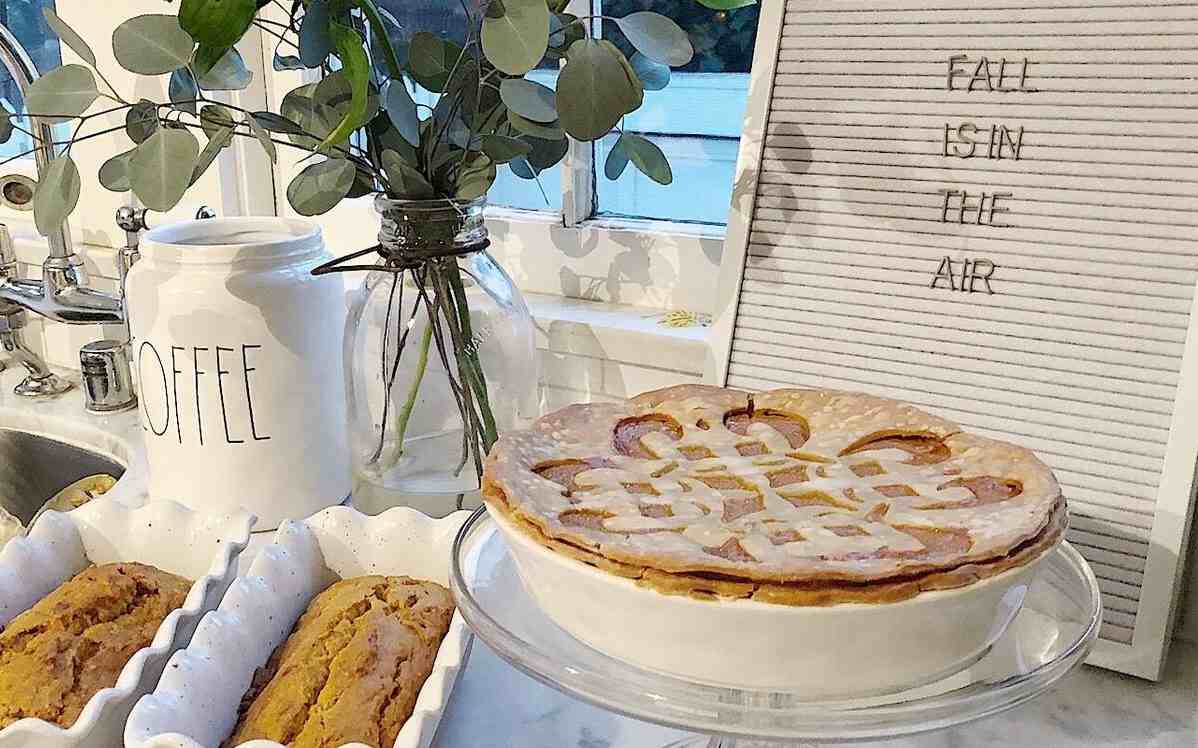
With Thanksgiving right around the corner, I am always looking for ways to enhance my traditional turkey dinner. I love using my Silhouette machine for nonconventional ideas. So today I am so excited to share how I used my Silhouette machine to enhance the look of my pies!
I know what you are thinking! How can a Silhouette machine make my pies amazing?
It’s easy! I made a stencil to cut out the top of my pie crust. Follow the steps below to see how.
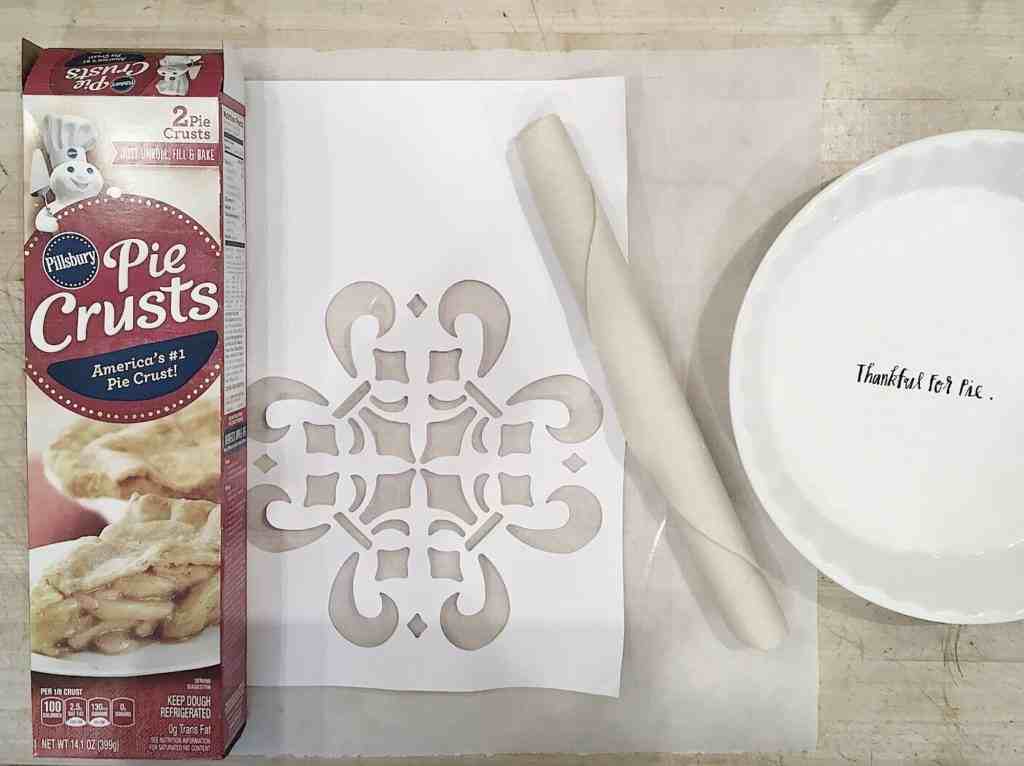
Supplies Needed:
- Silhouette CAMEO® or Silhouette Portrait® or Silhouette Curio™
- Silhouette Cutting Mat
- Silhouette Cutting Blade
- Silhouette Studio®
- Silhouette Stencil Material
- Parchment Paper
- Pie Crust
- Pie Filling
Step One: Prepping Your Design
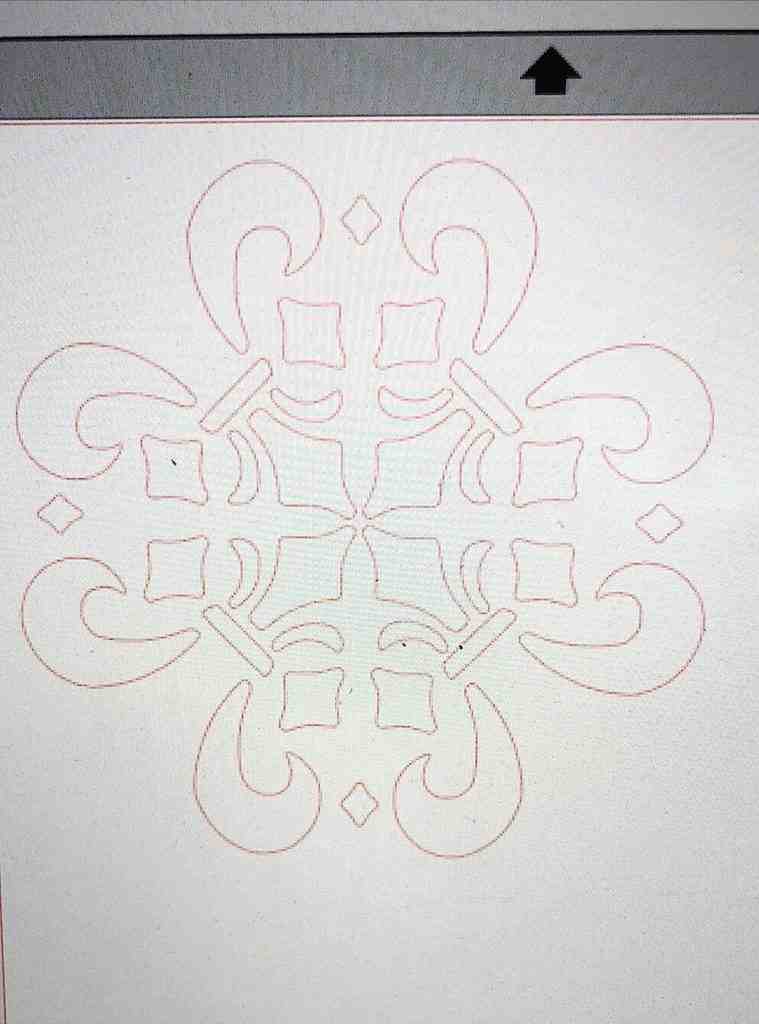
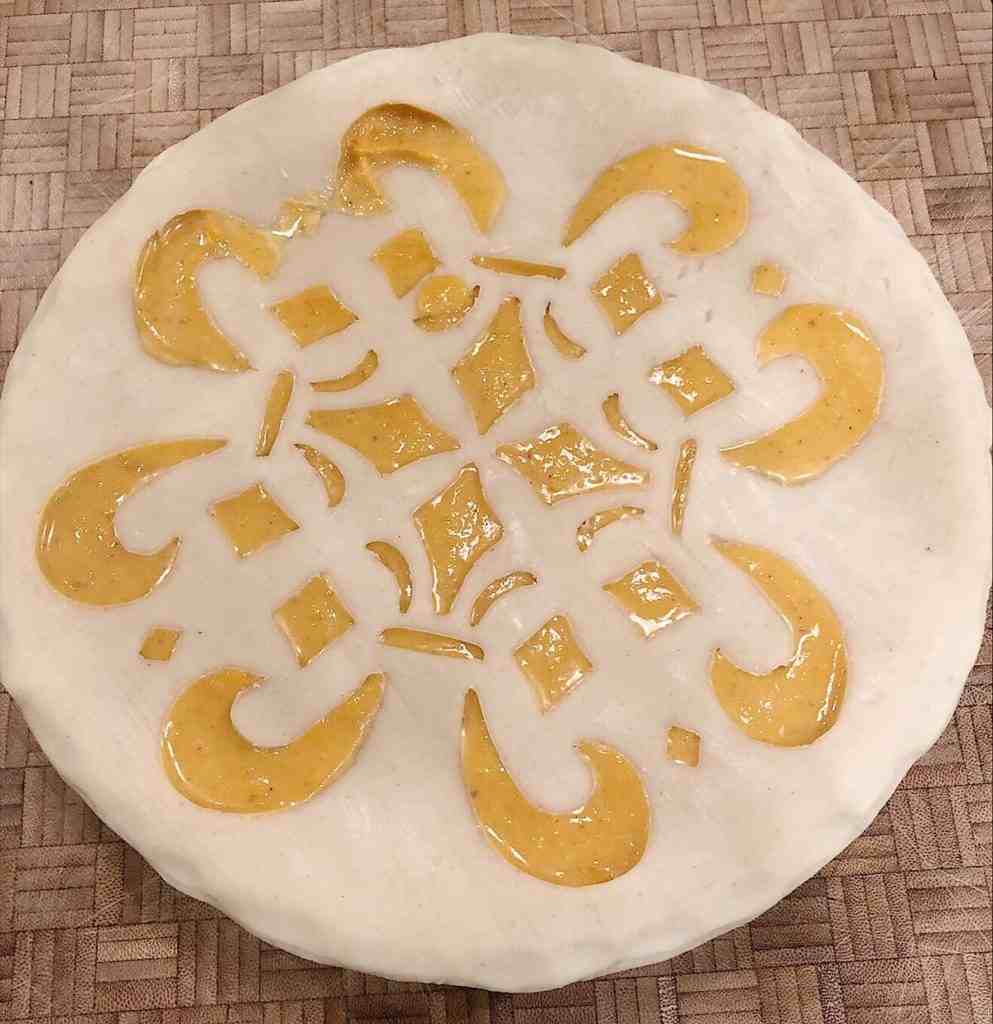
I found a photo of a vintage Moroccan floor tile on the internet and used it as my design. Just upload your photo into the Silhouette program and use the Trace function to create cut lines.
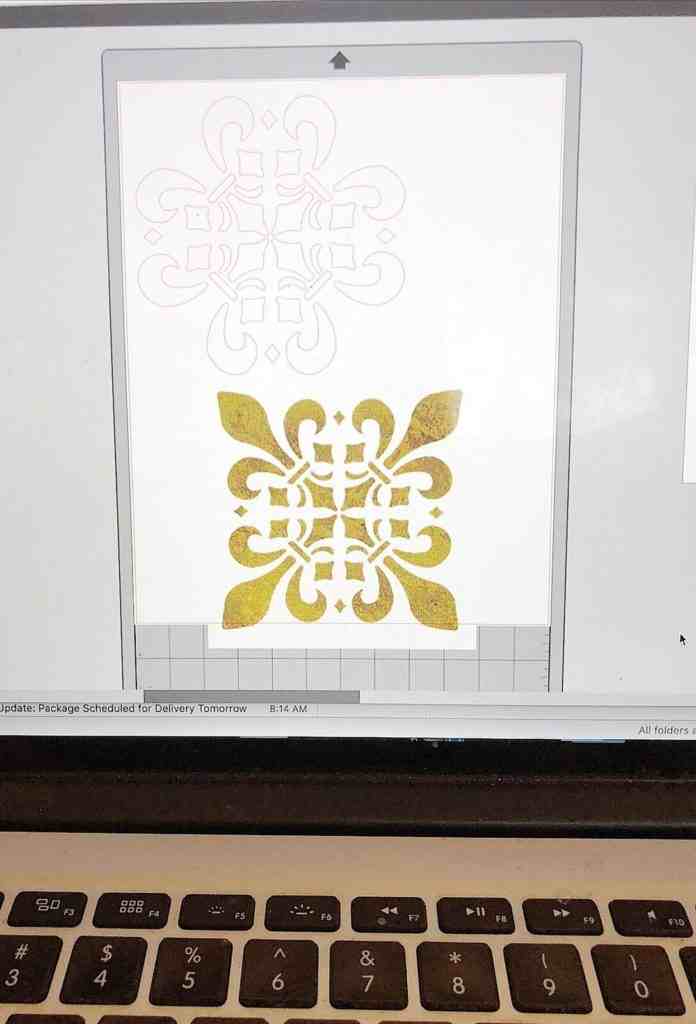
I deleted a few parts of it to make it more round in shape.
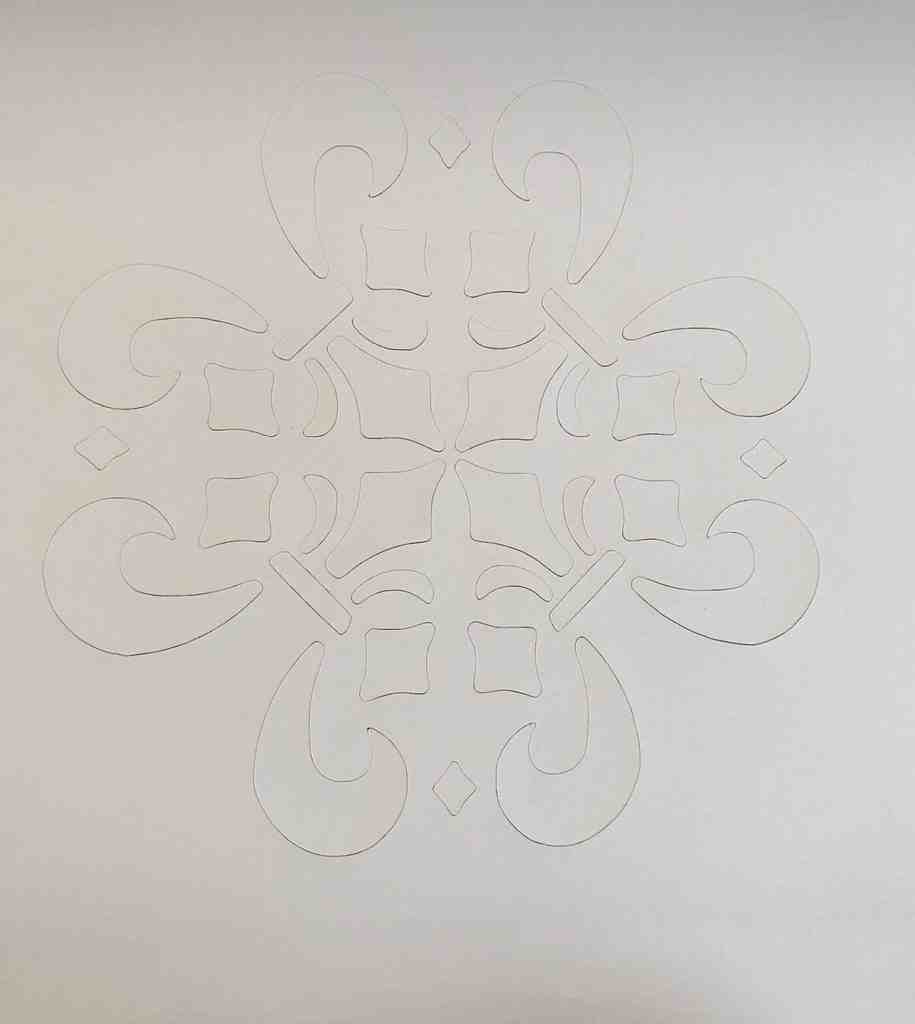
Step Two: Cut Your Design
Then I cut my design out of the stencil material. Make sure to select Stencil Material as your media and adjust your blade if necessary.
The most important step is to place your pie crust on top of parchment paper before you begin. This will make it so much easier to place the stenciled crust on top of your pie. Next, place the plastic stencil on top of the pie crust and with a small paring knife, cut out the pieces of crust.
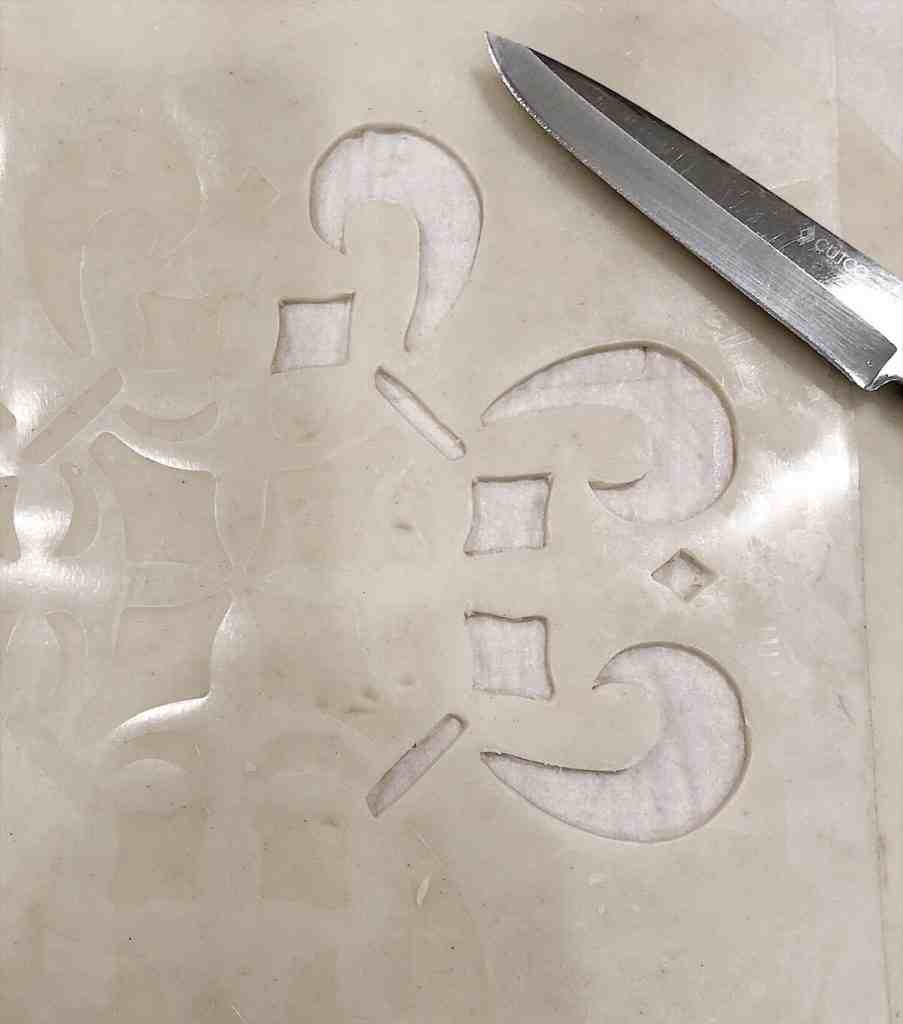
This was so much easier than I thought it would be. It only took a few minutes!
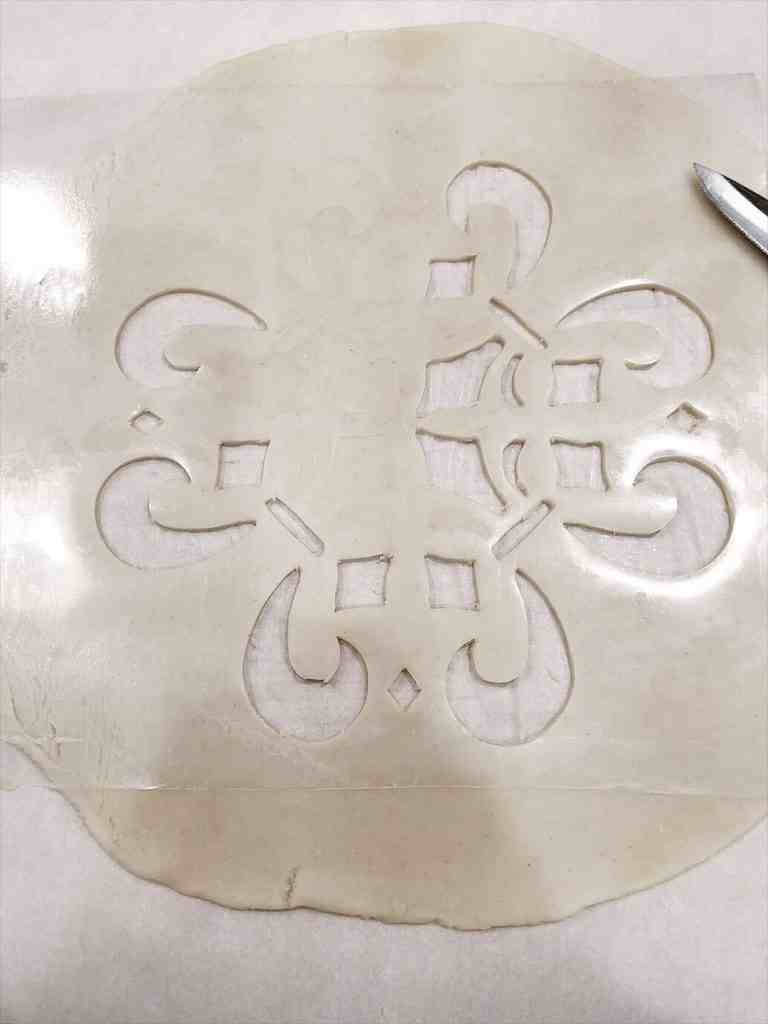
Then I removed the stencil.

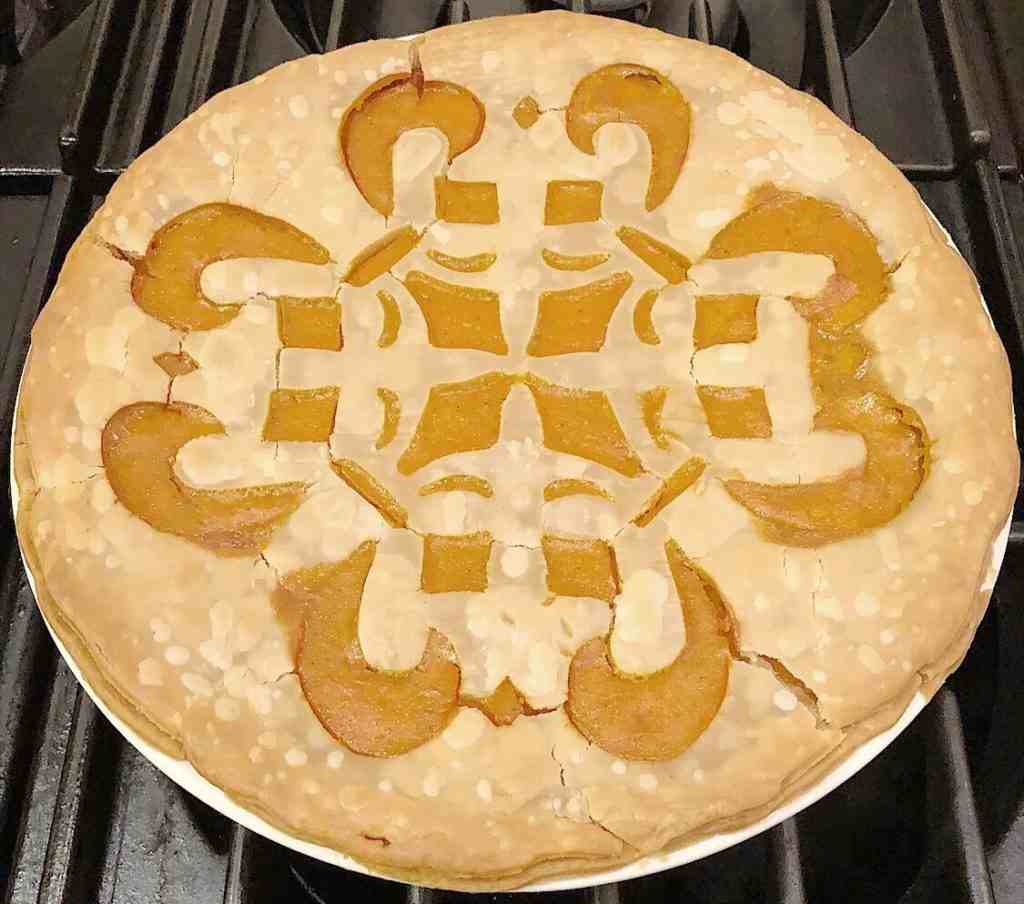
And then I carefully placed it on top of the pumpkin pie filling, using the parchment paper as a guide.
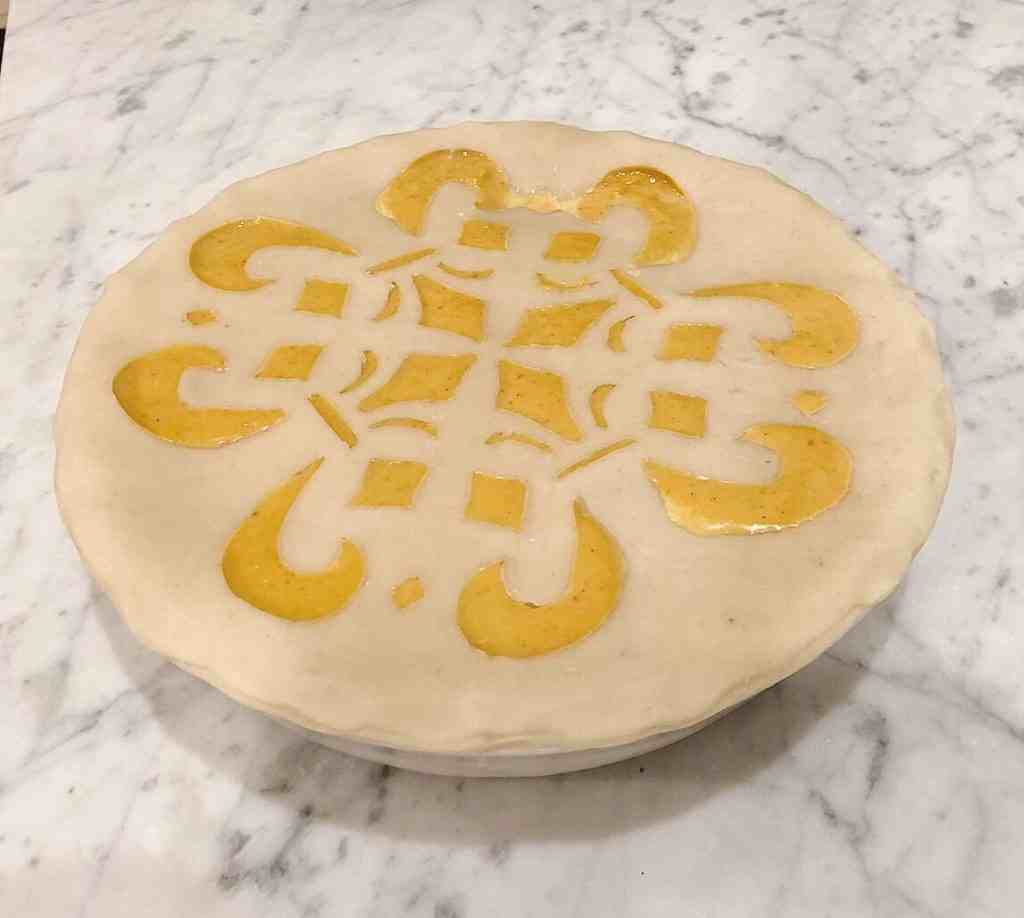
Bake according to the crust instructions, and that’s it! You will have a beautiful pumpkin (or apple or berry) pie!
This blog post was contributed the blog My 100 Year Old Home. It has been edited and republished with permission from the author.
Lori Lopez
December 6, 2017
Love this! Tfs