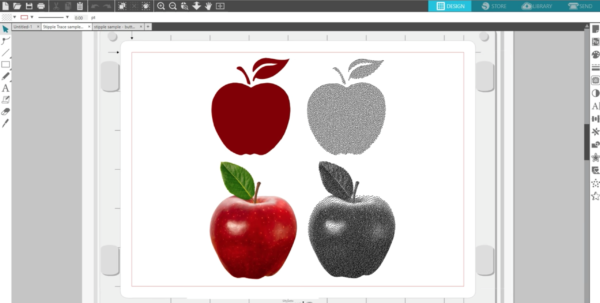
Stippling is the process of making a design from a series of dots. This feature in Silhouette Studio® is available to use with the CAMEO 3 or the Curio. In this tutorial, you’ll learn how to create a stipple design from an image that’s not already a cut file, such as a PNG or JPG file. This is done by performing a Stipple Trace.
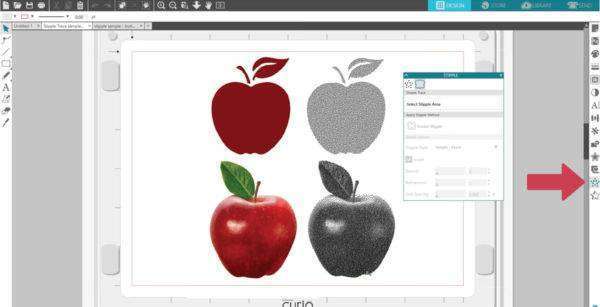
To get to Stipple Trace, open the Stipple Panel that looks like a dotted star, then open the second tab for Stipple Trace.
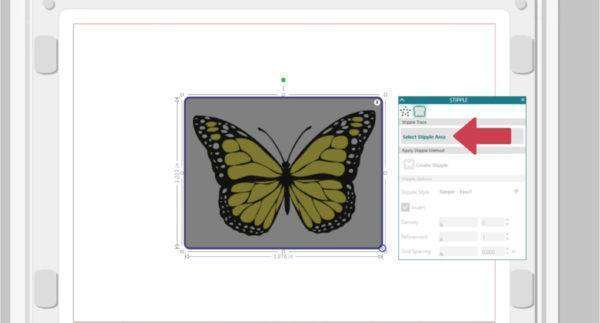
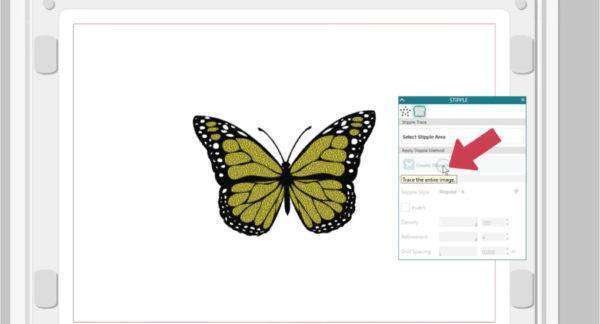
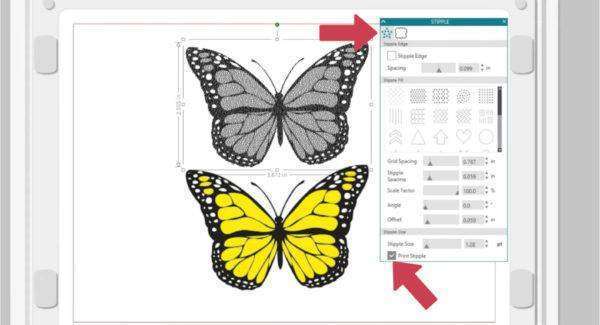
A high-contrast image works best when performing a Stipple Trace. If you choose an image with no shading or color variation, it will fill evenly with stipple points, but if you choose an image with shading, you can get a lot of visual interest with the contrast. Let us show you the steps to a Stipple Trace. We’ve imported a JPG butterfly image for this example. It doesn’t matter if it’s a colored image or not.
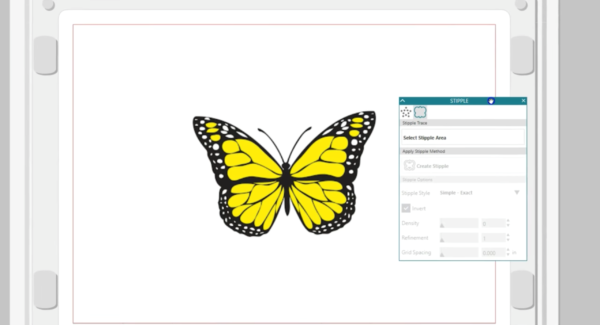
First choose Select Stipple Area, and drag a selection box around the image. You can move and resize this box if, necessary.
Now you see a preview of how the intended stipple points will be created on top of your image.
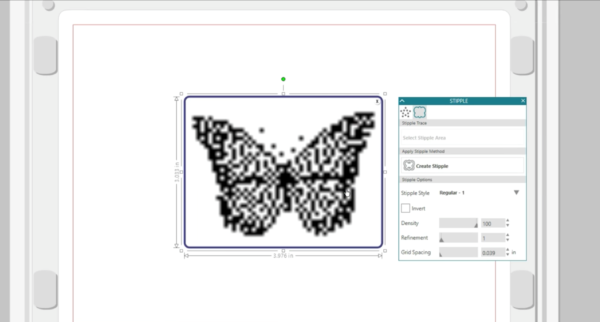
Your Stipple options down here will refine those points and all depend on the design you’re working with.
You can move the Grid Spacing slider all the way to the left. Lower values provide finer detail. Refinement can go from 1 to 4. We will choose 4 this time. Density affects how many points are applied to light and dark areas. Go with 100 for the most detail, but you can decrease that for your design if you want. Lighter regions have fewer stipple points.

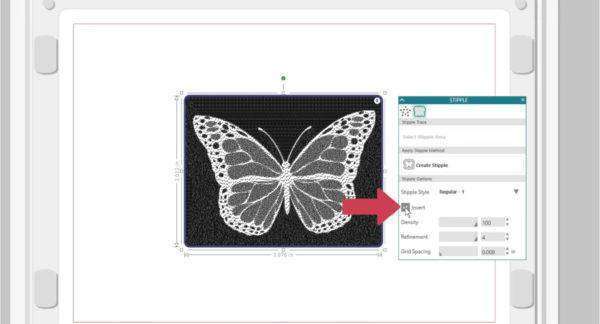
Invert will swap the light and dark areas.
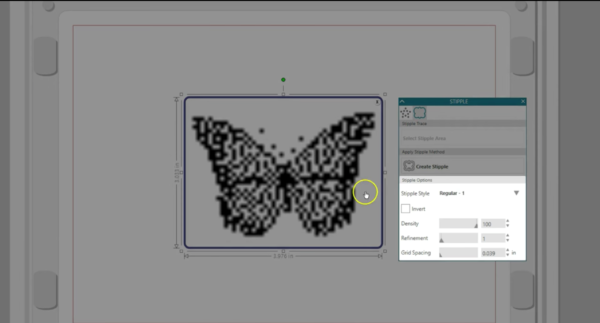
Finally, choose a Stipple Style. There are lots to choose from, so just click on the various styles to see what looks best for your design and the pattern you want.
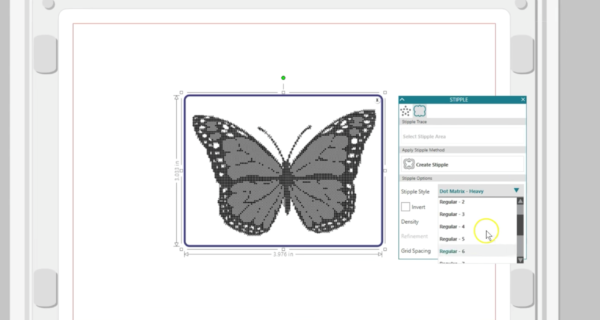
We will choose Regular 6.
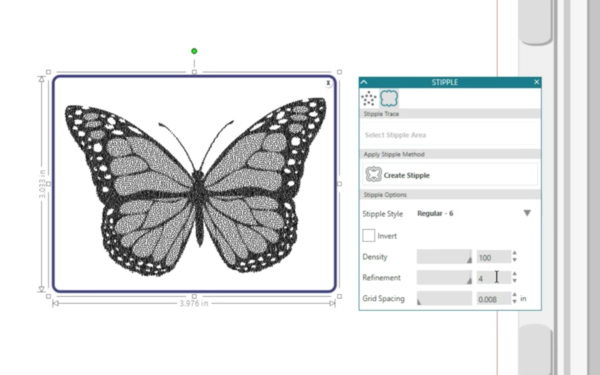
You can continue to tweak the options after choosing a Stipple Style. When it looks good, choose “Create Stipple.”
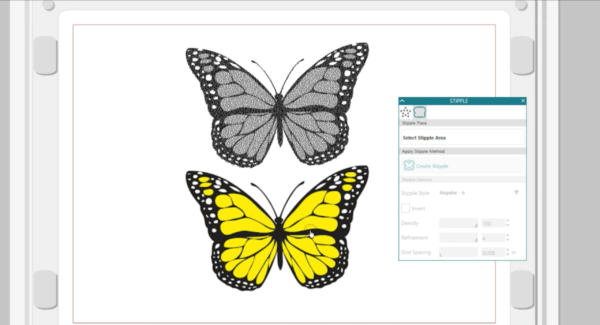
Now you can drag to separate the stipple from the original image. You can trace any illustration or photograph, but remember the software is looking for contrast, so not every image will look good with a Stipple Trace.
Also realize that your CAMEO 3 or Curio will place every stipple point you see as a separate tap on your media, so large or detailed designs can take a while to complete the cut job. You can opt to print the design instead, but the points will only print if you go to the first tab in the Stipple panel and check the box for Print Stipple.
That’s how to create a stipple design from an imported image using Stipple Trace.