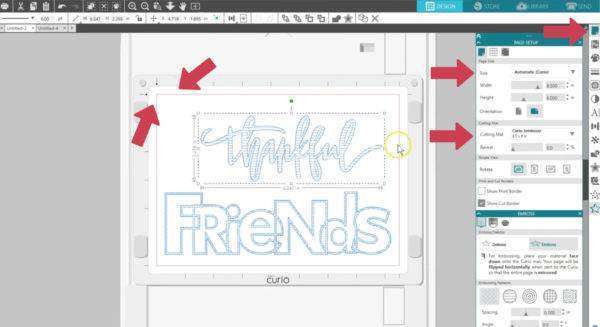
The Emboss Panel is a feature in Silhouette Studio® that can only be unlocked with a Silhouette Curio™. You’ll find the Emboss panel along the right-hand side of the screen that looks like a raised star. Note that if you have Designer Edition or higher, there will be more panels below the Emboss icon.
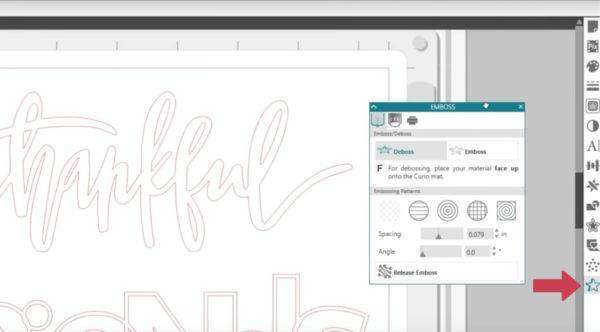
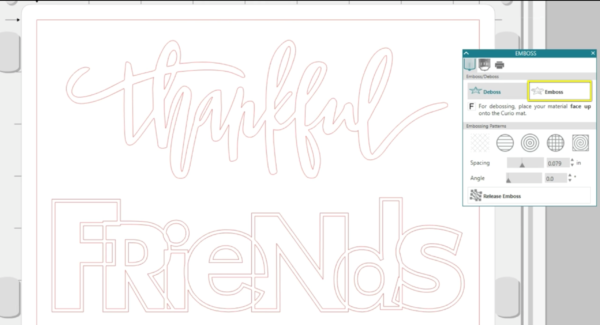
Your first choices here are for Deboss or Emboss. These options apply to the entire document and are not specific to a selected object.
If you choose Deboss, your embossing tool will press down against your material as it’s viewed on the screen. If you’re using a soft material like Score & Emboss paper, the action of pressing down onto your material will create a recessed relief of the image or a debossed effect.

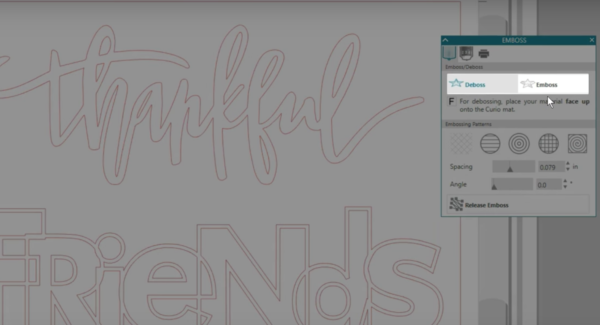
If you choose Emboss, your image won’t change on the screen, but the job will be flipped horizontally when sent to Curio so the entire page is mirrored. You’ll place your material onto the embossing mat face down. The action of the embossing tool pressing down in a mirror image on the back side of your media will result in a raised image, or emboss effect, when flipped back over.
Your selection of Deboss or Emboss here on the first tab will carry over to the other tabs in this panel.

If you simply choose an emboss or deboss choice here, Curio will just emboss or deboss the outline of your design on the page.
You can apply an embossing effect here in the first tab, which can be used for embossing, etching, sketch-pen fills, or foil transfer fills.
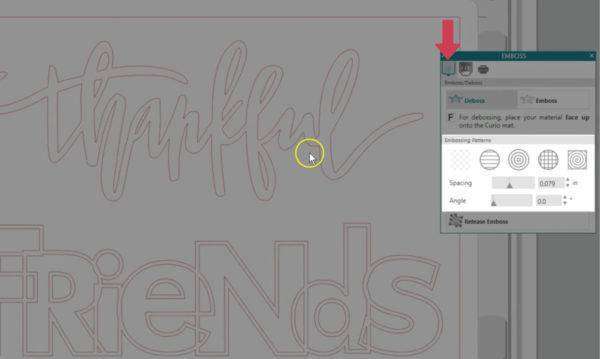
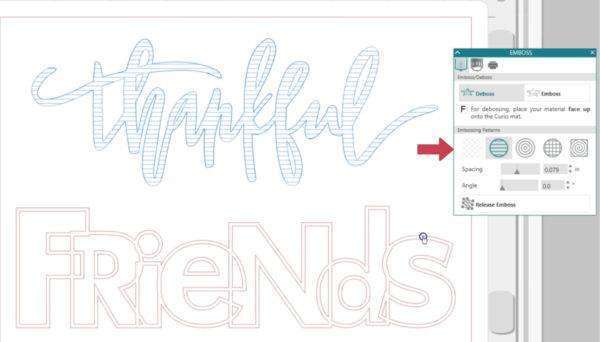
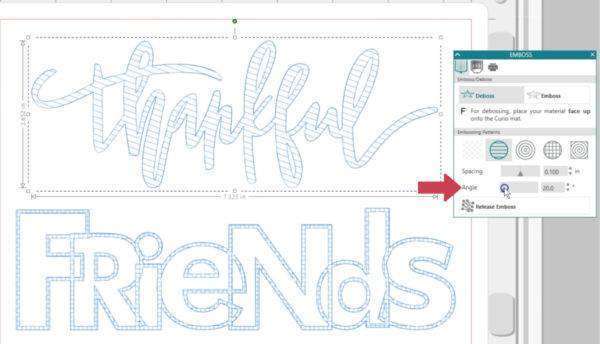
The emboss effect creates a fill pattern, and your tool will travel the path of all the blue lines it creates. To apply an embossing effect, select your object and choose between a lined pattern, a concentric pattern, a crosshatch pattern, or a spiral pattern.
Your design should not have overlapping layers, so if you apply an effect and you get areas that fill when you want them blank, you need to make it a compound path.

To do that, right click your design and choose Make Compound Path. That creates holes instead of stacked layers.
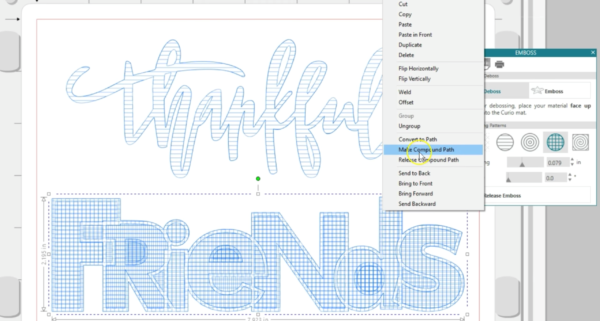
Now apply the embossing pattern again, if necessary.

Spacing controls how compact or spread out the pattern appears.
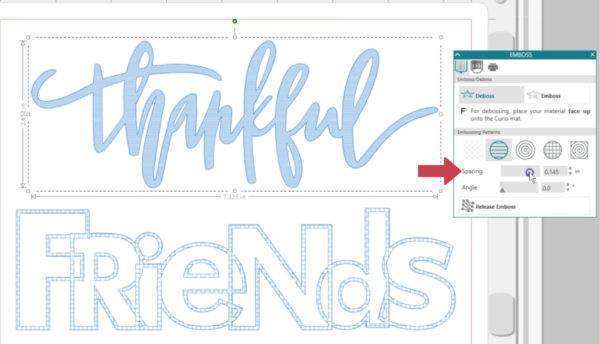
You can change the angle of any applied effect.
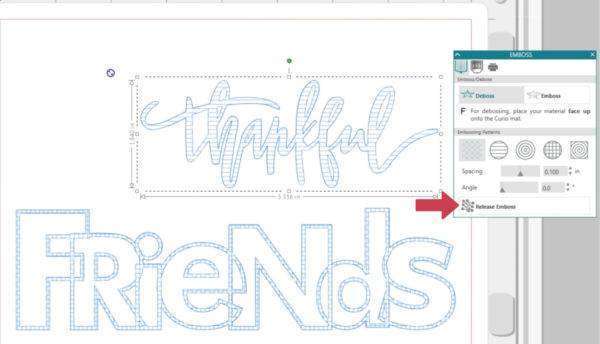
These fill patterns will adjust with your shape as you resize it and keep the selected spacing, but if you want the effect to stay where it is after you’ve applied it, you can choose “Release Emboss.” The fill spacing and angle is no longer adjustable at that point.
Remember, if you want this pattern to be pressed into or against your media as you see it on the screen, choose the Deboss option. Deboss is what you would use with media like foil transfer sheets, embossing foil, and metal etching. You would also choose Deboss for sketch pen fills.
If you want to press the pattern into the back of a soft material for a raised effect, choose Emboss. Remember, if Emboss is chosen, your page will be flipped horizontally when the job goes to your Curio so it can press the design into the back side of your media. You would choose this for Score & Emboss Paper or Vellum.
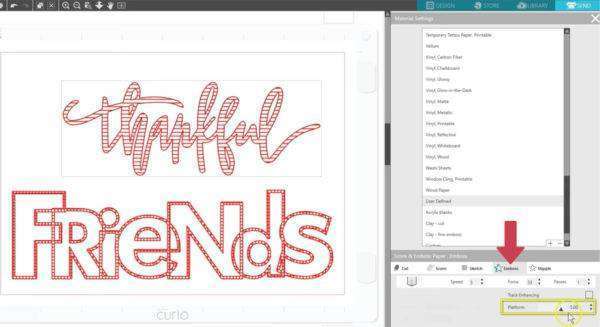
If you want to emboss your design on Score & Emboss Paper with a more-defined edge, use the second tab of the Emboss Panel for Score & Emboss. We’ll cover that in a separate tutorial.
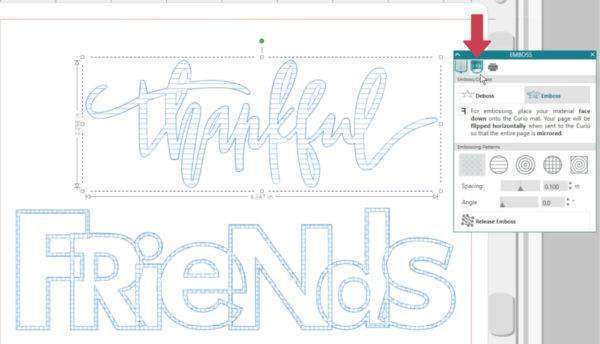
The panel gives you a notice of whether the page will be mirrored or not, and when you go to the Send panel, you can see this little indicator with a backward letter F to show when the design will be mirrored.
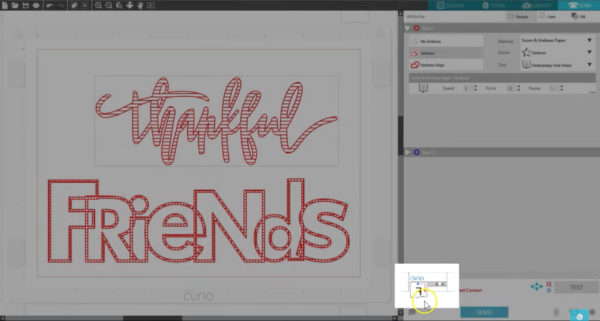
Click on these three dots for Advanced options when you need to see how many Curio platforms to use for your material.
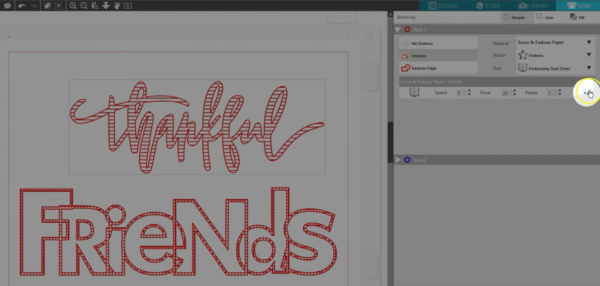

Make sure to choose the correct action, such as cutting or embossing.
One last tip when working with Curio projects. Make sure your page size in the Page Setup panel matches your actual media, and that you place your media on the mat correctly, as you see it on your screen.