The Stipple feature is available to Silhouette users who have a CAMEO 3 or Curio. Stippling is the process of making a design with a series of dots. If you connect either the CAMEO 3 or Curio, the Stipple panel becomes available.
The Curio can stipple on paper or other media with a marker in a pen holder, or it can tap stipple designs into thin metal sheets with the use of the Stippling Tool. The CAMEO 3 cannot stipple metal sheets, but it can stipple on paper or other media with a marker or felt-tip pen in a pen holder.
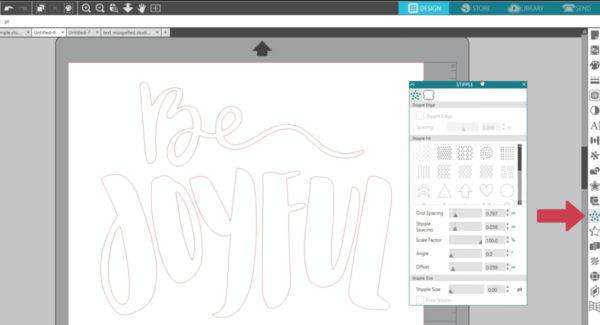
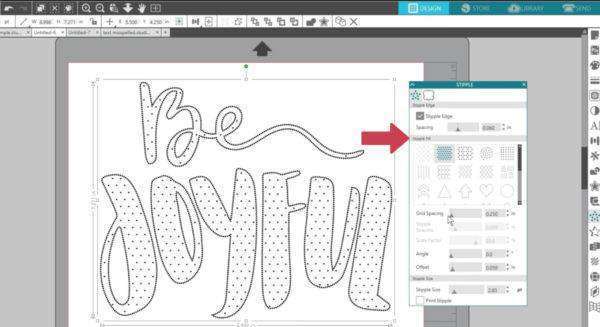
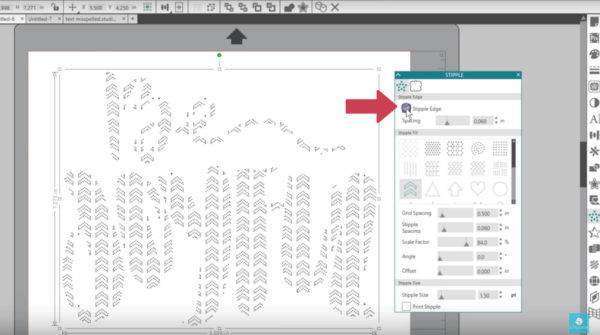
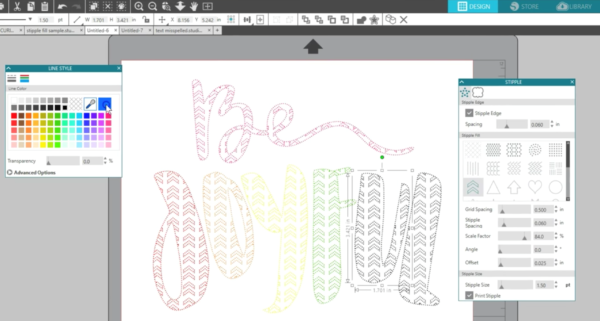
In the first tab of the Stipple panel, you can convert an existing cut file into a stipple design. Select an object on your Design page. If you check the box for Stipple Edge, the cut lines turn into dotted lines. You can choose whether to use this in combination with a stipple fill pattern or not.
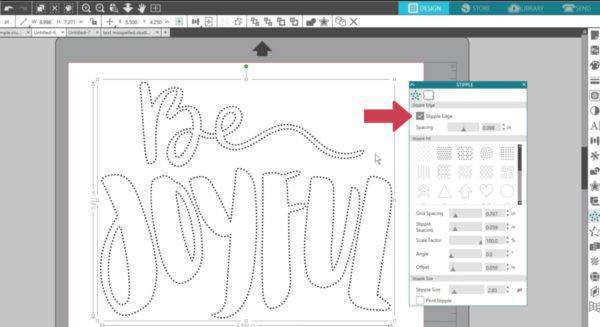
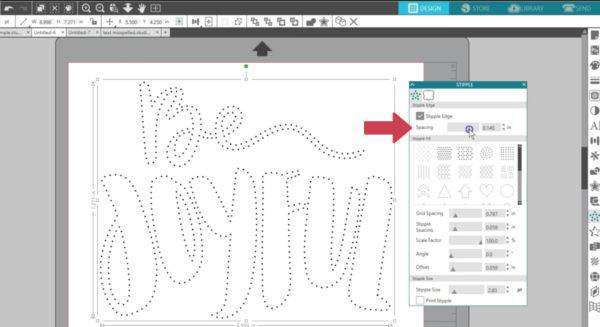
Adjust the Spacing between stipple points, if you want.
If you choose a Stipple Fill, your selected design will fill with a dotted fill pattern. Don’t worry if your design doesn’t fill completely on your first try. There are lots of adjustments you can make.
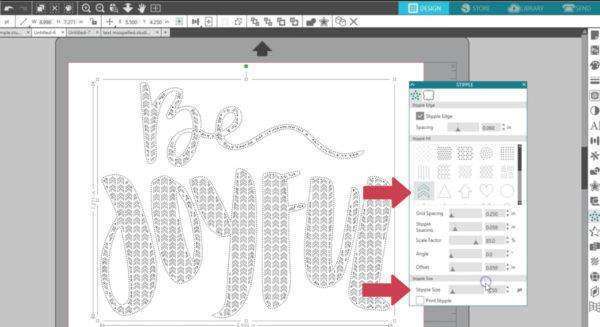
We will use a chevron fill for this phrase. The first thing I’ll change is lowering the stipple size to represent the stippling tool or marker I’ll be using. A size of 1.50 is probably good.
Grid Spacing zooms the selected stipple pattern in or out, so the pattern becomes larger or smaller.
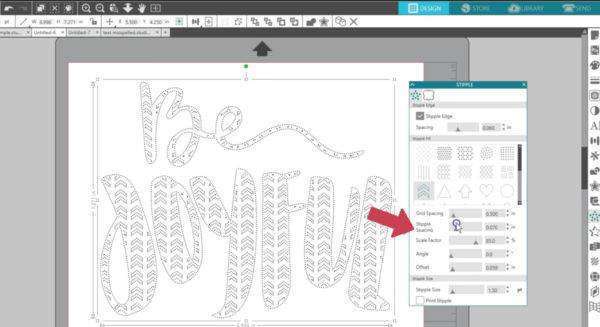
Stipple Spacing controls the spacing between the dots.

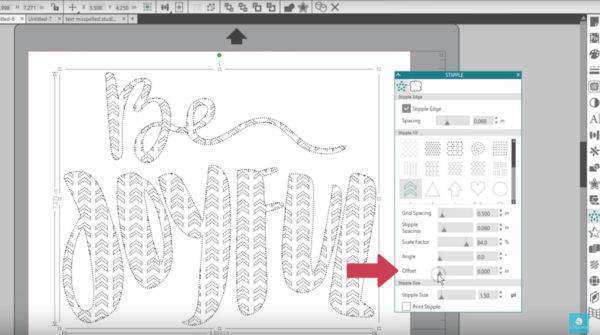
Scale Factor scales the points, effectively controlling the spacing between pattern blocks.
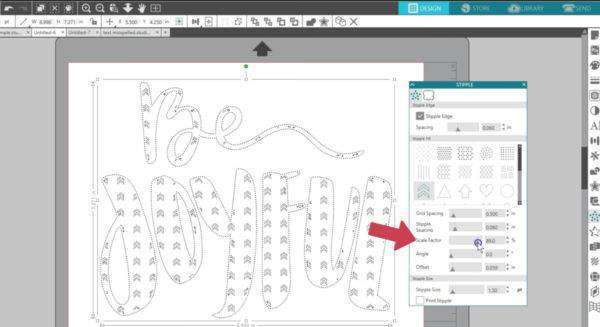
Angle controls the angle of the fill pattern.
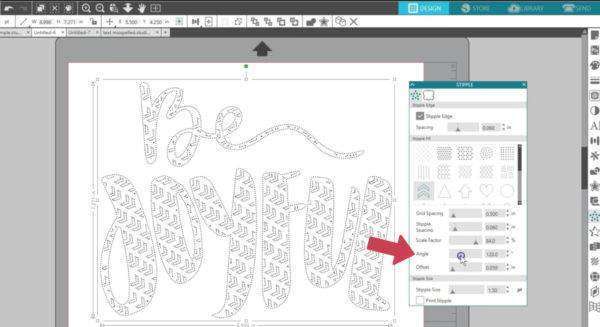
Offset controls how close or far from the edge the stipple fill will appear. This is easiest to see when using a stipple edge and stipple fill together.
A value of 0 would bring the pattern all the way to the edge, which is what we use when not including a stipple edge outline.
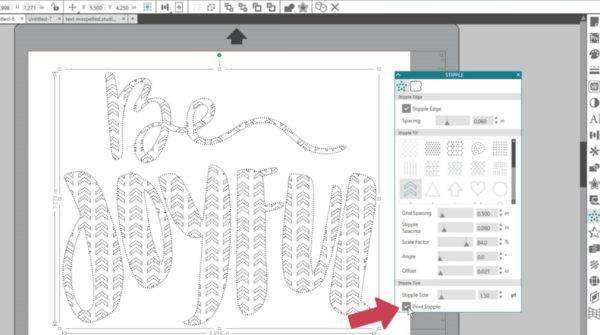
We already adjusted the stipple size. You should note that this is only a visual representation. The true stipple size on your paper or metal sheet is a result of the stipple point. A skinny marker tip will have a much smaller stipple size than a fat marker tip.
If you don’t want to wait for your machine to tap out every individual stipple point, you have the option to check Print Stipple box and print your stipple design with your printer.
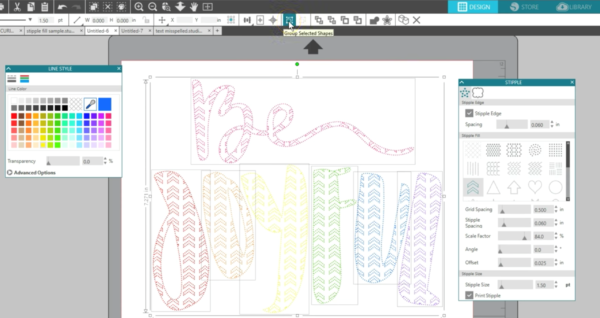
Changing the color of the design requires a line color change, not a fill color.
Stipple designs don’t like to be selected with a drag box, so you’ll need to select by clicking on the objects. Hold your Shift key while clicking to select multiple pieces.
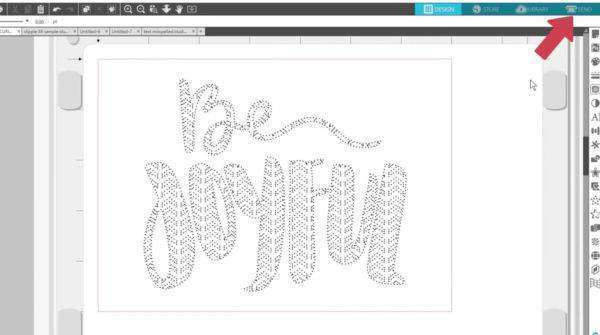
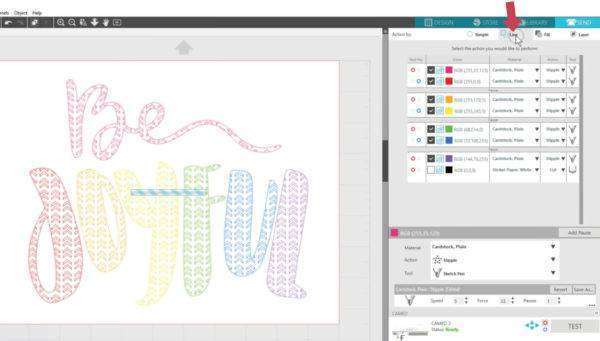
We’ve got this design ready to stipple on metal with the Curio. To stipple with markers or a stippling tool, go to the Send Panel.
If you’re using a single pen color or are stippling metal sheets with Curio, you can stick with the Simple Action. Choose a material. Change the Action to Stipple. Your tool should change to Stipple Tool if you have Curio connected. To find what platforms to use, click on the three small dots to open Advanced options.
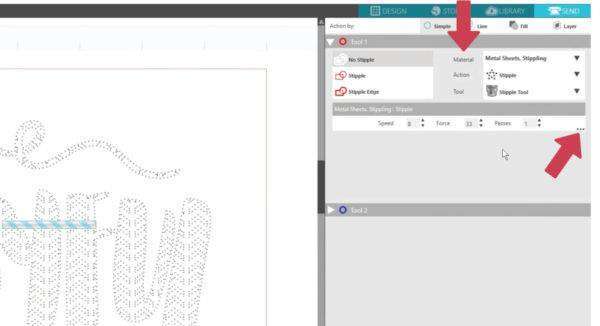
Select Stipple as the action, and it will tell you to use Platforms with a value of 4. Keep in mind that the top platform will be your embossing mat so the metal has a soft surface below it to accept the indents.

This is ready to tap each stipple point on your media.
If you want to stipple with multiple pen colors on a CAMEO 3, we recommend using Line Color Action. Change each material and action, drag the line colors in the order you want to send the job, pick left or right tool holders for each pen color, and add pauses to switch out pens between colors.
Please review our tutorial on “Cut by Line Color or Fill Color” for more information on that process.