
Have you ever come across a design in the Silhouette Design Store that instantly inspired you to get creating? On my search for Valentine’s Day ideas, I came across a particular design and knew that a special waffle breakfast for Valentine’s Day was in order! Follow along to see how you can make your own adorable waffle topper to express your love to someone.
Supplies Needed:
- Silhouette CAMEO® or Silhouette Portrait®
- Silhouette Studio®
- Silhouette Tool Kit
- Cardstock – Brown, White, Pink, and Red
- Paper Straw
- Glue
- Waffles
- Design ID #248020
Step One: Prepare the Design
1. Purchase the “I Love You a Waffle Lot” design (Design ID #248020) from the Silhouette Design Store. Open Silhouette Studio® if you haven’t already done so, locate the design in your Silhouette Library, and double-click the design to open it.
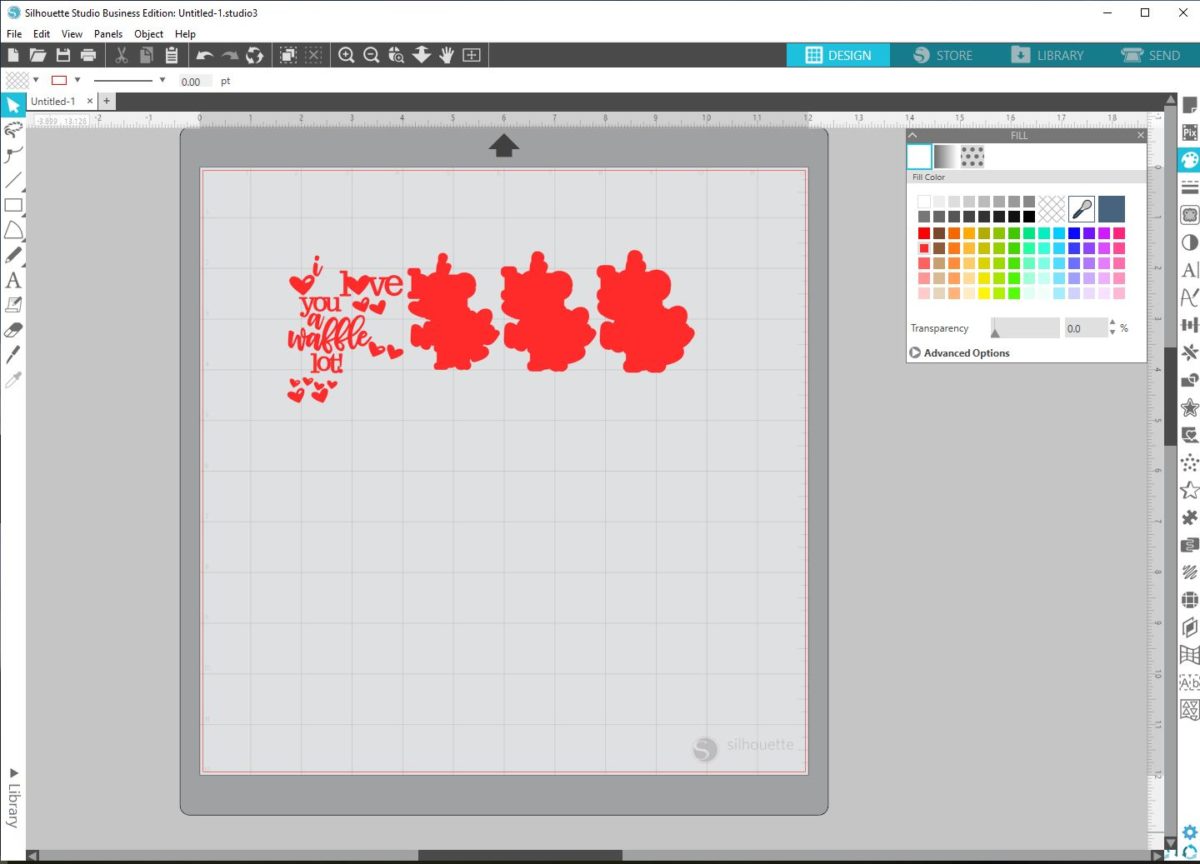
2. When you open it, you’ll see that it is a basic cut design with several layers. The screenshot below shows you what the design looks like when you first open it.
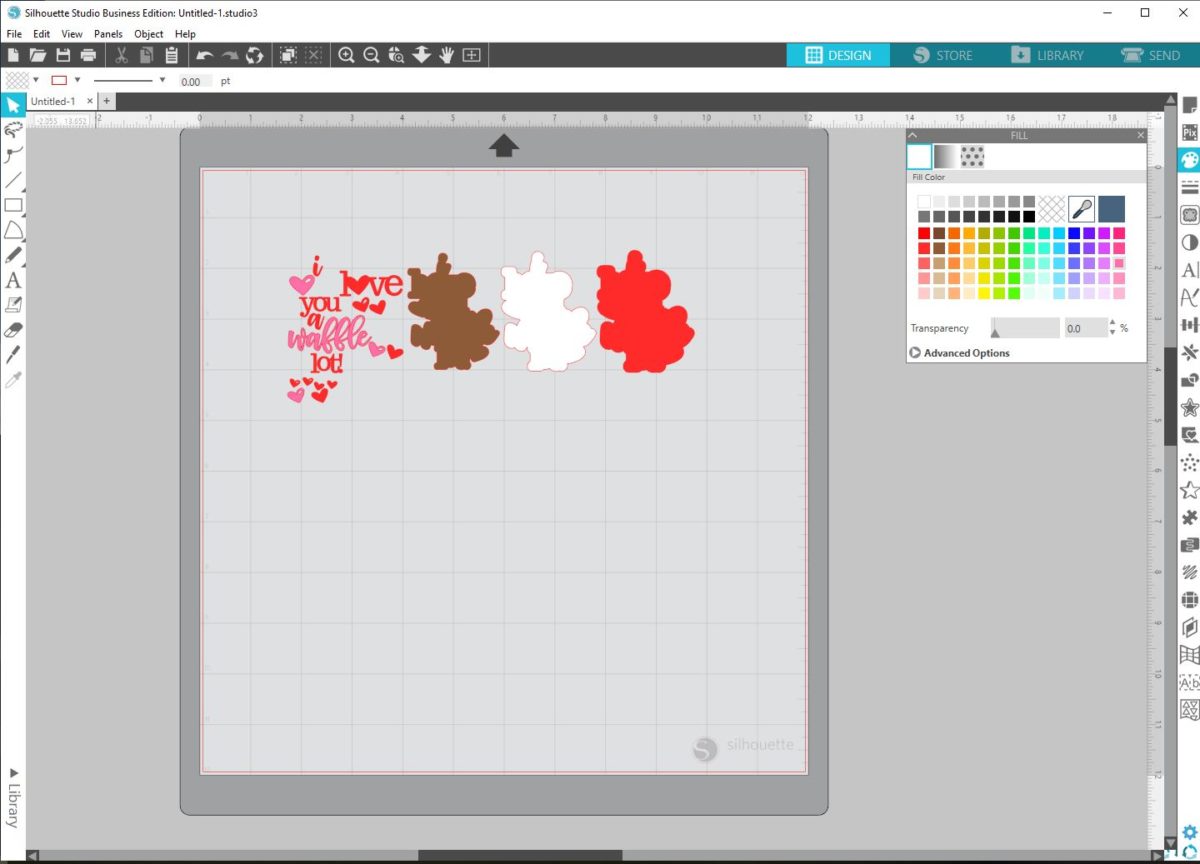
3. To make it easier to determine what pieces you are cutting out of each color of cardstock, you need to ungroup the design and fill in each piece with your choice of colors. To do this, select the design, right-click it, and select Ungroup from the drop-down menu. Then go to the toolbar on the right-hand side and open the Fill panel. Select each piece and click on a color to fill the piece in.
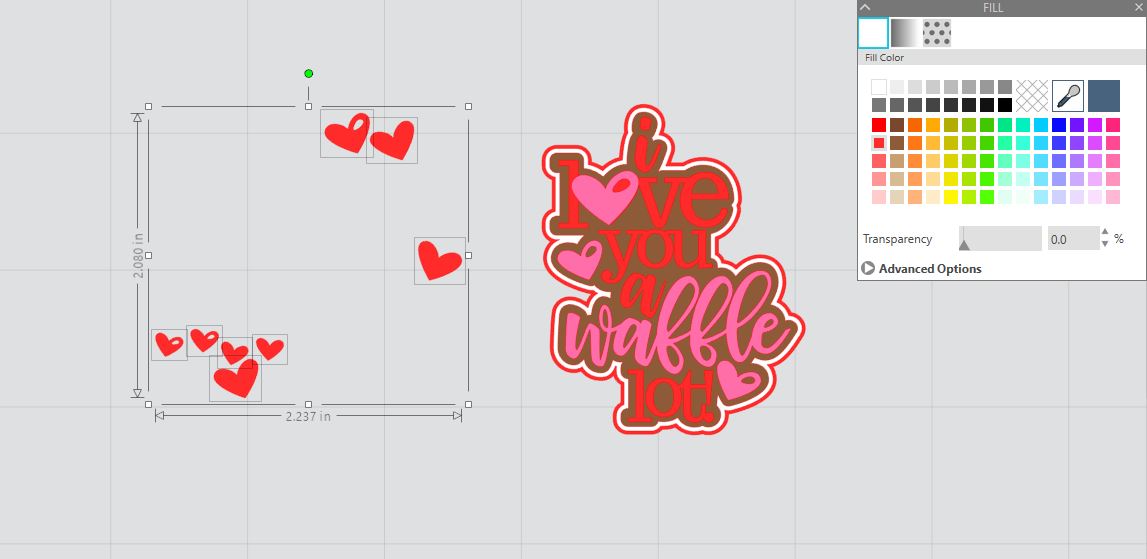
4. These extra hearts aren’t going to fit on the base design, so select them and click on your Backspace or Delete key on your keyboard to remove them from the design space.
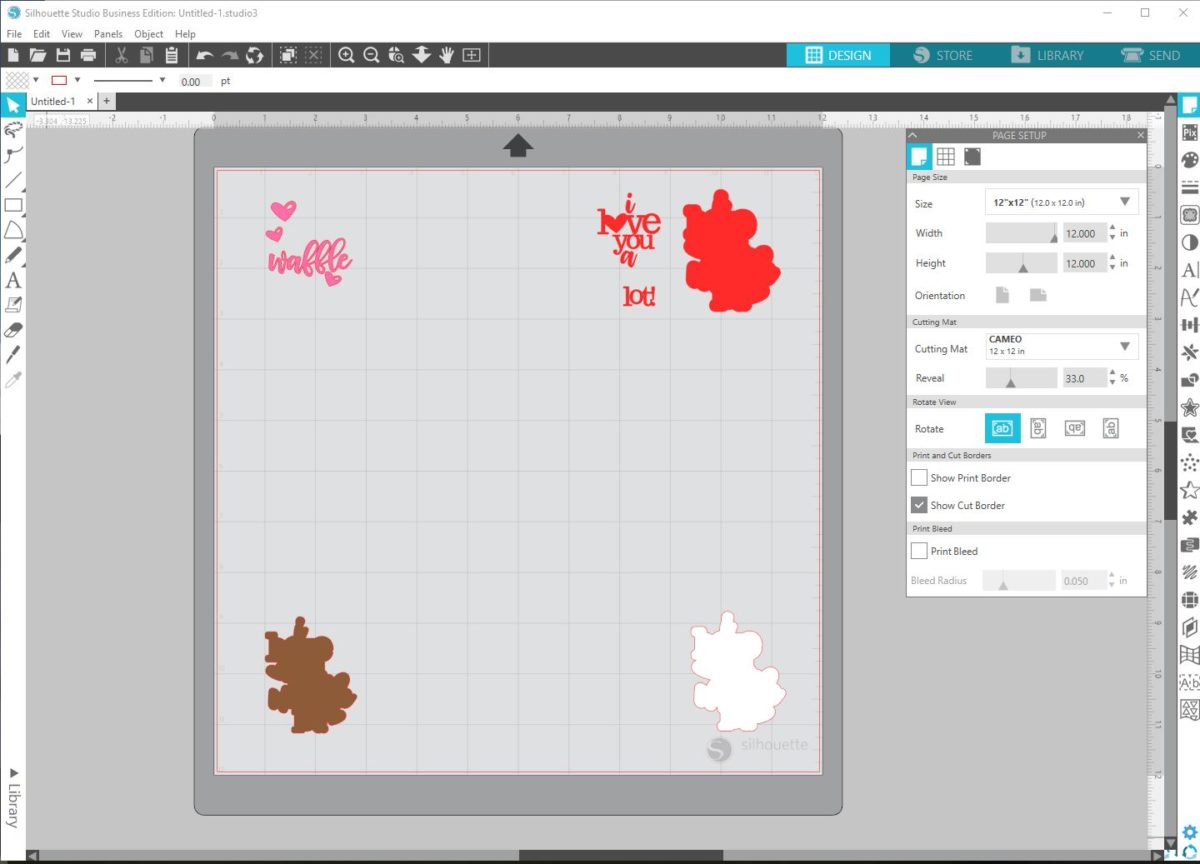
5. Determine how you want to cut out each piece from each color of cardstock. There are a few ways to do this, but here are the easiest options. Option 1: Group each piece of the same color together in a different section of the mat, cut the cardstock to the size of the section, and put the cardstock pieces in their corresponding areas on the cutting mat. Option 2: Group each piece of the same color together. Move all the groups except for one away from the cutting space and to the gray holding area. Once one group is cut from one color of cardstock, move that group to the gray holding area and move a new group to the cutting area and cut with a different piece of cardstock. Repeat until all of the groups have been cut.
6. Click the Send tab to open the Send panel. Choose your material (we used cardstock for each group), adjust your blade if you are using a machine without an AutoBlade, and click Send after you have loaded your cutting mat with the cardstock into your machine.
Step Two: Assemble the Pieces
1. Use the spatula tool from the Silhouette Tool Kit to remove the pieces from the cutting mat. The spatula tool is especially useful in this case since some of the pieces of this design have thinner parts and are more delicate.
2. Glue the layers together starting from the bottom layer and working your way to the top layer. You may find it helpful to use the Pick-Me-Up® tool from the Silhouette Tool Kit to move and place the smaller pieces.
3. Once your assembled design has dried, glue it to a straw.
Tip: Place the design face down on a flat surface. Add glue to the straw, place the straw on the back of your design, and allow the glue to dry. This ensures that the design and straw will dry flat without you needing to hold the straw or design in place.
While I waited for the glue to dry, my son and I made the waffles. Not only are they heart shaped, but they are also chocolate! After putting the waffles on a plate and topping them with berries and whipped cream, I placed the straw into the waffles. The topper is such a cute and fun touch to a special breakfast!