Silhouette Studio® has an Effects feature for adjusting imported raster images, gradient fills, and pattern fills. Once you have an image created and selected which contains a raster image (such as a JPG or PNG), gradient fill, or pattern fill, you can go the Effects panel to adjust the image with a variety of Effects options. The Effects feature does not work with images filled with the Fill Color feature.
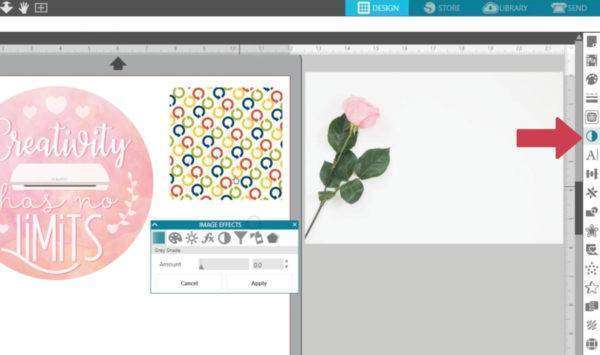
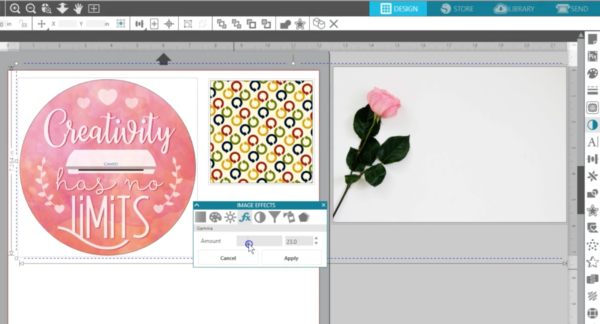
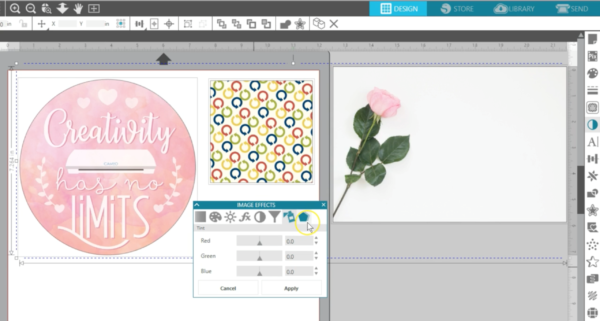
We’ve got a Print & Cut design, a pattern-filled square, and an imported photograph. We’ll select them all at once so you can see how these effects alter each type of image. All options are controlled by scroll bars that can be dragged to achieve the desired effect. As the effects you want are achieved, you can click on the “Apply” button at the bottom of the Effects panel in order to set the effect into place. If you don’t like the effect, you can click Cancel and try another. If the “Apply” button is not selected, it resets when moving on to another effect, so be sure to click “Apply” if you want to use a combination of effects.
The following Effects options are available: The “Grey Shade” option will convert the image to a grey-tone image.

The higher the amount applied, the more grey tone will be applied to any color appearing in the image.

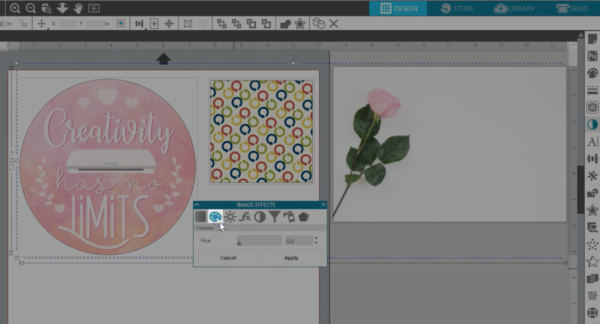
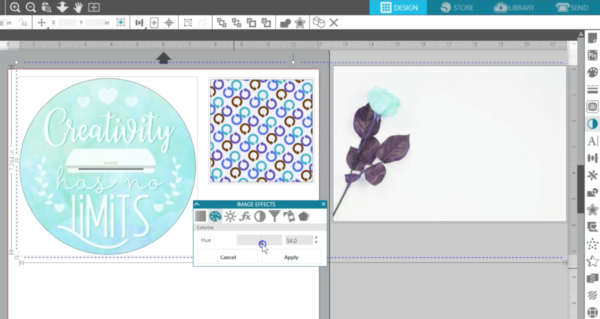
The “Colorize” option will cycle through the Hue of colors appearing in the selected image.
As you can see, depending on the image you’re recoloring, this can look really great or really strange!
Contrast, Brightness, & Saturation controls allow you to adjust the range of Contrast, Brightness, and color Saturation of the selected image.

The “Gamma” option controls the image’s intensity, where lower scale levels will darken and intensify the image and higher scale levels will lighten and soften the image’s intensity.
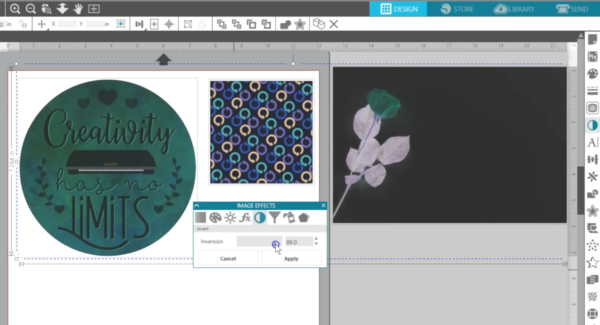
The “Invert” option inverts the image’s color scheme where the default 0.0 setting is the original color and the top 100.0 scale setting is a full inversion of coloring.
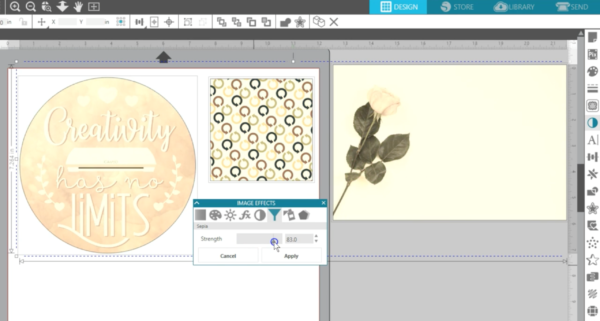
The “Sepia” option will convert the image to a sepia tone image. The higher the strength that’s applied, the more sepia tone will be applied to any color appearing in the image.
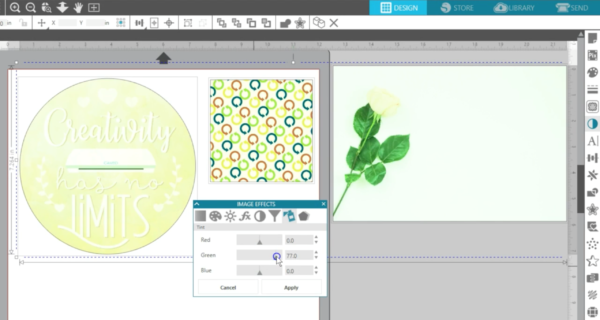
The “Tint” option controls the specific levels or Red, Green, and Blue tint of the selected image’s coloring.
The Shadow effect that’s available in Designer Edition and higher is covered in its own tutorial.
We hope you enjoyed learning about the fun color effects you can apply to images that already have their own coloring or fill patterns.