
Spring is on the way, and I’m loving using flowers, flowers, and more flowers on all my handmade projects so that I can will Spring to get here a little faster! Today I’m going to show you how you can make an adorable flower layout of your own.
Supplies Needed:
- Silhouette CAMEO® or Silhouette Portrait®
- Silhouette Studio®
- Silhouette Cutting Mat
- Silhouette Cutting Blade
- Cardstock in a rainbow of colors
- Adhesive
- Design ID #288406
Step One: Download, Open, and Arrange the Design
1. Go to the Silhouette Design Store and purchase Design ID #288406.
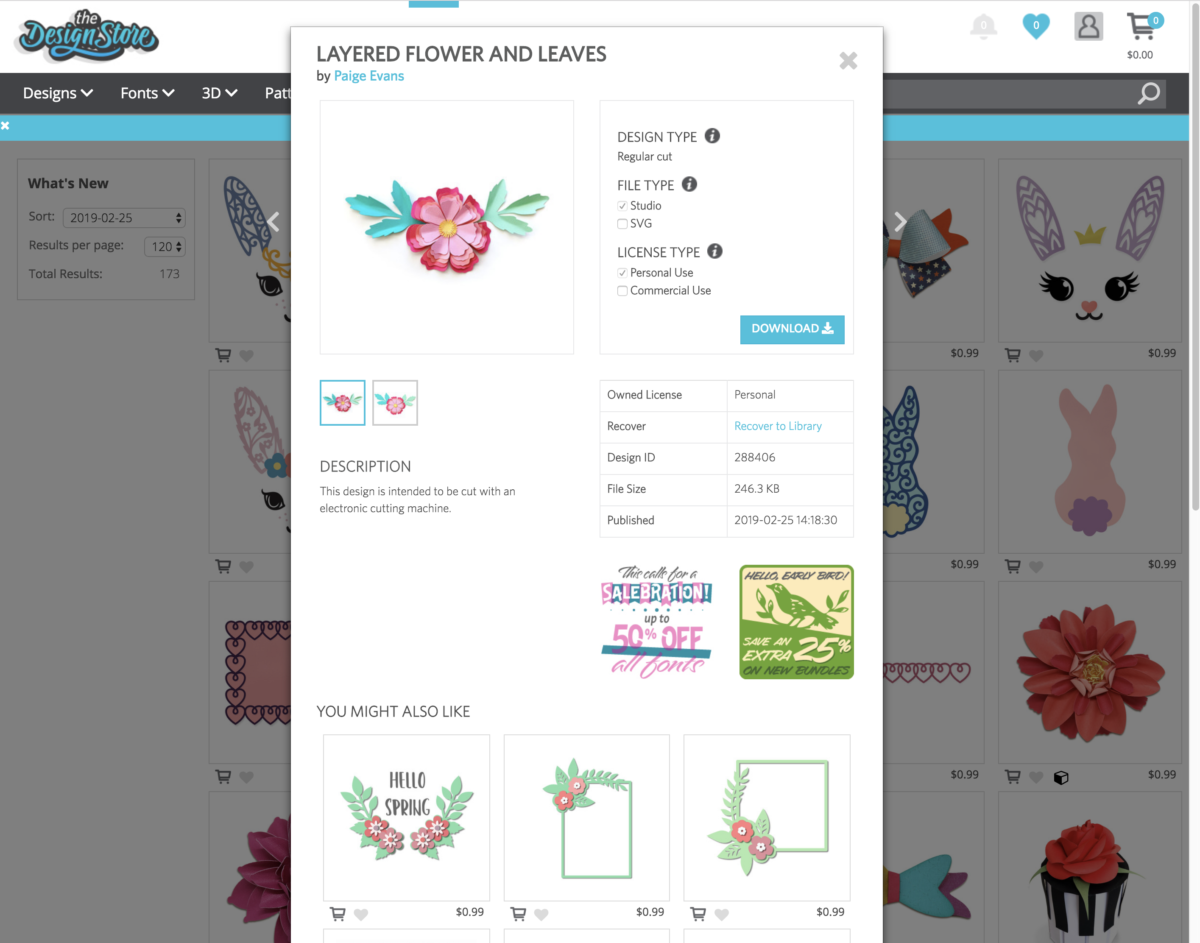
2. Go to your Silhouette Studio® Library and open the design.
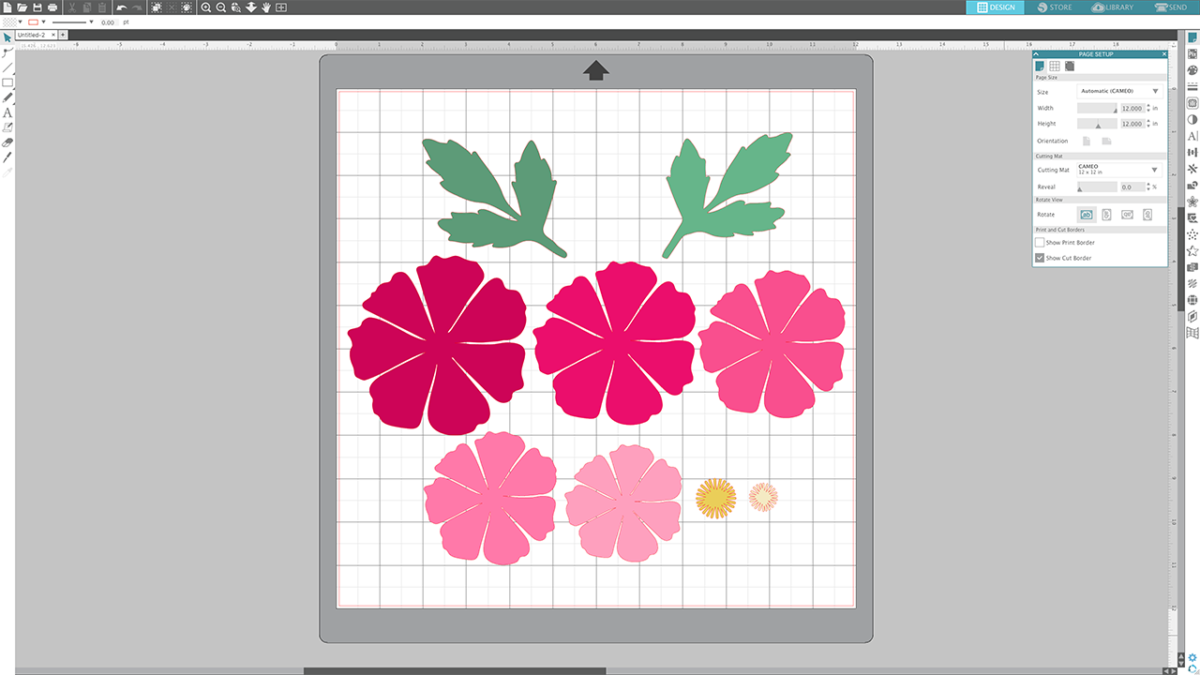
3. Right-click on the design and click “Ungroup.”
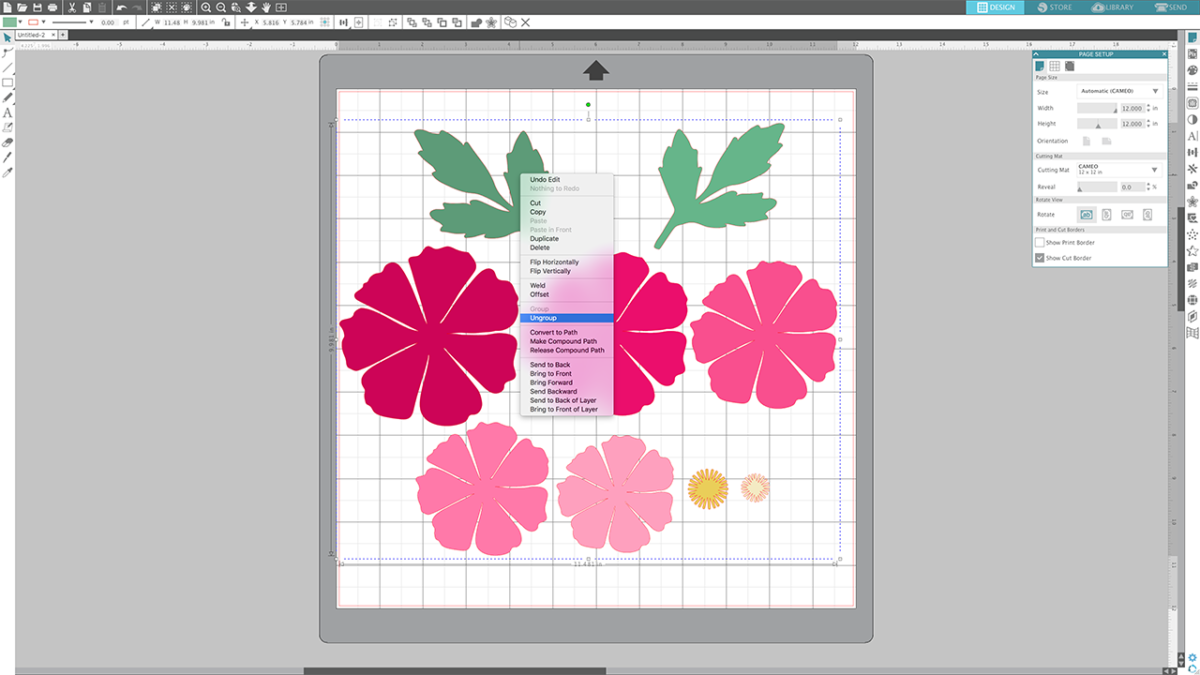
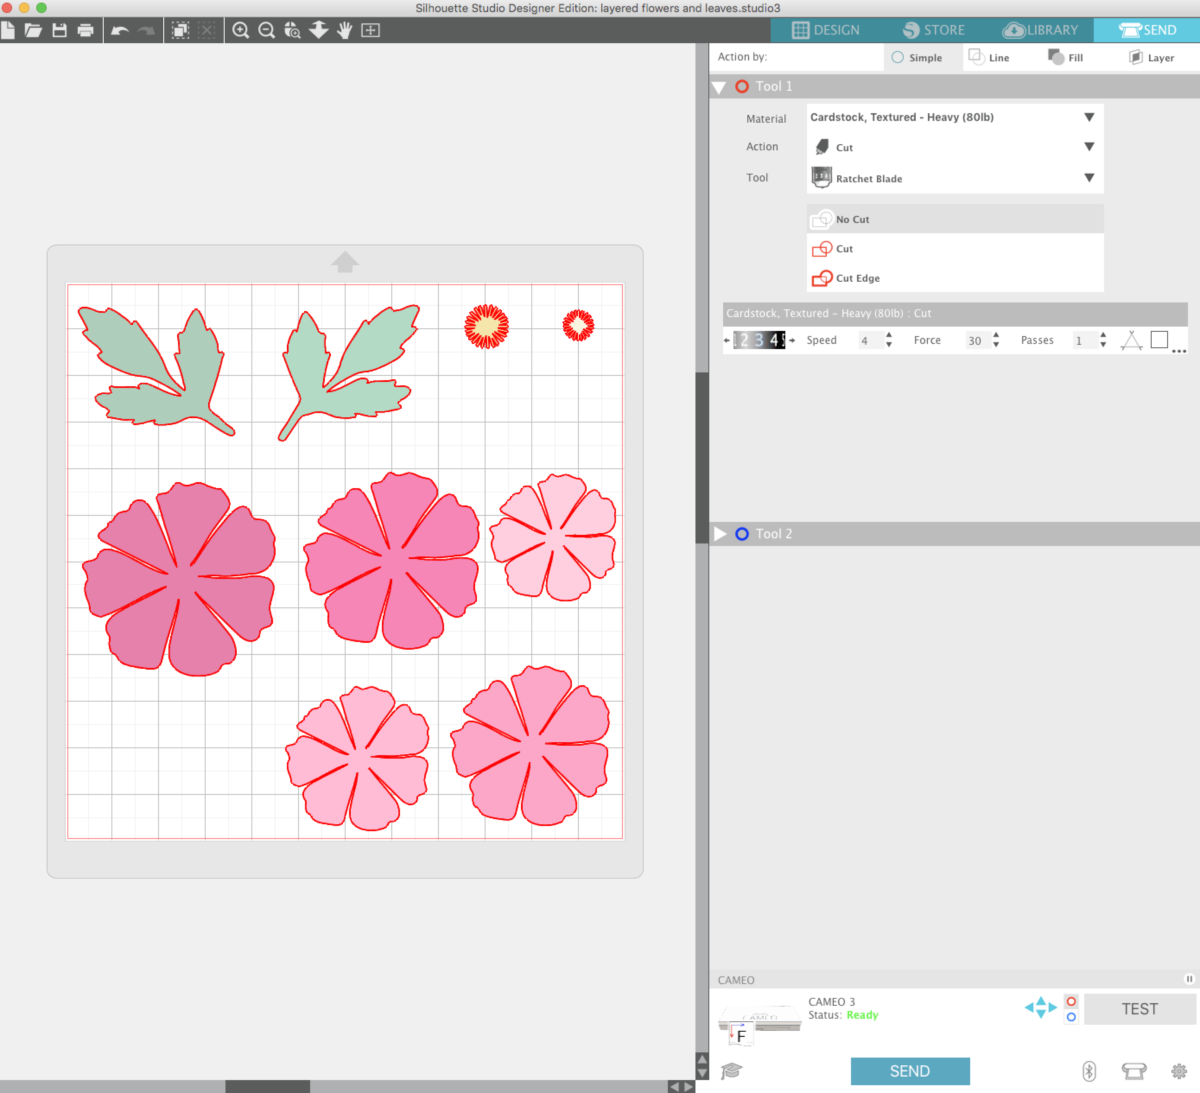
4. Make sure the grid is turned on (you can turn it on by going to the Page Setup panel) and move the flowers and leaves around to fit into squares. The leaves will be in 4-inch squares, the yellow flower middles in 2-inch squares, the largest flower in a 5-inch square, the next two smaller sizes in 4-inch squares, and then a 3 1/2-inch square, and finally the smallest flower in a 3-inch square.

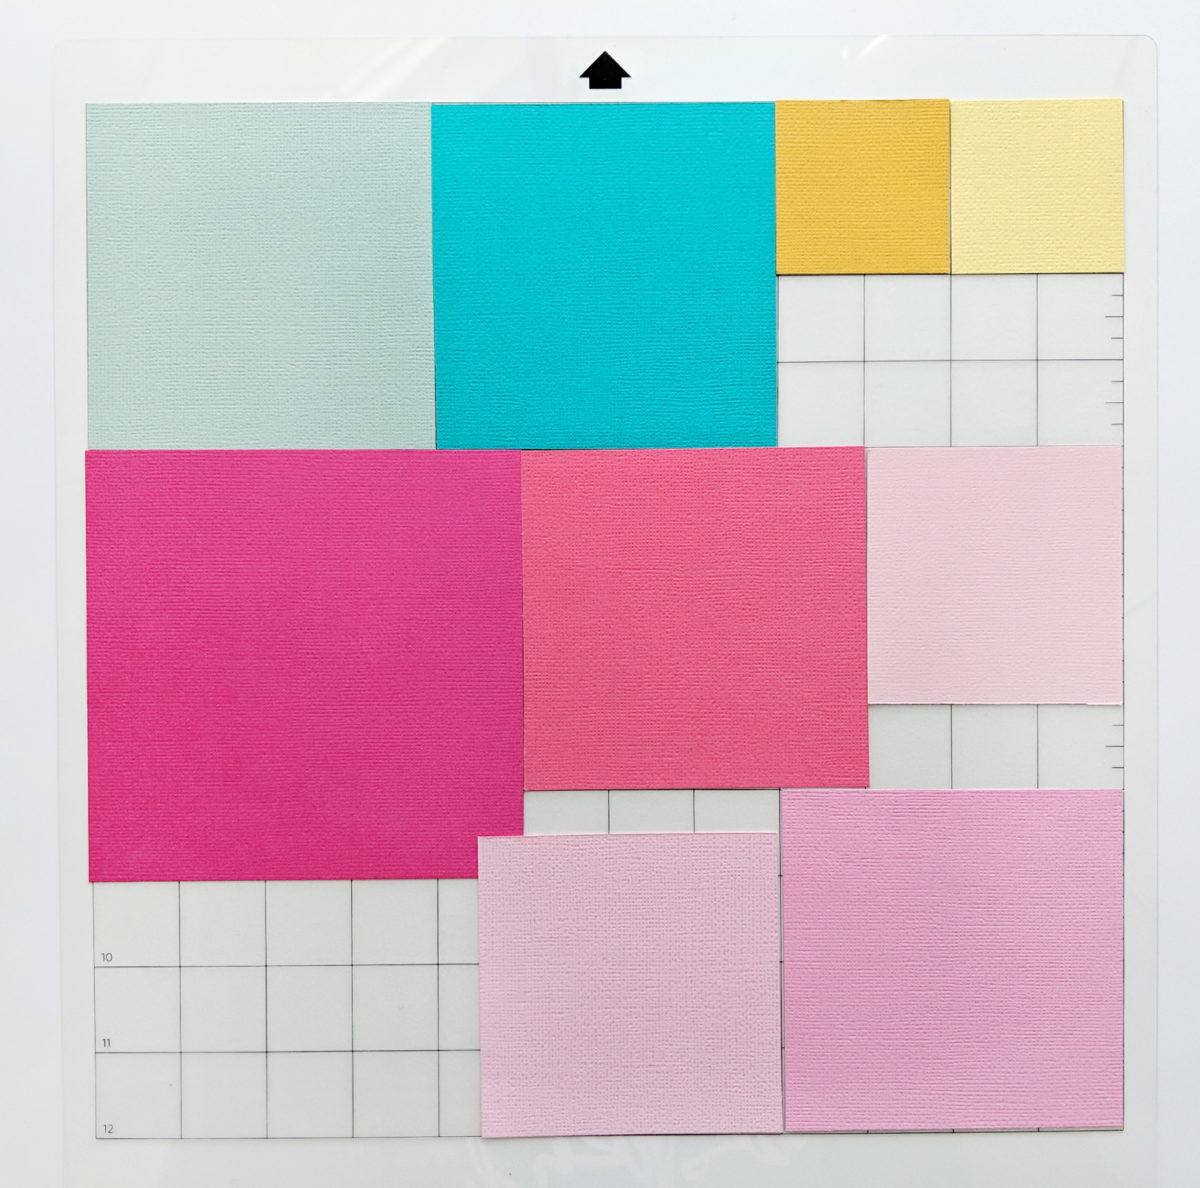
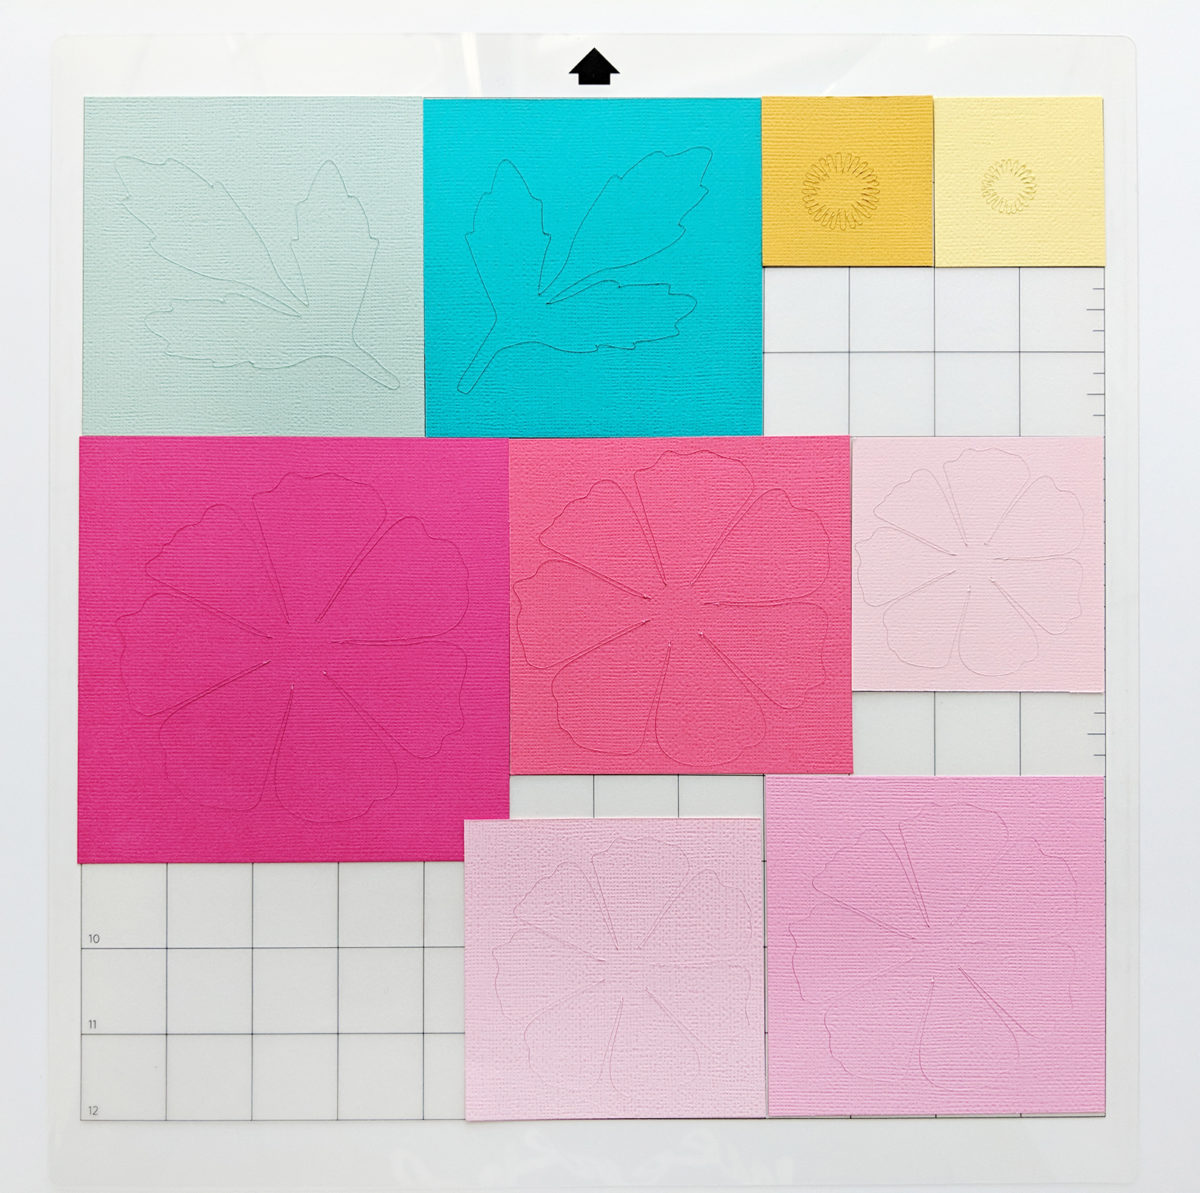
5. Cut squares of colored cardstock to size and place them on the Silhouette mat to mirror where your designs are placed in Silhouette Studio®.
Step Two: Cut the Design
1. It’s time for your Silhouette machine to do its thing! Load the cutting mat with the cardstock into the machine and change the settings to reflect the material, tool, speed, and force. I’m using “Cardstock, Textured – Heavy (80lb)” with a Ratchet Blade set to a depth of 6, a Speed of 4, and Force of 30. Then click the Send button. It takes just a couple minutes to cut out all the pieces.
Step Three: Assemble the Flowers and Leaves
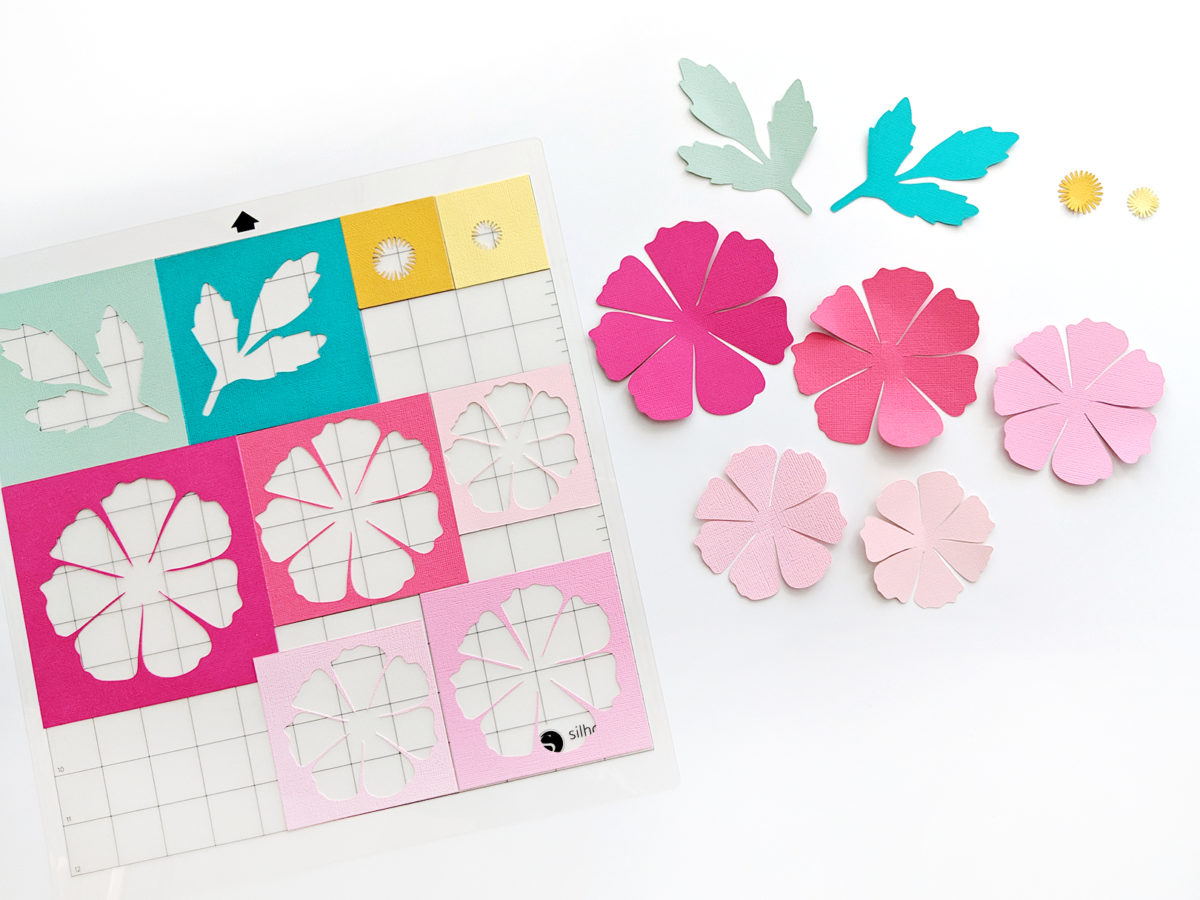
1. Now it’s time to assemble the flowers and give all the pieces dimension! Peel all of the pieces off of the cutting mat.
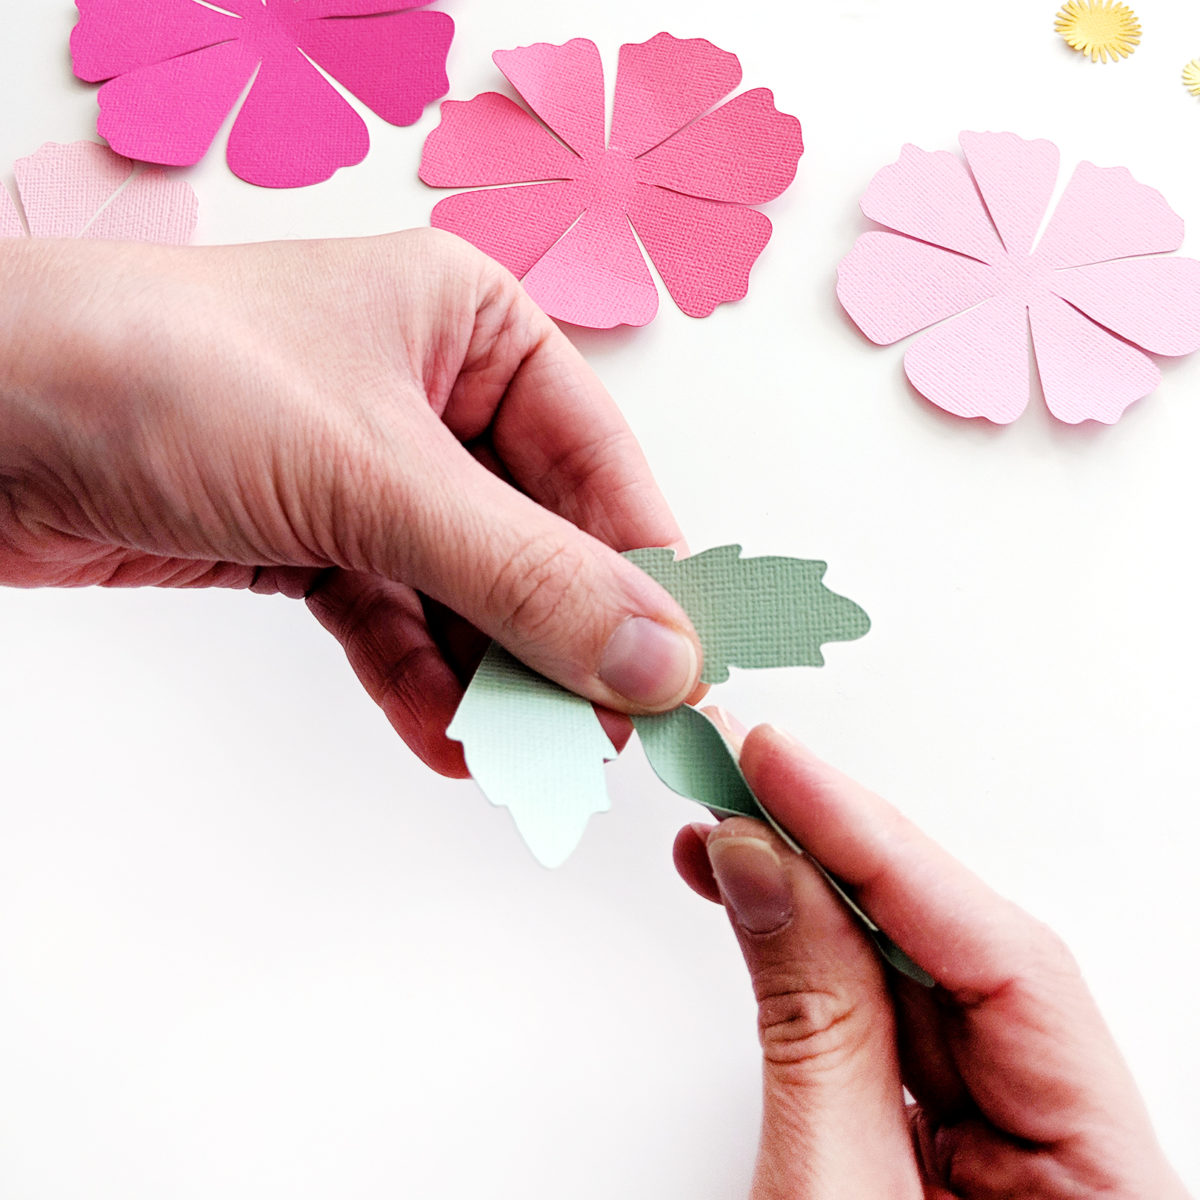
2. Help the leaves look more realistic by pinching each of the three leaves in half. Don’t crease too hard, just gently fold them.
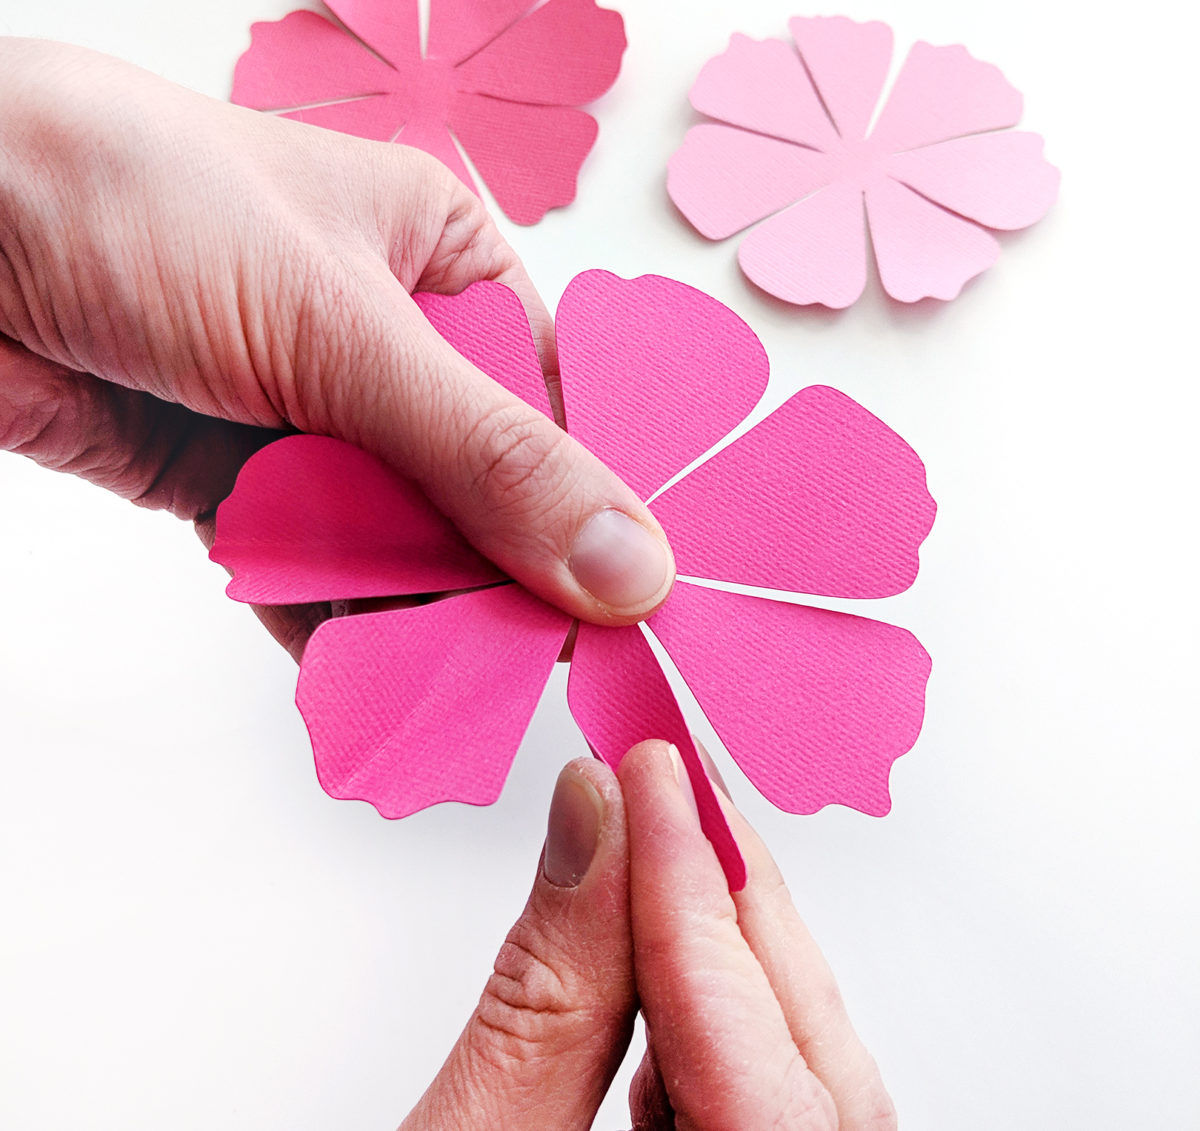
3. Pinch all seven petals of all five flowers in half too to make them look more like real flowers.
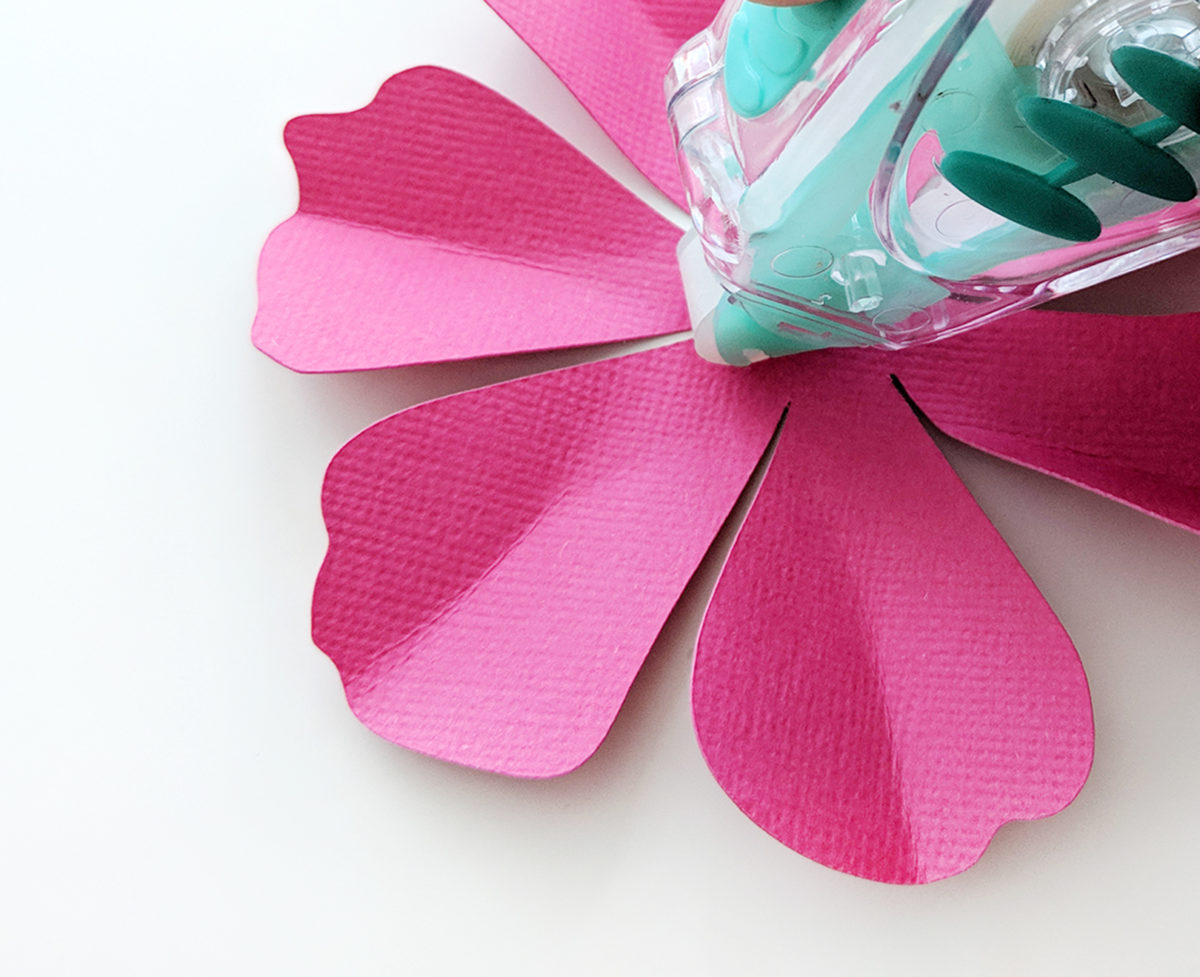
4. Starting with the largest flower, place a bit of adhesive in the center then layer the next smallest size on top.

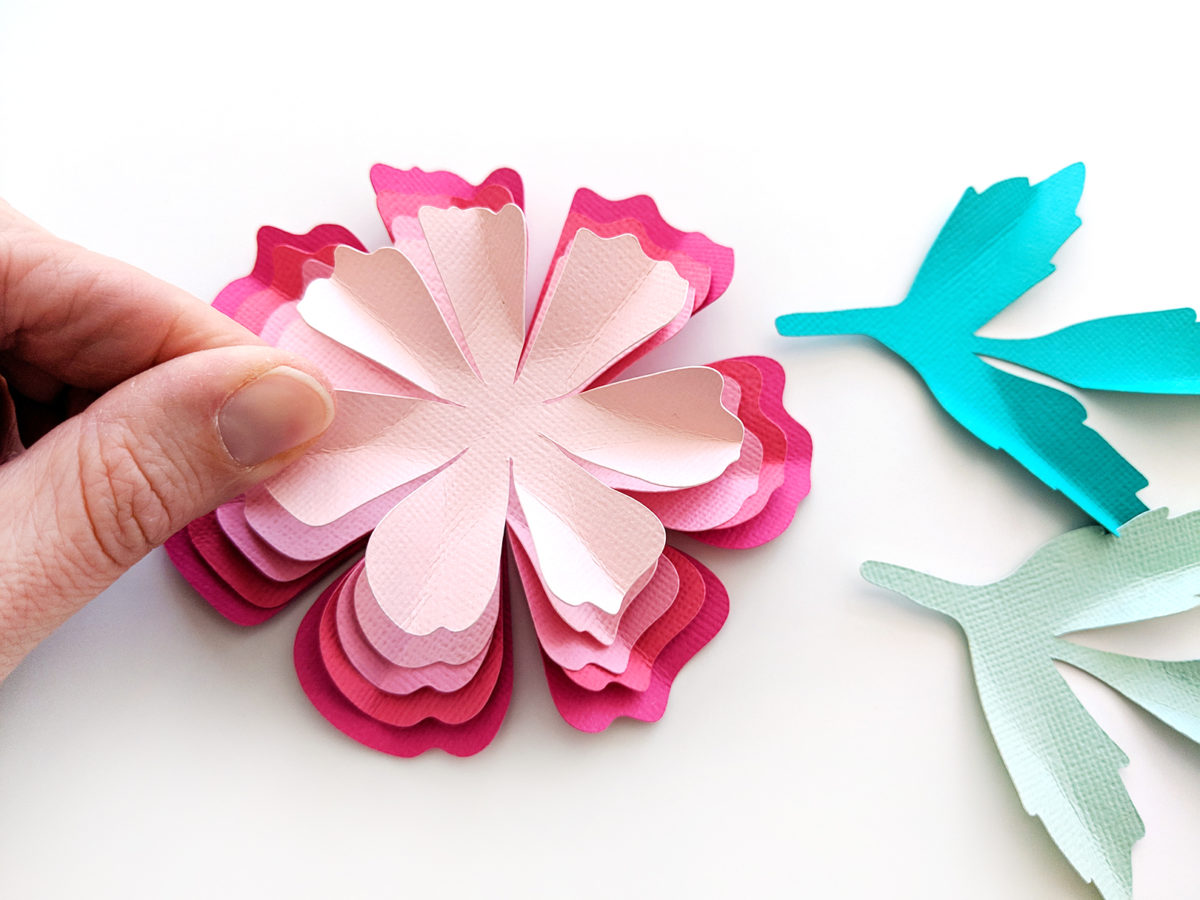
5. Repeat until all five layers are adhered. I chose to layer them all exactly in the same orientation but you could rotate them for a different look.
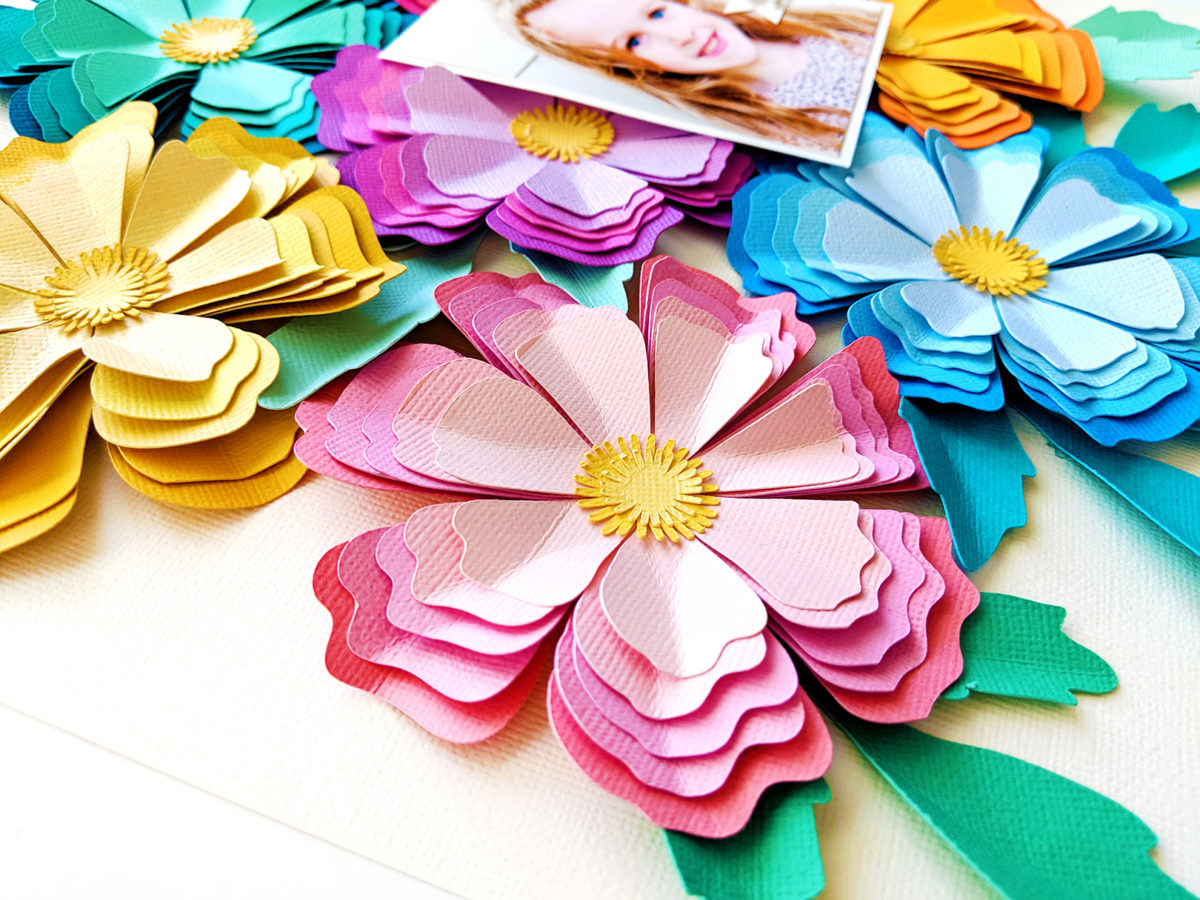
6. Add the two middle pieces in the center to finish. Also be sure to fluff up those edges for dimension.
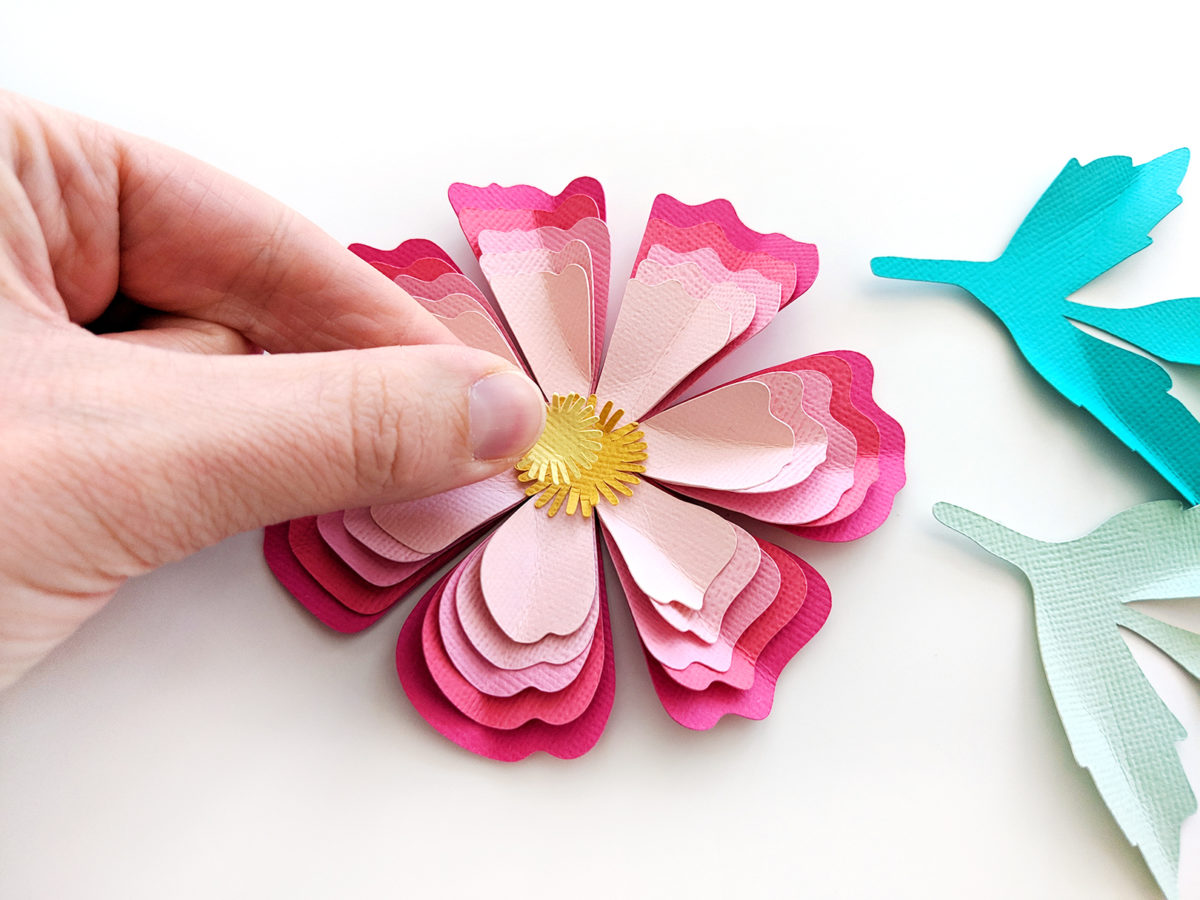
7. Here is what one finished flower with leaves looks like:
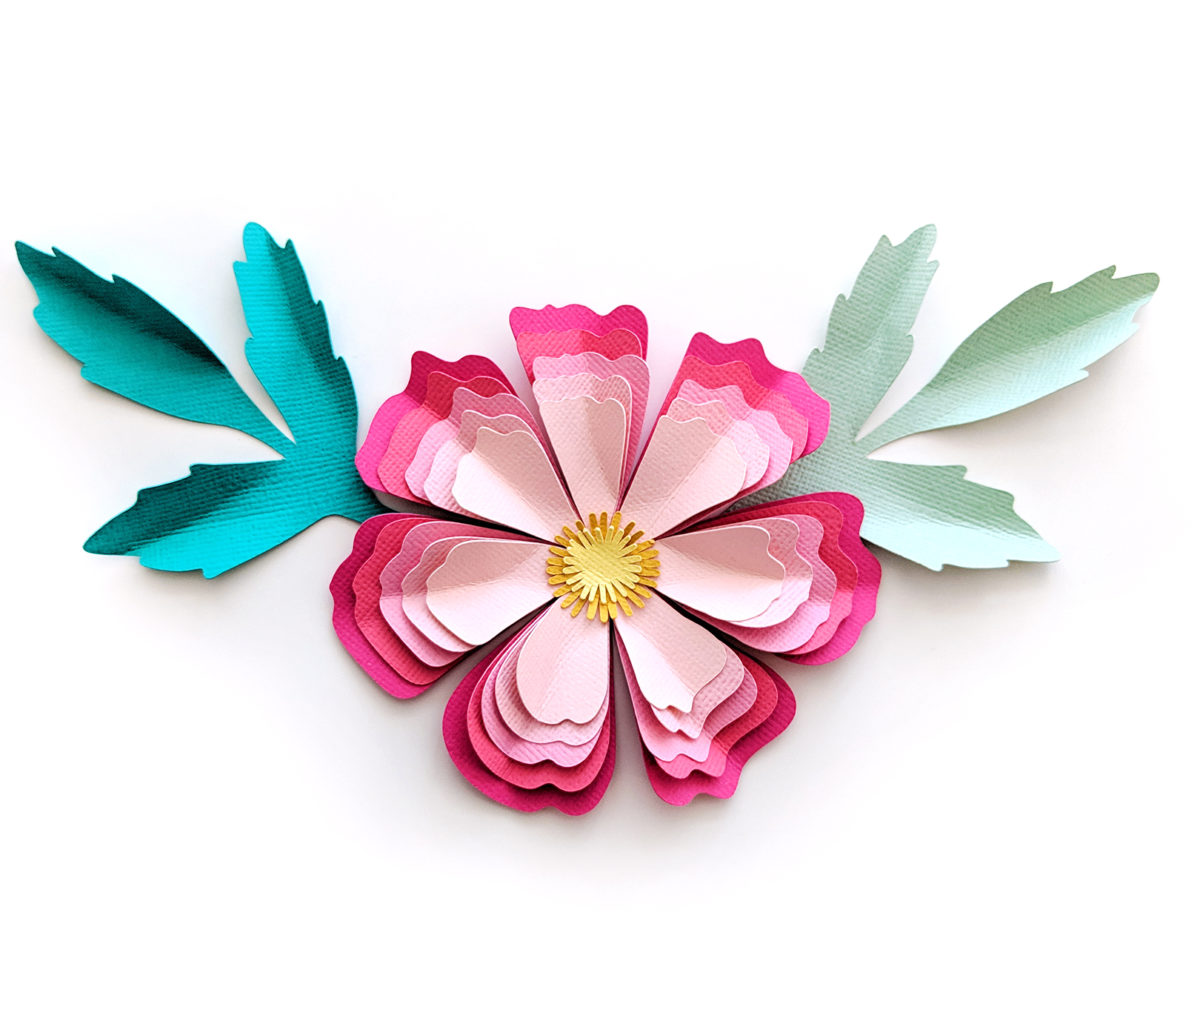
8. Make as many flowers as your heart desires! For this layout I made seven flowers and about nine leaves. Each flower is made with 5 different shades of cardstock and I made a yellow, light pink, aqua, purple, blue, dark pink, and orange flower.
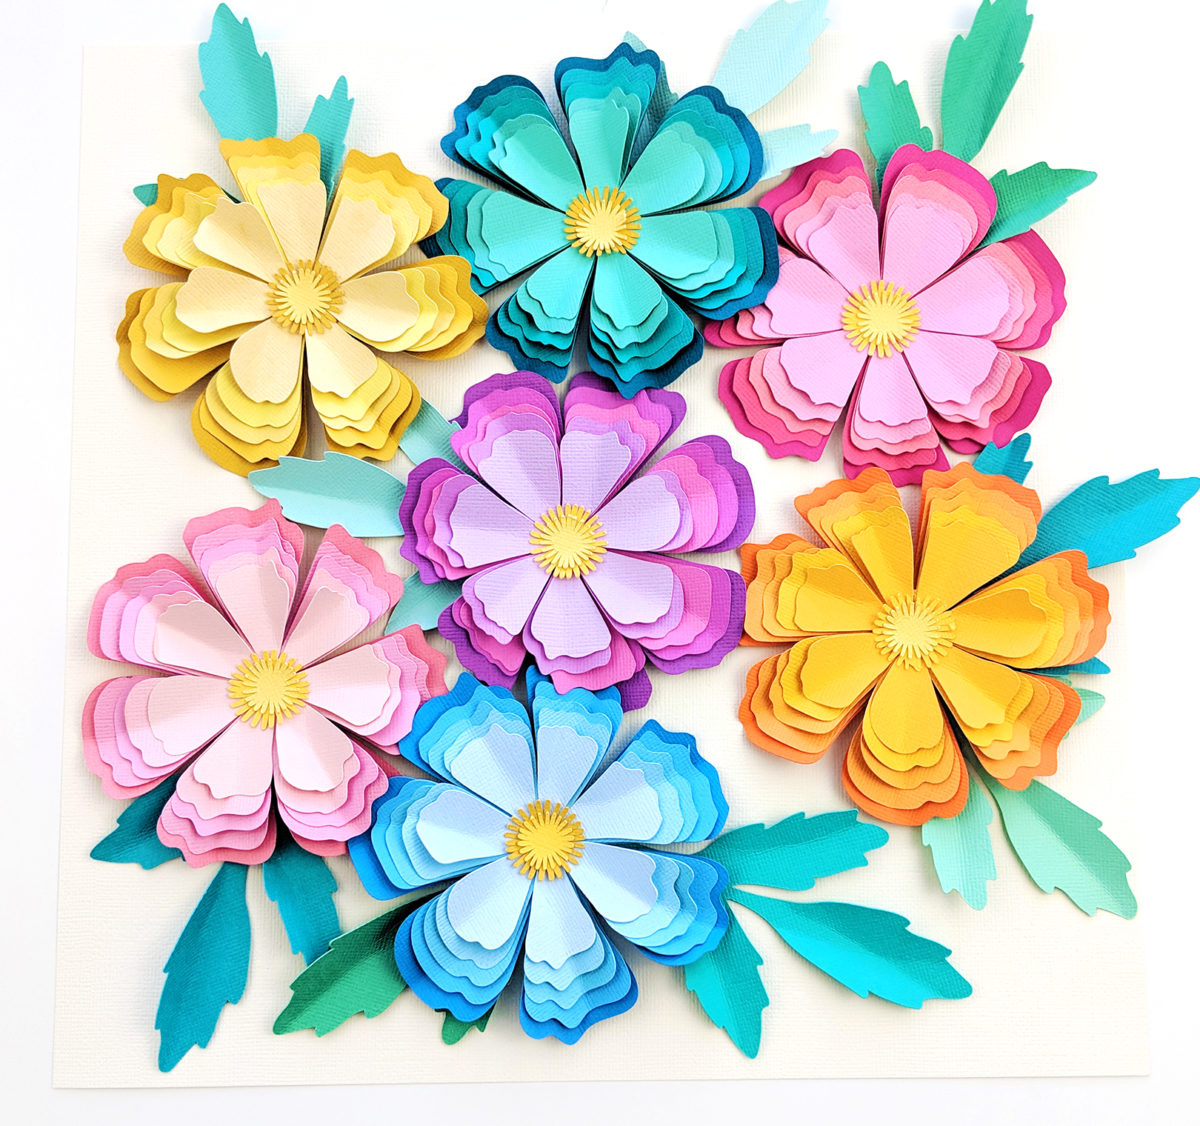
Step Four: Build the Layout
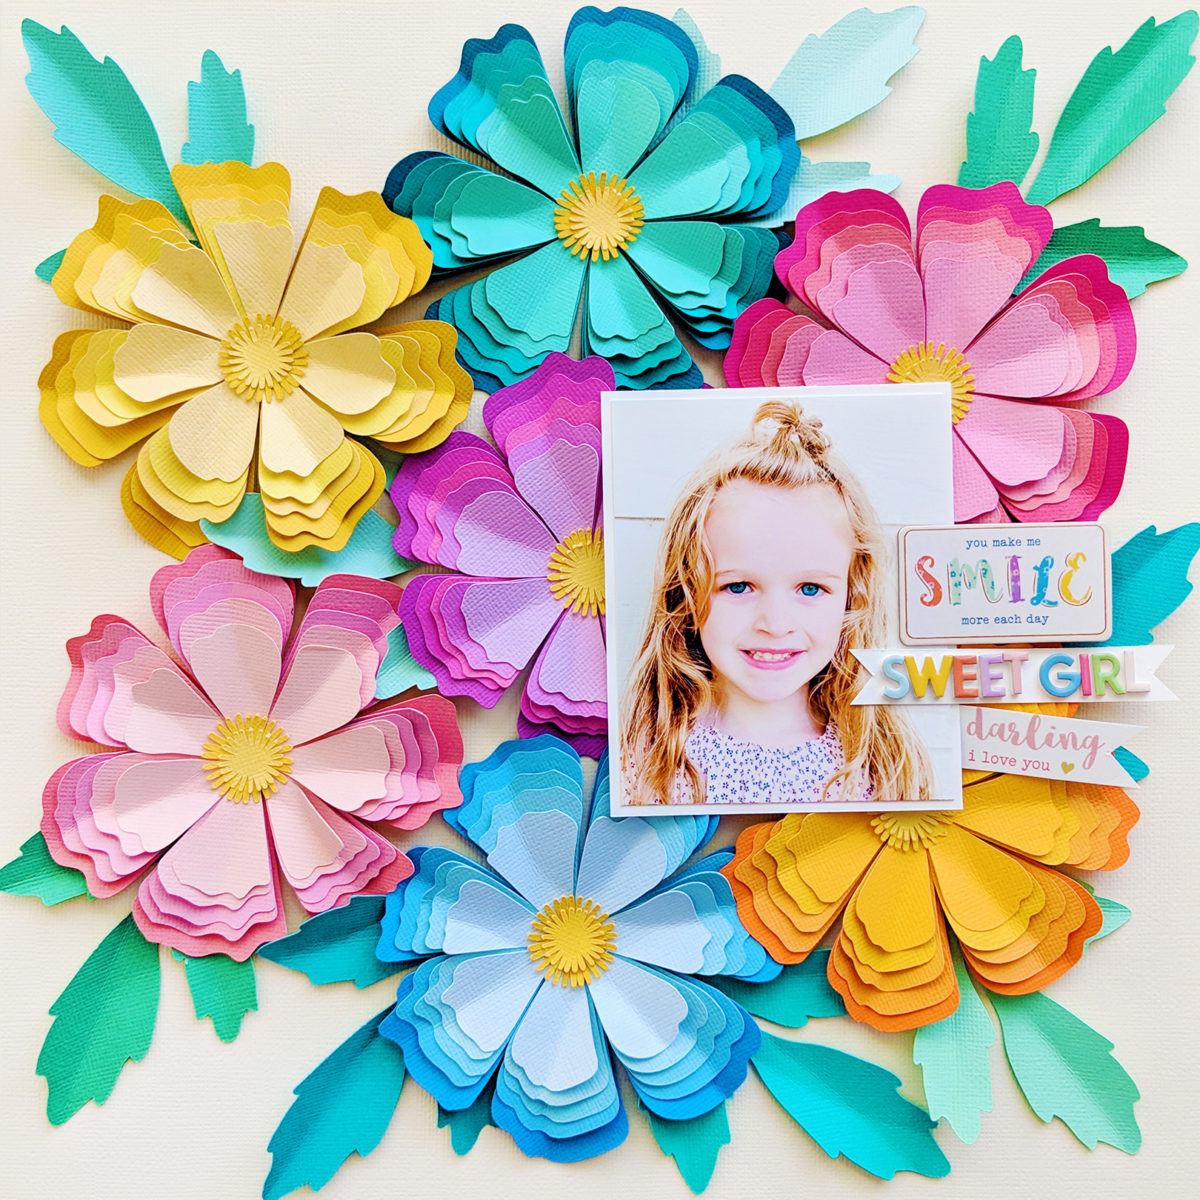
1. Choose a background cardstock—I used a light cream—and then adhere the flowers on top. I placed two on the left, three down the middle, and two on the right, then tucked the leaves all around.
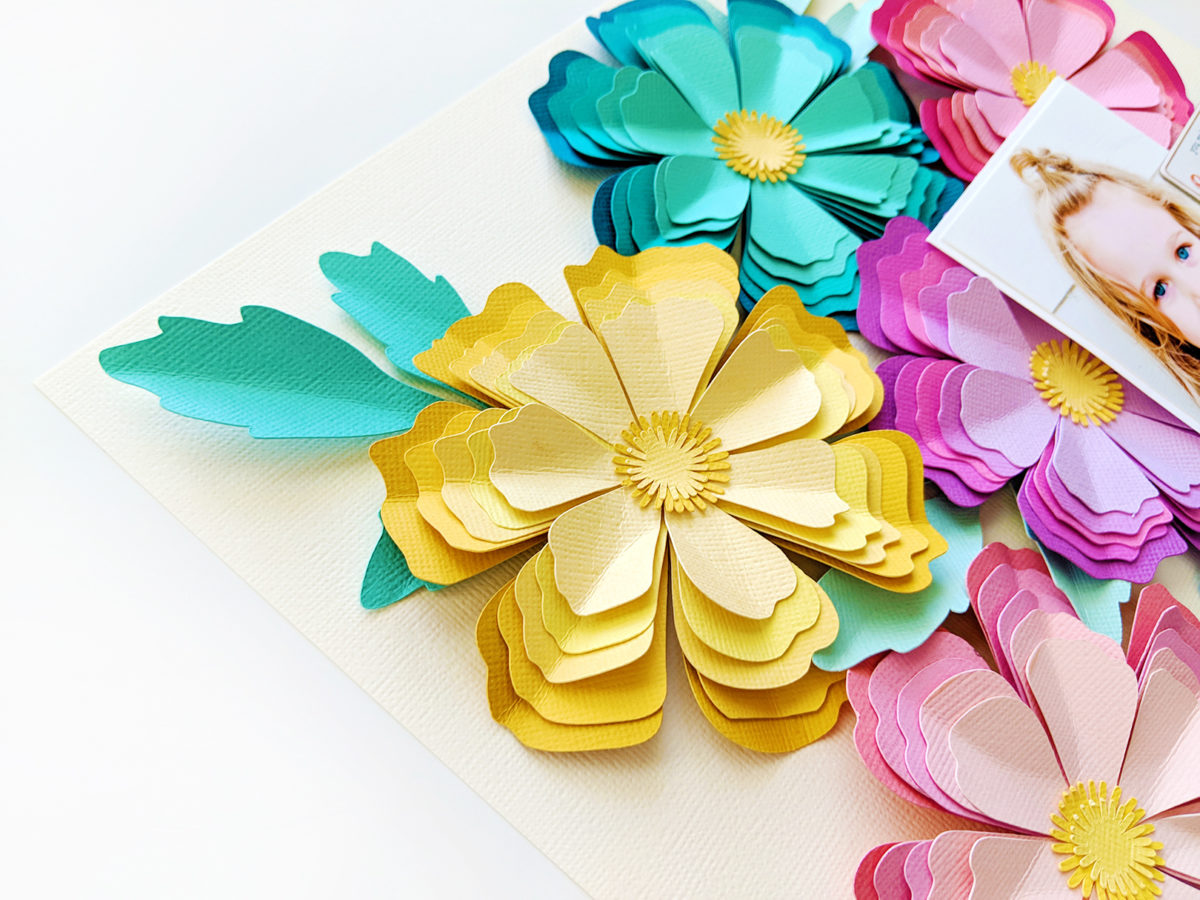
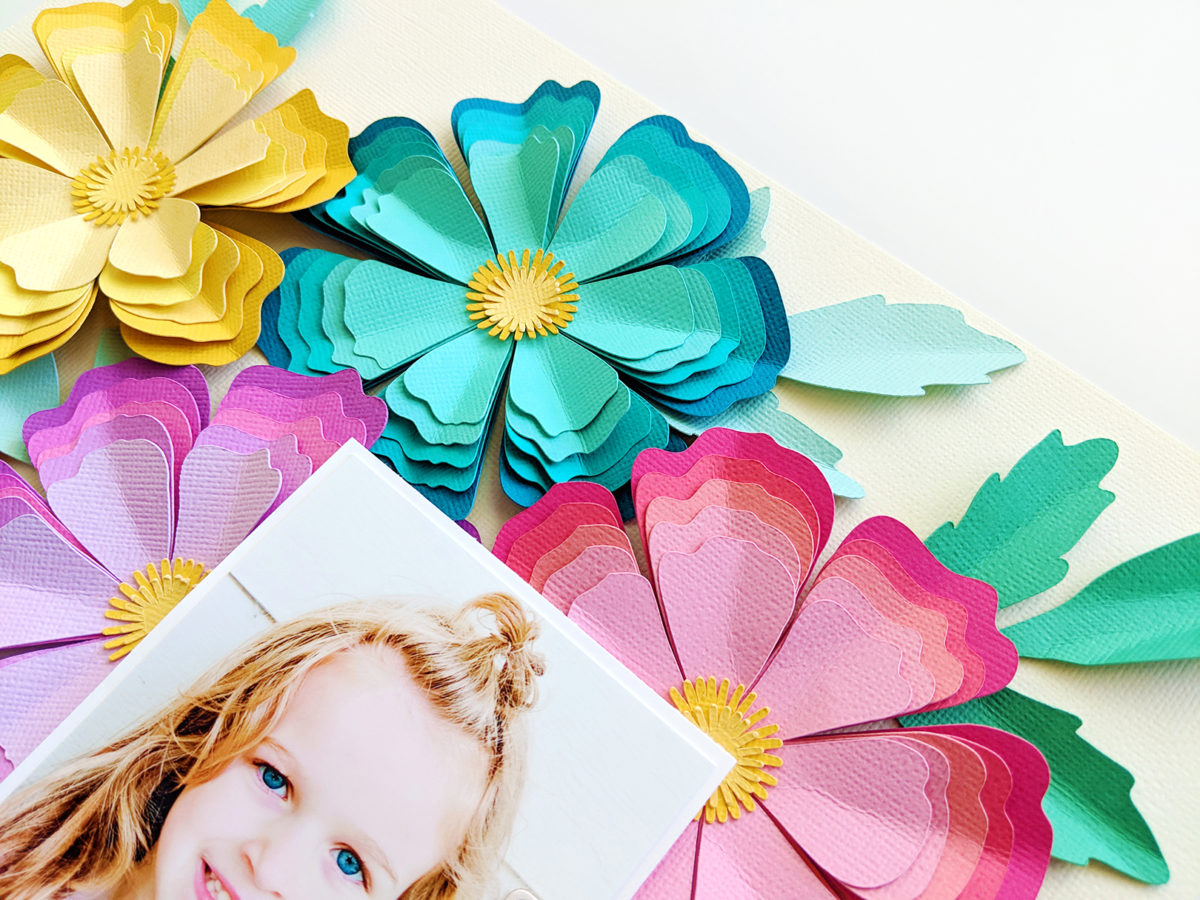
2. Add a photo to the right side and place a few sentiments along the edge for a title.
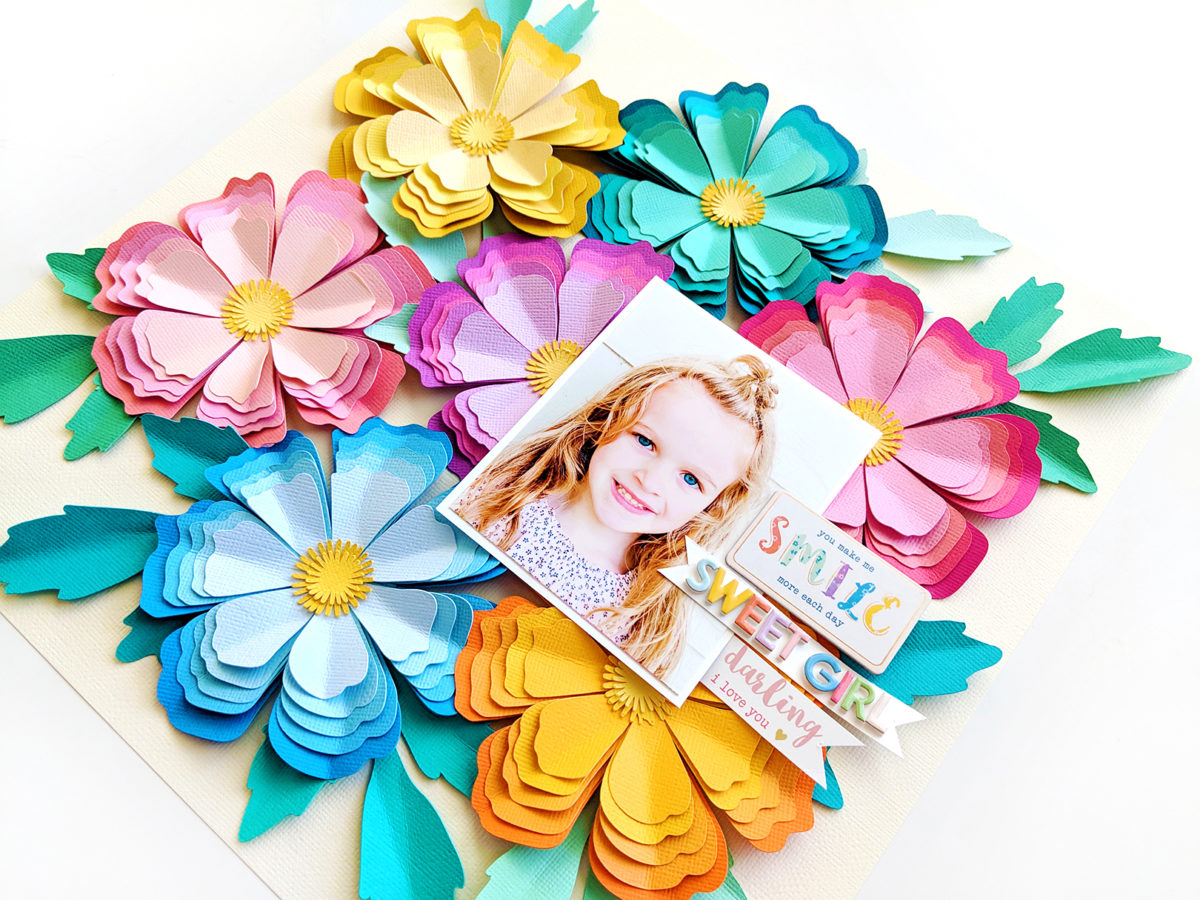
3. I may go back in and add a bit of journaling at some point, but for now this is the finished layout!
I hope you are inspired to check out my new Flowers and Leaves cut file (Design ID #288406) and build a fantastic, colorful, spring-y layout! I’ll leave you with a process video so you can watch how this layout came together from start-to-finish: