I’m so excited to share this layout with you because I had so much fun creating it and playing with the stippling feature on Curio.
The stipple feature lets you create dots of an image and there’s a variety of patterns to choose from to create the dotted design.
Supplies needed:
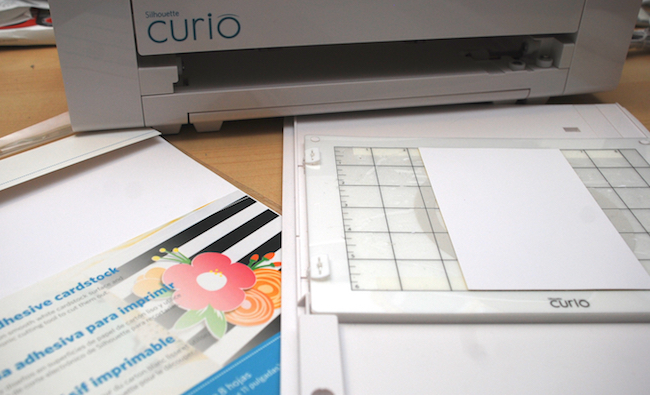
- Silhouette Curio™
- Adhesive Printable Cardstock
- Adhesive Corrugated Paper
- Adhesive- Backed Cardstock
- Markers (or Silhouette Sketch pens)
- Silhouette Pen Holders (*optional – only needed if using pens/markers other than Silhouette Sketch Pens)
- Silhouette CAMEO®
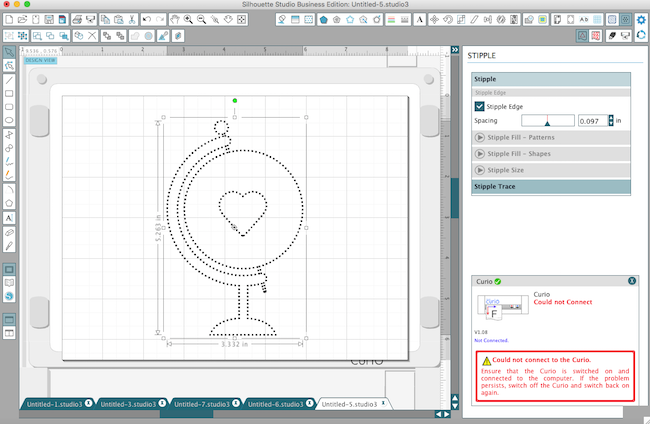
STEP ONE STIPPLE DESIGN
- Open image up in Silhouette Studio®, size your paper (in the Paper Size window) and choose the correct mat (I’m using a Curio mat)
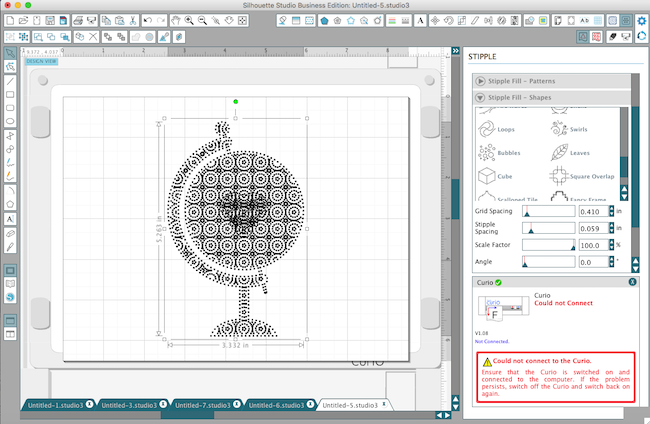
- In the Stipple box (top right menu bar) choose Stipple Edge. (this will reveal dots around your image)
You can change the spacing of the dots by sliding the bar up or down.
Now you could leave your dotted image this way but I wanted to fill mine in and use multiple colors doing so. So follow the next few steps below.
STEP TWO: STIPPLE FILL
- Choose the Drop down menu Stipple Fill >your pattern of choice
- Use the sliding bar to change the grid size, spacing, etc.
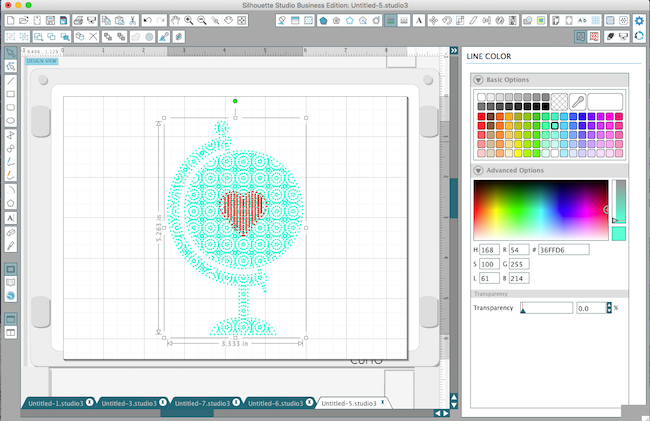
You’ll notice that the entire image is the same pattern. I wanted the heart to be a different design so head to step two to see how to change that.
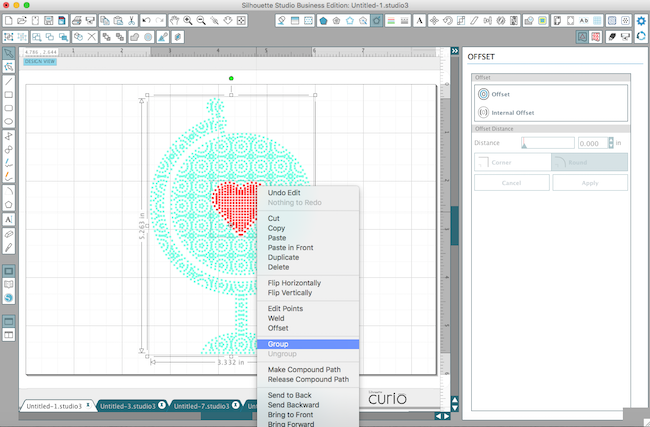
STEP THREE:
- Ungroup image
- Click on heart shape and choose the stipple pattern of your choice (I chose stripes)
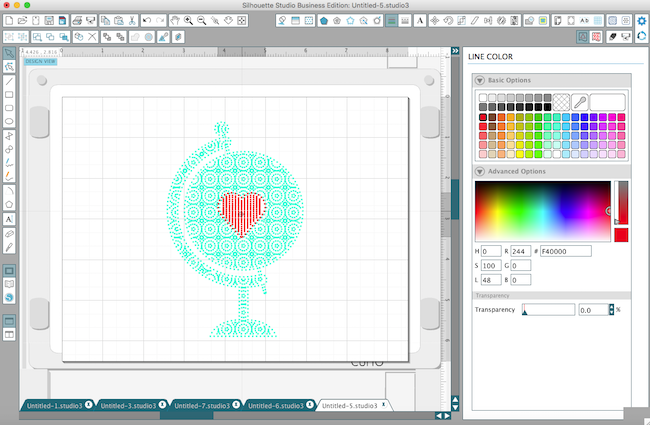
- Head to the Line Color window and click on design (globe section) your color choice
- Click on heart shape and chose your color choice
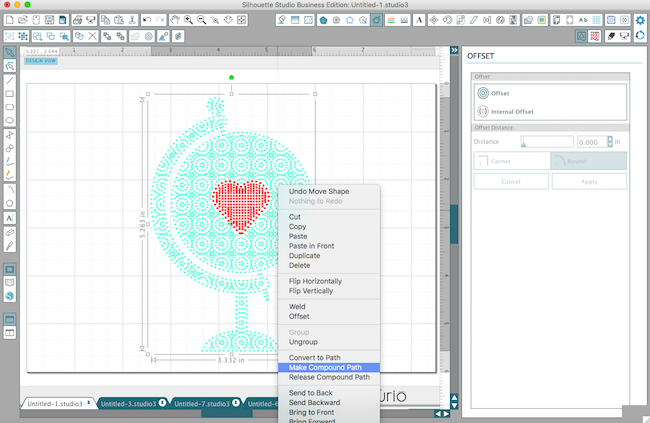
STEP FOUR:
- Click on the heart shape and duplicate it
- Move the duplicated shape to the side
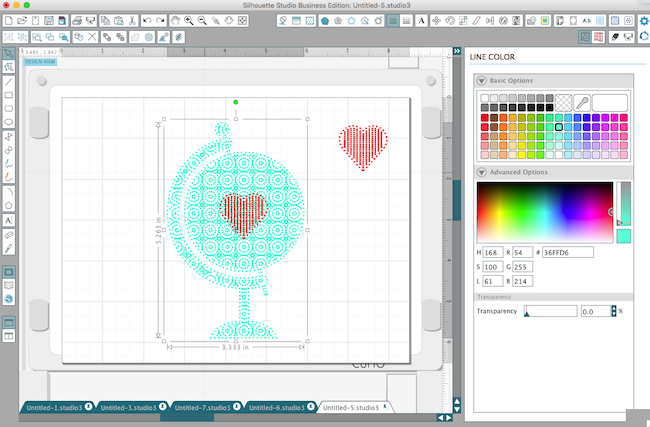
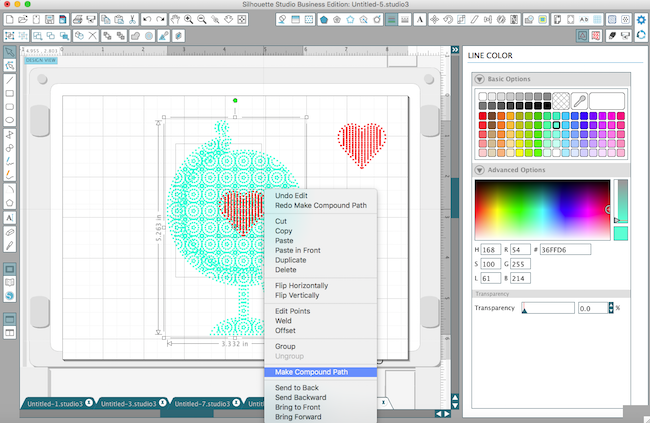
- Right click on the globe image > release the compound path
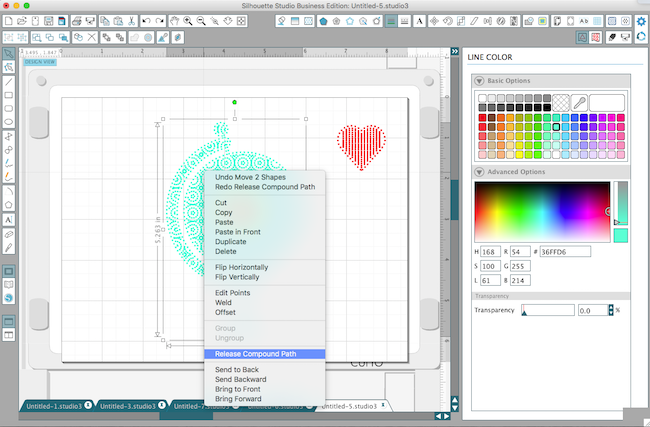
- Right click on image again > Make compound path
Once you do this you will notice that the middle section (heart shape) and the darker area on the globe handle will disappear).
- Now move the heart shape back to the center, lining it up with the dots already there
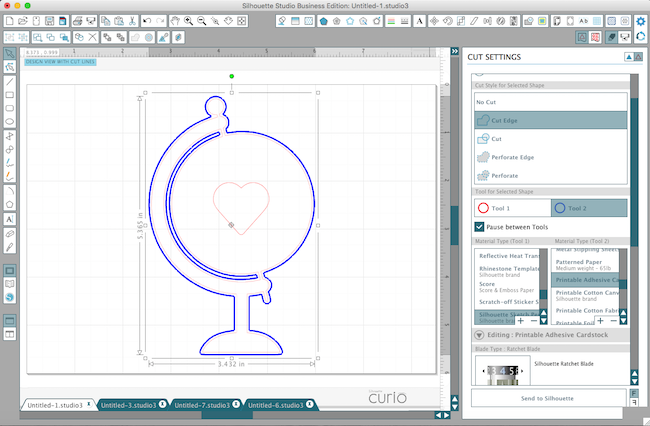
STEP FIVE:
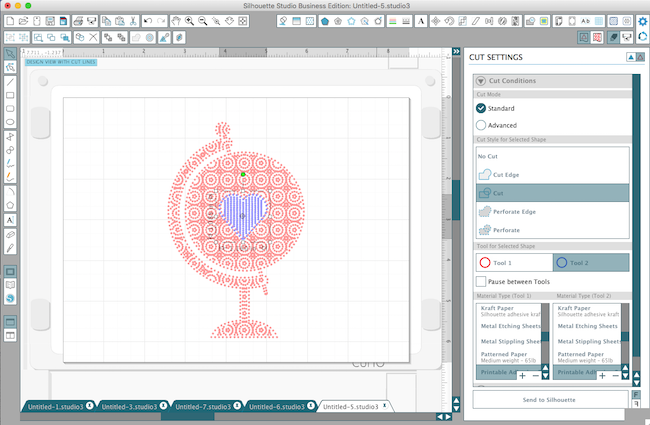
- Cut Settings – choose Advanced and select the material for each line color

- Tool 1 (red circle) will be creating the dots for the globe image >select Sketch Pen
- Click on Tool 2 (blue circle) and the heart will change to blue > select Sketch Pen
I chose to use some markers instead of the sketch pens so I also needed to use the Silhouette Pen Holders. I have two different kinds so I was still able to use the multi tool function. You simply place the pen holder in the tool slots and you’re ready to go. (*you’ll notice that the black pen holder has side pins/screws that will need to be loosened in order to insert the pen and then tightened so that the pen stays in place.)
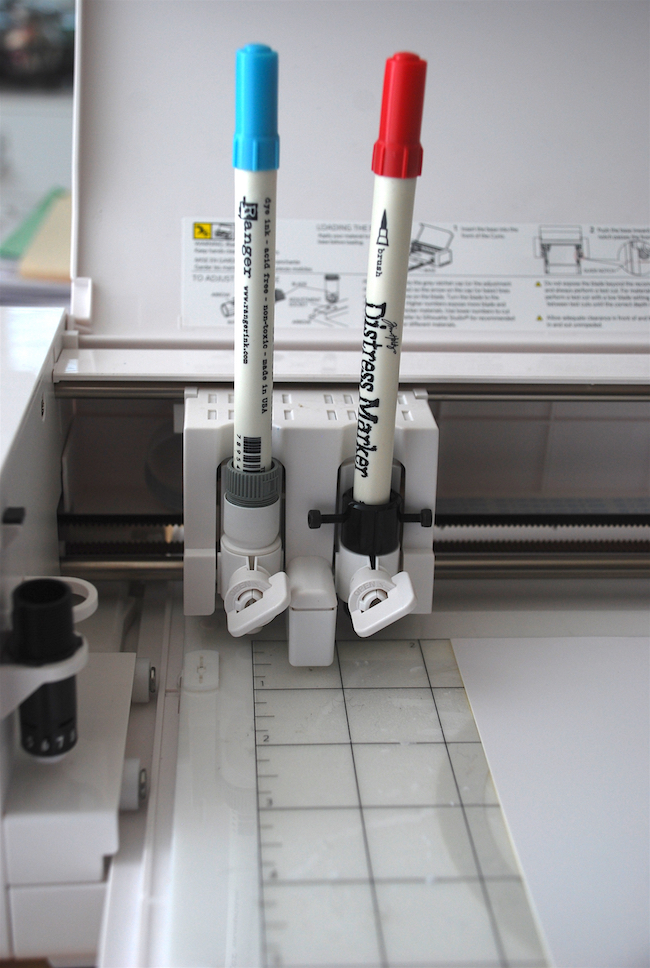
You can then click Send to Silhouette (and enjoy the beauty as it happens before your eyes!).
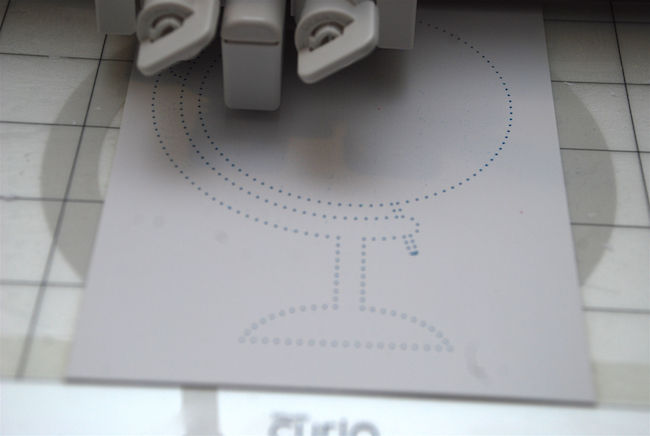
STEP SIX: Cutting stippled image
You can use either your Silhouette CAMEO® or Silhouette Curio™ for these next steps. (I used Curio because I had already been using it!)
- Click on both images (globe & heart) > Group
- Right click on image > Make Compound Path
- Click on Offset (in right window).
- Slide the bar until you are happy with the sizing of the outer edge.

- Head to the Cut Settings window > Cut Edge >select material for Tool 2 (blue) …. I chose Adhesive Printable Cardstock
*remember to replace the markers now with the cutting blade in Tool 2*
- Click Send to Silhouette
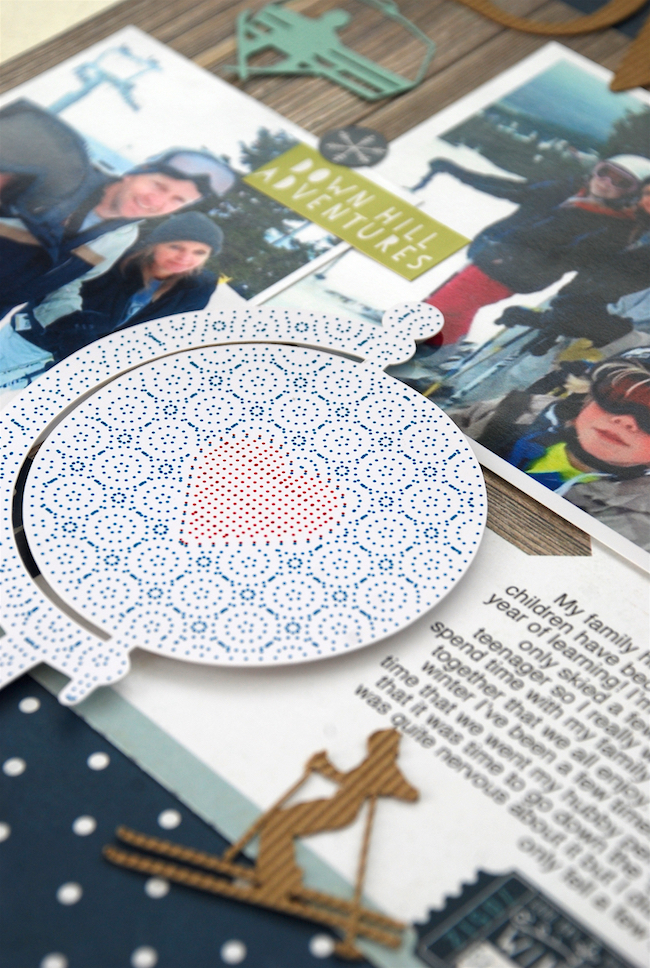
Here’s a look at the finished design, stippled and cut out.

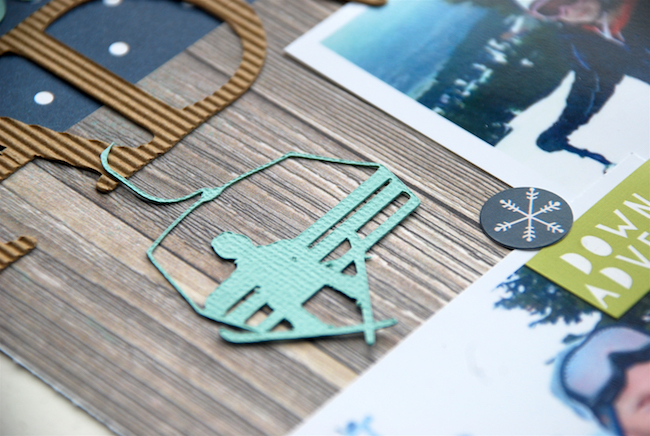
Here’s another look at the globe. I used some adhesive squares for added dimension to my layout.

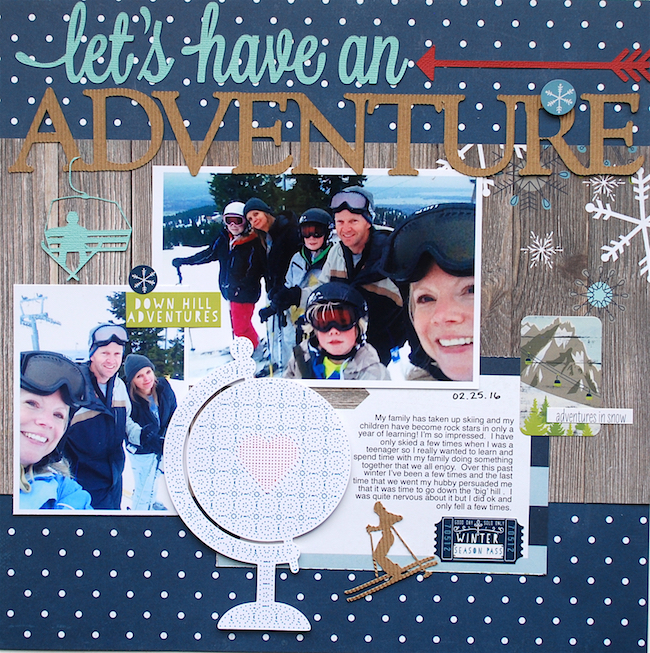
I also found some fun ski designs in the online store that fit my page perfectly!
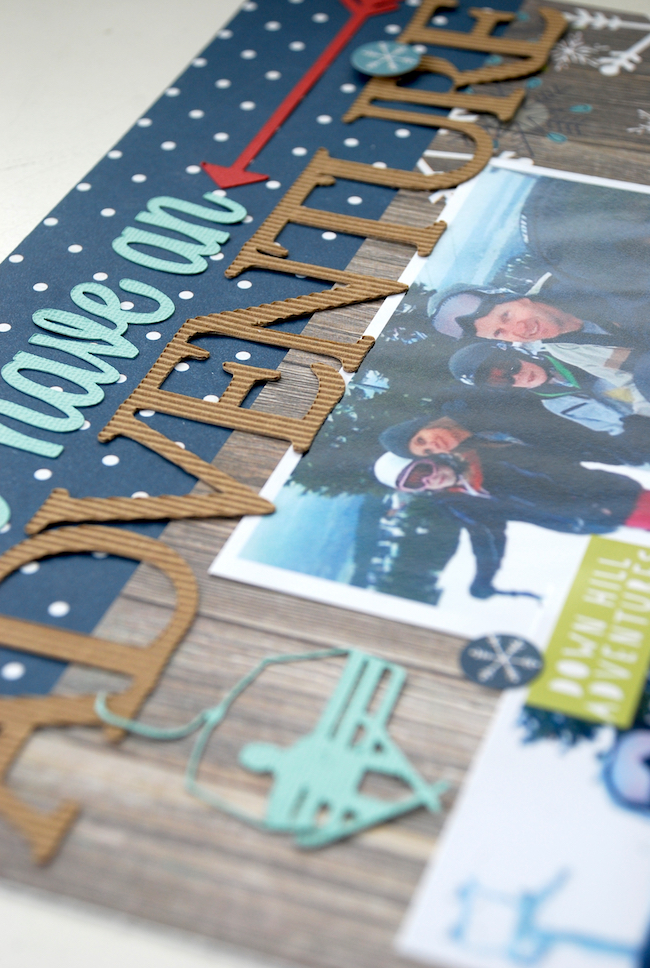
I love the look of the corrugated paper and it makes for an eye-catching title.
Thanks for stopping by and I hope that I’ve inspired you a wee bit to try stippling with your Curio.
Kelly Wayment
March 7, 2016
I love how the multi-colored stipple image turned out, Cari! Great page, as always. 🙂