Spring is in the air here at the Coursey house, and that means lots of cleaning—I’m kidding! Who would want to waste all their crafty time on a mop and bucket?
What spring does mean for me is that it’s time to break out my flower themed goodies and stamp some lovely cards for friends and family.
One problem I’ve had over the years is I sometimes can’t find the style of stamp that I want to use for a particular project. That’s where the Silhouette Mint™ comes to the rescue!
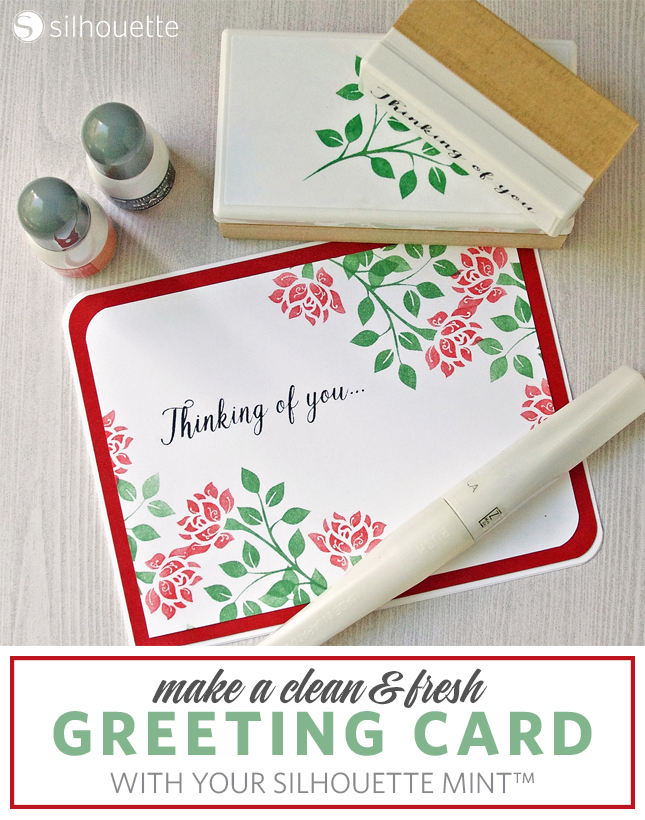
Today, I’m going to tell you how you can make a clean and simple greeting card using the Mint, some paper, and a glitter pen.
You Will Need:
- Silhouette Mint™ custom stamp maker
- (1) 45 mm x 90 mm Mint stamp kit
- (1) 15 mm x 60 mm Mint stamp kit
- Mint Ink in red, black, and green (or yellow and blue, more on this later)
- One sheet of 110 lb. white cardstock (80 lb. is also fine)
- One sheet of red cardstock
- Dry adhesive, like glue tape or photo squares
- Wink of Stella Glitter Brush Pen in Clear (optional)
- Corner Rounder (3/8″ radius, optional)
Step One: Open and Edit Design in Mint Studio™
We’ll work with the Flower image first. In the Stamp Settings panel of Mint Studio™:
(1) Choose the 45 mm x 90 mm stamp size option.
(2) Open Design #16323.
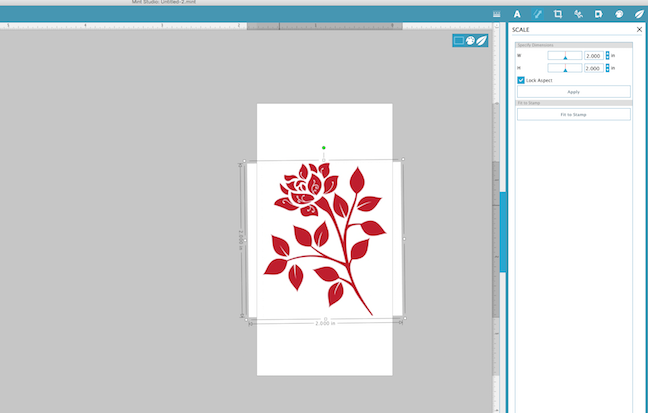
In the Scale panel:
(1) Resize the width of the flower to 2 in.
Step Two: Mint Your Flower Stamp
(1) Turn on your Mint and click the Send to Mint tab.
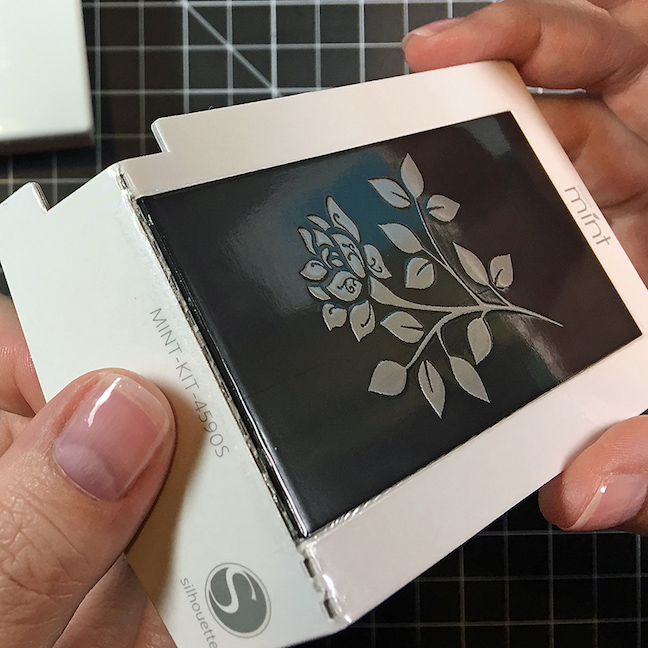
(2) Insert your stamp sheet into the back of the Mint and let it do its magic.
(3) When the Mint is finished, carefully bend the stamp sheet along the dotted line until it separates, peel back the plastic covering and gently remove your stamp.
(4) Remove the release paper from your stamp grip and fit your newly minted stamp on to the adhesive area.
Before we go on to ink up our flower, we’re going to create and mint our sentiment, so we can ink up both stamps at the same time.
Step Three: Create and Mint Your Sentiment Stamp
(1) Make sure you have downloaded Design #106927. It will appear in your font list.
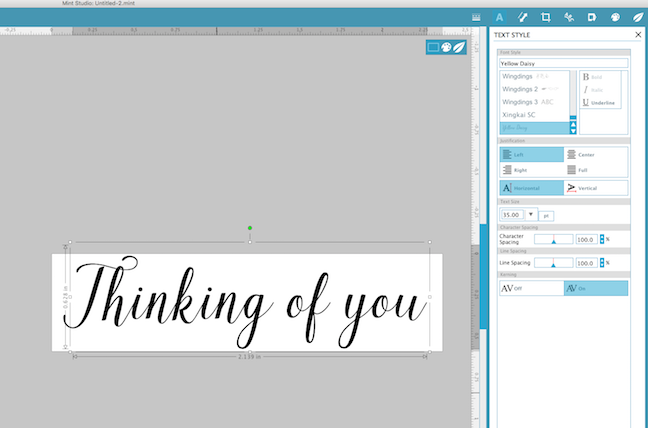
(2) Open the font panel, choose Yellow Daisy as your font, 35 pt. as your font size, and type “Thinking of You.”
(3) Move your sentiment around if necessary, to make sure all the letters are inside the white stamp area.
Mint your sentiment stamp the same way as you did for the flower in step two. Once you have it mounted on the stamp grip, we are ready to ink.
Step Four: Ink Up Your Stamps
(1) Apply black ink to your sentiment stamp.
(2) Apply the red and the green ink to your flower stamp.
NOTE: It takes up to 5 mins for the inks to soak in really well.
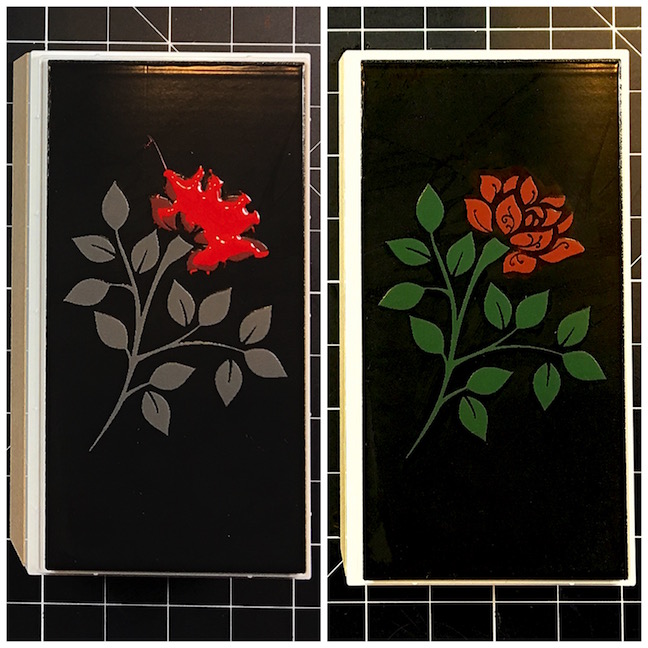
As a side note, if you don’t have a particular ink color on hand, you can always mix the color you need. For the foliage on my flower, I mixed one drop of Blue Mint Ink to three drops of Yellow Mint Ink to create a lovely leafy green.
If you do decide to mix inks, make sure to combine them on a non-porous surface like a piece of acetate or a scrap of release paper. I mixed and applied the ink to my stamp using the flat tip of my Pick-me-up® tool.
Step Five: Prepare Your Papers
While the ink is settling into your stamps, we can trim the papers we’re going to use.
(1) Cut your red paper sheet into four quarters.
(2) Trim one quarter to 4 in. x 5.25 in.
OPTIONAL: Round opposite corners.
Set that piece aside and put the other pieces away for another day!
For the white sheet of cardstock:
(1) Cut in half across the long side.
(2) Cut one of these halves into two 5.5 in. x 4.25 in. pieces.
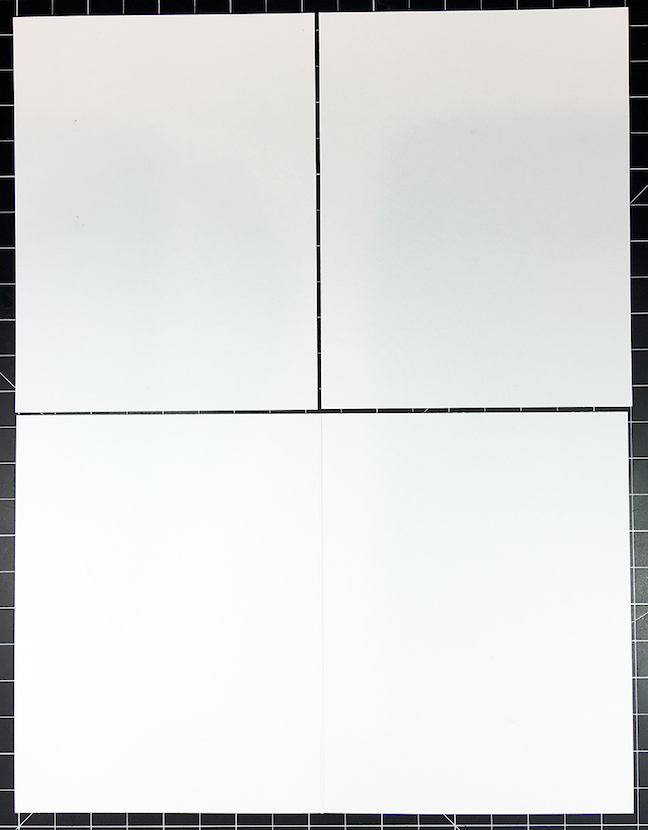
(3) Score the other half through the center to create a card base and two panels.
(4) Fold the card base and set it aside.
(5) Trim one of the panels to 3.75 in. x 5 in.
Again, you have the option to round the opposite corners if you’d like.
Step Five: Stamp Your Artwork
On your white panel:
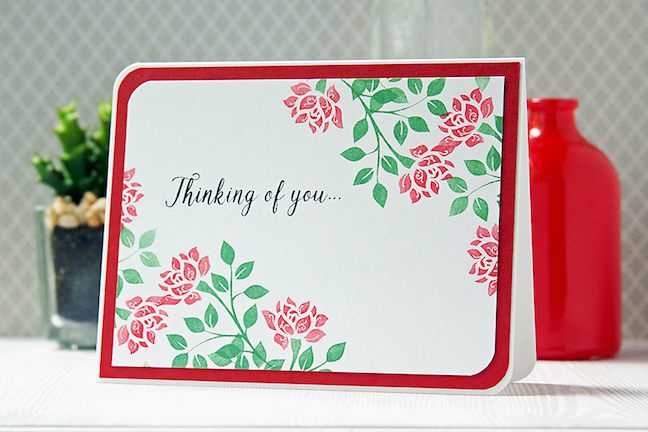
(1) Begin by stamping a flower in the top right and bottom left of your white card panel.
There’s no exact science to this—and that’s the beauty and uniqueness of handmade cards. Simply fill in a couple more flower stamps on either side of the first two images until it looks good.
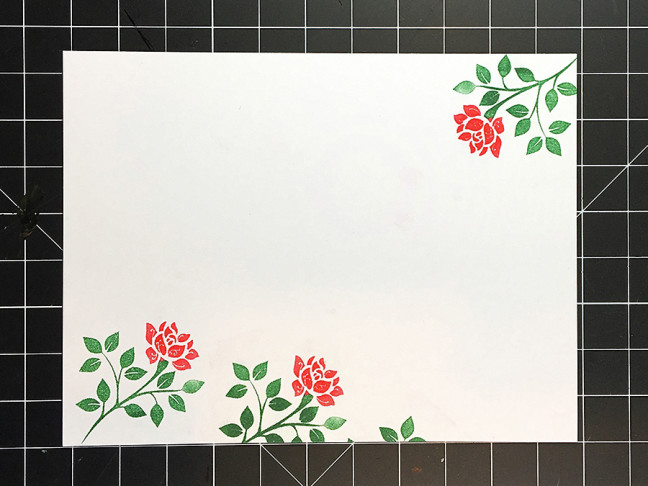
TIP: To check if your design is balanced, turn your panel upside down and see if it looks even. If it doesn’t, just stamp a little at a time to fill in any uneven places. (I tried a couple of different designs before I settled on one I liked.)
(2) Stamp your sentiment text as shown. (I added a few ellipses to fill in a bit more of the white space.)
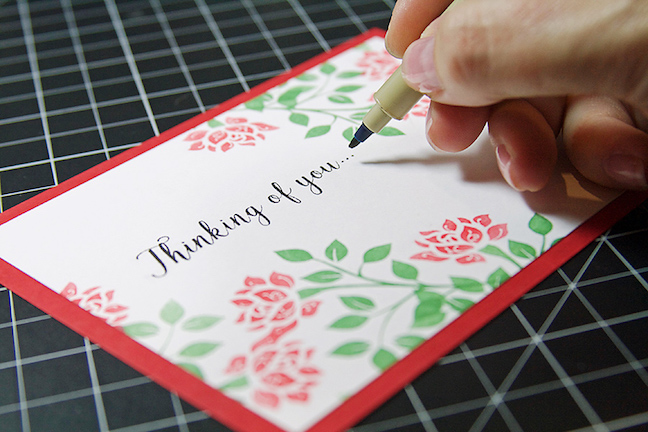
Step Six: Finishing Up
(1) Center your cute stamped design over the red panel and use your adhesive to mat your design.
(2) Take your completed card front and attach it to your card base. (If you decided to round opposite corners, be sure to make your card base match too.)
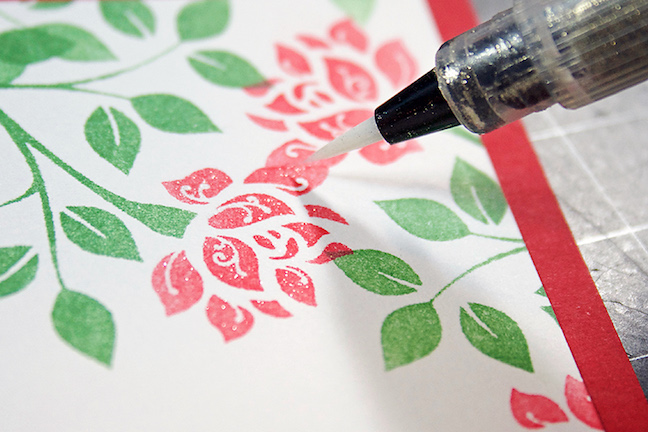
If you choose, you can further embellish your design. I decided to add a little sparkle to my flowers with the help of a glitter brush pen.
Your lovely handmade greeting card is finished! Why not write someone special a heartfelt note and drop it in the mail? There’s nothing like a handwritten message, especially in today’s digital world.
Don’t forget you can make extras of this card, stamp a stack of envelopes and create a matching stationary set for gift giving!
Annie W
April 27, 2016
This is gorgeous! Love how the mixed ink turned out too…I’m going to have to try that!
Niki C.
April 28, 2016
If you make any great shades, let me know your “formulas”! I’d love to try them out 🙂
Lori
April 28, 2016
Beautifully designed…so fresh and lovely! Thank you for this wonderful tutorial 🙂
Niki C.
April 28, 2016
Thanks Lori!