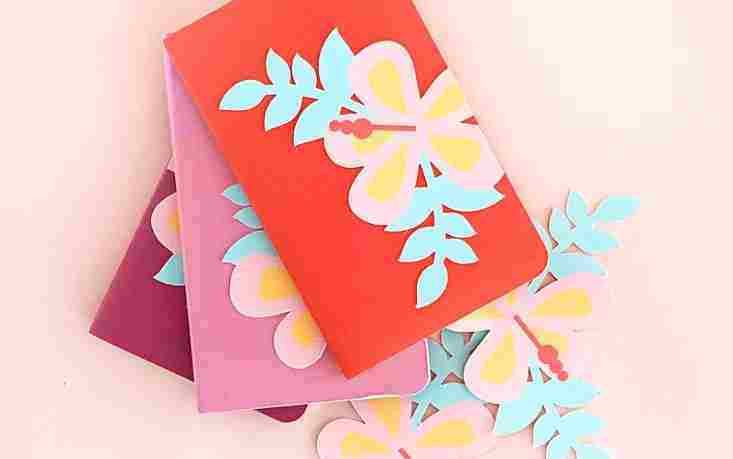
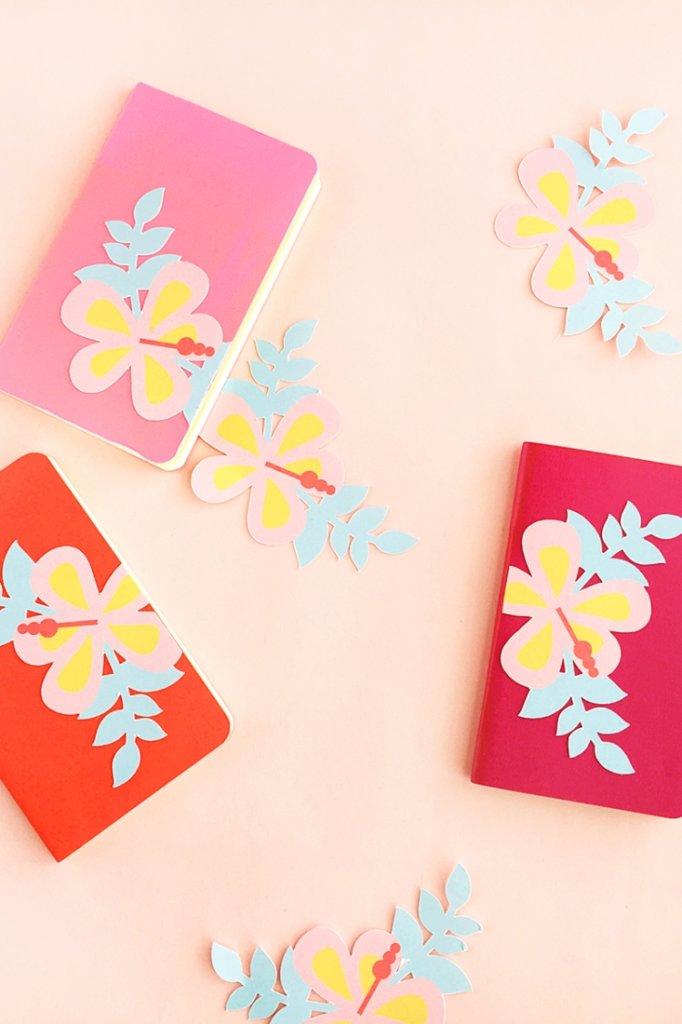
I’m obviously feeling a tropical vibe these days because today’s Mini DIY Hibiscus Journals were totally inspired by one of my favorite tropical flowers. I live in a pretty little neighborhood that reminds me of the movie set of Pleasantville – I kid you not. Some of these pretty little homes have gorgeous hibiscus plants, and I swear I’ve seen some blooms the size of my head. Gorgeous. So here I am surrounded by these stunning flowers, and that led to today’s DIY stationery post. Want to make your own? Read on!
Supplies Needed:
- Silhouette CAMEO®, Silhouette Portrait®, or Silhouette Curio™
- Silhouette Studio®
- Silhouette Mat
- Silhouette Cutting Blade
- Printable Sticker Paper
- Printer
- Notebook, Journal, or Planner
- Design ID #136874
Step One: Prepare the Design
- Open the flower design (Design ID#136874) in Silhouette Studio®. Adjust your page settings (in the Page Setup panel) according to the size of your paper and your cutting mat.
- In the Page Setup window, turn on the registration marks by setting the style to Type 1. Arrange your designs so that they fit inside the registration marks. If a design is left outside of those marks, then it will not be cut properly.
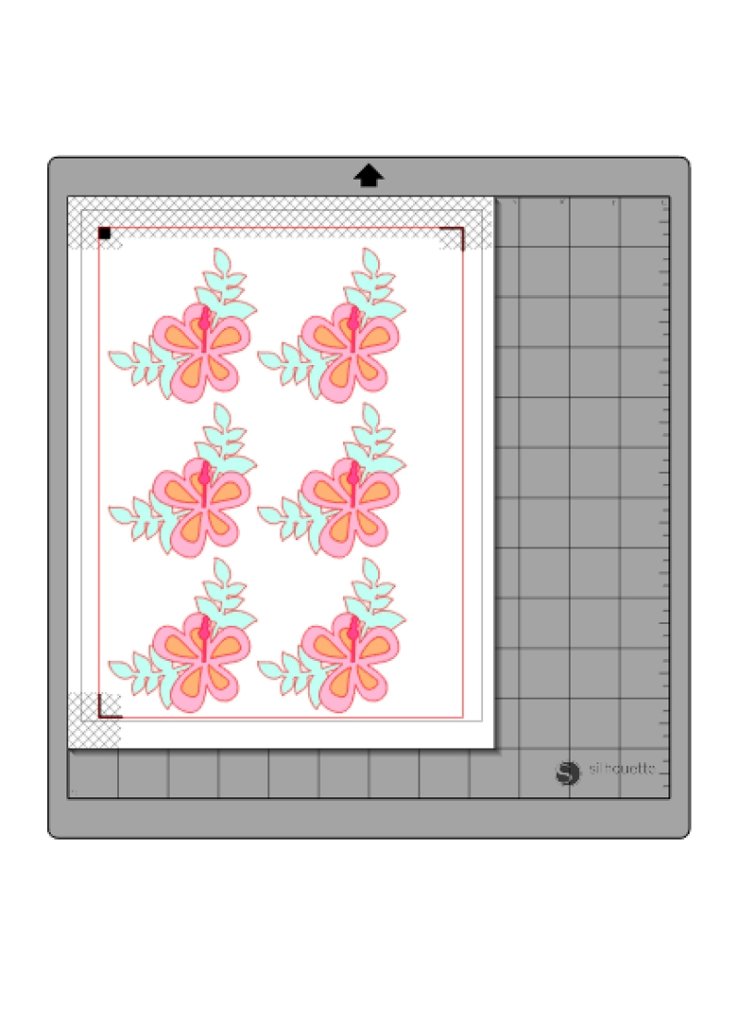
- Fill your shapes with color and resize so that they will fit on your notebook.
- Set the outermost shape to Cut and the inner shapes to No Cut.
Step Two: Cut the Design
- Print and Cut your hibiscus images using sticker paper settings. Adjust your blade if necessary and send your cut job to your Silhouette machine. (Tip: If your machine is having trouble reading the registration marks, try manually moving the blade over the black square using the blue arrows in the Send panel or see the video for “Print & Cut Troubleshooting” on Silhouette’s YouTube channel).
- After cutting the hibiscus images, peel them from the sticker paper and place them onto your notebooks.
Michelle
March 20, 2018
Lovely little books! I may need to relocate to your Pleasantville!