
We are just about to head into the time of year when you are going to need a bunch of tags, cards, and wrapping paper for your gifts, so we would like to show you how to make this customized set of stamped material using the Silhouette Mint™. Creating customized stamps is a great way to add the perfect personalized touches to all of your gifts. Keep reading to see how you can make and use your own stamps.
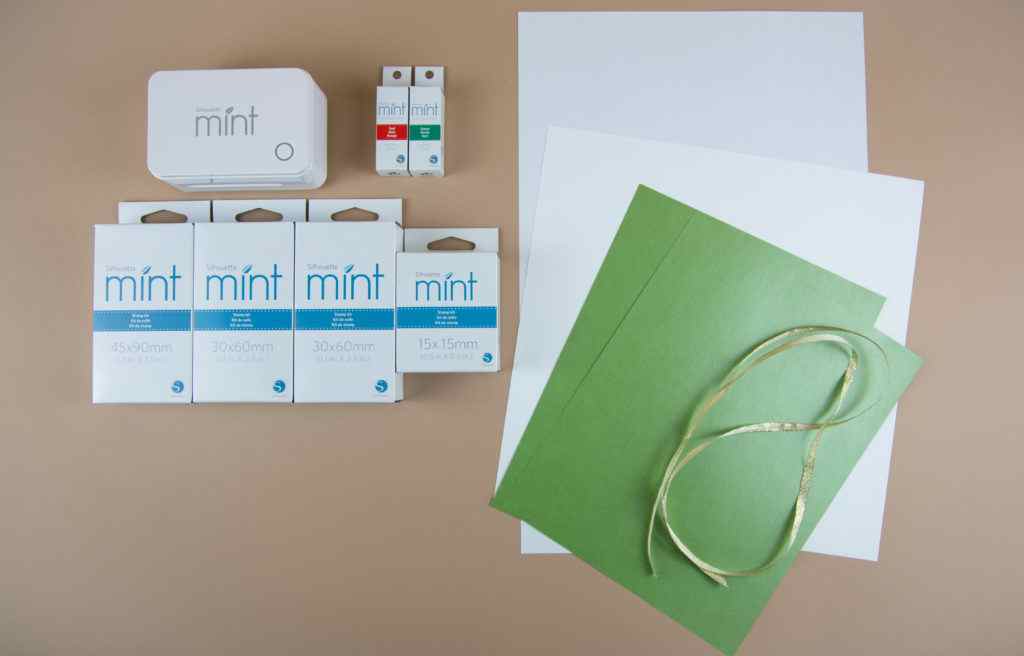
Supplies Needed:
- Silhouette Mint™
- 2 Silhouette Mint™ stamp kits 30 mm x 60 mm
- 1 Silhouette Mint™ stamp kit 45 mm x 90 mm
- 1 Silhouette Mint™ stamp kit 15 mm x 15 mm
- Silhouette Mint™ red ink
- Silhouette Mint™ green ink
- White cardstock
- White wrapping paper
- Green metallic text-weight paper
- Ribbon
- Glue
- Baronial Envelope with Liner (Design ID #16844)
- Tag (included with CAMEO 2 100 free designs) or you can use Luggage Tag (Design ID #28639) instead
- Card (Design ID #1916)
- Season’s Greetings (Design ID#234046)
- Pine Branches (Design ID #168754)
Step One: Creating the Stamps
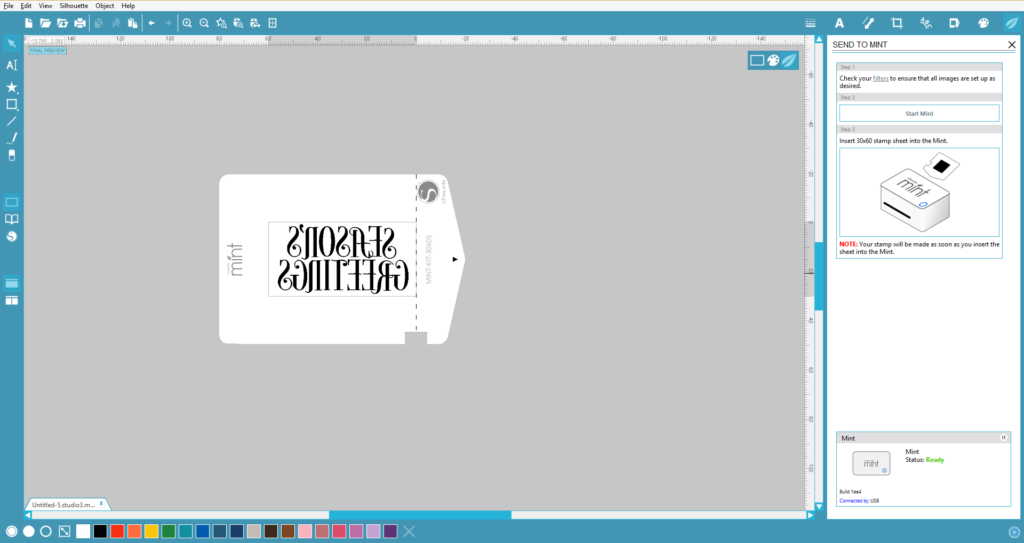
1. Open the Season’s Greetings design (Design ID#234046) in Mint Studio™. Go to the Stamp settings panel and choose 30 mm x 60 mm stamp size. Place your design within the stamp work space. In Mint Studio™, click the leaf (Send to Mint) icon in the right corner. Mint Studio™ will automatically flip your stamp so that you don’t have to worry about it.
2. Unwrap your stamp sheet from its packaging. DO NOT remove the plastic layer covering the rubber.
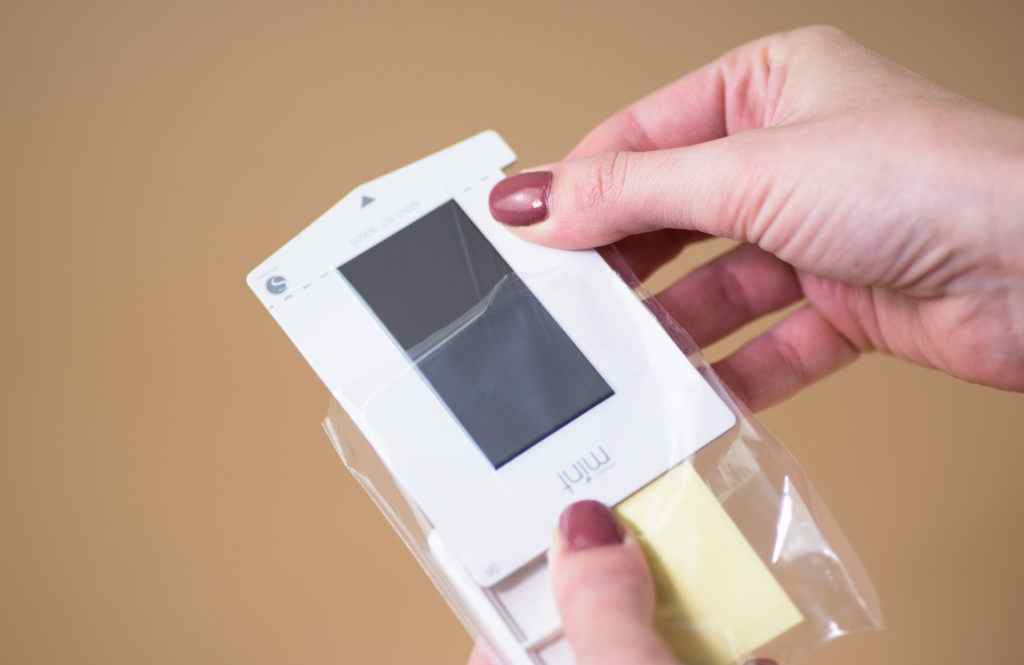
3. Insert the stamp sheet through the back slot of the Mint arrow first. You will feel the stamp catch inside the machine.

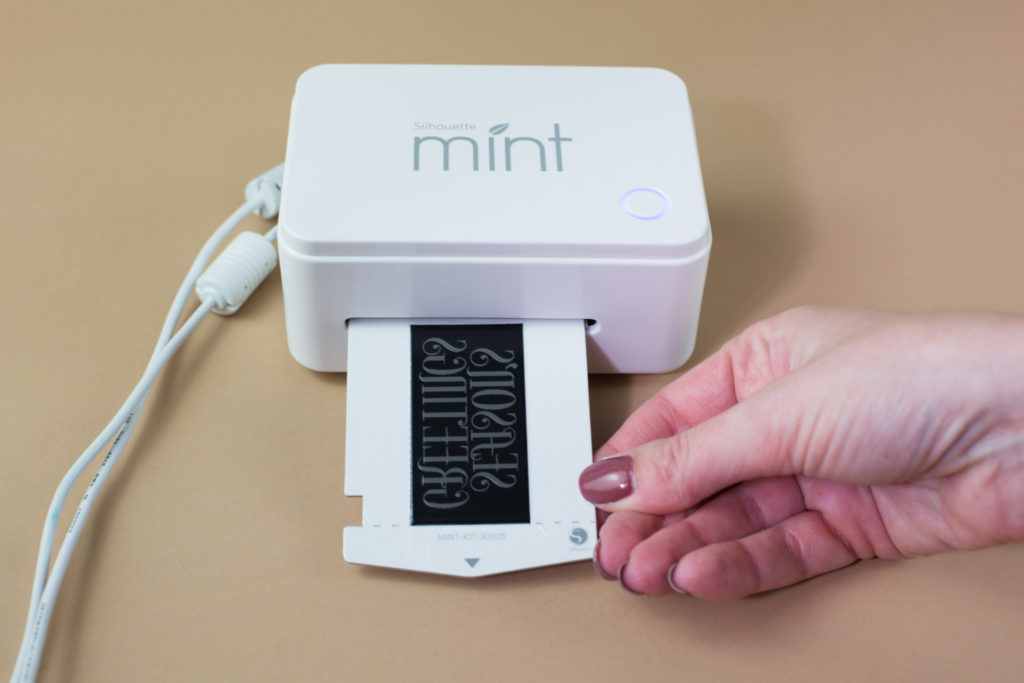
4. In Mint Studio™, click “Start Mint” and watch the magic happen. Pull out your stamp once it has finished printing.
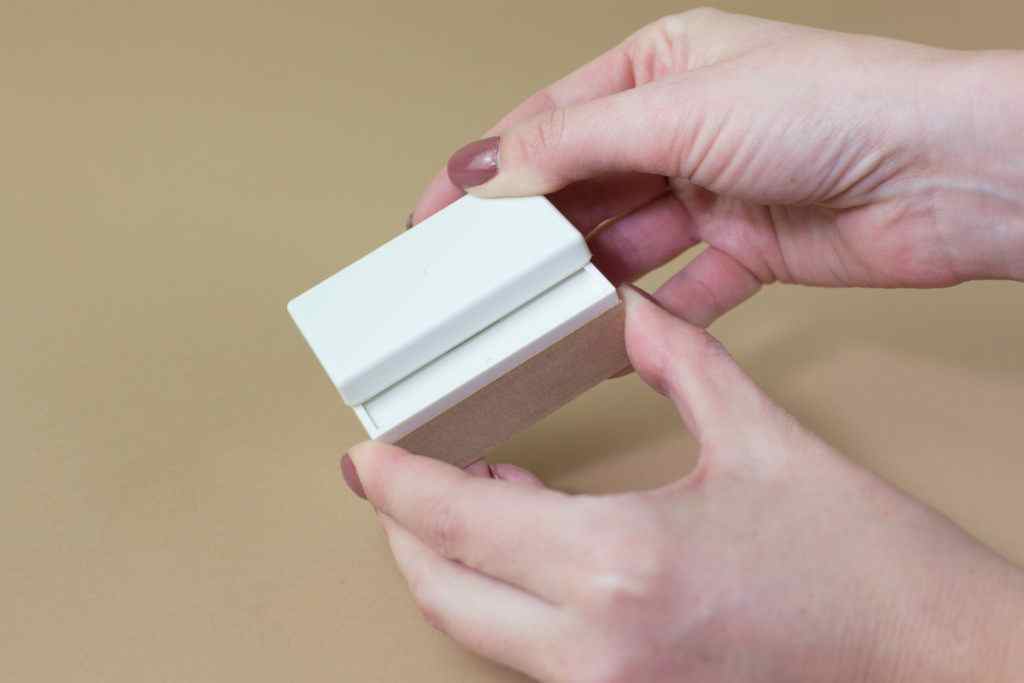
5. Assemble your block by sliding the top into place.
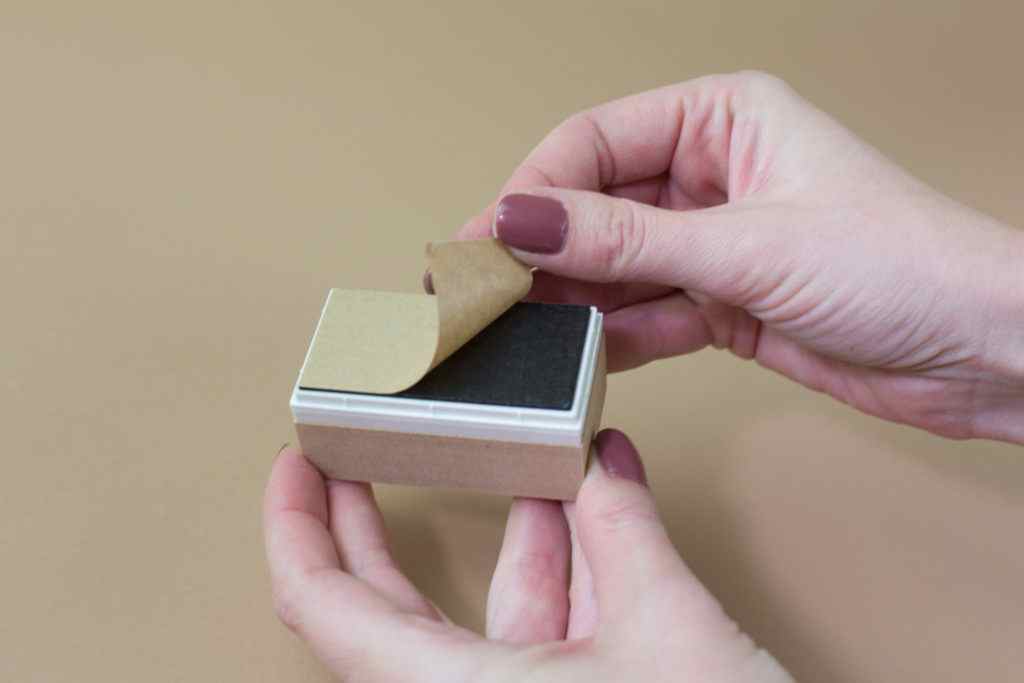
6. Remove the lid from the block. Pull off the brown protective sheet to reveal the adhesive mat.
7. Take your 3D relief in hand, peel off the plastic, and remove the cardboard surrounding it. There are perforated lines across the cardboard that help make removing the stamp easier.
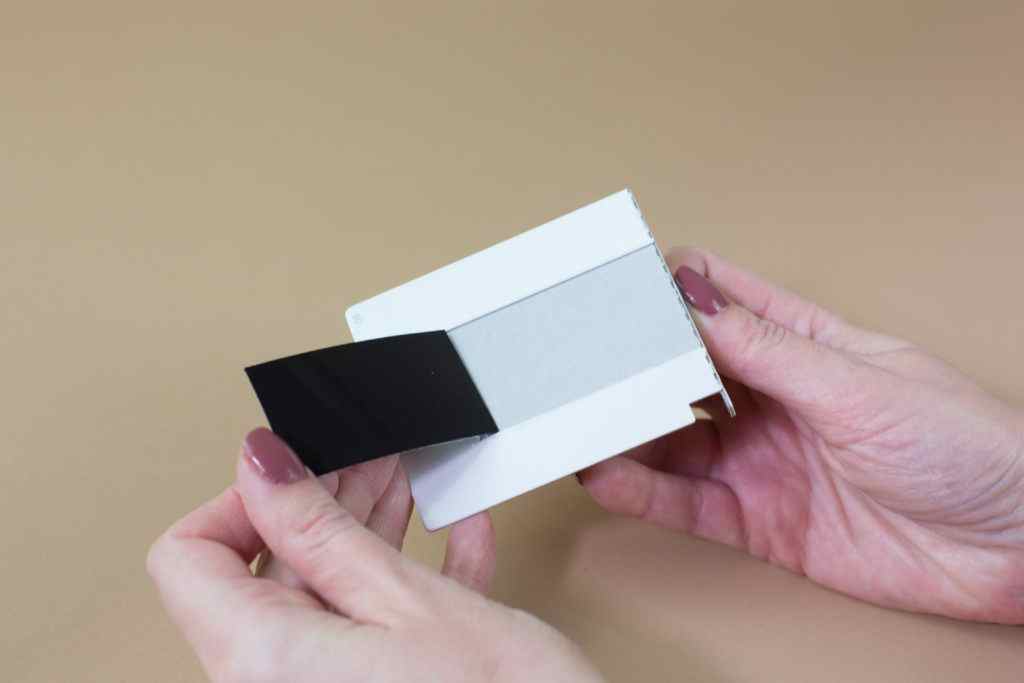
8. The back of your 3D relief is coated with a sticky adhesive for easy application. Stick your stamp to the interchangeable base.
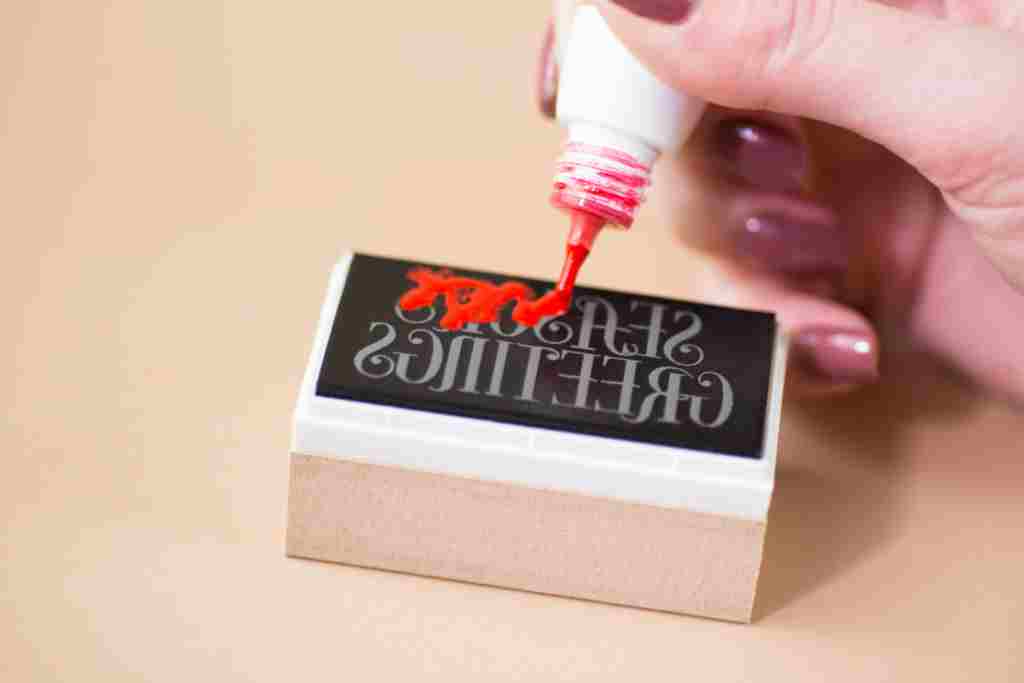
9. Using Mint Inks, apply ink directly to the stamp. The inner reservoir on the stamps will absorb the ink only where the stamp is printed. Using this method of applying the ink directly to the stamp, the color goes only where you place it. After you apply the ink, wait 5–7 minutes before stamping.
10. The first couple of times you use your stamp, the design will be blurry. The excess ink just needs to be stamped off. Use a scrap piece of paper and stamp repeatedly. When the excess ink blots off, your stamp will be crisp and clear.

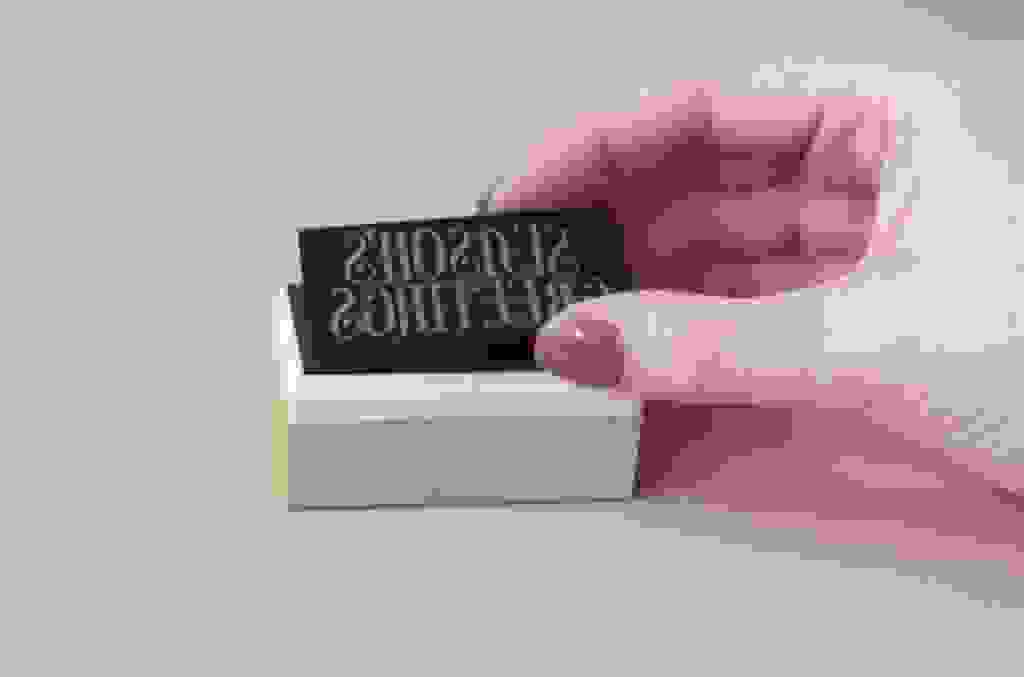
11. Don’t forget to stamp the stamp label to put on your block so that you can tell which stamp is which. You can stamp 50+ times with your custom stamp before the stamp needs to be reinked.

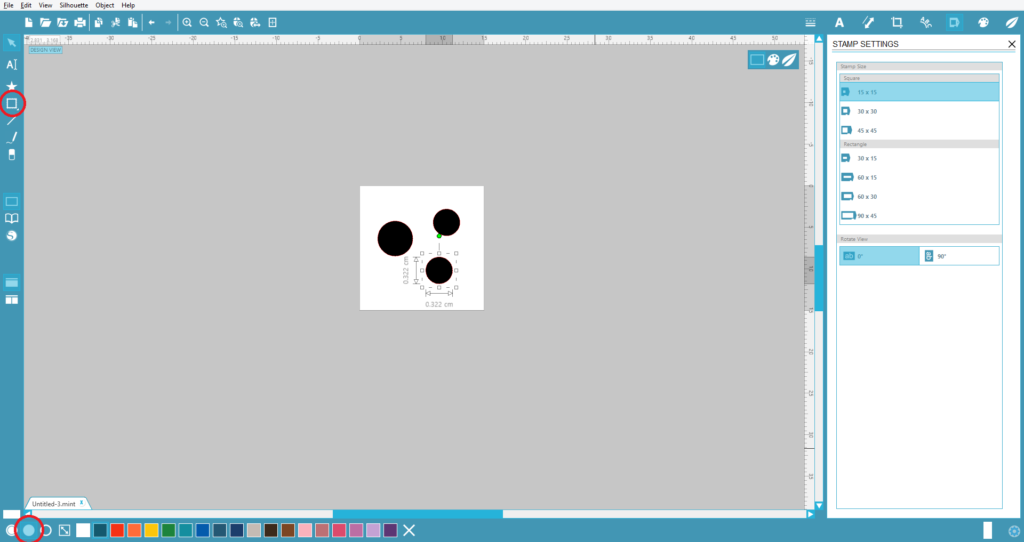
12. To create a stamp with holly berries, you need to draw three circles of different diameters that fit on a 15 mm x 15 mm stamp. To draw a circle, go to the frames panel on the left-side of the screen. Choose the circle, and hold the Shift key to draw a proportionate circle. To fill shapes with color, click the Fill icon (the solid circle) at the bottom of the screen.
13. Repeat 1–11 steps to create a stamp with a Pine Branches design. For the bigger branches, we used a 45 mm x 90 mm stamp; for the smaller branches, we used a 30 mm x 60 mm stamp.
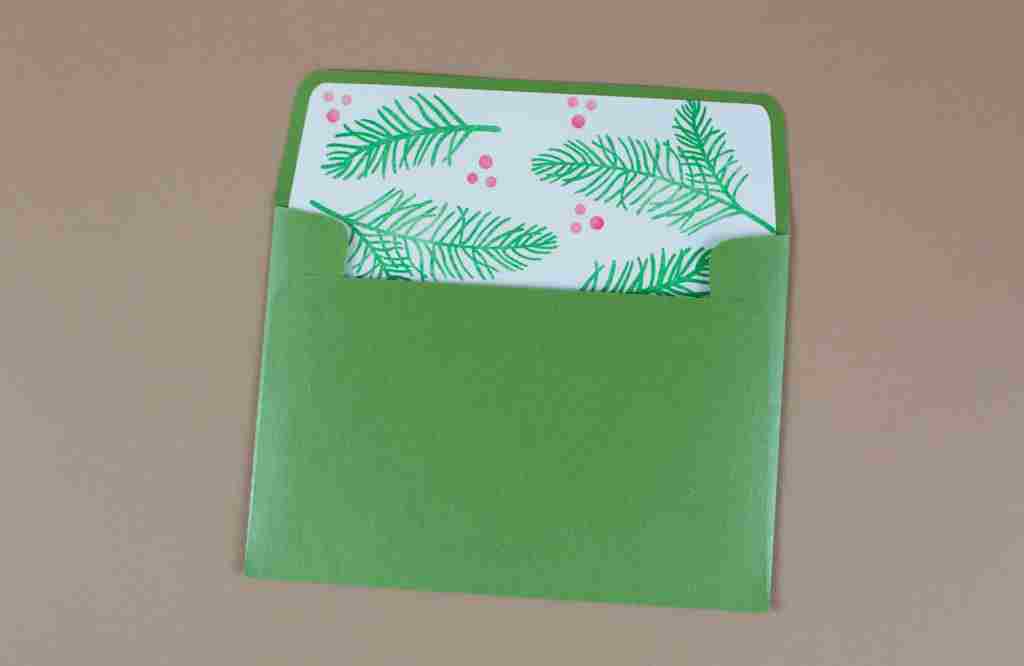
Step Two: Making Envelopes with Stamped Liners
1. Open Baronial Envelope with Liner (Design ID #16844) in Silhouette Studio®. Resize the envelope body to the letter size.

2. Place green metallic paper on the cutting mat and load it into the Silhouette machine. In Silhouette Studio®, go to the Send tab, choose “Copy Paper, Medium” as the material, and click Send. Repeat the same steps for cutting envelope liner using white paper.
3. Stamp the liner with the pine branches and holly berry stamps. Glue the liner to the envelope and assemble the envelope.
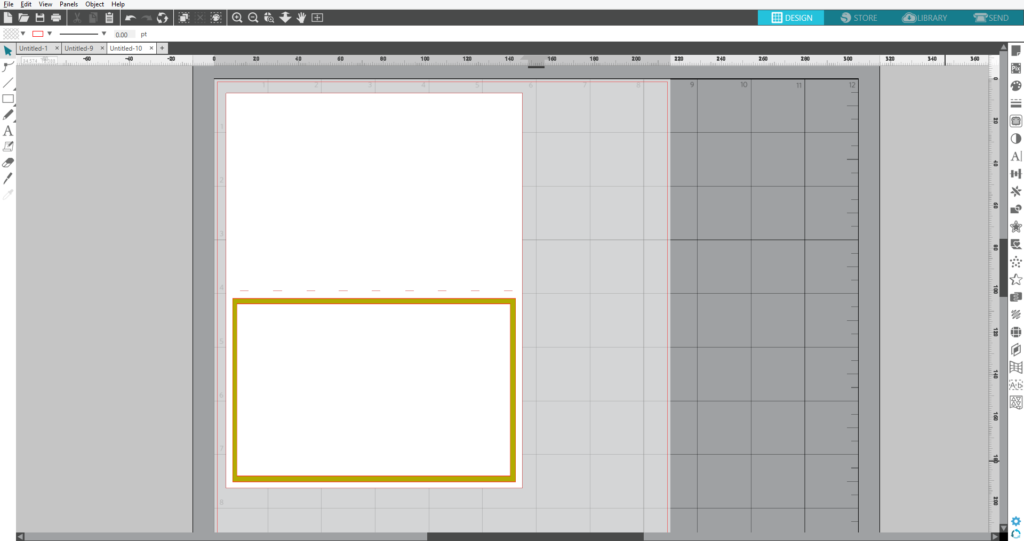
Step Three: Making the Card
1. Open the Card design (Design ID #1916) in Silhouette Studio®. Delete the heart and resize the card so that it fits in the envelope. Draw two rectangles that will fit on the front part of the card. The smallest rectangle will be the area you stamp on. The second rectangle will be a green background.
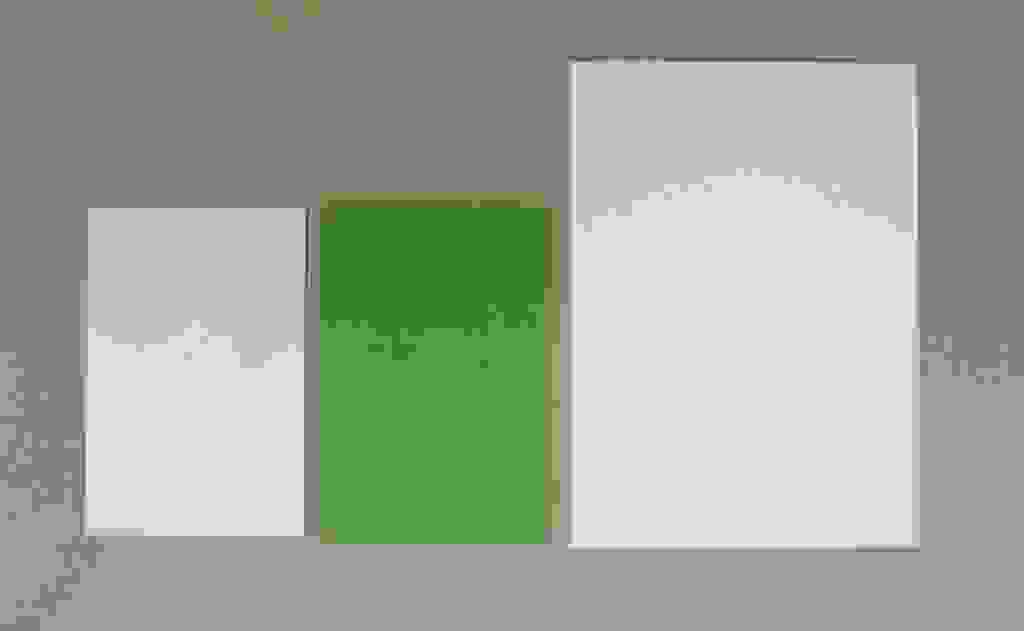
2. To cut the card base and smallest rectangle, place white cardstock on the cutting mat and load it into the Silhouette machine. In Silhouette Studio®, go to the Send tab, choose “Cardstock, Plain” as the material, and click Send. Repeat the same steps for cutting green background using green metallic paper. Make sure to change material settings to “Copy Paper, Medium”.
3. Stamp the white rectangle with the Season’s Greetings, pine branch, and holly berry stamps as shown below and glue the card parts together.

Step Four: Making the Stamped Tag
1. Open the Tag design in Silhouette Studio®. Ungroup it, copy the top layer, and make that layer a little bit smaller. Group everything together and resize the grouped design so that the Season’s Greetings stamp phrase will fit on the tag.

2. To cut the first and third layers, place white cardstock on the cutting mat and load it into the Silhouette machine. In Silhouette Studio®, go to the Send tab, choose “Cardstock, Plain” as the material, and click Send. Repeat the same steps for cutting the second layer using the green metallic paper. Don’t forget to change the material settings to “Copy Paper, Medium.”

3. Stamp the smallest white layer with the Season’s Greetings stamp and glue together all three layers.

Step Five: Preparing the Wrapping Paper
1. Take a piece of wrapping paper you are going to use to wrap your gift and stamp it using the Pine Branch and Holly Berry stamps.
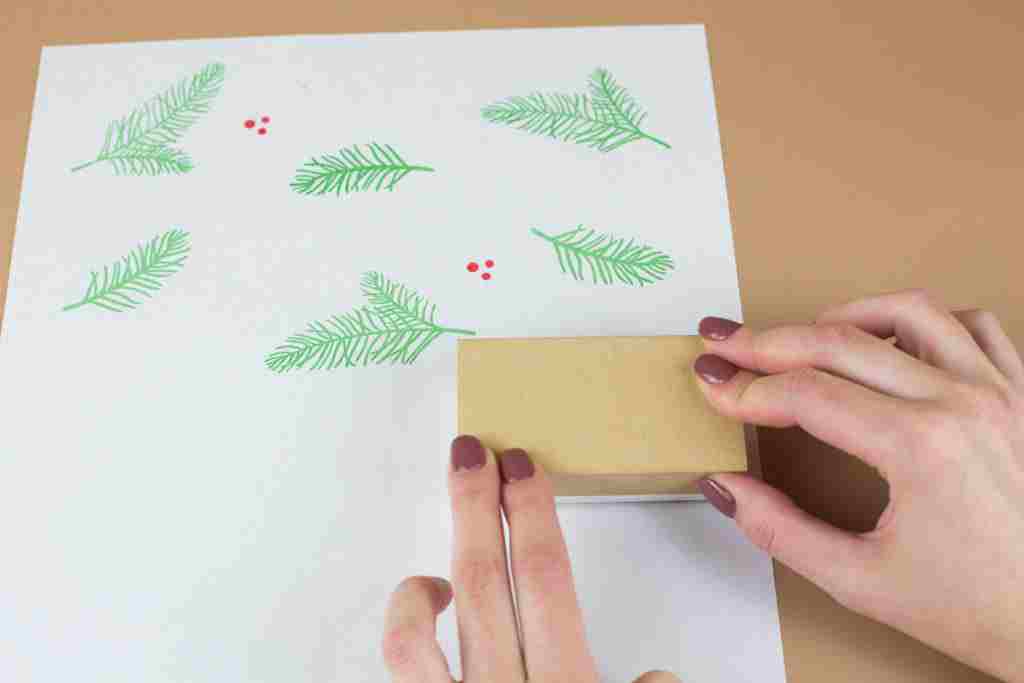
2. Wrap your gift. Decorate with ribbon and add the tag.
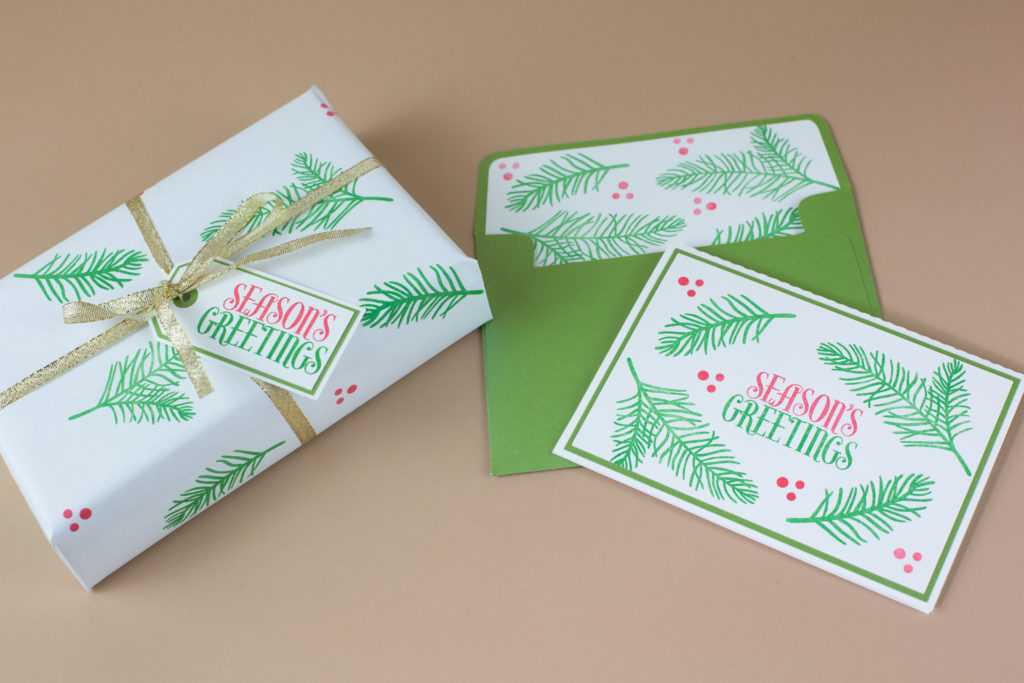
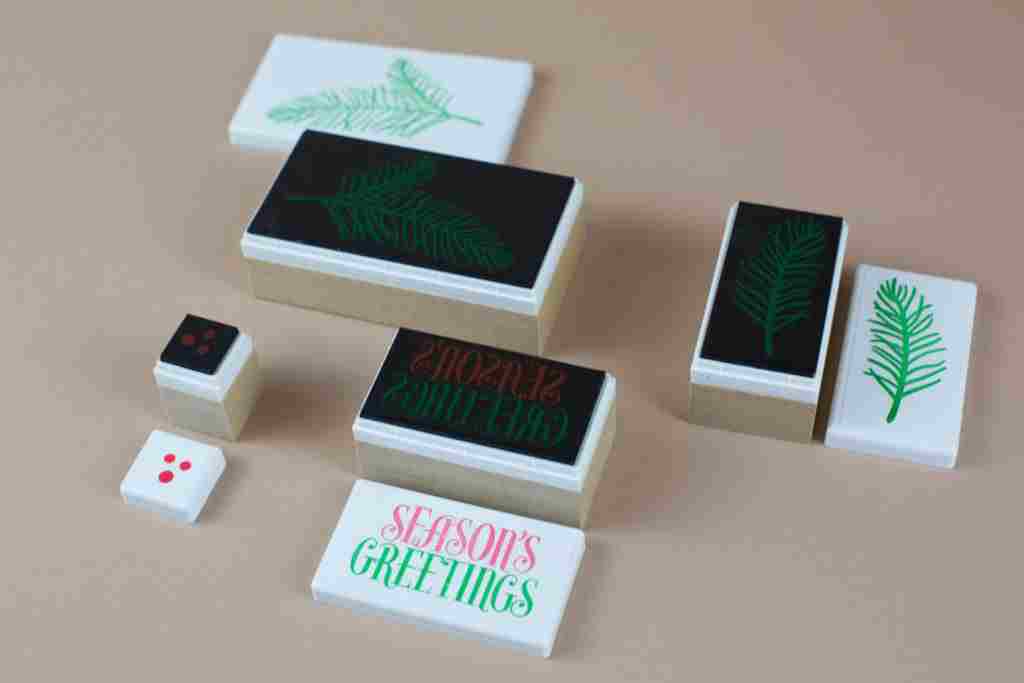
We’ve finished our Christmas stamped set. We hope you enjoyed going through the process with us and that we’ve inspired you to make even more projects with the Silhouette Mint™!
Creating an Address Stamp with Silhouette Mint | Terri Johnson Creates
November 29, 2017
[…] Hi! This post is one I shared two years ago – but I have updated it a little & am re-posting it today! I think its good information for this busy time of year & co-ordinates with today’s post on the Silhouette Blog […]
Victoria
December 13, 2017
Hello,
I have a mint that I have had since March. I am just now trying to use it for the first time and am running into issues. I have no problem with the mint studio, but cannot get the machine to register. I do not have this isssue with my cameo. I have tried turning the machine off and on, restarting the computer and mint studio, unplugging the machine. Nothing will work. I’ve tried to go to the drivers and update that but there is no update. Can you suggest a way to fix this issue.
Kelly Wayment
December 14, 2017
Hi, Victoria. Please reach out to Silhouette Support via email at support@silhouetteamerica.com or with Live Chat on silhouetteamerica.com, and they can help you troubleshoot.