Mint Studio™ and Silhouette Studio® are two separate software programs that are very similar. Mint Studio™ works with the Silhouette Mint™ stamp maker, and Silhouette Studio® works with the Silhouette cutting machines like the Portrait, CAMEO, and Curio.
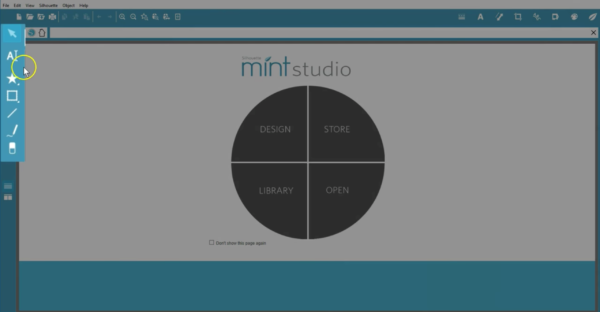
If you’re familiar with Silhouette Studio®, you already have a head start on learning Mint Studio™. But if you don’t know Silhouette Studio®, not to worry. This tutorial will provide an overview of Mint Studio™ with a software tour. More tutorials will cover the various features in detail.
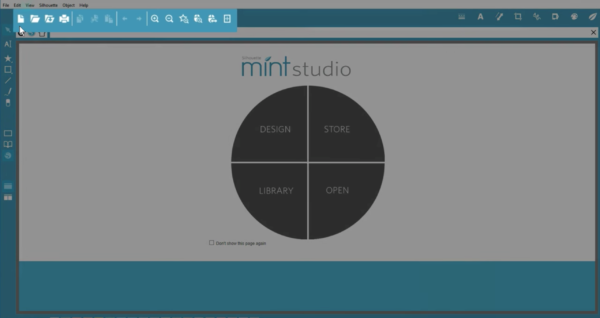
When you open Mint Studio™, along the top you’ll find your document tools, such as New Document, Open, Save, Print, Copy, Paste, Undo, Redo, and Zoom tools.
Mint Studio™ can open Mint Studio™ files and Silhouette Studio® files, along with PNG, JPG, BMP, GIF, and TIFF file formats.
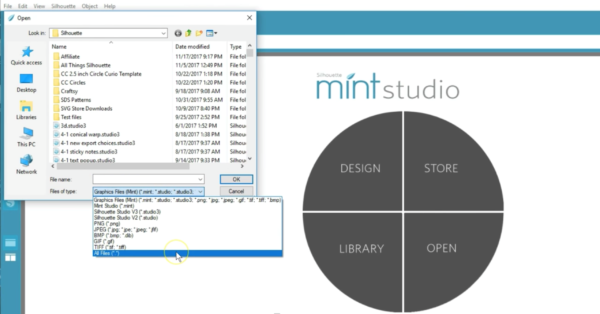
Silhouette Studio® cannot open Mint Studio™ files. In addition to opening the file types mentioned above, Mint Studio™ can also use any font installed on your computer. You’ll find the text and drawing tools along the left-hand side of the screen.
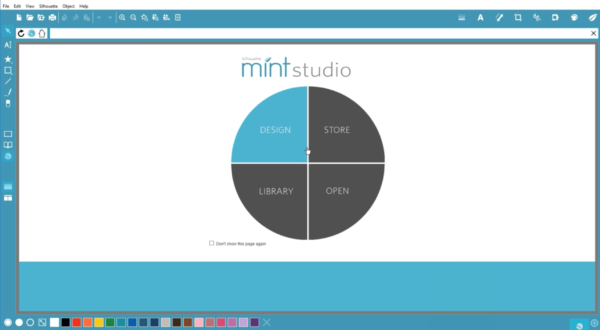
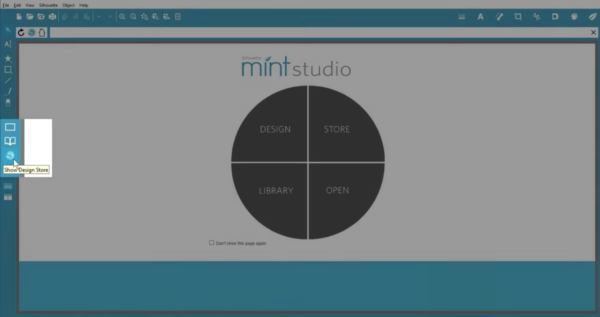
In this section, you’ll find icons to access the drawing area, the Library, and the Design Store.
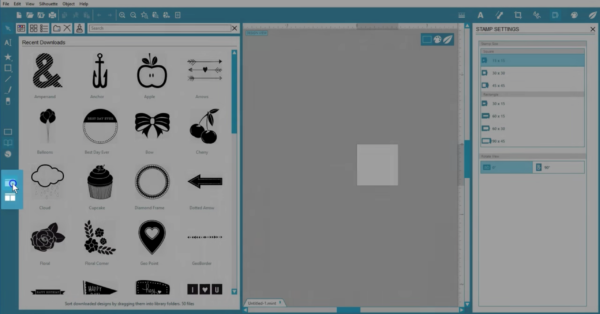
The first time you connect your Mint machine to your computer and turn it on, you’ll get a message that it will download your included designs.
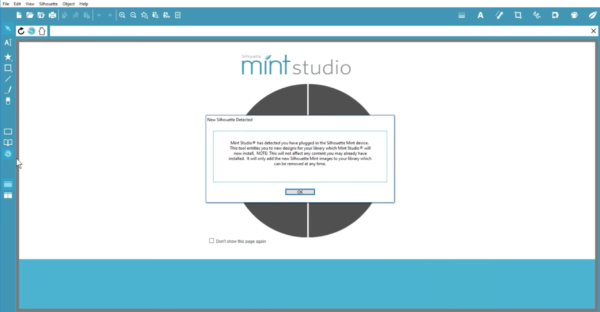
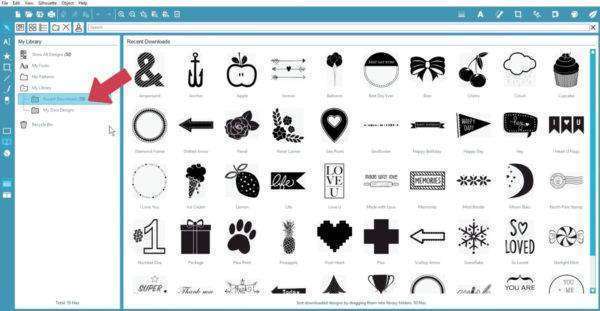
These go into your Library’s Recent Downloads Folder. Any designs you purchase from the Design Store will also go to your Recent Downloads folder.
These icons let you choose between viewing a single screen or viewing your Library and the Drawing area at the same time.
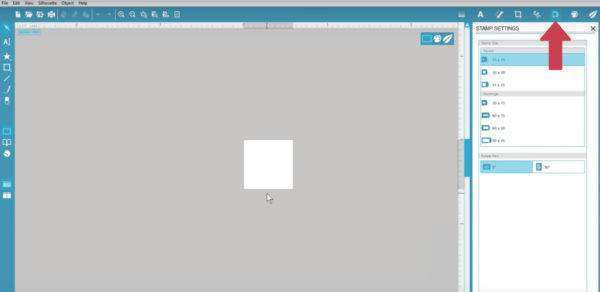
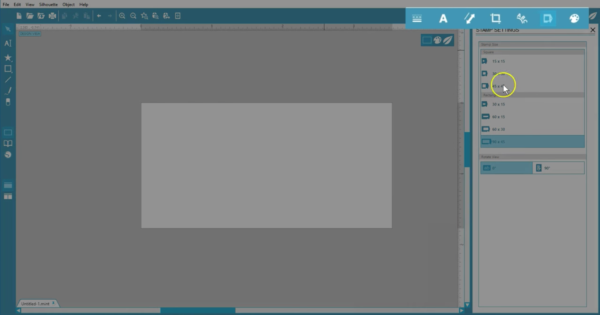
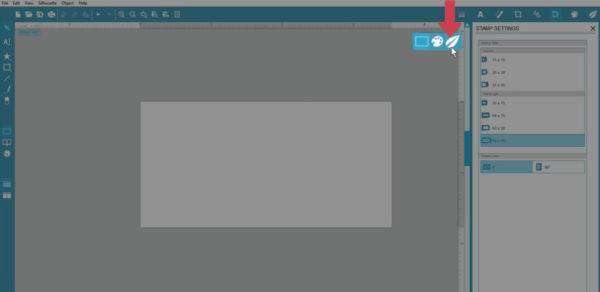
When viewing the Design area, you see a stamp area. The stamp size can be changed when viewing the panel for Stamp Settings. The icon to access this at the top looks like a Mint stamp sheet. The Mint has seven stamp sizes, which can be changed here so that you can design for the correct stamp size.
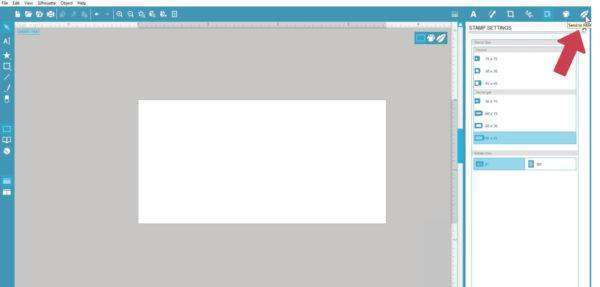
The other tools along the top right are for common features you’ll need when adjusting existing designs on your page, such as Line Style, Text Style, Scale, Crop, Curve Text, Stamp Settings, and Filters.
This last icon is where you send the job to your Mint machine.
These three icons here are for quick access to the Design Page, Filters, and Send to Mint.
If you’re familiar with Silhouette Studio® and don’t see some features you’re used to, most of them can be found in the Object menu from the top toolbar. Here, you’ll find things like Rotate, Align, and Group.

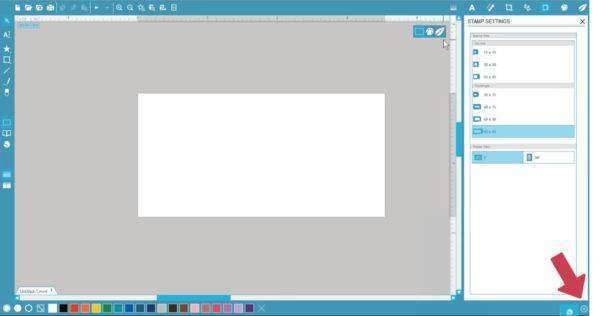
Preferences can be changed by accessing them with this gear icon in the lower right corner.
Finally, you’ll find Stamp Tools and colors along the bottom, where you can adjust fills and outlines for your designs.

That’s a brief overview and tour of the Mint Studio™ software.