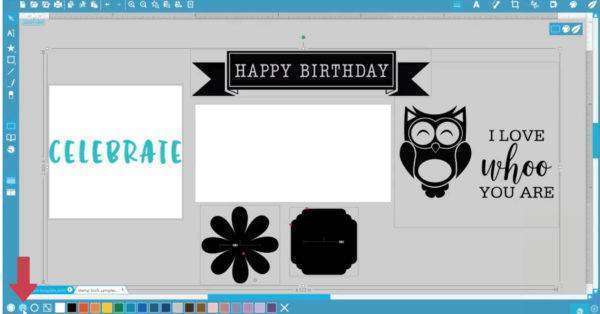
Mint Studio™ has some tools at the bottom of the screen to change the visual elements of your stamp, such as outlines, fills, and colors.

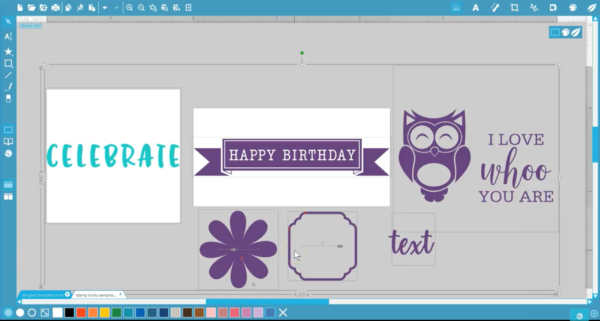
We’ve got a few different designs open on the work page, so you can see how the different types of designs behave in Mint Studio™ with these tools. Here on the left is a design purchased from the Silhouette Design Store. It opens in Mint Studio™ as a raster image, not as a vector image like it would in Silhouette Studio®. This means it’s basically a picture and doesn’t have parts that can be manipulated very much, unlike these other designs we will show you.

This happy birthday banner is a design that came preloaded with the Mint machine. It’s a vector image, so it can be resized without blurring and has pieces that can be accessed and manipulated in Mint Studio™.
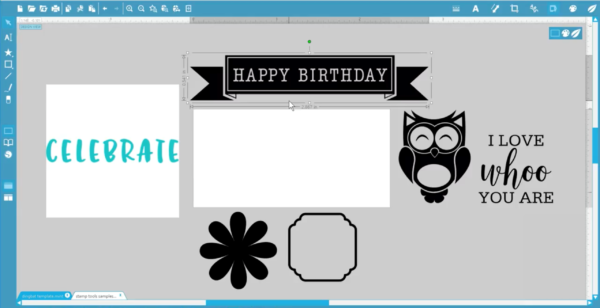
This owl and phrase comes from a dingbat font called CG Autumn Owls. Fonts, including dingbat fonts, are vector images and are easy to manipulate in Mint Studio™.

Finally, I have a shape and a frame I’ve drawn from the shape and frame drawing tools here on the left. These are also vector images.

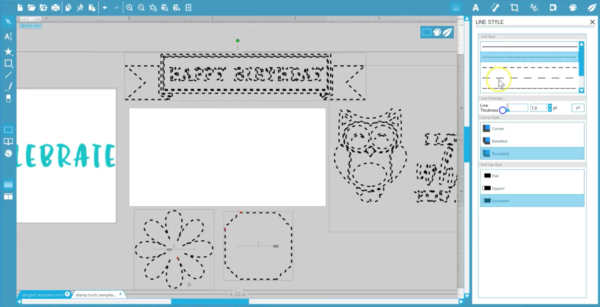
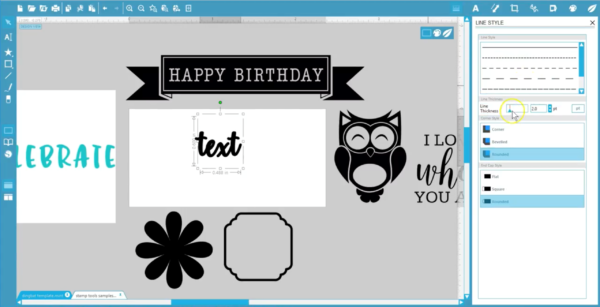
The purchased design will still work great as a stamp with the filters adjusted to pick up the color, but let us show you how all of these design types behave when using the visual stamp tools at the bottom of the page. This empty-circle choice is for Outline. When you have a design selected and choose Outline, this creates an empty outline around the selected shape. Filled shapes become outlines, and existing outlines like this frame remain the same. There is no change to the Celebrate image because it’s just a picture.
In Outline form, you can manipulate line styles and thicknesses within the Line Style panel.
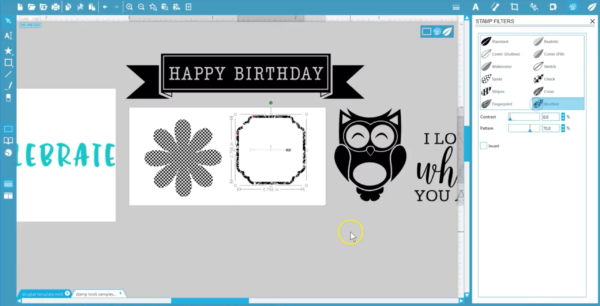
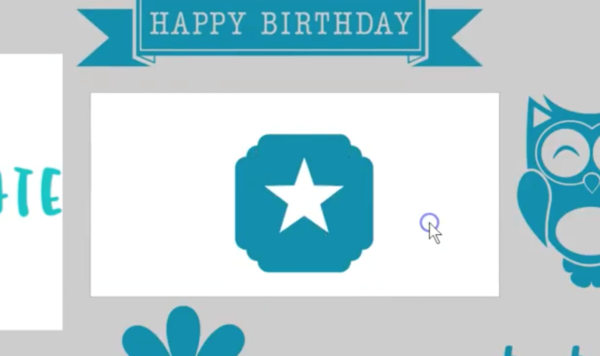
This next choice with a solid circle is for Fill. This fills your selected shape, as long as it’s a closed image. Notice that only the frame changed to a fill because everything else is already filled. Again, the Celebrate image did not change.
If you place a design on the stamp area, select it, and choose a filter, the fill will take on the properties of the selected filter. Filters apply to designs when in outline form, as well.
This third choice is for Fill Outline. This combines the properties of both the fill icon and the outline icon.

You might want to reserve this choice for delicate designs and fonts that need a bolder look.
Any filter used will be applied to both the fill and outline.
This diagonal arrow here is “Fit to Stamp.” It quickly scales your selected image to fit within the stamp size you’re currently working with.
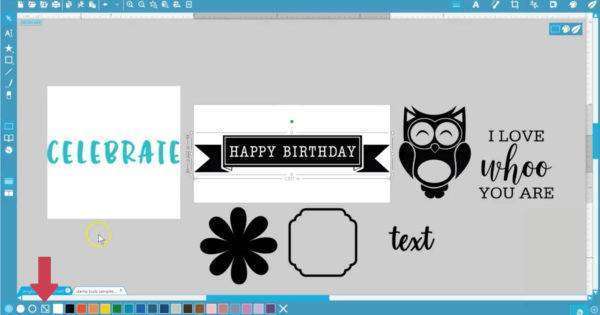
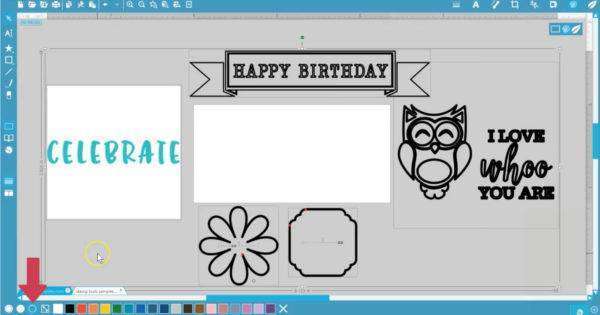
Finally, you can use these colors at the bottom that coincide with the Mint ink colors to preview what your designs will look like with that ink color. All of the color swatches are for visual representation only and do not affect or alter how the stamp is actually printed.
The exception is white, which WILL leave an unprinted area on the stamp.
Colors will not apply to raster images—only vector images. Multiple colors can be used on the same stamp, but only one color can be applied to each selected shape.

Those are your stamp tools for fills, outlines, and colors in Mint Studio™.