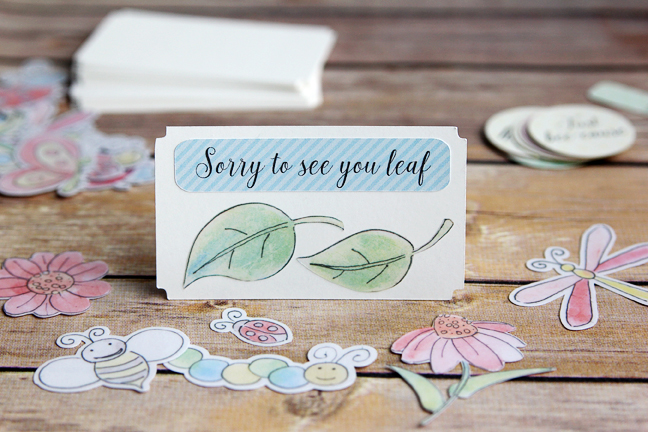

How about some cute little mix and match notecards today? Kelly here, showing how I used Silhouette’s sticker paper to set myself up for some really easy notes to pass around to friends. These little notecards are sure to help spread kindness, just because they are so easy to have on hand.
Here are the tools and supplies you’ll need:
- Printable clear sticker paper
- Printable white sticker paper
- Cardstock
- Printer
- Silhouette Curio™ (can also use the CAMEO or Portrait)
- Silhouette Curio™ large base and cut mat (optional)
STEP 1: CHOOSE DESIGNS
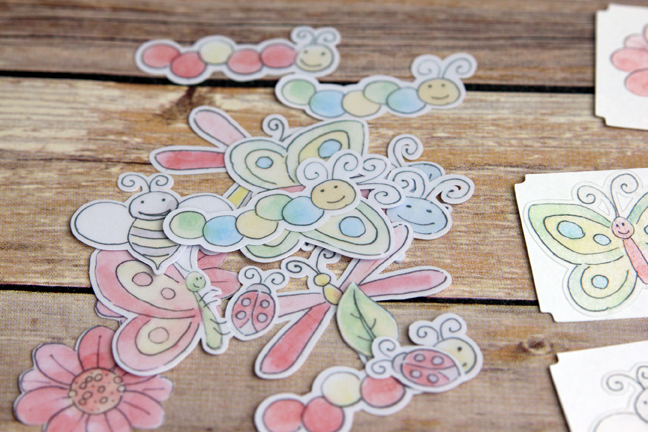
The first thing we need to do is to choose some cute designs for our notecards. I love these sweet watercolor bug and flower print-and-cut designs by Jennifer Wambach (links are at the bottom of the post). Can you tell I’m ready for spring?
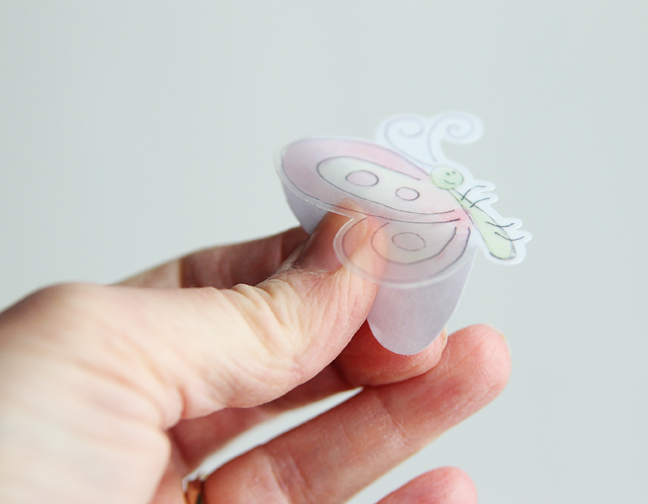
I love the sheer look of these watercolor designs, so I chose clear sticker paper to keep them transparent no matter where I place them. These could absolutely be used in planners and scrapbooks, too!
The clear sticker paper is thicker than you might expect, so it holds its shape well once cut. When you run it through your inkjet printer, be sure to use a standard or light volume of ink to reduce smudging as it runs through the printer. Avoid using a glossy or photo-quality setting, or your printer will lay on a lot of ink and it will take longer to dry (and risk smearing). I set my printer to plain white paper on standard quality.
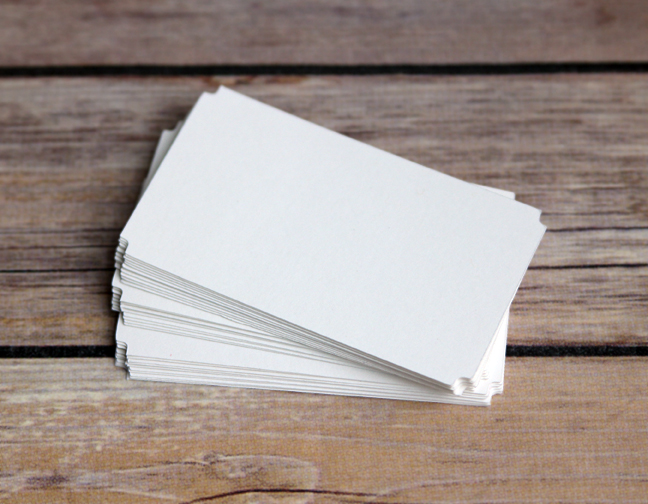
For the notecard base, I chose a business card design and cut a stack from white cardstock.
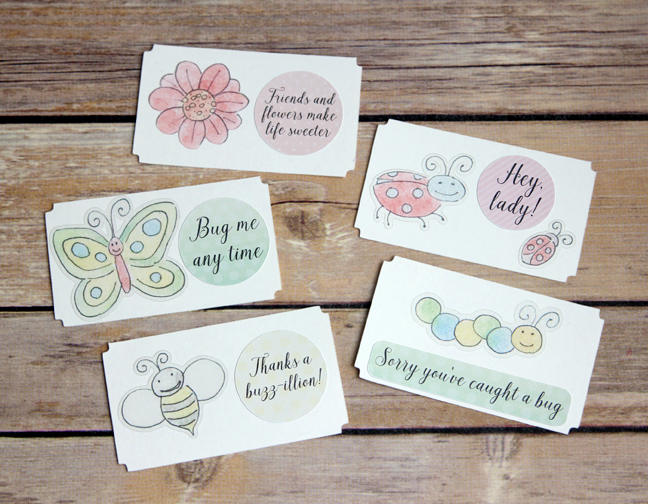
For my sentiments, I decided to use printable white sticker paper, filled with patterns and text, to put on my notecards. I drew a circle and a rounded rectangle, and then typed up a bunch of cheerful sentiments that would go with my bug and flower theme. I chose this pretty Yellow Daisy font for everything and then resized each sentiment to fit the circle or rounded rectangle. I chose a variety of fill patterns for the circles and rectangles.
STEP 2: PREPARE DESIGNS FOR PRINT AND CUT
Next we need to make sure the designs will print and cut the way we want. The basics of print and cut are the same each time.
- Set your page size to match your sticker paper and mat size in the Design Page Settings Window. I’m using the large Curio base so I set my Page Size to 8.5 in x 11 in and chose the Curio (cut) 8.5 x 12 in Cutting Mat. Always check the box at the bottom of the Design Page Settings Window to Show Cut Border.
- Turn on registration marks in the Registration Marks Window. If you have set the correct mat and page size, the default registration marks should fit on your mat. If you are using the standard 8.5 x 6 in. Curio base, you can trim off the extra part of your page after printing.
- Make sure your cut lines are in place for cutting. The Cut Settings Window gives a preview of your cut lines. If you see bold red lines, that’s where the blade will cut.
- Fonts should have a fill color if you want them to print, and lines should be 0.0 pt Line Thickness in the Line Thickness Window if you don’t want the cut lines of your print and cut designs to show.
Let’s go over a few of those points for this particular project.
These watercolor designs (as do many print and cut designs) have a white background and a cut line placed around the printable image. If you want to pack a lot of them on a single page, it’s nice to get rid of the excess white background. You can do this with the Crop tool.
The Crop tool uses the line on top (the existing cut line for these designs) and crops out anything beyond that cut line.
Select a printable shape (if ungrouped, make sure both the image and the line are selected).
In the Modify Window, choose Crop. The cut line has disappeared, and so has the excess white background.

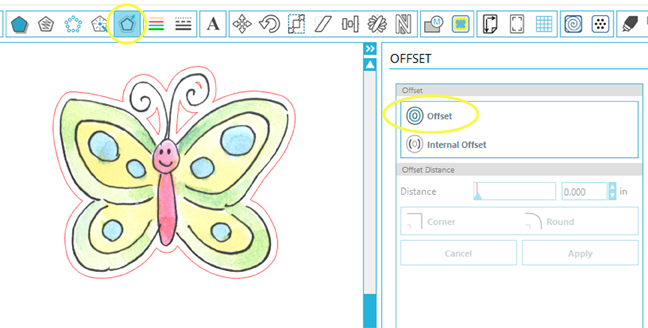
The crop is really close in this case, so let’s create an offset to give a little more room around the antennae and make it look like a sticker. Go to the Offset Window, click Offset (the default of 0.125 in. is fine), and click Apply. Now you have a new cut line.
After cropping, you need to turn on the cut line. Keeping only the offset selected, go to your Cut Settings Window, and choose Cut. Now your new cut line will actually cut. (Even if you don’t add an offset, using the Modify – Crop tool means you will need to turn on the cut line in the Cut Settings Window.)

Select both the image and the offset, and Group them.
Check the Line Thickness setting in your Line Style Window. If you don’t want the red cut line to show when printing, set it to 0.0 pt.
Once you have done this with all the watercolor designs you want to use, you are ready to resize and replicate them so you can fill the page full of notecard-size stickers. Verify in the Cut Settings Window that only the lines you want to cut are shown in bold red.

Now our clear stickers are ready to print.
Make sure with the sentiments that the text is set to No Cut in the Cut Settings Window and that the outer shapes are set to Cut or Cut Edge.
STEP 3: PRINT AND CUT
Now you can load your clear sticker paper into your printer and print the watercolor designs. Give it plenty of drying time (15 minutes or more). Do not change anything on your workpage after printing, before cutting.
Once it’s dry, place it on your cut mat (I use a clean paper to press it down so my hands don’t rub against the printed page), choose clear sticker paper for the material type, manually set your blade, and choose Send to Silhouette from the Cut Settings Window. The machine will read the registration marks and then cut out all your stickers.
Print the sentiments on white sticker paper (this does not have a long drying time like the clear sticker paper), place it on your cut mat, choose white sticker paper for the material type and adjust your blade accordingly, and Send to Silhouette.
You can adjust your settings so your stickers completely separate from the page, each with their own backing still attached (the default settings cut all the way through), or so your blade is only cutting through the sticker and the backing stays intact as a full sheet. This takes some testing, but with my Curio I cut just through the sticker portion with my blade on 2, speed 4, thickness 15, no double cut.
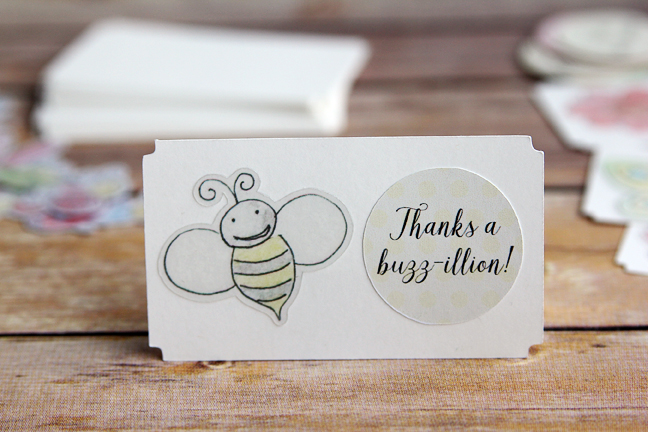
STEP 4: MIX AND MATCH
Now you’ve got blank notecards, watercolor image stickers, and sentiment stickers. Whenever you’re ready to give someone a little pick-me-up or say thank you, just grab one of each and create your custom note in a matter of seconds! These stickers and cards would be great to give to your kids to encourage them to spread around a little kindness, too.

janet
February 16, 2016
What a wonderful idea, and so adorable – thank you 🙂
Kelly Wayment
February 17, 2016
Thank you, Janet!
karen
February 22, 2016
Thanks so much and what at cute idea!
Kelly Wayment
February 23, 2016
Thanks, Karen!