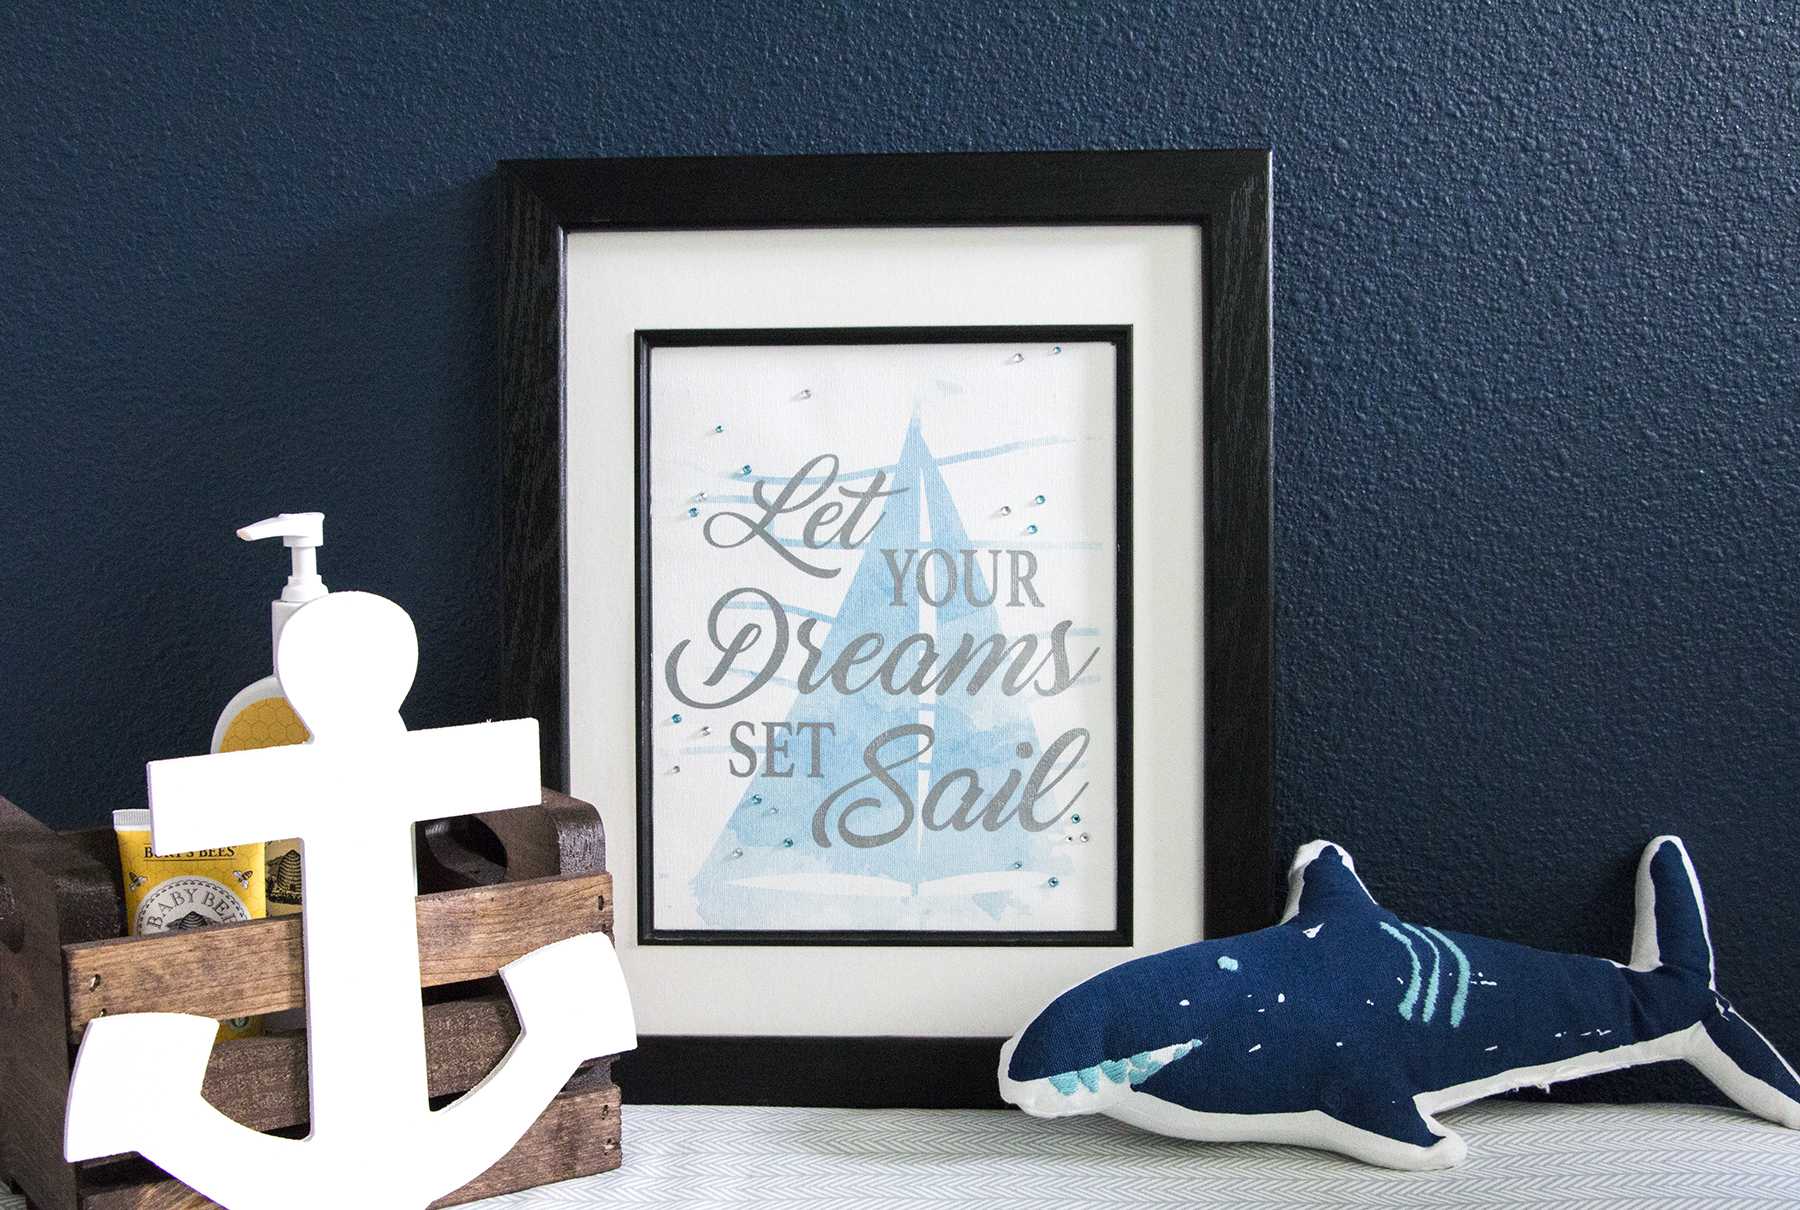
If you’re expecting a little bundle of joy or if you’re like me and wait a year to finally decorate the nursery, then you’ll love this project. I’ve combined three different Silhouette products to create a darling nautical-themed piece of art, perfect for your nursery.
If the thought of rhinestones turns you off, don’t worry; I’ve kept it tasteful, not tacky.
Supplies Needed:
- Silhouette Curio™
- Silhouette Studio®
- Silhouette Printable Cotton Canvas
- Silhouette Rhinestone Template Kit
- Silhouette Silver Heat Transfer
- Silhouette Cutting Mat
- Silhouette Cutting Blade
- Rhinestones (Assorted sizes and colors of your choice)
- Iron
- Frame
- Design #93203
Step One: Design And Print Background
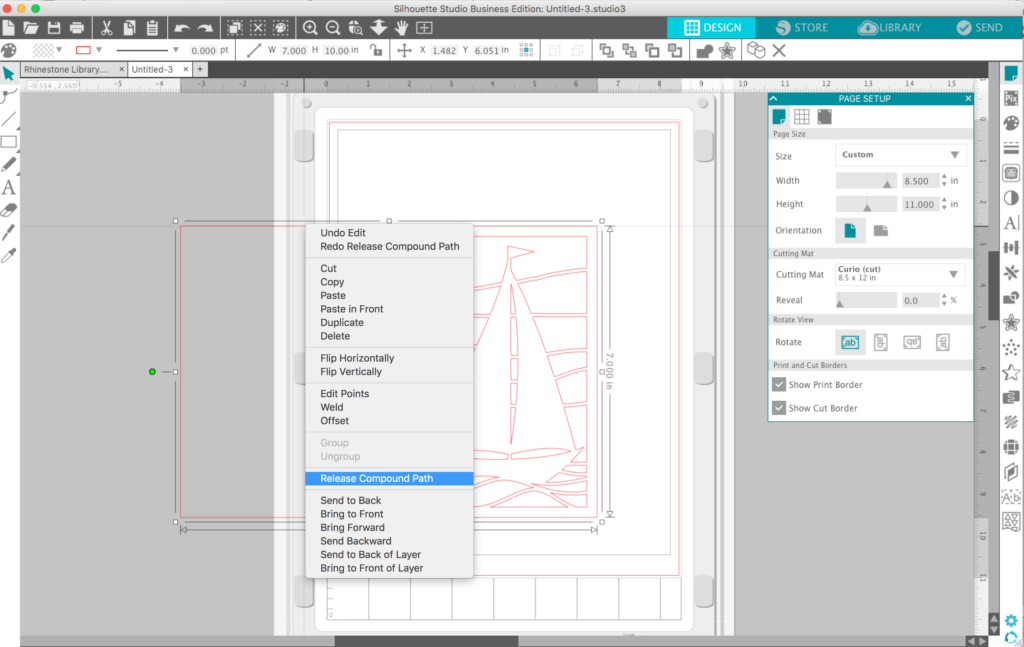
- Open Design #93203 in Silhouette Studio®. Rotate your design so that it is the correct orientation. Then ungroup the design so that you can delete everything except the sailboat design. (Tip: If you can’t ungroup the large rectangle from the sailboat image, you will need to right click and press Release Compound Path and then delete the rectangle. Make sure that you regroup the sailboat design after that to make sure you don’t move any objects out of place.)
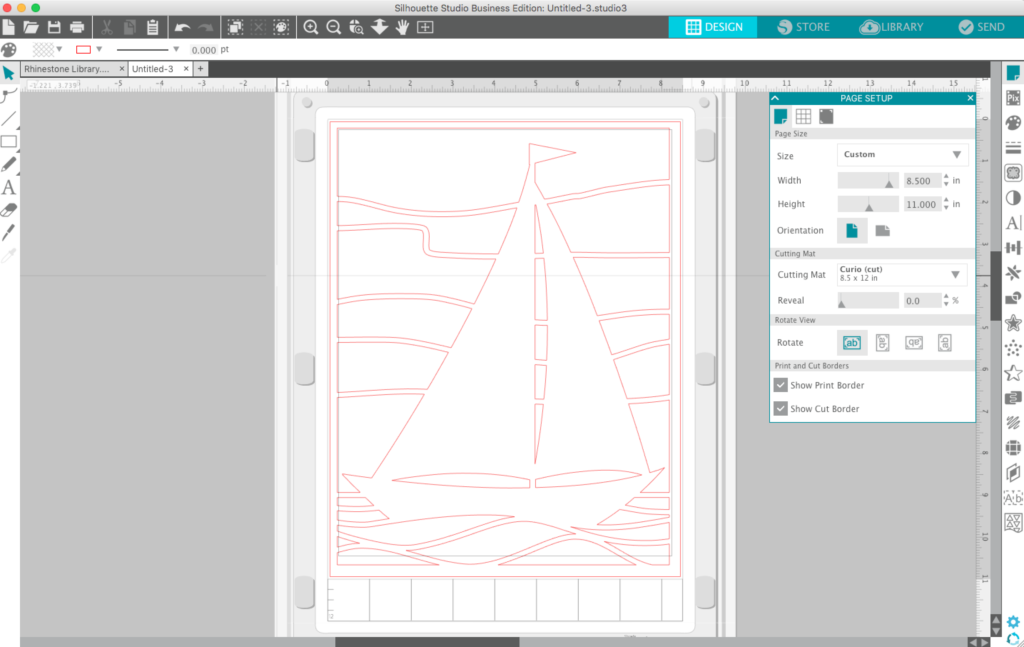
- Next, resize your design so that it is almost the same size as your page. I resized mine so that it fit just outside of the print lines.
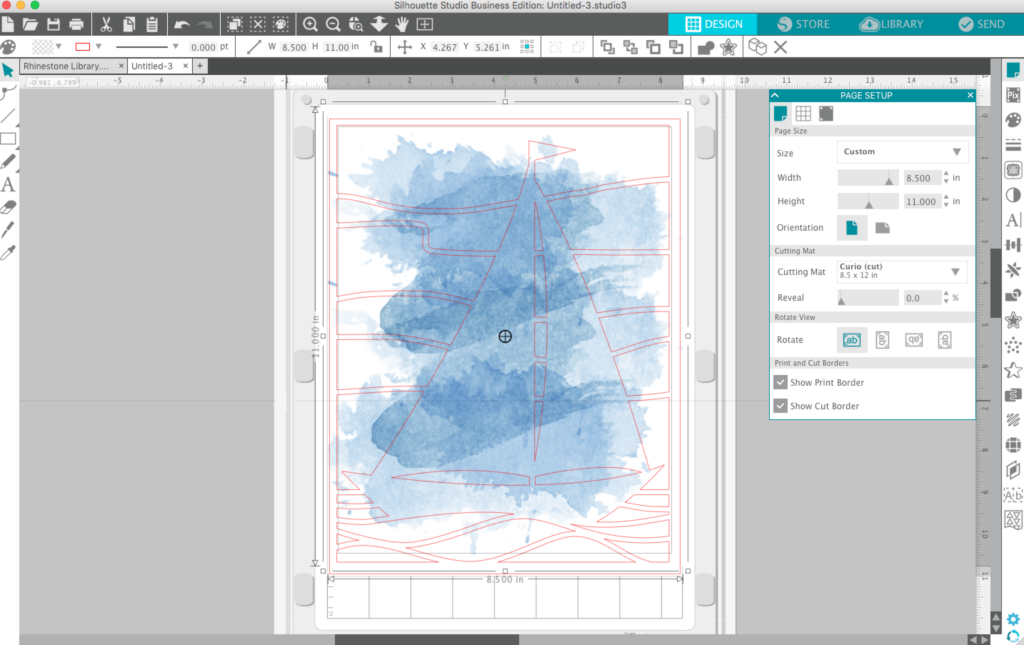
- Once you have your design set to your preferred size, drag in or open a watercolor background. You can use any background or grab my free watercolor design that I created on my blog here.
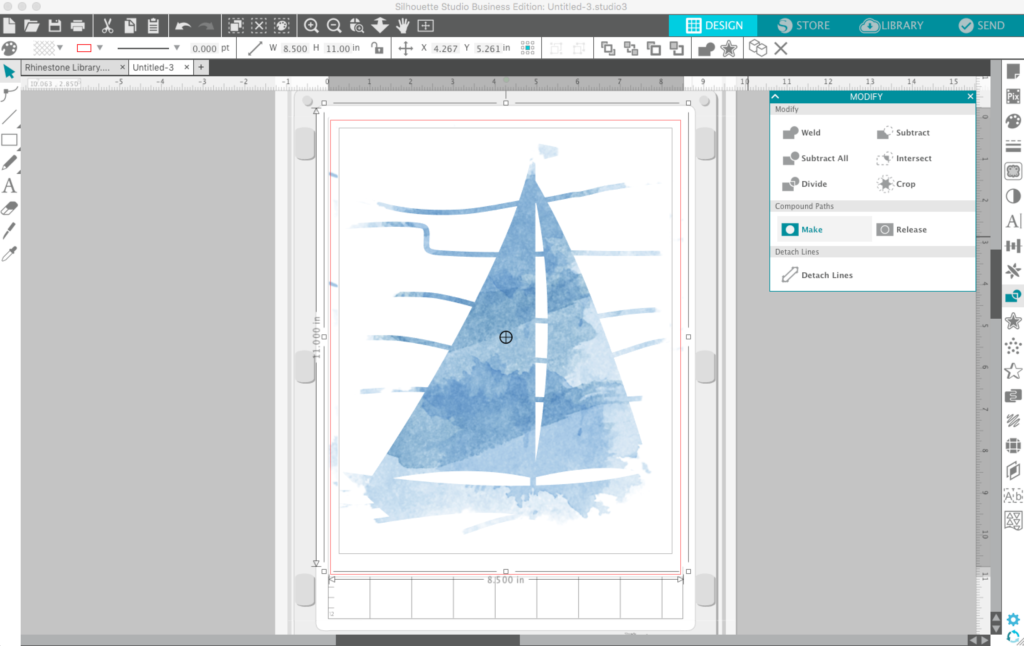
- This step is all personal design preference, so feel free to experiment and take your time finding the right position. You’ll want to start with your watercolor image in the background so that you can see how it looks within the design. Once you have it set, right click the background to send it to the front. Then, select both the background and sailboat design. In the Modify panel, click the Make button under the Compound Paths section. This will essentially crop the watercolor design so that it forms the sailboat design. (Tip: If you notice, the background is showing in some areas around the edge of the design. These areas will not be printed as they are outside of the print lines, so don’t worry. That is why I recommended your design be slightly larger than the print lines.)
- Now that your watercolor sailboat background is how you would like it, it’s time to print. Load your printable cotton canvas paper into your printer and print the image.
Step Two: Create And Apply Heat Transfer
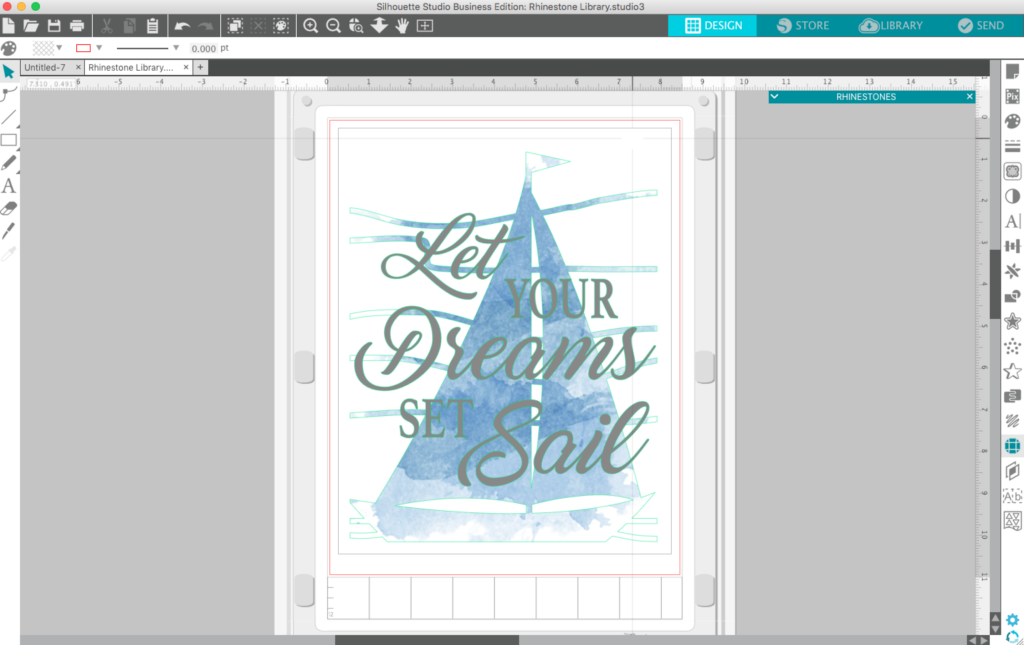
- Decide on your favorite nautical-themed phrase and use the Font tool to create your layout. I used two different fonts for a more visually appealing layout. (Tip: If you’re using any script fonts, make sure you Weld your text before cutting it. This will prevent your font from being cut through where each letter connects.)
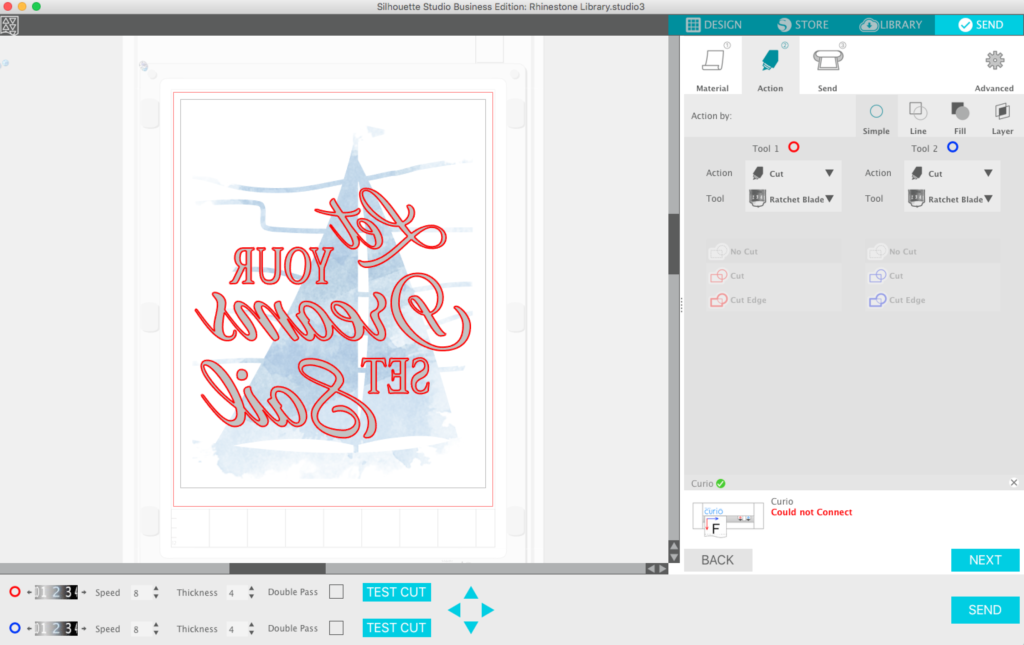
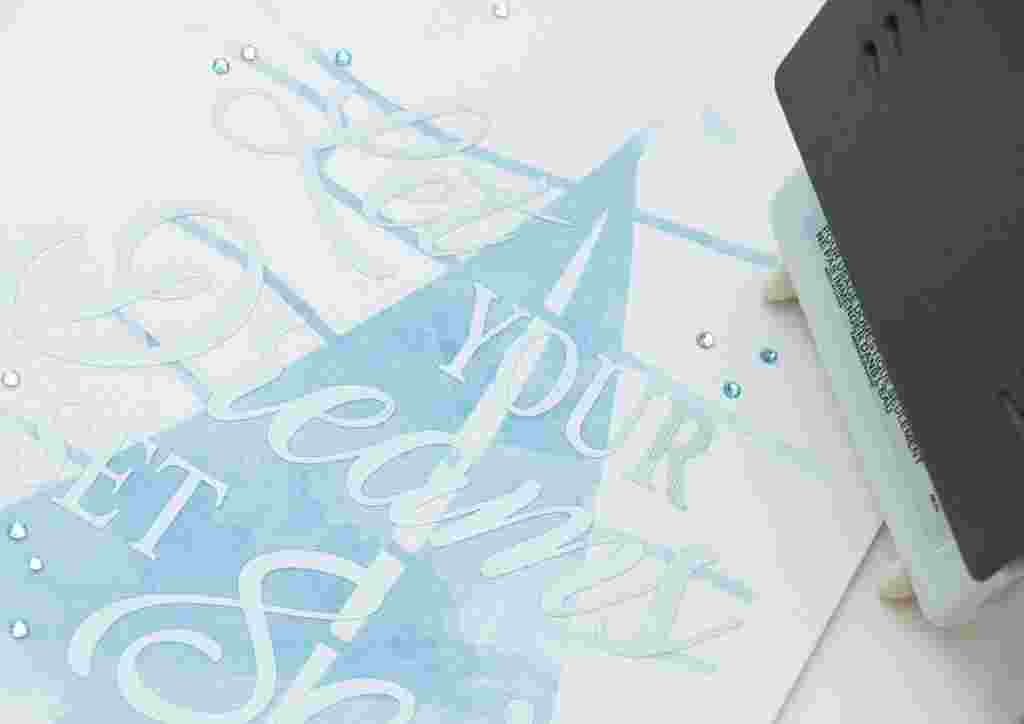
- Once you have your phrase laid out exactly how you would like, make sure you Mirror your text. Then, load your heat transfer material onto your cutting mat or directly into your machine if you are using a CAMEO, with the glossy side down.
- Click on the Send tab and make sure only your text is selected to be cut. Adjust your blades accordingly and press Send.
- Weed out the negative space so that only your phrase is showing. Place your heat transfer material sheet on top of your printed canvas in your desired location, and with a cloth over it, apply your iron over the design for 45–60 seconds or until your heat transfer material adheres to the cotton canvas.
Step Three: Design And Apply Rhinestones
If you’ve never worked with the rhinestone tool, I’ll make this as simple as possible.
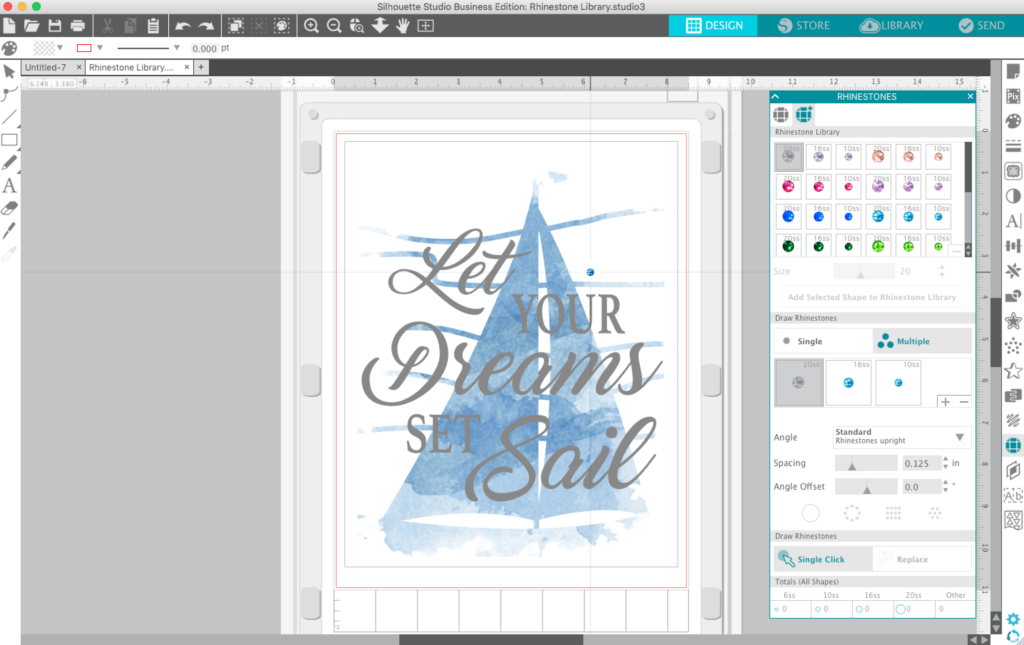
- With the Rhinestone Panel open, click the Rhinestone Library tab. Then make sure you click on the Multiple button under the Draw Rhinestone field. One by one, select the color and size rhinestones at the top, then click the plus (+) button under the Draw Rhinestone field; this will add them to your drawing sequence. (Tip: Use the Multiple setting if you’re going to use different size rhinestones, otherwise, simply use the Single setting for one size only.)
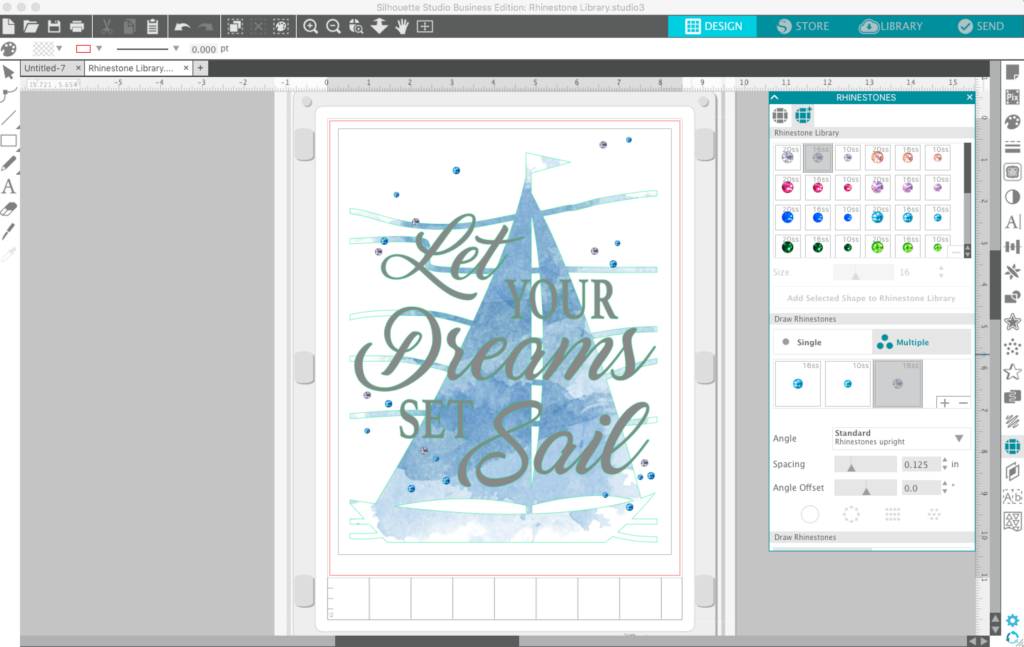
- Once you have your rhinestone sequence set, all you have to do is press the Single Click button under Draw Rhinestones field, then place your mouse on your design where you’d like your rhinestone, and click. It’s that simple. If you don’t like the placement of a rhinestone, use the Select arrow to move it around or delete.
- After you have placed all your rhinestones where you would like them, it’s time to cut them out on the rhinestone template material. Load your template material onto your cutting mat and adjust the settings accordingly. Send the design to your Silhouette machine. (Tip: Make sure that only your rhinestones are selected to be cut. At this point, you can either move your other design elements off of the design page, or make sure they are set to No Cut.)

- Peel the template material off the backing and affix the template to a rhinestone backing board. Since there aren’t too many rhinestones and because we’re using different sizes and colors, hand place each rhinestone facing up. (Tip: If you create a template using one size and color rhinestone, using the rhinestone brush will make it easier to set your stones.)

- Next, cover your design with a piece of rhinestone transfer tape. Lift the transfer tape off the template and position the rhinestone design on your canvas. Place a thin cloth over the design and press down on top with a heated iron for 45–60 seconds. The iron should be set to the Wool setting.
- Remove the iron, cloth, and transfer tape to reveal your rhinestone design.
Step Four: Mount And Display

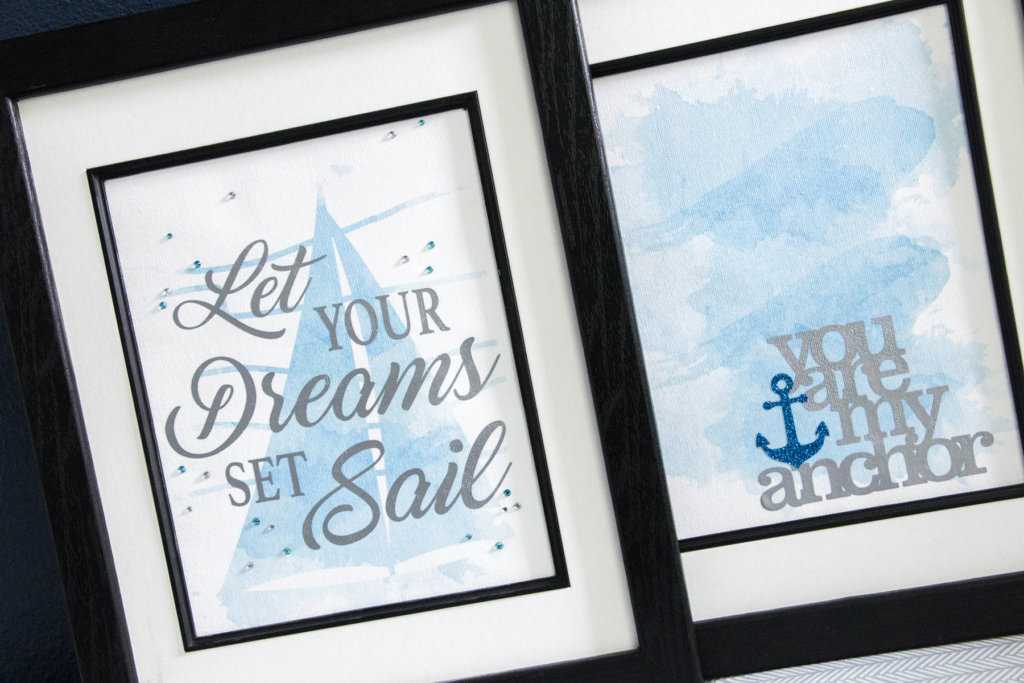
- Place your final design in a frame, mount it on the wall, and marvel over your beautiful new nursery art.
I told you we wouldn’t make the rhinestones look tacky, and I accomplished that! By just adding a handful of them, scattered around the design, it gives just a little bit of sparkle for your new baby to enjoy in his new nautical-themed nursery.