
Did you know Silhouette came out with tons of new products last year? And one of them was carbon fiber vinyl. I’ve had this product for a while, and I figured it was time to test it out.
I also want to thank my hubby for being a good sport and letting me use his tool cart for this project. But let’s get real—he really had no choice.
Supplies Needed:
- Silhouette CAMEO®, Silhouette Portrait®, or Silhouette Curio™
- Silhouette Studio®
- Silhouette Mat
- Silhouette Cutting Blade
- Silhouette Transfer Tape
- Ruler
- Silhouette Carbon Fiber Vinyl (Sampler Pack)
- Silhouette Black Vinyl (Matte)
- Design ID #56178
- Design ID #240160
Step One: Set Up the Design
- Measure out the area on the tool cart where you would like to place the labels.
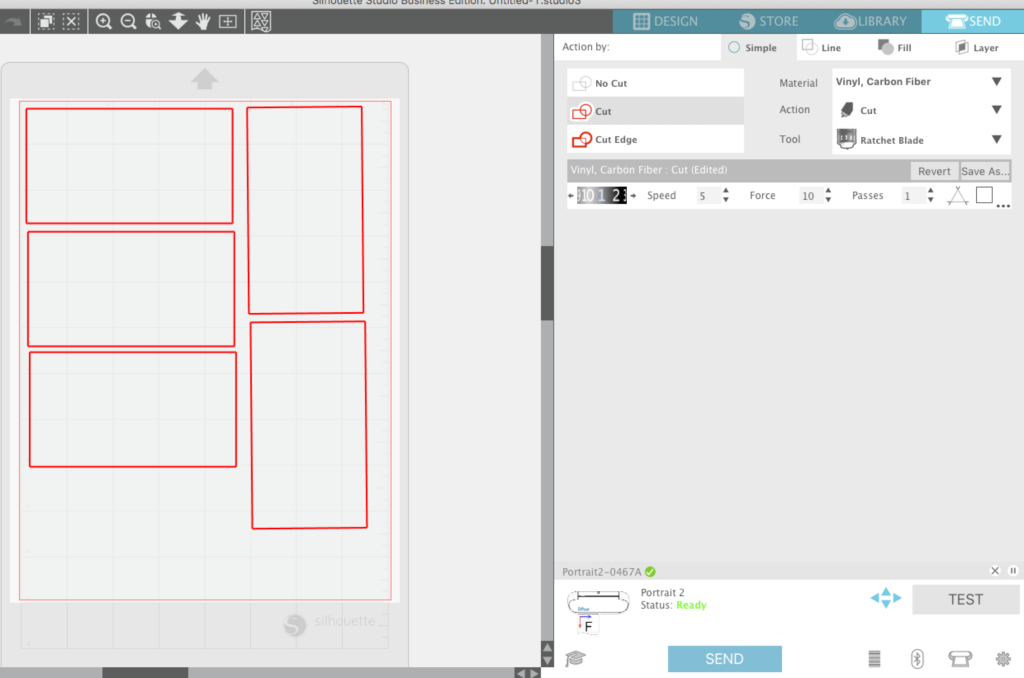
- Create rectangular shapes. These will be cut with the black carbon fiber vinyl.
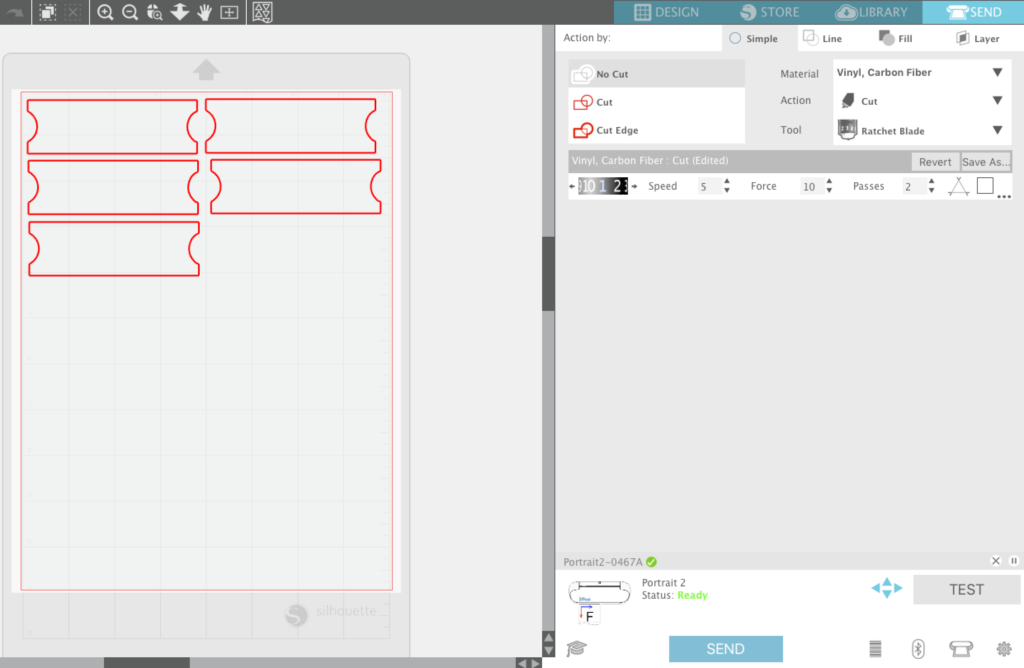
- For the second labels, I used this cute design from Sweet Elsie (Design ID #56178). This will be cut with the white carbon fiber vinyl and placed on top of the black carbon fiber vinyl.
- Cut out the names of the tools for each label with the Silhouette black vinyl. I used the font Design ID #240160 created by the talented Lori Whitlock.
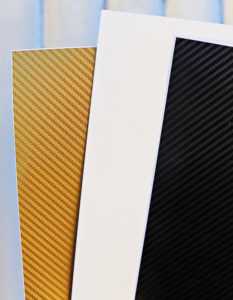
- I also just want to let you know that the Silhouette Carbon Fiber Vinyl Sampler Pack comes in 3 colors (gold, white, and black). For this project I only used the white and black. But believe me, the gold is also amazing.
Step Two: Place the Labels on the Tool Cart
- I kind of just eyeballed the labels and the position they’re placed on the cart.

- I hope you guys are inspired to try out this new product from Silhouette. This would also look great in a little boys bedroom decor. Spring cleaning is coming up and organization is ideal but why not make it look cool too.

This blog post was contributed by Kathi Arbiso. Follow her for more inspiring Silhouette projects.
Robyn
February 28, 2018
Those labels and the material are perfect for a tool box. I now have my father’s red toolbox so you know what I will be doing. Thanks for this project.